  |
 Oct 14, 2006 - 11:02 PM Oct 14, 2006 - 11:02 PM
|
|
|
Enthusiast   Joined Mar 13, '06 From Lebanon, Oregon Currently Offline Reputation: 8 (100%) |
I felt like making my own thread. So here it is, this is what Ive done so far.
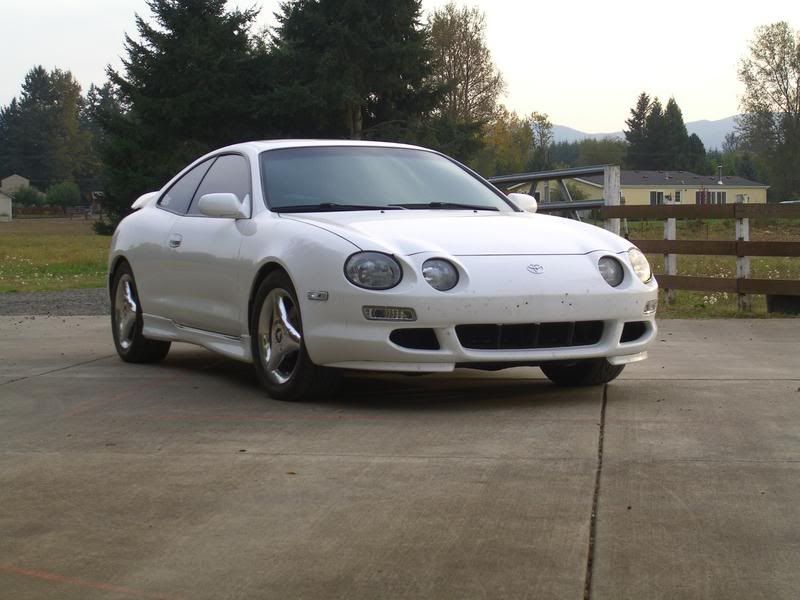 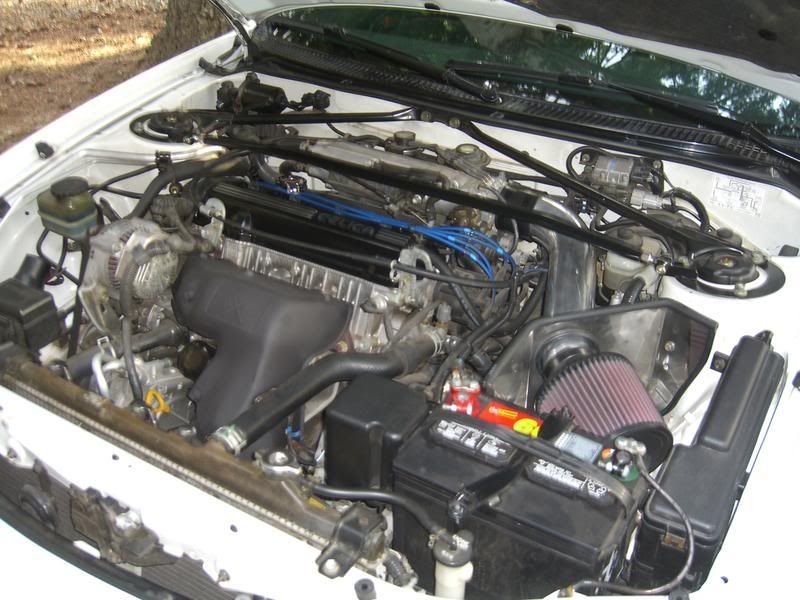   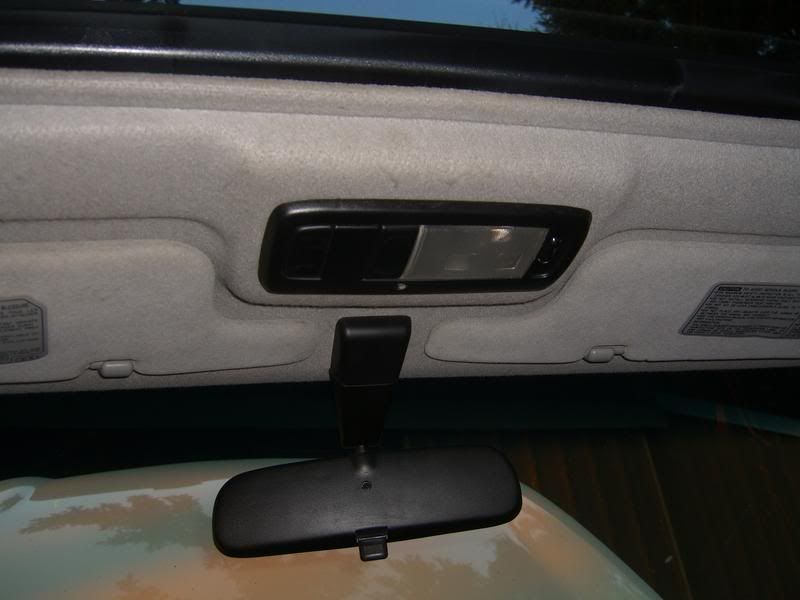 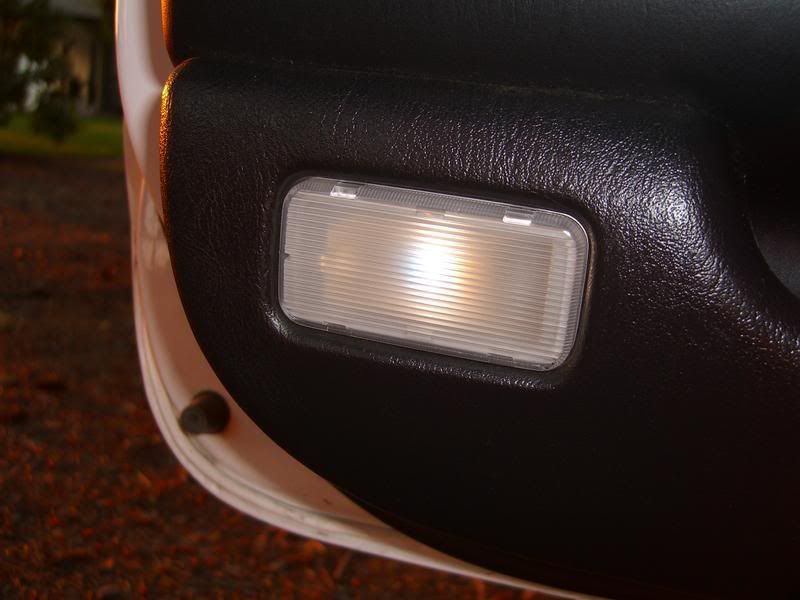   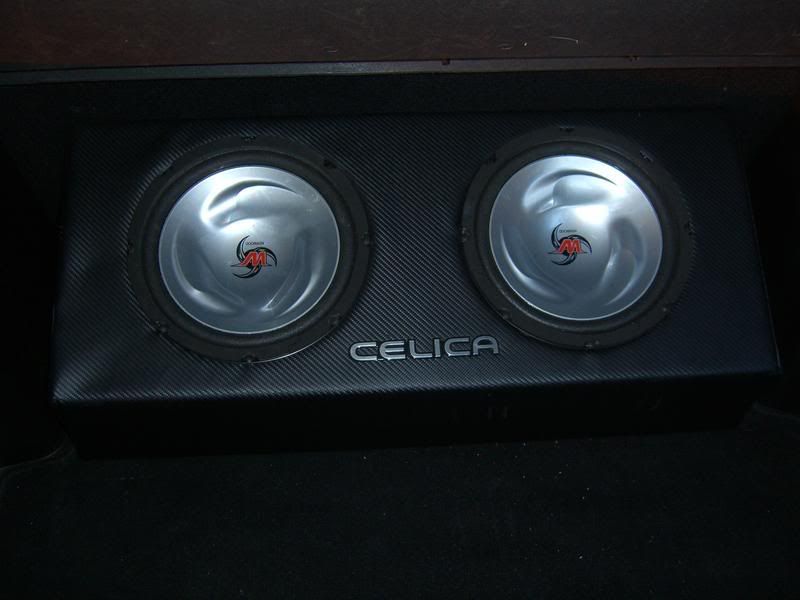 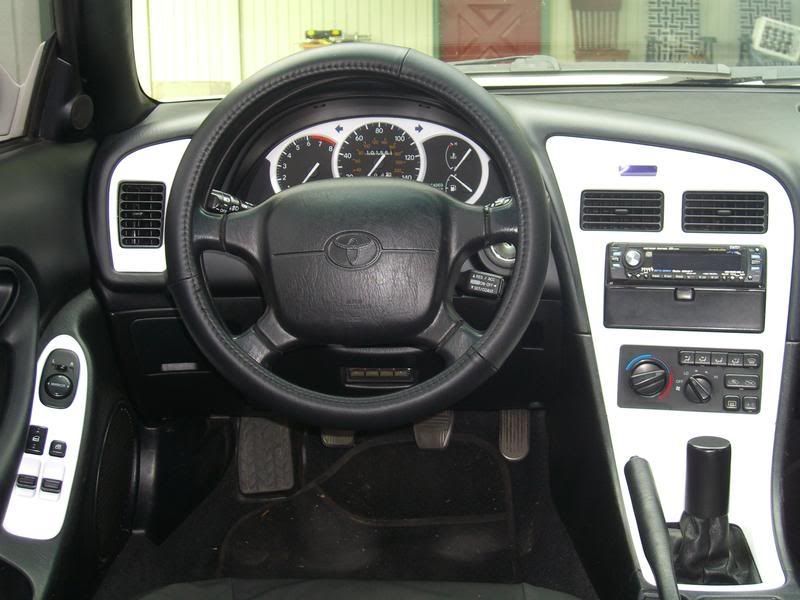 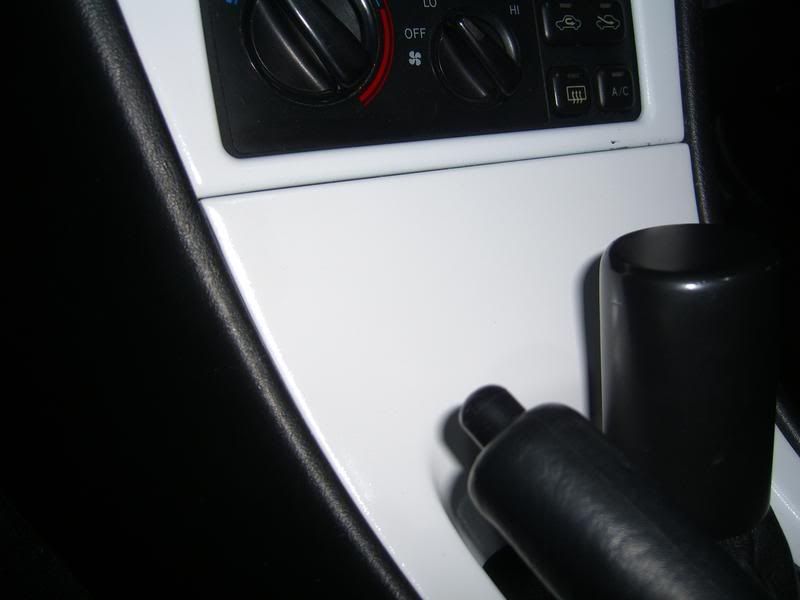 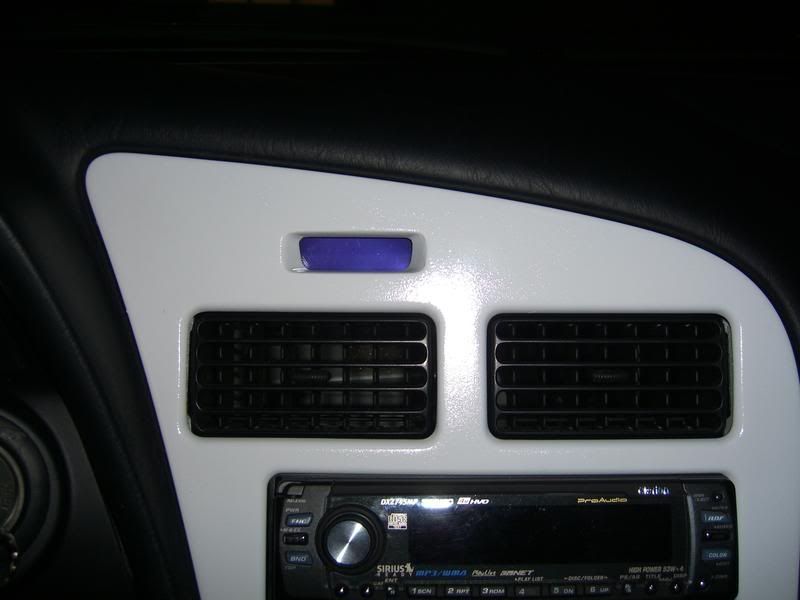 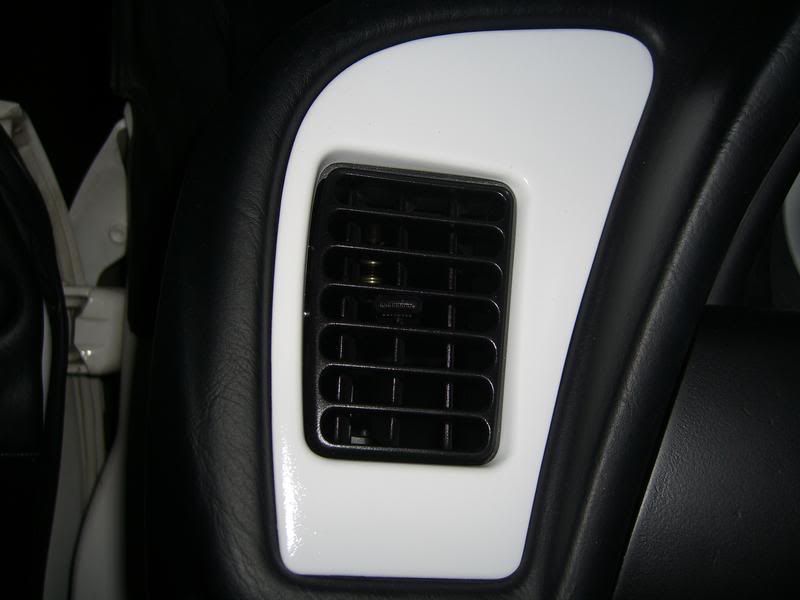 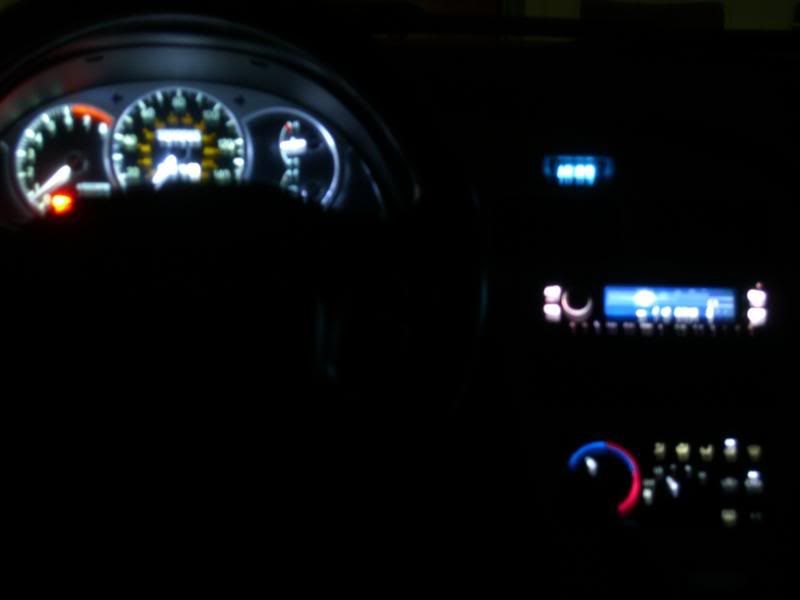 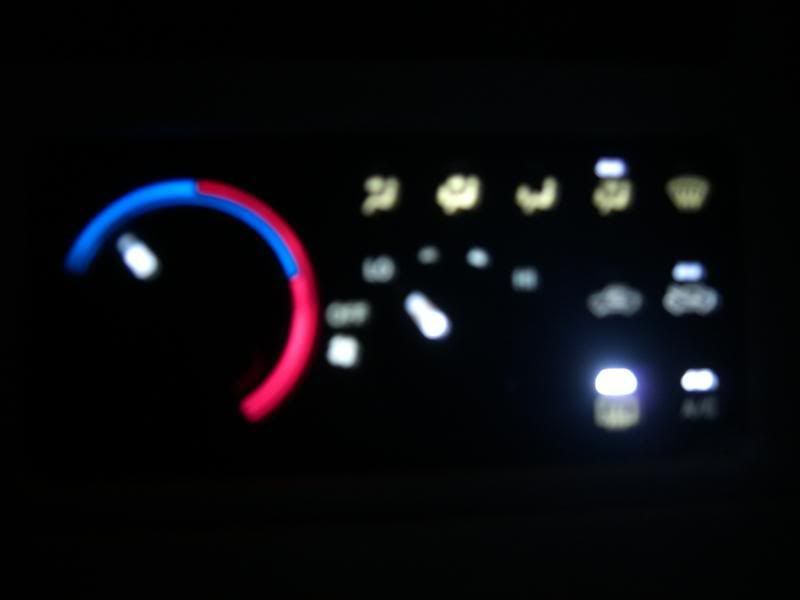 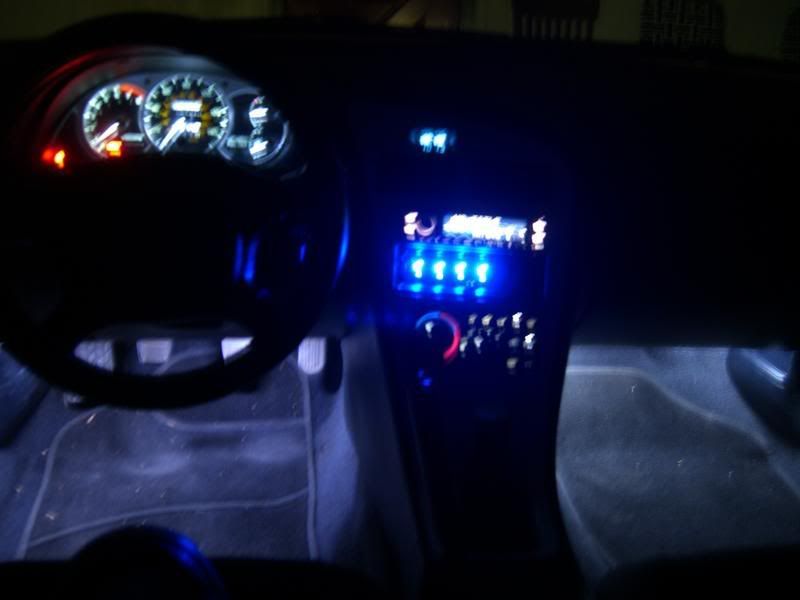  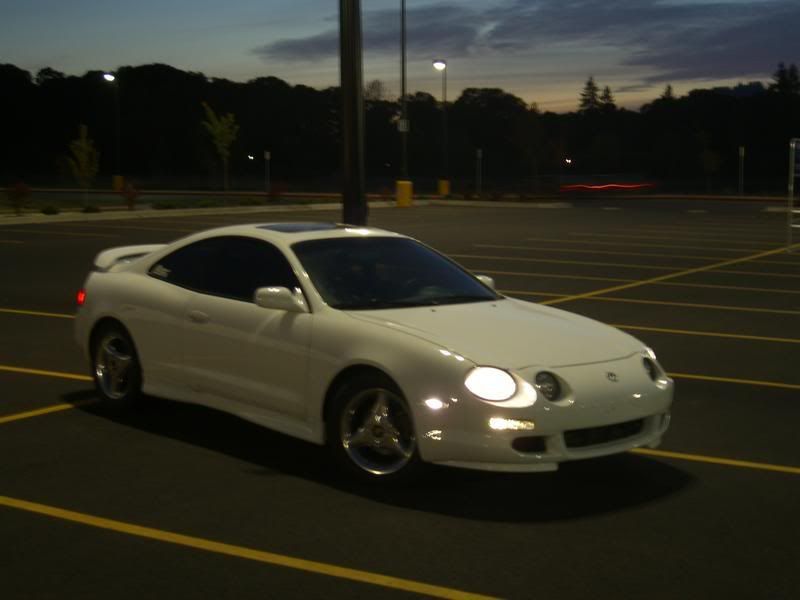 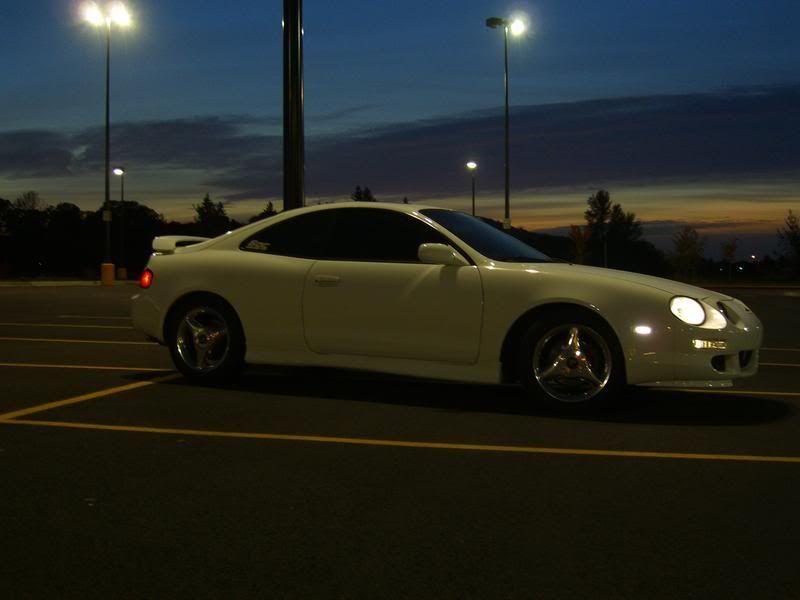 If you hadnt noticed I like the clean and shaved look. And Im shooting for a Black and White theme, so far i think it looks pretty good. I dont have many big expensive things on my car just lots of little things that took a lot of time and energy, but it is worth it cause no one has a car like mine especially not an interior like mine. This post has been edited by QuintinGT: Aug 9, 2007 - 2:10 AM -------------------- |
 Oct 14, 2006 - 11:06 PM Oct 14, 2006 - 11:06 PM
|
|
 Enthusiast      Joined Mar 27, '04 Currently Offline Reputation: 14 (100%) |
Sweet man!!
How did you do the dash?? I need to do some work on mine and yours looks great! only suggestion i have is the 3 spoke rims.. gotta get something with more -------------------- ~Daniel~ No Longer Celica Owner.. moved on to a 03 WRX-EJ207
 |
 Oct 14, 2006 - 11:21 PM Oct 14, 2006 - 11:21 PM
|
|
|
Enthusiast     Joined Dec 9, '05 From Bedford, TX Currently Offline Reputation: 11 (100%) |
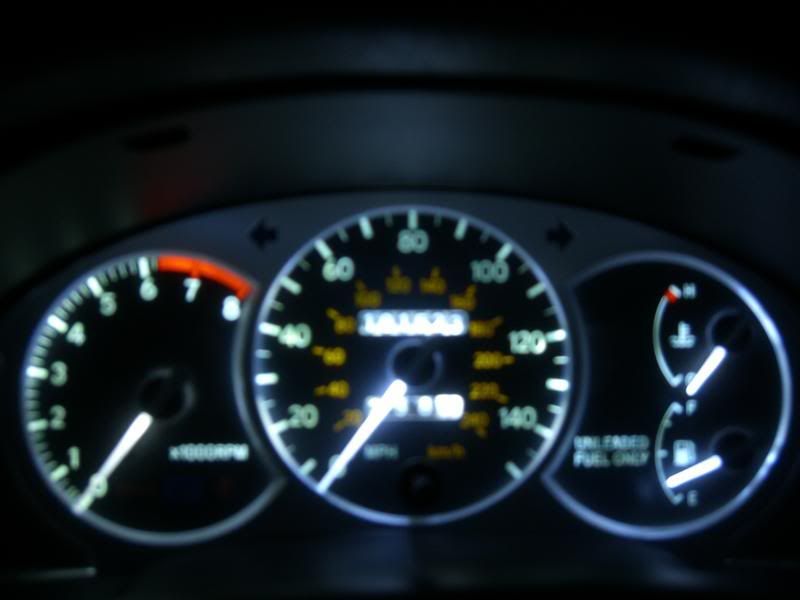
wow dood mad props. how did you make your gauge cluster so bright like that? did you put a lot of them 5mm leds and plug them to a 12v socket?
--------------------  <--- I miss :'' ( <--- I miss :'' ( |
 Oct 15, 2006 - 12:03 AM Oct 15, 2006 - 12:03 AM
|
|
|
Enthusiast   Joined Mar 13, '06 From Lebanon, Oregon Currently Offline Reputation: 8 (100%) |
QUOTE(Jaws4God @ Oct 14, 2006 - 11:06 PM) [snapback]491701[/snapback] Sweet man!! How did you do the dash?? I need to do some work on mine and yours looks great! only suggestion i have is the 3 spoke rims.. gotta get something with more Thanks, What Part? I Filled all the Holes with Fiberglass then bondo and lots of time! It took me more than 3 weeks. 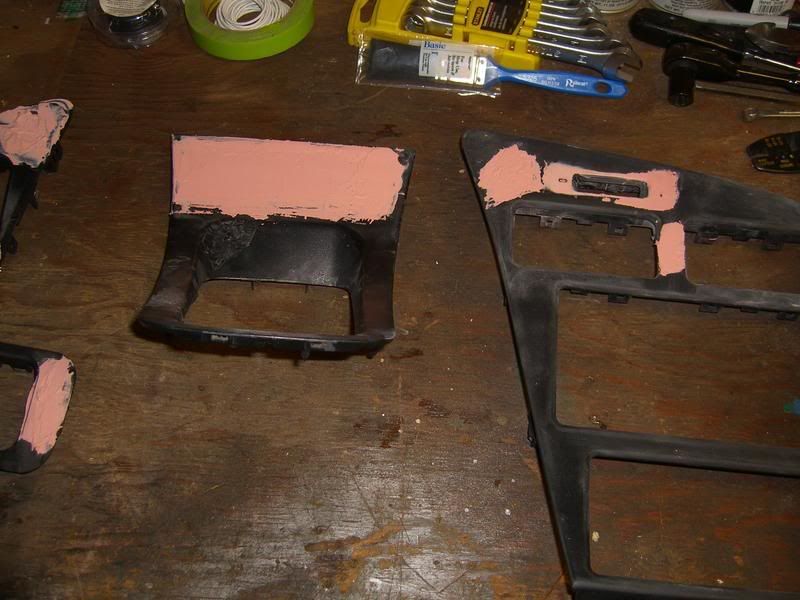 QUOTE(My2Celi @ Oct 14, 2006 - 11:21 PM) [snapback]491706[/snapback] wow dood mad props. how did you make your gauge cluster so bright like that? did you put a lot of them 5mm leds and plug them to a 12v socket? Thanks, nope They are just three 194 LEDs(superstars), the real trick is the white paint actually, It reflects the light instead of absorbing it like the black did. 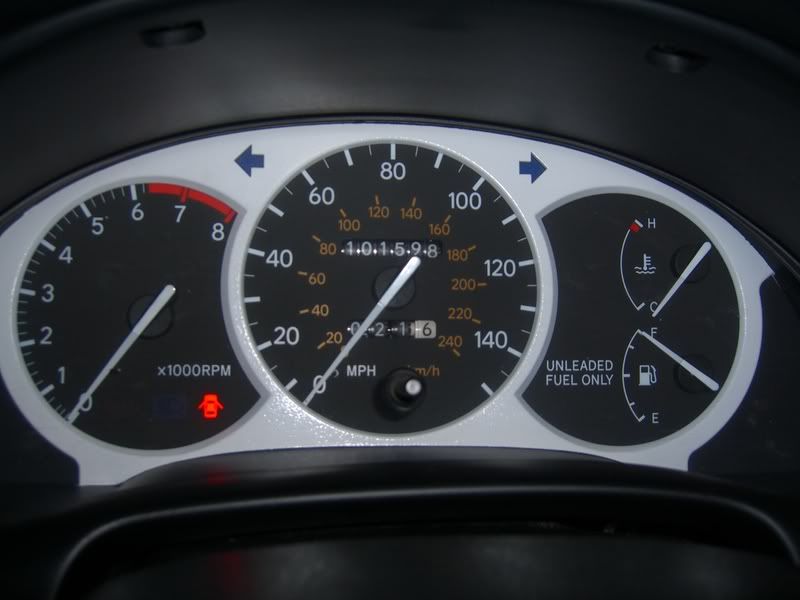 before 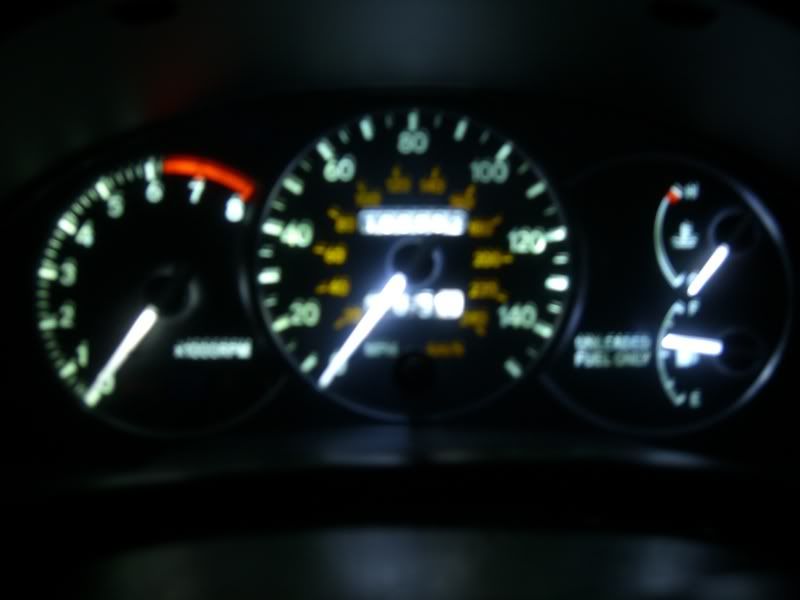 after 
This post has been edited by QuintinGT: Aug 1, 2007 - 2:10 AM -------------------- |
 Oct 15, 2006 - 12:09 AM Oct 15, 2006 - 12:09 AM
|
|
 Enthusiast  Joined May 10, '06 From El Paso, Texas Currently Offline Reputation: 1 (100%) |
Nice mod's man! Keep it up!! How do you did the clear signal of the door?
|
 Oct 15, 2006 - 12:27 AM Oct 15, 2006 - 12:27 AM
|
|
|
Enthusiast    Joined Mar 14, '06 From Mary Land Currently Offline Reputation: 0 (0%) |
QUOTE(celicomx @ Oct 15, 2006 - 1:09 AM) [snapback]491721[/snapback] Nice mod's man! Keep it up!! How do you did the clear signal of the door? you can get that housing off of a tacoma. sweet ride btw |
 Oct 15, 2006 - 12:42 AM Oct 15, 2006 - 12:42 AM
|
|
|
Enthusiast   Joined Mar 13, '06 From Lebanon, Oregon Currently Offline Reputation: 8 (100%) |
-------------------- |
 Oct 15, 2006 - 12:48 AM Oct 15, 2006 - 12:48 AM
|
|
|
Enthusiast  Joined Jul 3, '06 From Brantford, Ontario Currently Offline Reputation: 0 (0%) |
Looking good man, keep up the good work..
just thought id throw an idea out for you and any others... I stenciled the toyota emblem and sprayed around it. 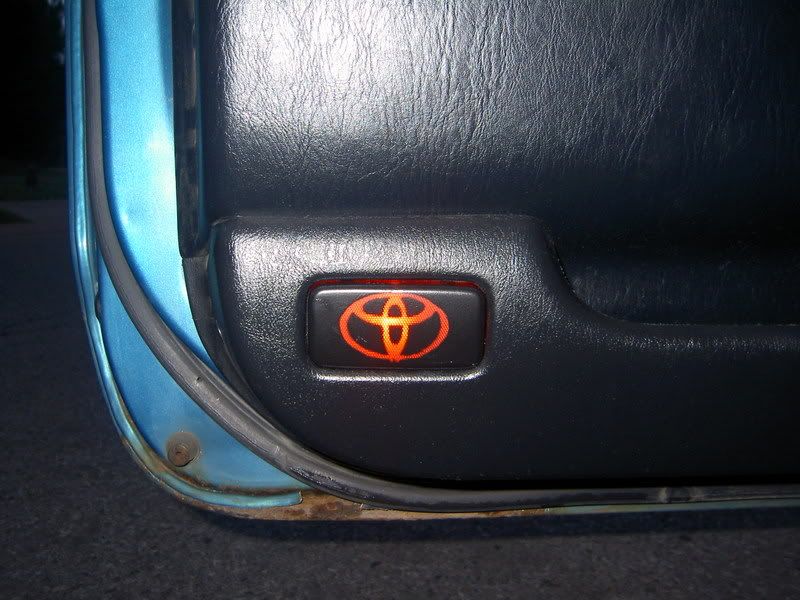
|
 Oct 15, 2006 - 12:59 AM Oct 15, 2006 - 12:59 AM
|
|
 Enthusiast    Joined Jul 9, '04 From Las Vegas USA Currently Offline Reputation: 14 (100%) |
Man, I love those gauges! Your right the white sets it off, like angel eyes. I wonder if silver will have the same effect?
--------------------  |
 Oct 15, 2006 - 1:06 AM Oct 15, 2006 - 1:06 AM
|
|
|
Enthusiast     Joined Dec 9, '05 From Bedford, TX Currently Offline Reputation: 11 (100%) |
ur full of ideas. i tried the superstars and it just craps out for some reason. but man keep up the good work. let us know if theres anything else u left out.
This post has been edited by My2Celi: Oct 15, 2006 - 1:06 AM --------------------  <--- I miss :'' ( <--- I miss :'' ( |
 Oct 15, 2006 - 1:20 AM Oct 15, 2006 - 1:20 AM
|
|
|
Enthusiast   Joined Mar 13, '06 From Lebanon, Oregon Currently Offline Reputation: 8 (100%) |
I like the toyota emblem, looks good, but I learned my lesson on stencils with my valve cover, i wont be do in more of that any time soon.
Im sure that silver will do very close to the same thing. Try it out and let us know. When did you try the superstars? I heard that they recently redid the circuitry and if you had problems before you wont with the new ones. Mine have worked perfectly since I got them. -------------------- |
 Oct 15, 2006 - 1:39 AM Oct 15, 2006 - 1:39 AM
|
|
|
Enthusiast      Joined Dec 8, '05 From torrance/carson, ca Currently Offline Reputation: 11 (100%) |
nice. love what you've done with your interior and what-not.
-------------------- |
 Oct 15, 2006 - 1:45 AM Oct 15, 2006 - 1:45 AM
|
|
 Enthusiast      Joined Jun 19, '05 From Nebraska Currently Offline Reputation: 4 (100%) |
QUOTE(QuintinGT @ Oct 14, 2006 - 11:02 PM) [snapback]491700[/snapback] EXTERIOR Removed front license plate Siiiicccc!!!! -------------------- Teh Celica sleeps for Winter '06. Suspension overhaul begins........
|
 Oct 15, 2006 - 3:00 AM Oct 15, 2006 - 3:00 AM
|
|
|
Enthusiast      Joined Aug 2, '05 From Guam Currently Offline Reputation: 15 (100%) |
Thats some good mods and ideas Quintin.
OntarioCeli, thats a dope idea for the door light. -------------------- 94 Celica GT
|Toyota OEM Japan|Toyota Racing Development|Tom's|Competition Clutch|5Zigen|Apexi| |Laille/Beatrush|Magnecor|Denso|Royal Purple|Optima|PIAA|PW JDM|Megan Racing|Nitto| |Work|Greddy|Samco|Project Mu|H&R|Gates|Moog|Rota|Yokohama|Epman|1320|Upgr8 04 Celica GT |Toyota OEM Japan|Toyota Racing Development|Tein|BC Racing|Greddy| |
 Oct 15, 2006 - 11:29 AM Oct 15, 2006 - 11:29 AM
|
|
|
Enthusiast     Joined Dec 9, '05 From Bedford, TX Currently Offline Reputation: 11 (100%) |
ahhh yyou got rust at the bottom of your door panel.
--------------------  <--- I miss :'' ( <--- I miss :'' ( |
 Oct 15, 2006 - 5:14 PM Oct 15, 2006 - 5:14 PM
|
|
 Enthusiast      Joined Aug 21, '04 From New York City Currently Offline Reputation: 0 (0%) |
your mods are definitely unique and clean. i like it. especially the switch part that are hidden with the box under the stereo.
-------------------- |
 Oct 15, 2006 - 5:26 PM Oct 15, 2006 - 5:26 PM
|
|
 Enthusiast   Joined Feb 26, '05 From Sweden Currently Offline Reputation: 0 (0%) |
props for all the custom and unique ideas
btw, how did you get the texture of the panels back after you modded them? This post has been edited by Predator: Oct 15, 2006 - 5:26 PM --------------------  |
 Oct 15, 2006 - 6:01 PM Oct 15, 2006 - 6:01 PM
|
|
 Enthusiast    Joined Jul 20, '06 From St. Thomas, Virgin Islands Currently Offline Reputation: 0 (0%) |
love it man, real clean
I can tell that you have spent a lot of time on the interior, but man it so looks well worth it! --------------------  "I bet you drive a standard." "You could make some money off that bet." :D |
 Oct 15, 2006 - 8:09 PM Oct 15, 2006 - 8:09 PM
|
|
|
Enthusiast   Joined Mar 13, '06 From Lebanon, Oregon Currently Offline Reputation: 8 (100%) |
Thanks guys and girls, Im glad you like it too.
The panels started out smooth that texture is just from the enamel paint I used. QUOTE First off your the man because your interior is the s***. How did you make that switch panel? and how did you relocate the cigarette lighter? The switch panel was not easy, mainly because of the size of the hazard switch and dimmer. the harzard switch fit without any modification but the dimmer had to be made considerably smaller. if you wanted to do this without all the work it would not be to difficult if you had the hazard, dimmer and maybe one or two other switches, this way it wouldnt be so cramped. The hazard switch has seven wires that connect it so youll have to extend them. i cut off the plug and put in extensions. Keep in mind that your turn signals will not work if the hazard button is not plugged in so dont try to drive in the middle of putting this in. the dimmer has 3 wires that have to be extended. 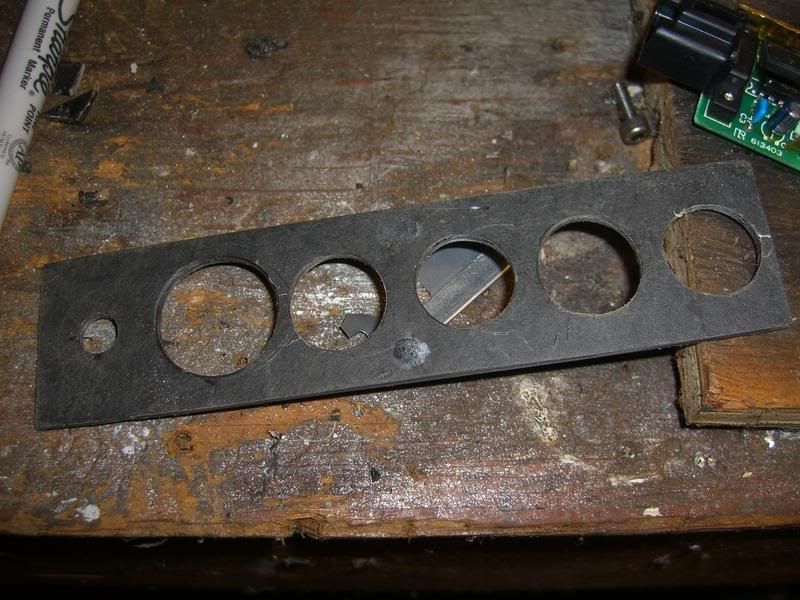 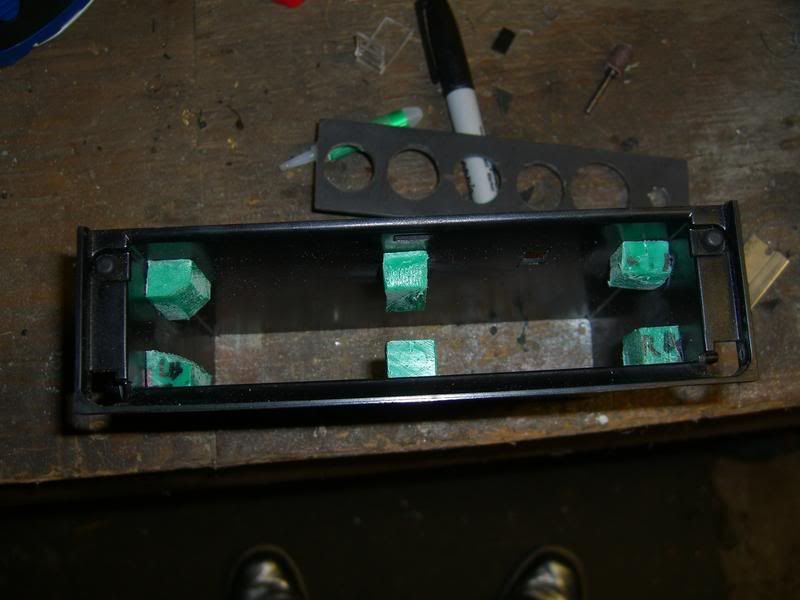 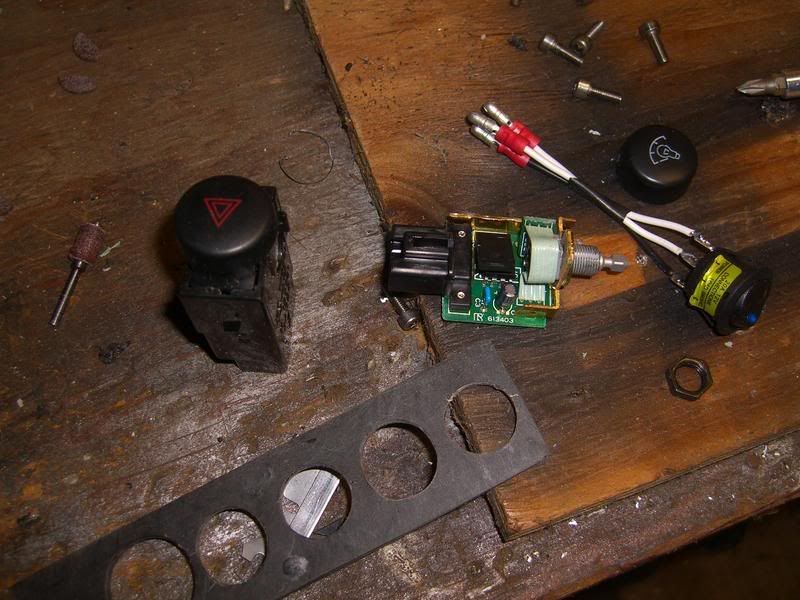 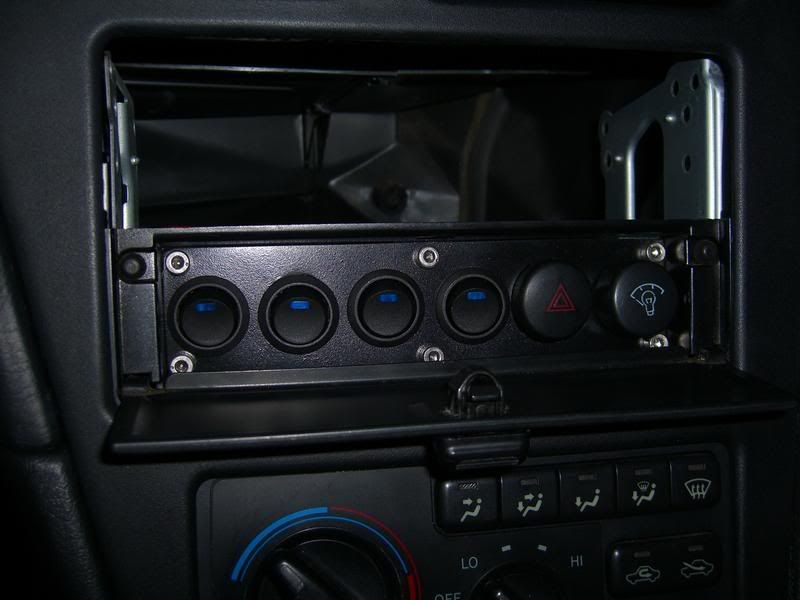 the cigarette lighter was really easy, I bought an auxiliary output kit at Walmart for 5 bucks(at autozone too) and just drilled the hole and connected the 2 wires to the existing cigarette lighter wires. I would recommend using a mutimeter to find the + - wires cuase I did it wrong the first time and blew a fuse. This post has been edited by QuintinGT: Oct 15, 2006 - 8:12 PM -------------------- |
 Feb 18, 2007 - 11:00 AM Feb 18, 2007 - 11:00 AM
|
|
|
Enthusiast     Joined Oct 7, '06 From wyomissing pennsylvania Currently Offline Reputation: 2 (100%) |
im curious as to how you relocated the clock set buttons, on my clock they make a contact on the circuitry the display sits on.. i actually lost one of the prong buttons, so i was wanting to do something similar like yours only with small momentary switchs
-------------------- you know why they put sheep at the edge of a cliff.... that way they push back!
(2:27:32 AM) edit: please f*cking work, f*ck, sh*t, piss (2:28:08 AM) edit: that did the trick |
  |
1 User(s) are reading this topic (1 Guests and 0 Anonymous Users)
0 Members:
| Lo-Fi Version | Time is now: January 9th, 2025 - 10:40 PM |


