  |
 Mar 12, 2011 - 10:15 PM Mar 12, 2011 - 10:15 PM
|
|
|
Enthusiast      Joined Dec 7, '07 From Corpus Christi, TX Currently Offline Reputation: 7 (100%) |
Tiered of your factory headliner? This step by guid guide will show you how to change that nasty gray into whatever color you want. Supplies: Philips Head screw driver Box cutter or razor blade Spray adhesive fabric or your choice Three plastic Retainers Time: Hour and a half Info: This project can be done with many different materials, I went with fleece because it is very easy to work with and adds a sort of luxury look to your headliner. Step 1: Start by removing your headliner. Unscrew the two screws holding your passenger and driver side visors. Next remove the the visor retainers by unsrewing the single screw that holds them. Finally remove the mirror and the retainers in the rear of the headliner, remove the cover where the screws are and unscrew the two screws holding the mirror. Step two: Remove the headliner from the car working from one of your choice. Step Three: Once the Headliner is Removed place it on a flat clean surface faceing upward. Place your material on the headliner nicely flat and even all the way around(this makes the process easier). 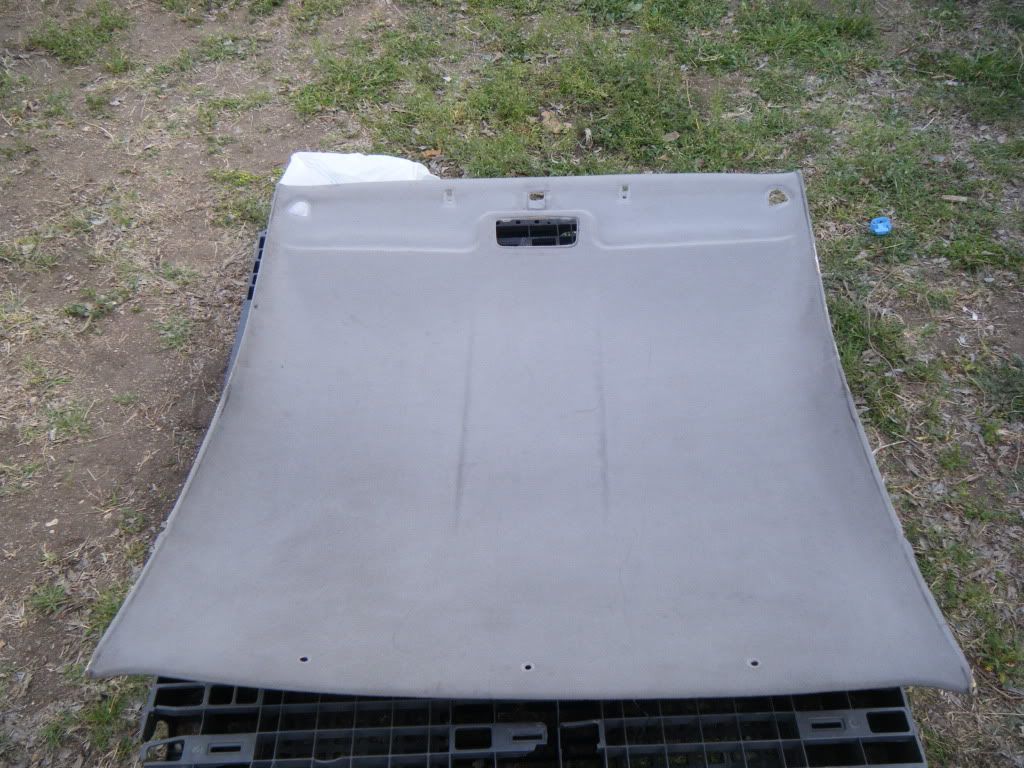 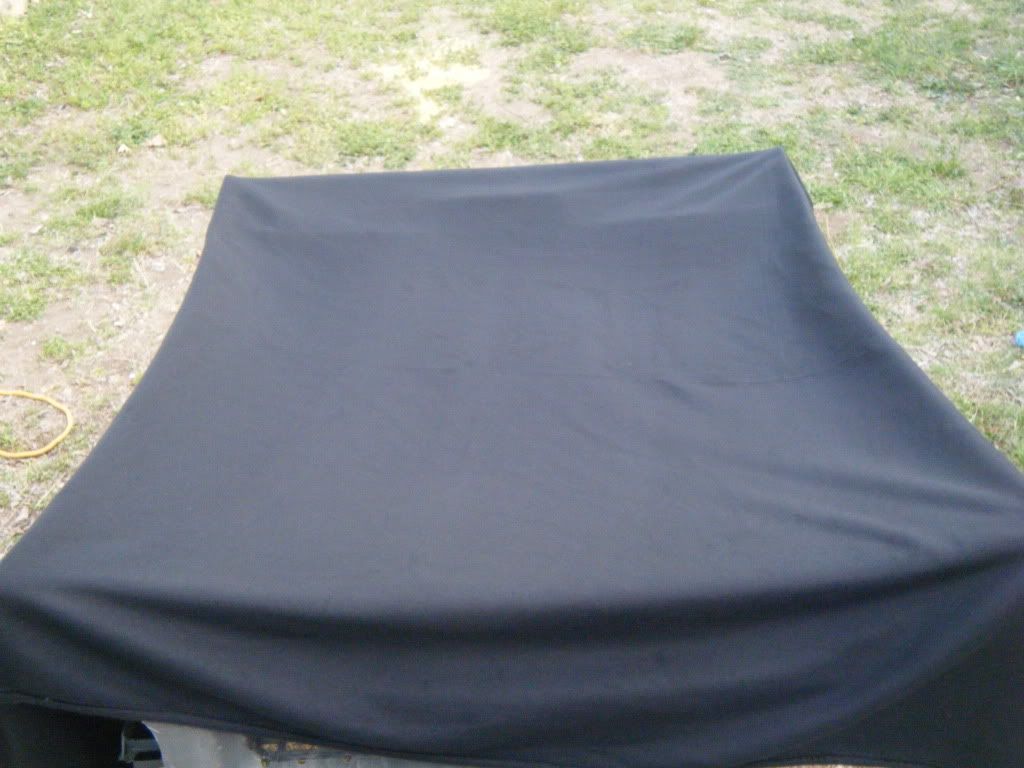 Step Four: Working from the rear of the headliner fold ur material back about 3 to 4 inches. From here spary a heavy coat of adhesive on ur headliner in a side to side motion starting from the far edge and working ur way toward you material. Be sure to spary the edges. 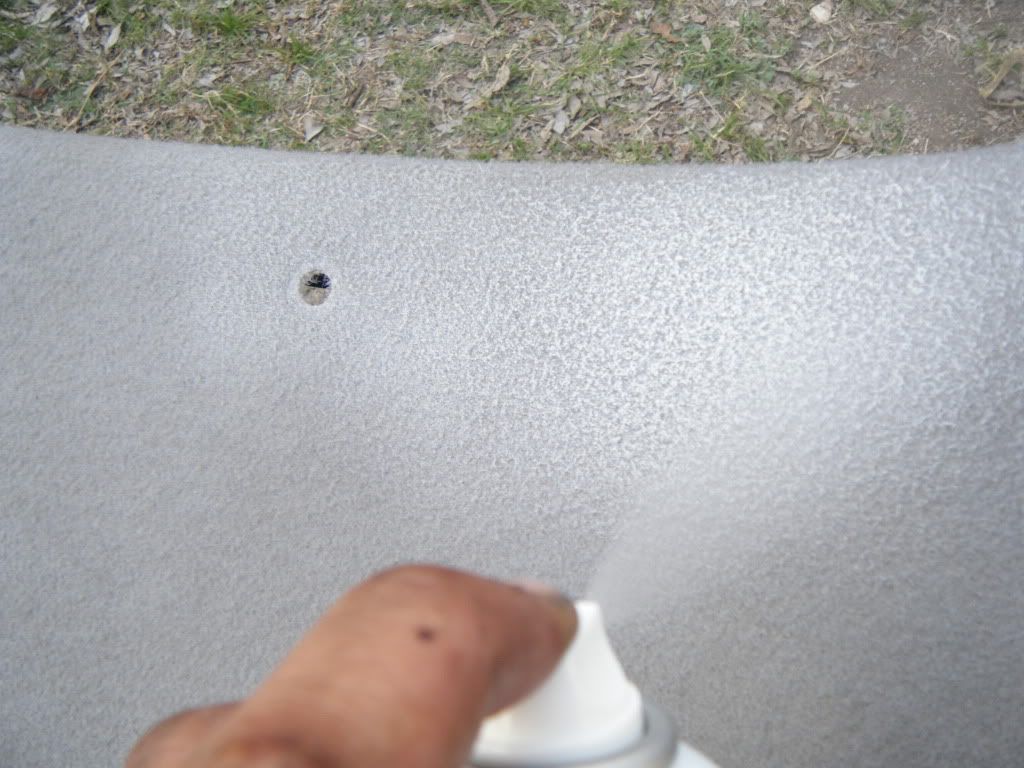 Once your adhesive is laid, begin applying your material, keeping ur hands flat push the material on the headliner smoothing it out as you go. If you happen to get wrinkles, stop and pull on the material from the edges til it flattins out, and continue smoothing. Next fold back your material from the oppasite end and spray your adhesive from the fold to about 3 to 4 inches out. Be sure to get the edges, once you have done this, begin laying and smoothing. 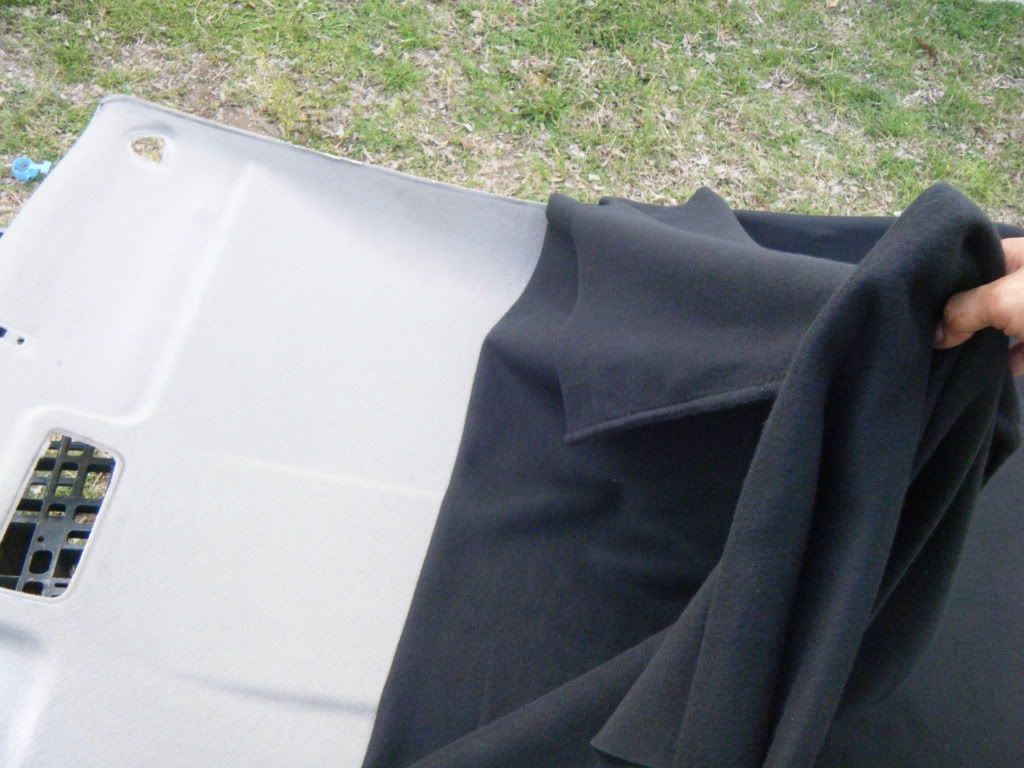 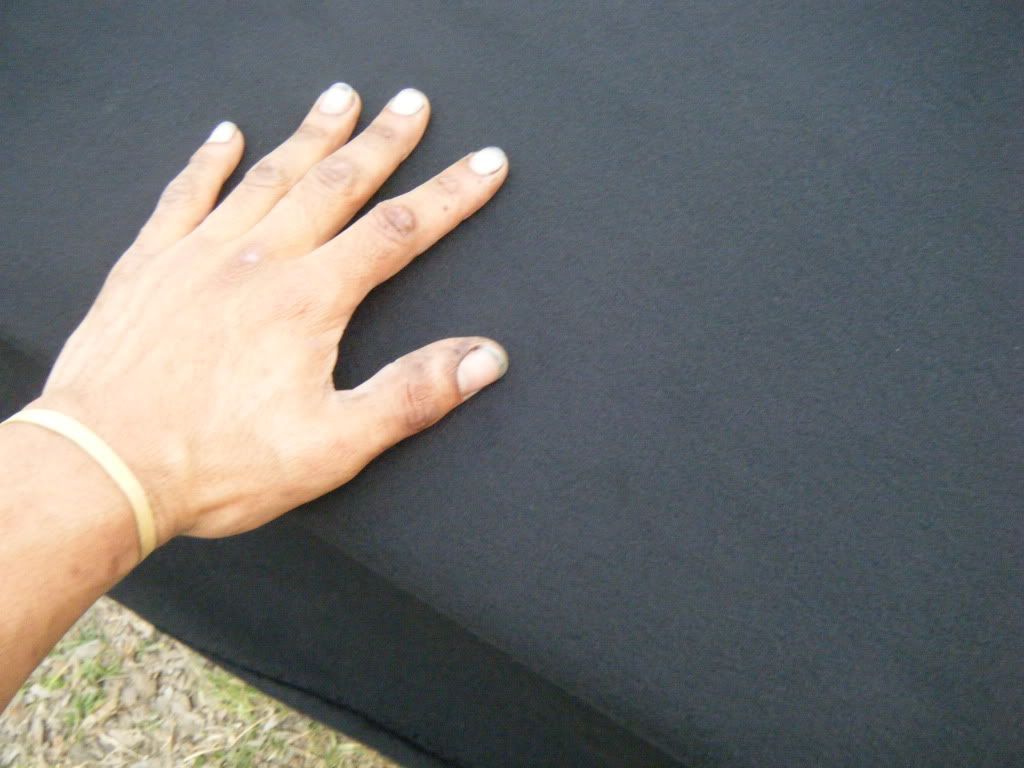 Continue this process until you get to the interior light molding on you headliner. 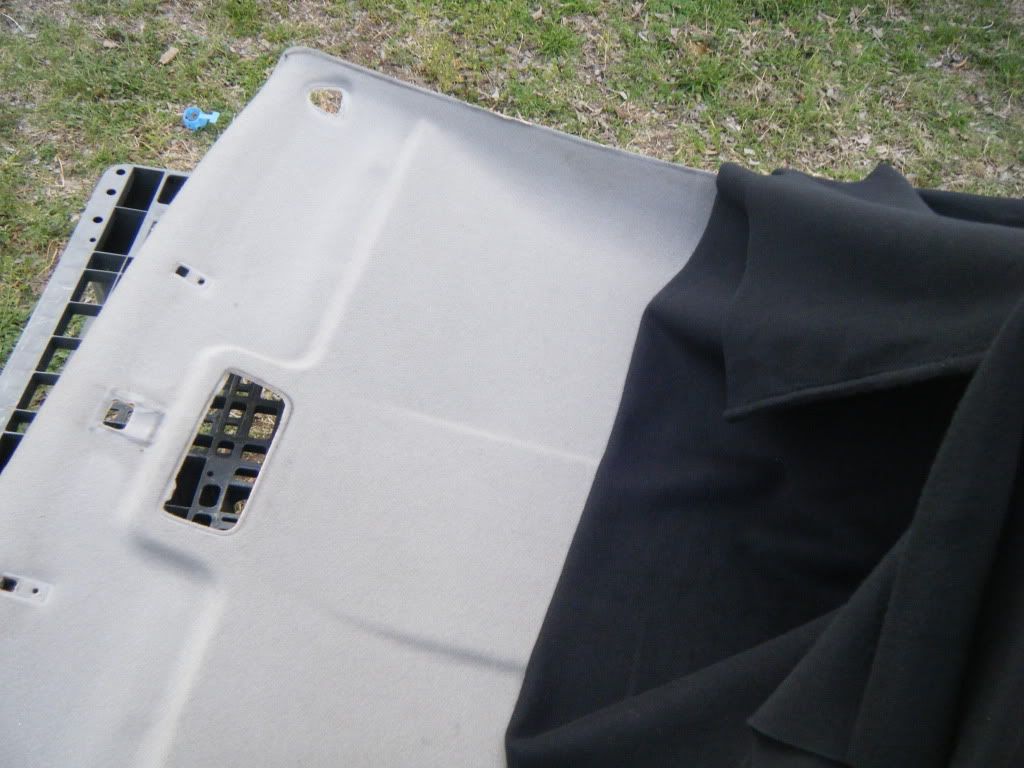 Once you have reached the molding spary a heavey amount on the interior light molding and visor moding. This will insure you get a good solid hold and shape around these areas. Conetinue spraying and smoothing. Be sure to get the edges. Step Five: Once your done spraying and smoothing your headliner should look like the image below. 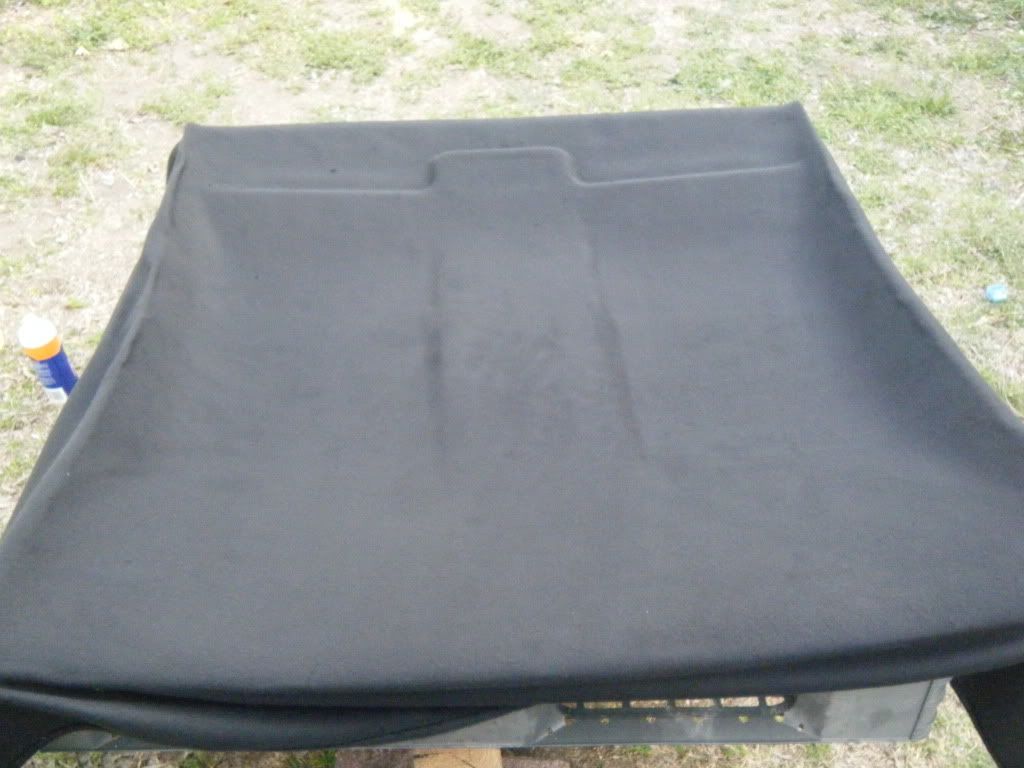 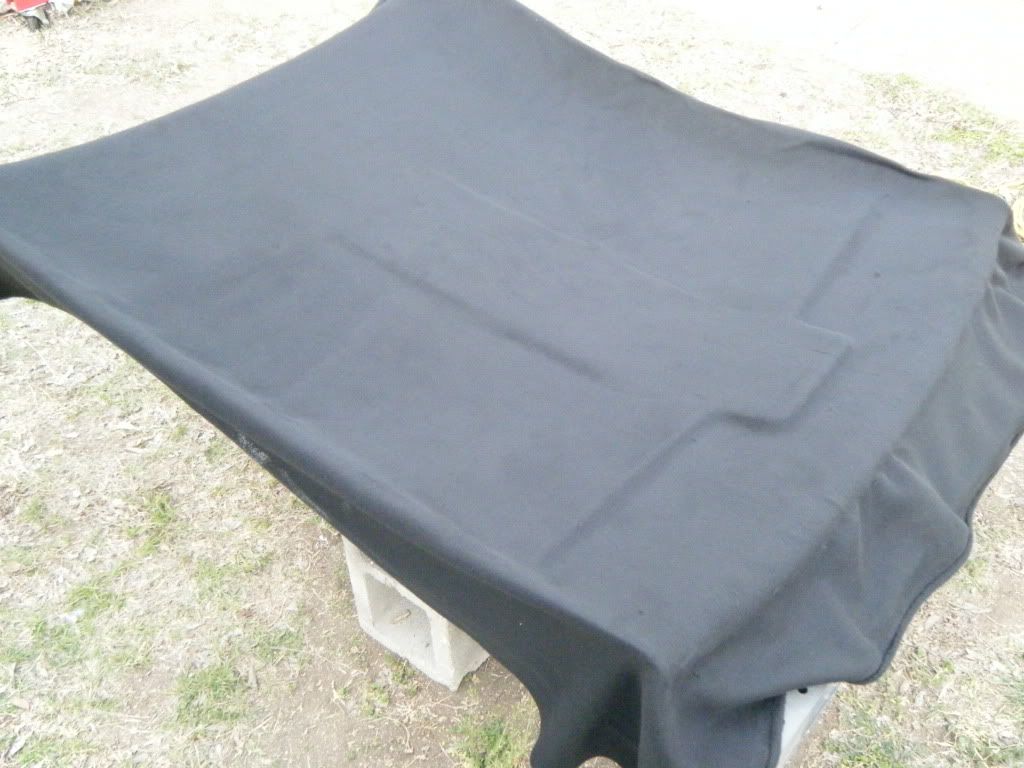 Next, cut your excess material about two inches, giving you anough material to fold. 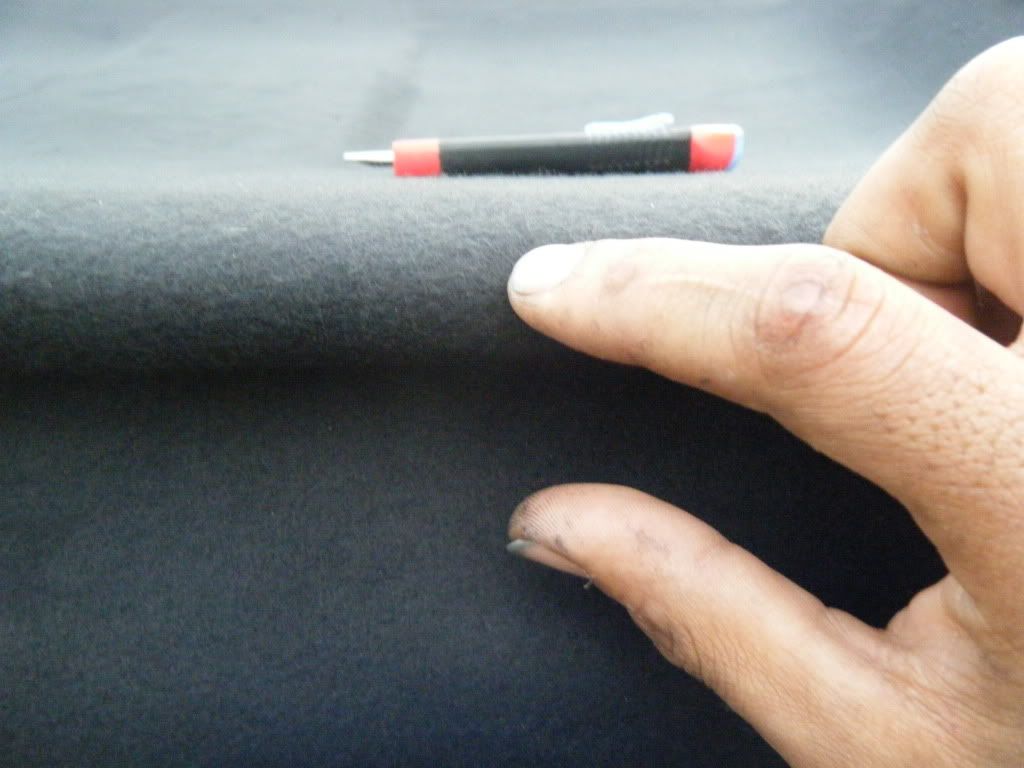 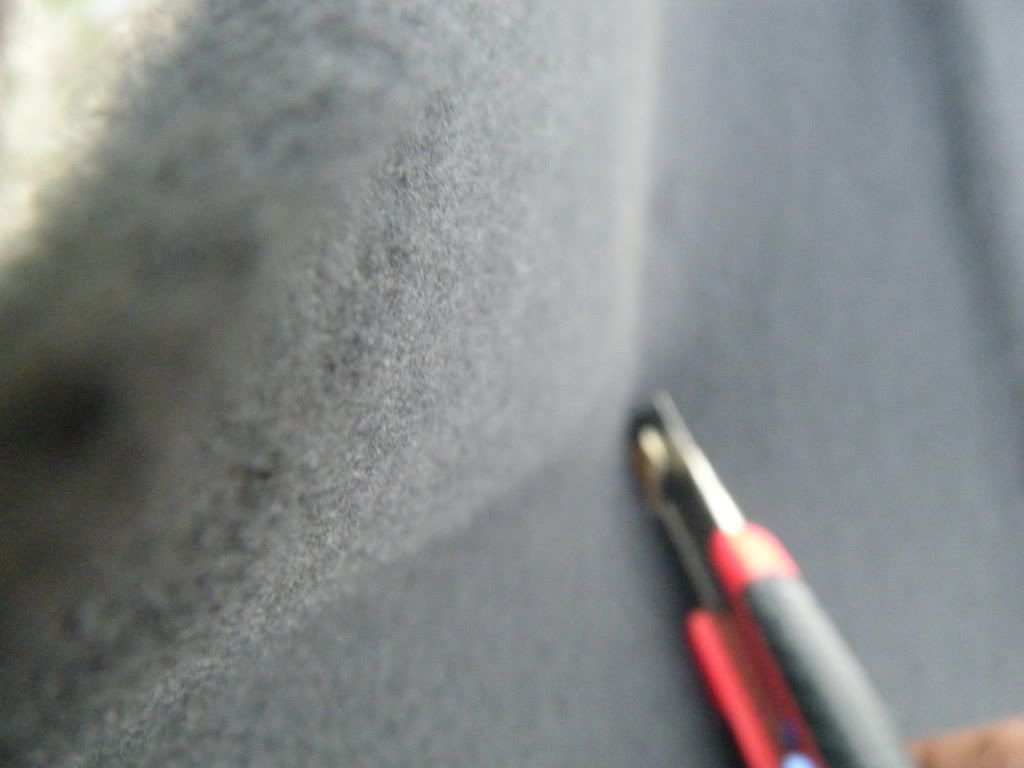 Once you have completed cutting, flip your headliner over. By this time the glue should be dry. 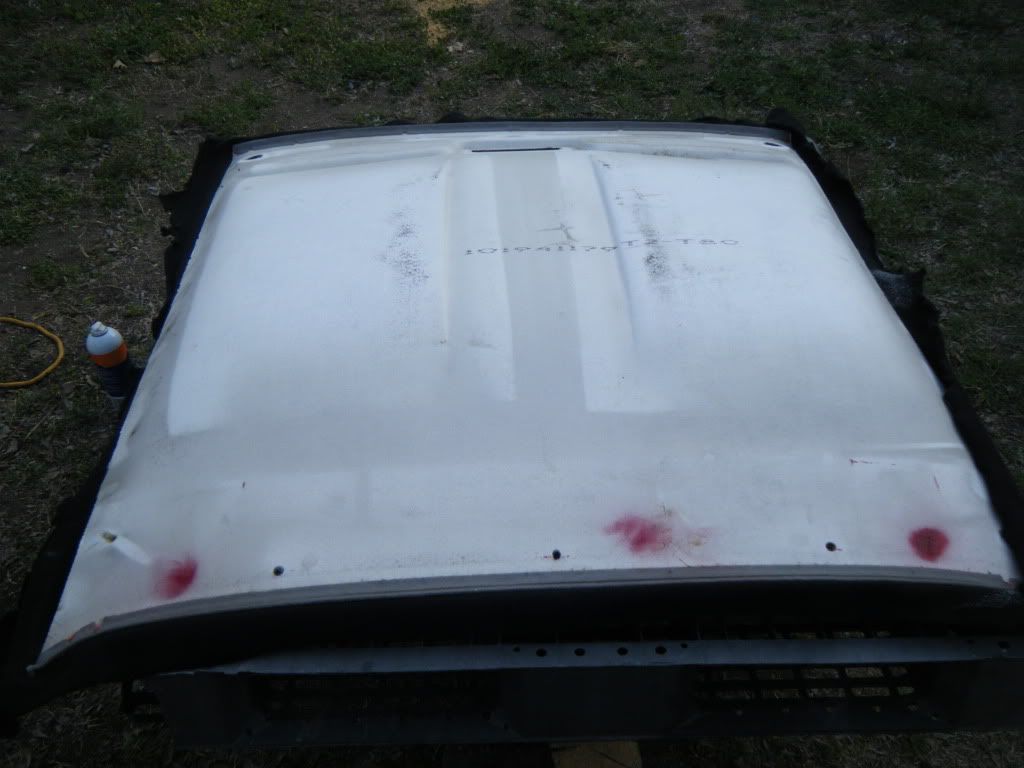 Spray your adhesive along the edge of you headliner and begin folding it makeing sure you pull it tight. 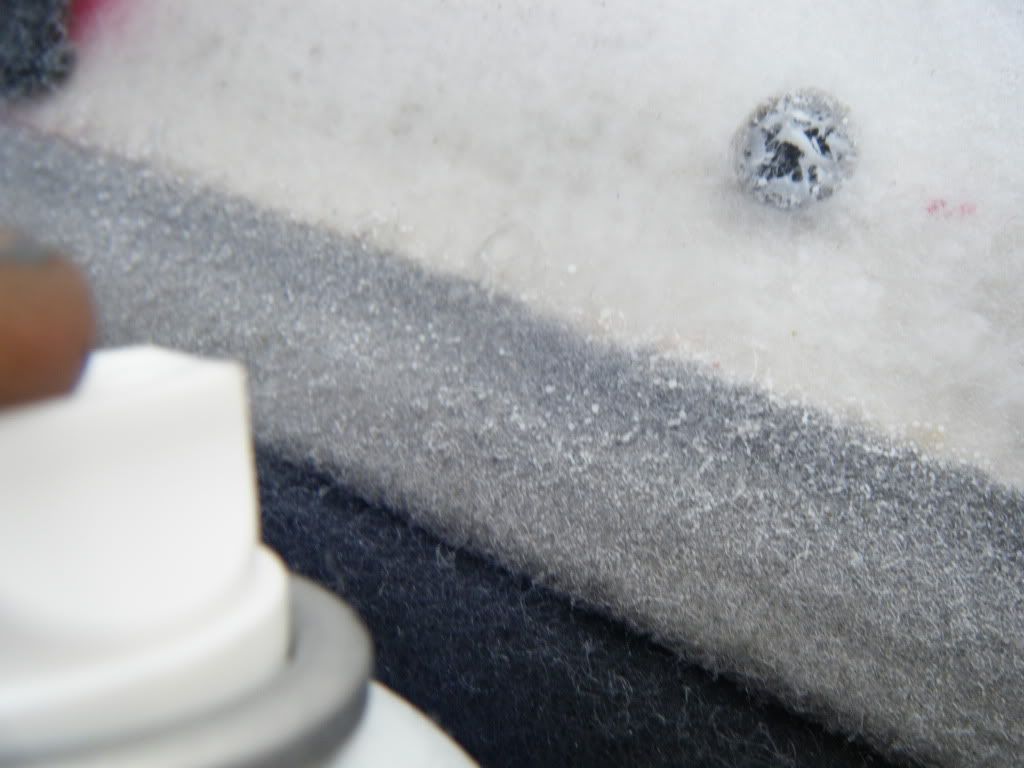 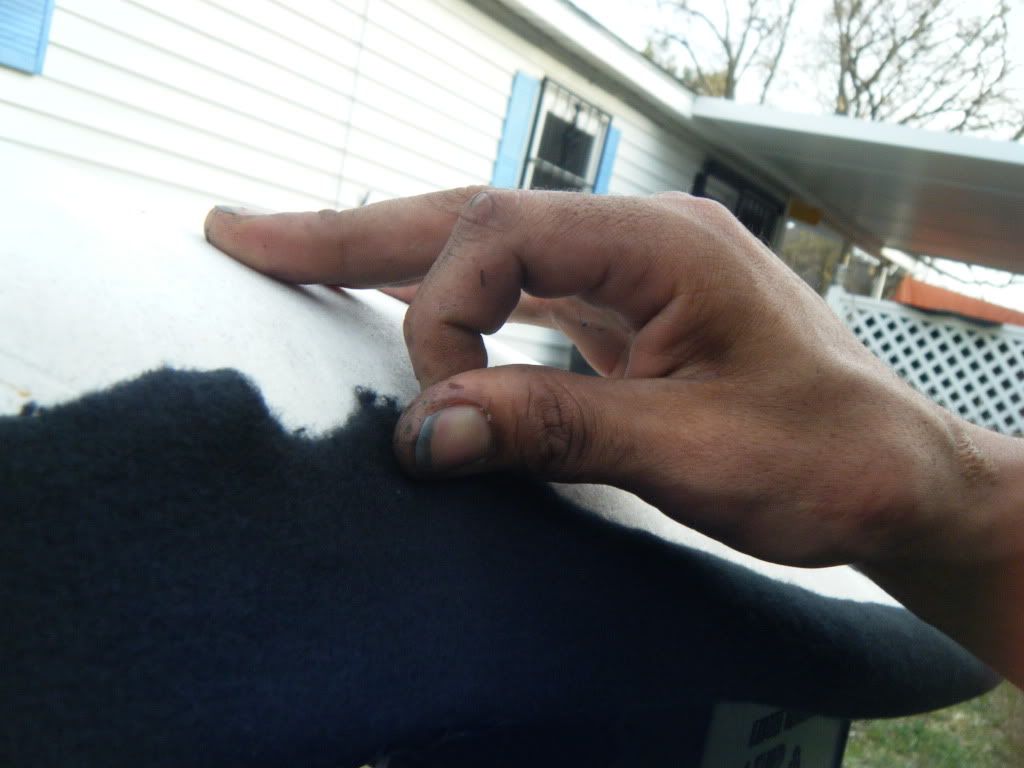 Once this is completed it should look like the image below. 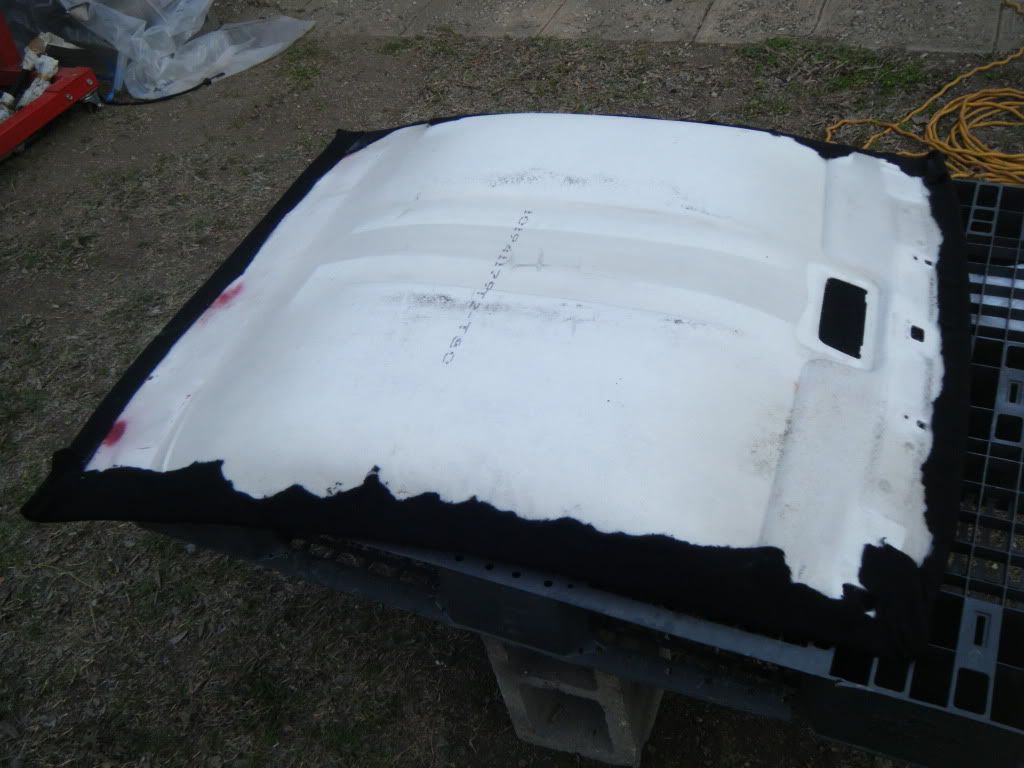 Step SiX: Flip you head liner back over. Useing both hands fell the understide of headliner for the three holes in the rear and poke a hold with your box cutter( this is for your three rear retainers. Moving to the front cut and X where your Dome light should go. (U should the shape through the material) 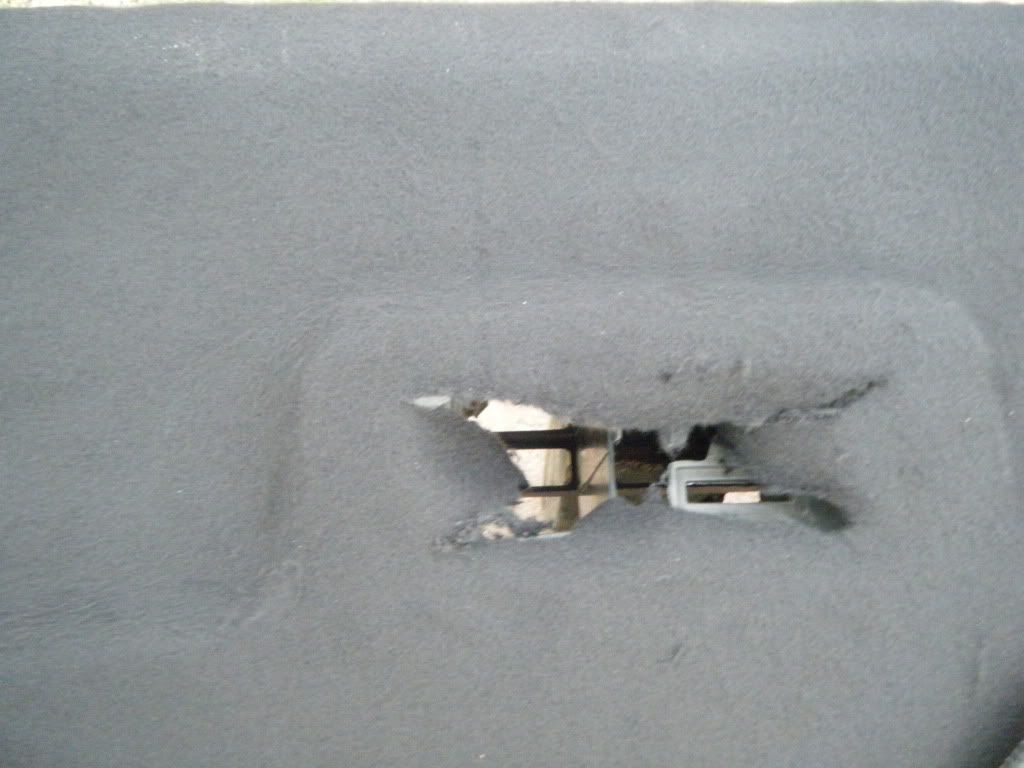 Useing your other hand again feel for the holes in the front of the headliner, 2 for the Visore retainer, 2 for the mirror screws and poke and hole with you box cutter. Next cut a slit where you visors should mount. Your completed headliner should look like this: 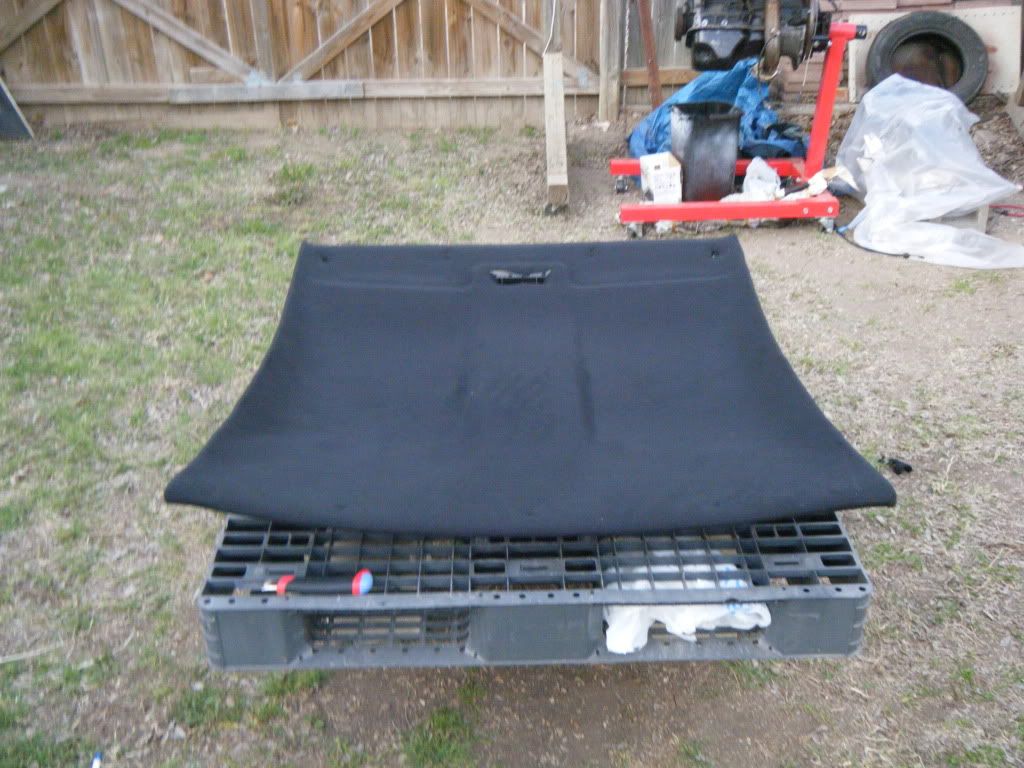 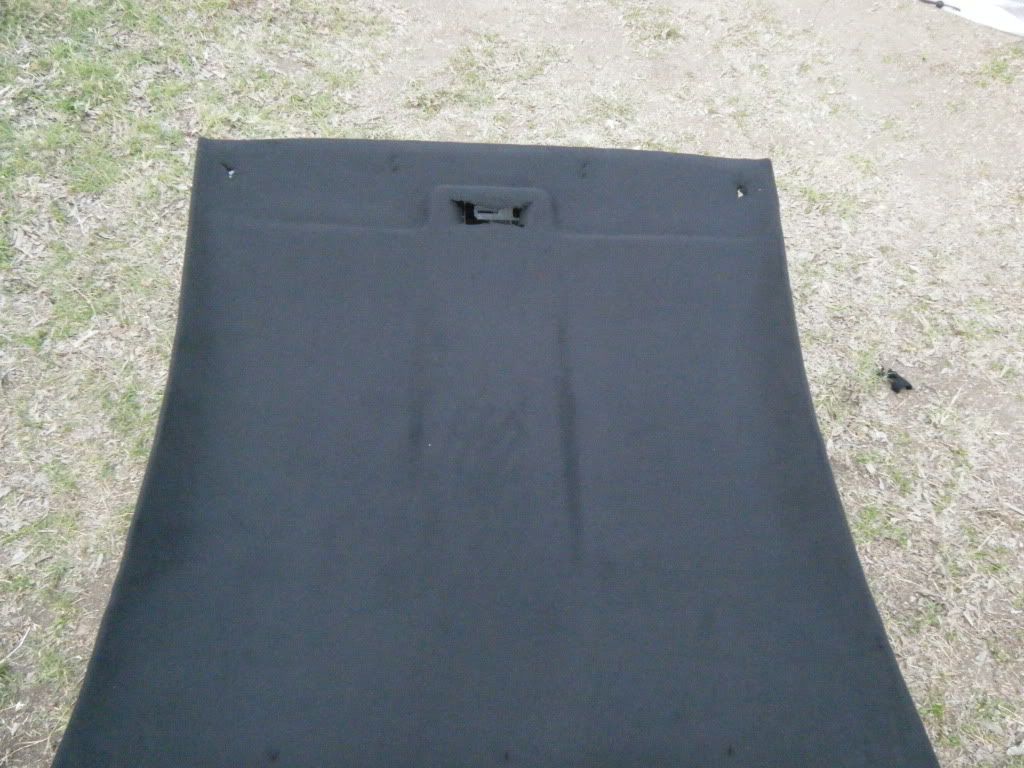 Step Seven: Reinstall your headliner fallowing the instuctions from step 1 and 2 in reverse order 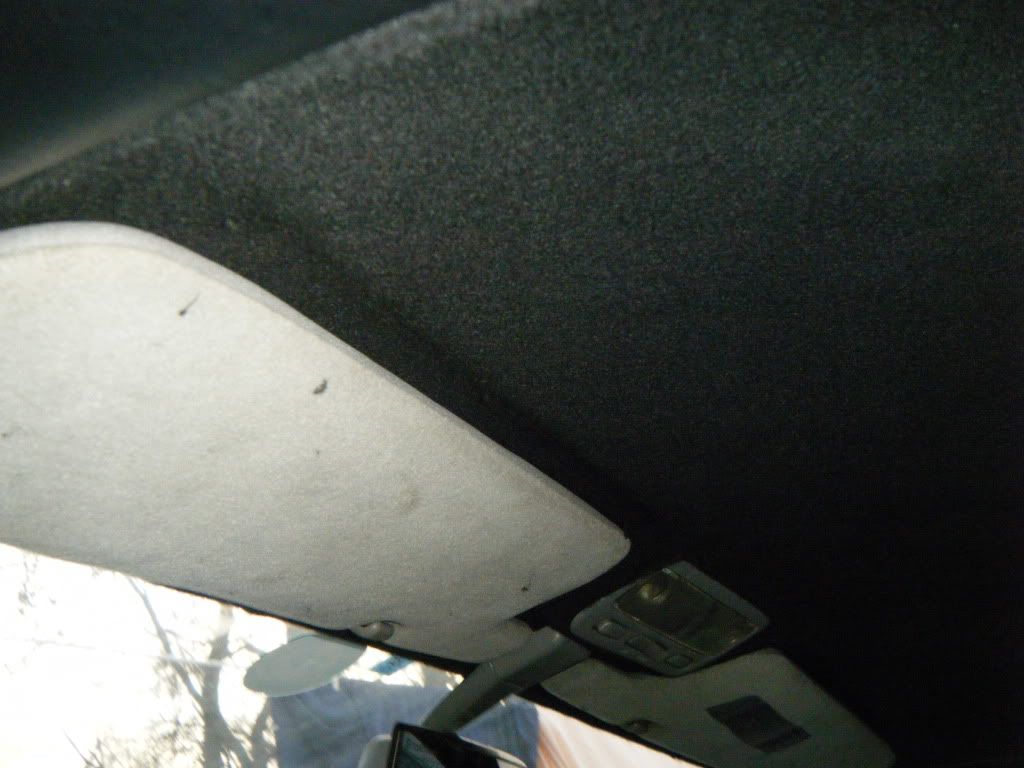 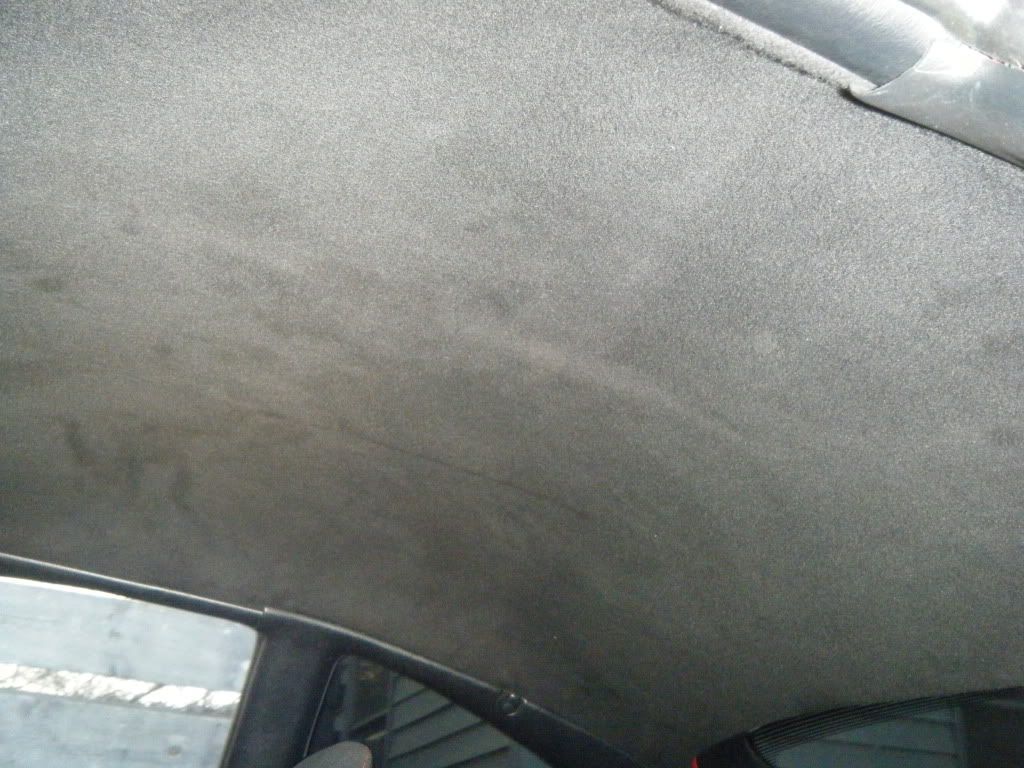 You have now reupholstered you factory headliner now sit back and admire the work you have done Attention:For heavier materails such as vinyl and pleather use Contact Cement and follow these same instructions -------------------- From Japan to Texas my st202 follows me.
 Being different from every angle of the word, leading the Revolution (TOYOTA NATION) The RHD st202 that made it from Japan check it out. http://www.6gc.net/forums/index.php?showtopic=78103 |
 Mar 12, 2011 - 10:47 PM Mar 12, 2011 - 10:47 PM
|
|
 Enthusiast      Joined Mar 8, '04 From Newport, RI Currently Offline Reputation: 63 (99%) |
-------------------- |
 Mar 12, 2011 - 10:51 PM Mar 12, 2011 - 10:51 PM
|
|
|
Moderator      Joined Jun 29, '08 From Denver Currently Offline Reputation: 59 (100%) |
I have pictures I can contribute to the actual process of removing the headliner. Also, those with moonroofs should note that there will be extra steps involved, and should find a thin material to wrap around the moonroof cover so it will still slide freely.
-------------------- "Employ your time in improving yourself by other men's writings, so that you shall gain easily what others labored hard for." -Socrates. Even Socrates told us to use the search button!
 2006 Aston Martin V8 Vantage. 1998 Celica GT- BEAMS Swapped. 2022 4Runner TRD Off Road Prenium. 2021 GMC Sierra AT4. |
 Mar 12, 2011 - 10:53 PM Mar 12, 2011 - 10:53 PM
|
|
|
Enthusiast      Joined Dec 7, '07 From Corpus Christi, TX Currently Offline Reputation: 7 (100%) |
Realy I didnt remove the old liner material I just sprayed over it. It holds real well and keeps a nice smooth shape.
-------------------- From Japan to Texas my st202 follows me.
 Being different from every angle of the word, leading the Revolution (TOYOTA NATION) The RHD st202 that made it from Japan check it out. http://www.6gc.net/forums/index.php?showtopic=78103 |
 Mar 13, 2011 - 2:26 AM Mar 13, 2011 - 2:26 AM
|
|
 Enthusiast      Joined Feb 3, '06 From Czech Republic (Europe) Currently Offline Reputation: 56 (100%) |
damn interesting! Now I know what would be the last mission on my car - interior re-newal
-------------------- No more replicas... This is evolution... This is SS-four :)
 ________[Featured Celica of 6gc.net @ 2010]_________ |
 Mar 13, 2011 - 2:34 AM Mar 13, 2011 - 2:34 AM
|
|
|
Enthusiast      Joined Dec 7, '07 From Corpus Christi, TX Currently Offline Reputation: 7 (100%) |
lol, it really easy bro
-------------------- From Japan to Texas my st202 follows me.
 Being different from every angle of the word, leading the Revolution (TOYOTA NATION) The RHD st202 that made it from Japan check it out. http://www.6gc.net/forums/index.php?showtopic=78103 |
 Mar 14, 2011 - 11:29 AM Mar 14, 2011 - 11:29 AM
|
|
|
Enthusiast   Joined Feb 18, '09 From Costa Rica Currently Offline Reputation: 4 (100%) |
I have pictures I can contribute to the actual process of removing the headliner. Also, those with moonroofs should note that there will be extra steps involved, and should find a thin material to wrap around the moonroof cover so it will still slide freely. that Would be Great I'm in the process of changing the color of my interior I'm almost done with the carpet and the Headliner is next on my agenda. -------------------- 1994 ST Celica --> no swap --> 7A rebuild
1974 Mustang --> Almost Restored |
 Mar 23, 2011 - 5:13 PM Mar 23, 2011 - 5:13 PM
|
|
 Enthusiast      Joined Feb 11, '08 From Auckland, New Zealand Currently Offline Reputation: 0 (0%) |
What are you going to do about your visors now? They are the only light grey parts left inside they look out of place now.
I have the same problem 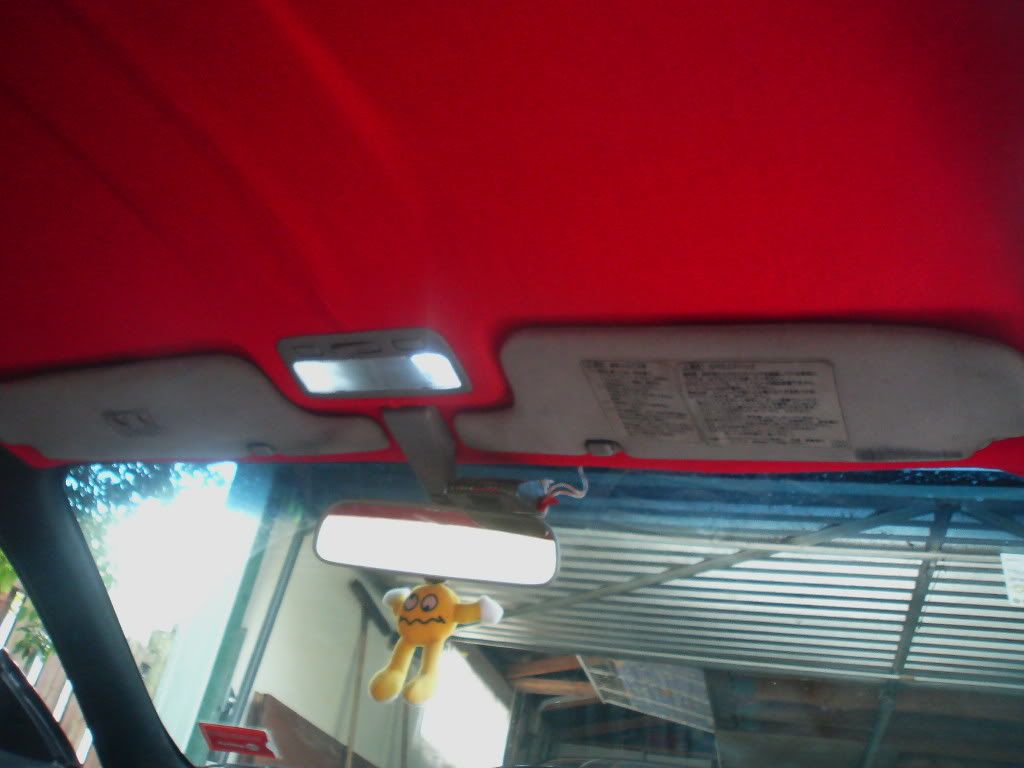
-------------------- Mike W
1996 Toyota Celica ST205 GT-FOUR GT2860RS turbine, TiAL mvr44, JE 86.5φ piston, Clutchmasters FX400, APEX P-FC 269awhp / 273ft-lbs |
 Mar 23, 2011 - 7:36 PM Mar 23, 2011 - 7:36 PM
|
|
 Enthusiast      Joined Mar 16, '09 From New York Currently Offline Reputation: 23 (100%) |
Did you do the same thing he did, with a new fabic laid over? I was thinking about the vinyl/fabric paint, and wondering if it would work. But seeing this, and how easy it is, I might just do this. Now to find a giant piece of orange cloth lol
-------------------- |
 Mar 23, 2011 - 10:37 PM Mar 23, 2011 - 10:37 PM
|
|
|
Enthusiast      Joined Dec 7, '07 From Corpus Christi, TX Currently Offline Reputation: 7 (100%) |
Did you do the same thing he did, with a new fabic laid over? I was thinking about the vinyl/fabric paint, and wondering if it would work. But seeing this, and how easy it is, I might just do this. Now to find a giant piece of orange cloth lol Check ur local Hobby stores or fabric store bro. -------------------- From Japan to Texas my st202 follows me.
 Being different from every angle of the word, leading the Revolution (TOYOTA NATION) The RHD st202 that made it from Japan check it out. http://www.6gc.net/forums/index.php?showtopic=78103 |
 Mar 24, 2011 - 6:57 AM Mar 24, 2011 - 6:57 AM
|
|
 Enthusiast      Joined Feb 11, '08 From Auckland, New Zealand Currently Offline Reputation: 0 (0%) |
I chose felt as it kinda looks and feels like the oem roof carpet and for the colour but it turned out to be a mistake as it quickly degrades from excess contact. I found this out as i used the same stuff on my door cards.
I really like the interior in Tygawoods car, he used some bride seat cloth for his roof, door cards and arm rest. What did you use Joe? Looks like you've used something thicker than I have This post has been edited by delusionz: Mar 24, 2011 - 7:00 AM -------------------- Mike W
1996 Toyota Celica ST205 GT-FOUR GT2860RS turbine, TiAL mvr44, JE 86.5φ piston, Clutchmasters FX400, APEX P-FC 269awhp / 273ft-lbs |
 Mar 25, 2011 - 8:09 PM Mar 25, 2011 - 8:09 PM
|
|
|
Enthusiast      Joined Dec 7, '07 From Corpus Christi, TX Currently Offline Reputation: 7 (100%) |
I actually just used fleece that I picked up from a local Hobby store. I used it in 10 different cars including my daily driver and haven't had any problem with it.
-------------------- From Japan to Texas my st202 follows me.
 Being different from every angle of the word, leading the Revolution (TOYOTA NATION) The RHD st202 that made it from Japan check it out. http://www.6gc.net/forums/index.php?showtopic=78103 |
 Oct 1, 2011 - 5:31 PM Oct 1, 2011 - 5:31 PM
|
|
|
Enthusiast    Joined May 15, '09 From yonkers, NY Currently Offline Reputation: 8 (100%) |
this how to helped my out thanks
if i may add if you have a sunroof the cover that surrounds it won't fit depending how thick the material is i also used fleece and the easy fix is just fit it front first make sure everything is tight as you make your way back the split it where the meet then with a razor or xacto knife cut/mark it (where i circled it in red). take out cut the excess take a small piece of fabric and spay adhesive it there   comes out like this 
This post has been edited by spy00005: Oct 1, 2011 - 5:32 PM -------------------- *Thing i want for my car(i wish i had money)*
-light blue tint (next step will do this right after i get my paint job) WTB Reasonably priced Projectors just Lows |
  |
2 User(s) are reading this topic (2 Guests and 0 Anonymous Users)
0 Members:
| Lo-Fi Version | Time is now: January 15th, 2025 - 11:13 AM |


