  |
 Jul 18, 2011 - 3:14 PM Jul 18, 2011 - 3:14 PM
|
|
 Enthusiast     Joined May 3, '11 From Ohio Currently Offline Reputation: 8 (100%) |
Ok guys, this is my first write up so bear with me... i'm gonna put this here and on celicatech.
HOW TO CHANGE AIRBAGS ON A 6TH GEN. STEP 1) go to celicatech.com, become a member on that forum. On the homepage near the bottom there is a link to the “BGB”, otherwise known as the big green book. This online pdf has EVERYTHING you'll ever want to know about your 6th gen. This particular pdf is for a 94, but I can only assume most of them are going to be identical. Step 2) Once you have that pdf downloaded and you've gone to the section on SRS airbag removal, read that, and try to follow the instructions there. The diagram is kinda hard to follow on where the bolts are, what order and how to take them out, so this is where I come in. Clarifying this problem for the rest of us. Step 3) Once you have done this, and assuming you have the replacement parts (either from a parts car as I did it or elsewhere), get in a spot where you can work on this bad boy for a few days and begin. Step one is to pop the hood. Knowing your airbags went off i'm assuming there is some front end collision. I'm also assuming you either were able to bend stuff back into roughly the right spot or replace the front and that your airbags are last on the list. So pop the hood and disconnect the battery as per my instructions and the BGB. Step 4) get in the car, remove the center console. ***I CANNOT STRESS HOW IMPORTANT IT IS TO TAPE OR COLLECT TOGETHER YOUR BOLTS AND LABEL THEM *** With the console removed, the storage compartment, the center plastic around the stereo, and the stereo, you'll see the Center Airbag sensor/control module. Shown here 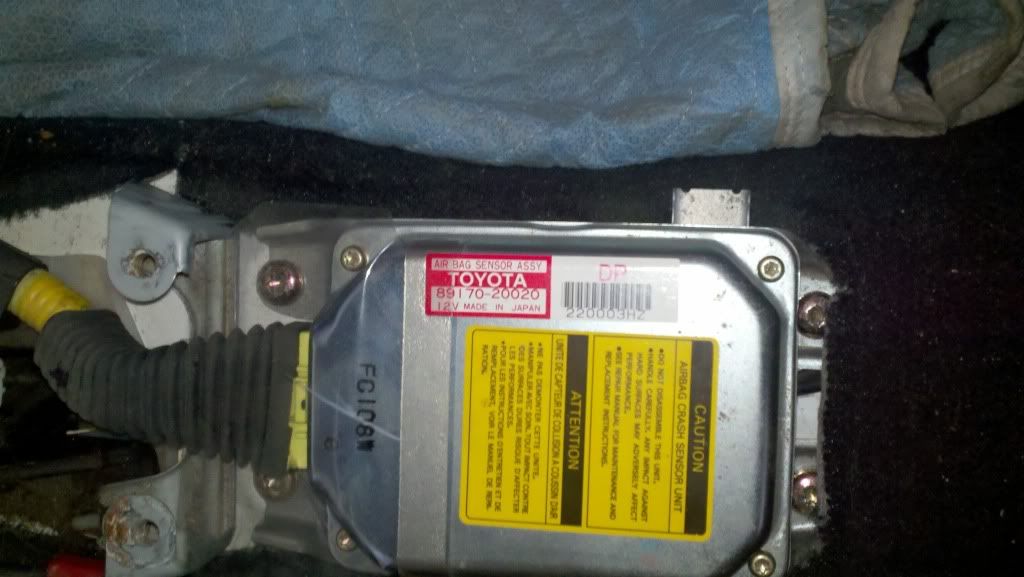 The torx heads in the back I believe are T40's – They're in there really tight so make sure you have a good set, I bought a set of Kobalt torx from lows for $14 to do this. Replace this Center Airbag sensor with your new one. This Must be done. Step 5) Go ahead and tackle the drivers side airbag. This one is pretty easy and can be done in about 5 min. Remove the plates on the back side of the wheel as shown here 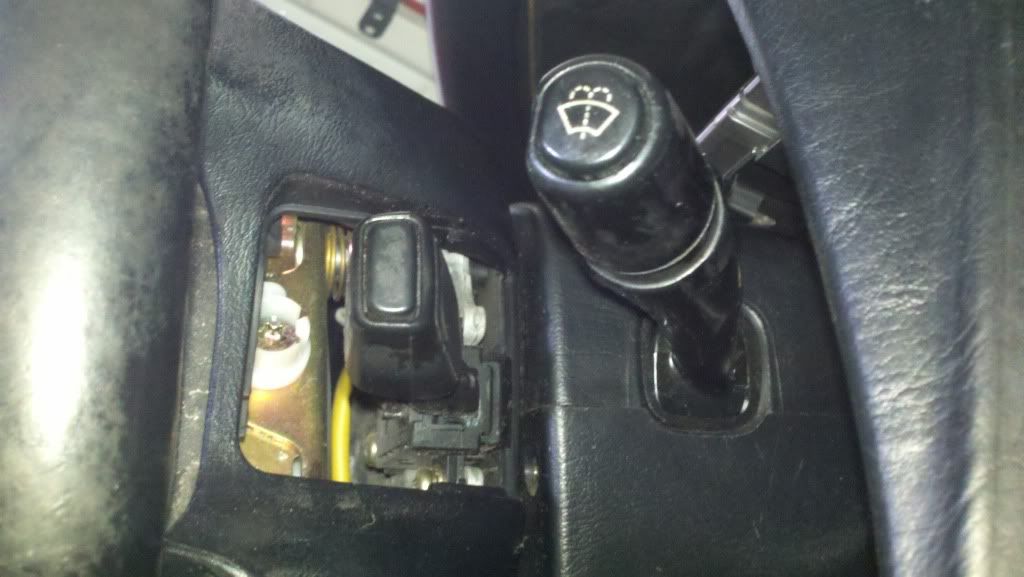 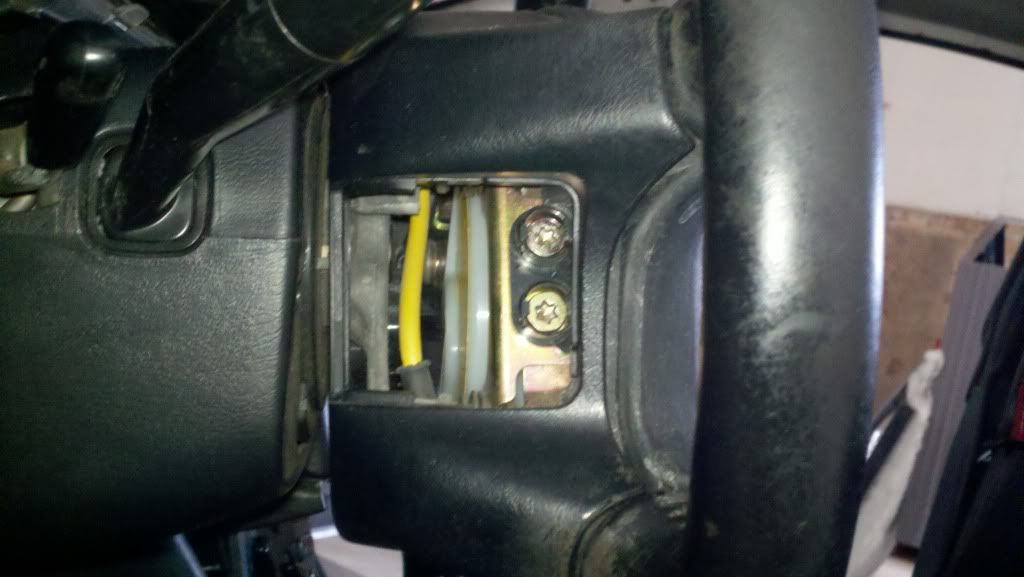 and unbolt the bag via the torx heads. You're going to have to pry back the plastic tabs and pull the bolts all the way out to get the bag to pop out, undo the airbag wiring connections and remove the insert. Step 6) BEFORE putting the new drivers insert in, consider this. The BGB will tell you that you MUST replace the clock spring in the steering wheel. This is the thing that allows your wheel electronics to maintain connectivity through the turning of the wheel. There IS a chance that the wire to the airbag is burnt up. I asked around and around on guys who do this stuff in small place garages etc. From what I can gather, you didn't always need to replace them, they didn't break 9 times out of 10. Taking off the wheel, replacing that part and going through that work was going to be hard for me to do given my tools. And if it turned out that I did need to replace it, the airbag insert comes off so easily t would be worth my time to wait to find out. Step 7) About this time you are going to be feeling good about yourself, 1 sensor and 1 airbag out of the way, this is where it gets fun. In order for the passenger side airbag to come out the dash pad MUST be removed. No other way around this. Begin by dropping the glove box and again, make note of screw locations. Once the glovebox is out, vacuum the floor of the passenger side cause the airbag blew the windshield and shards of glass will get in your head *from experience* . Following the instructions from the BGB, begin taking every bolt you can find out. You must also remove the door trim plastic to get the side of the dash pad exposed along with taking off the corner plastic pieces on the floor that are held on my the plastic nuts. Some of the tougher bolts to find are here. ** insert pics** 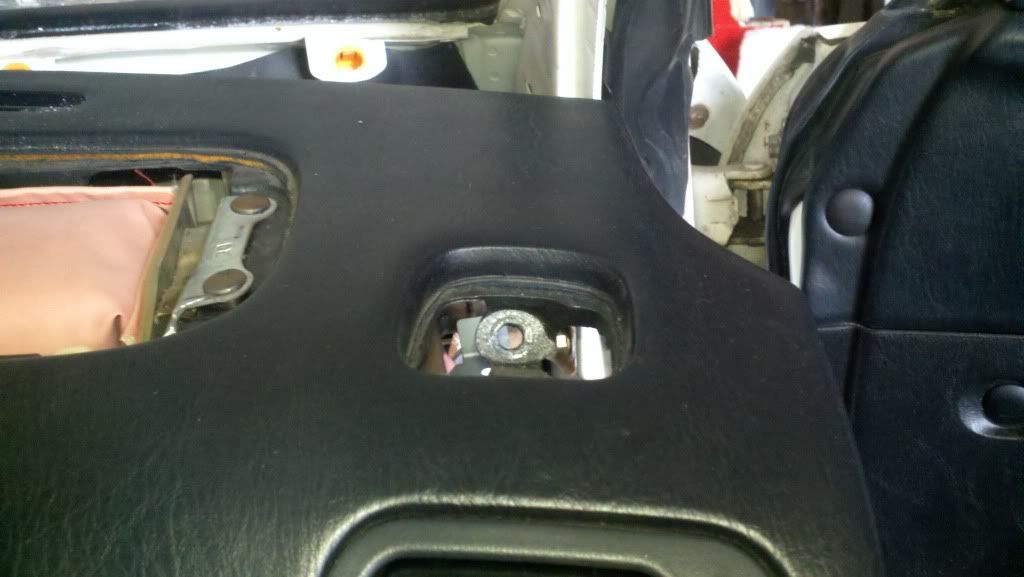 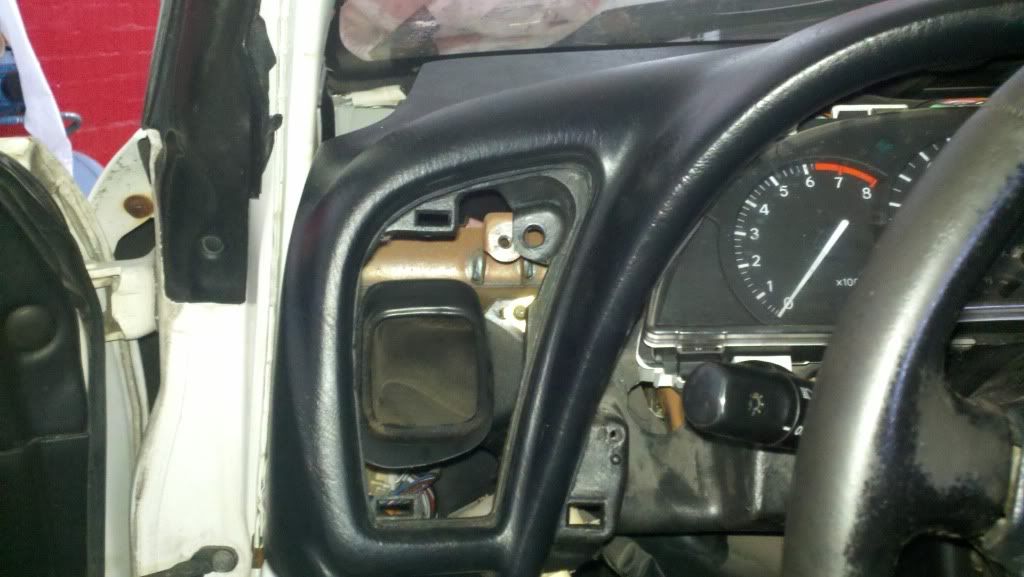 As a point of order you must undo most of the fuse box bolts and unplug most if not all of the wiring harness stuff from over there to gain the needed clearance later. Similarly on the passenger side, the plugs for the door harness need to be removed and it help clearance if you undo the metal support and pull the wires through. Same thing for the cruise control as well, undo it. 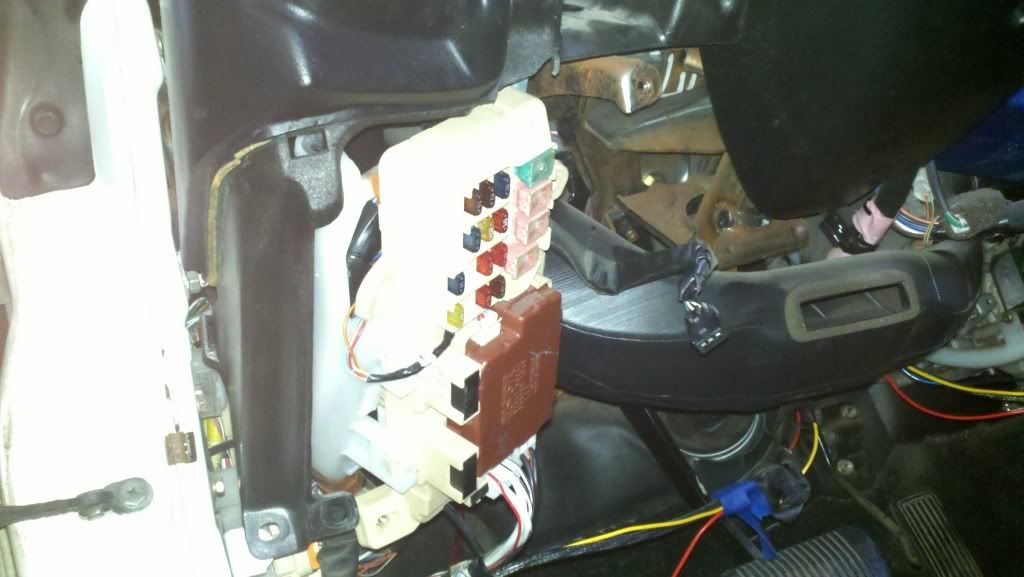 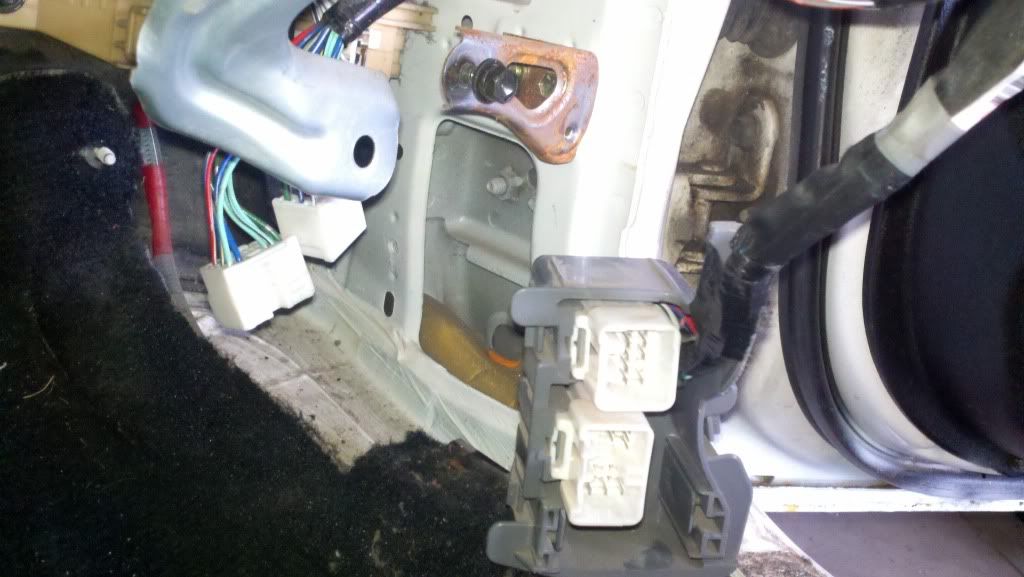 While on the passenger side there are two large bolts that connect the airbag to the center support through the dash, remove these as well ( You can't miss these nuts) Continuing to remove stuff, we turn to the knee plastic for the driver. Both the finish piece and the harder under plastic need removed. The plastic around the wheel and ignition also need removed. The gauge cluster also needs loosened up and laid to be flat. 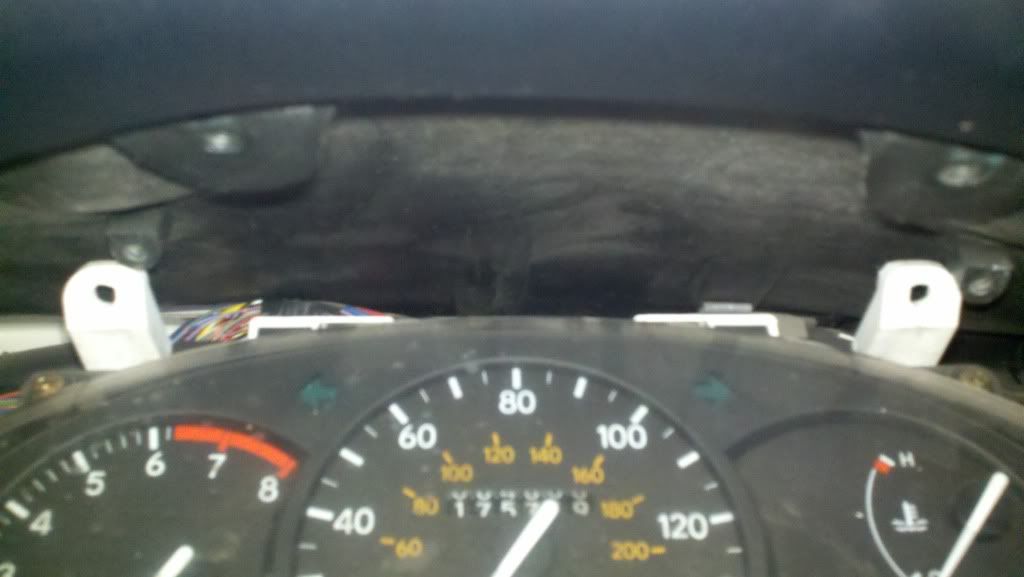 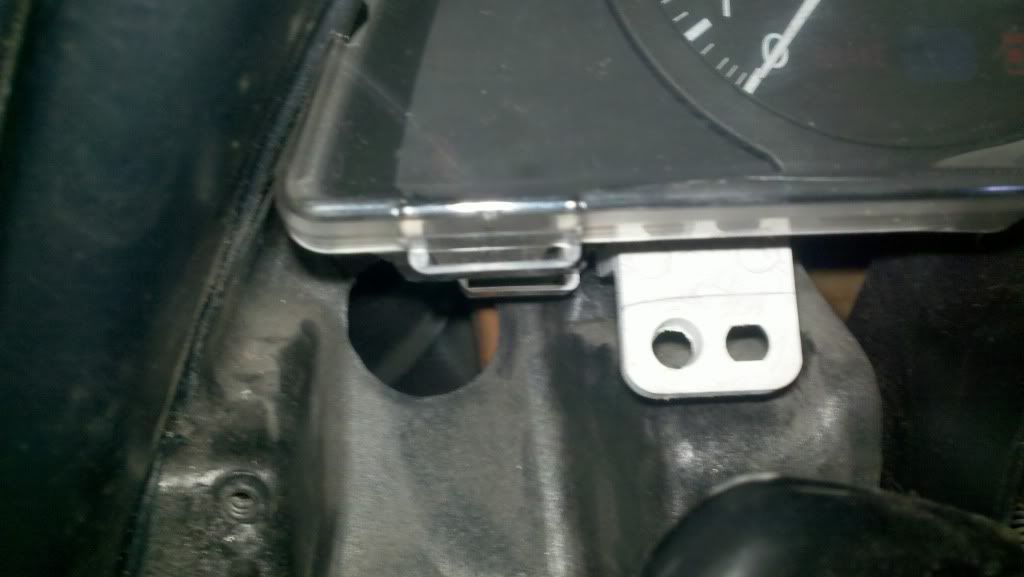 With this done the worst of this whole segment is the thermostat controls. You can either find a way to disconnect them, or do what I did and worked around that. Leaving them in makes the separation of the dashpad and the center console plastic VERY difficult. But it can be done. They are just snapped together with the metal clips as shown here * 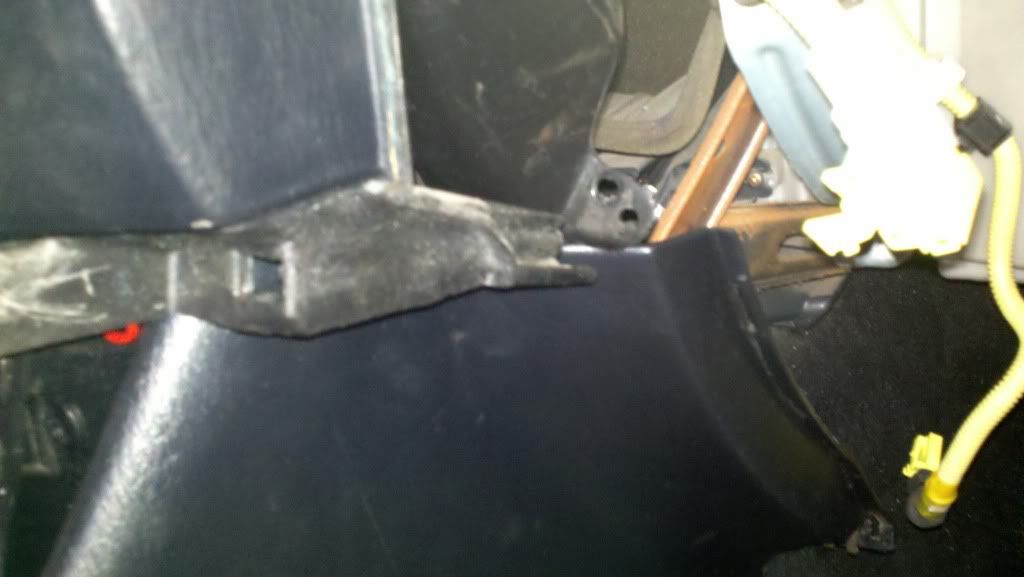 After unscrewing the bolts that hold in the thermostat controls and pulling that as far out as possible, the center of the dash will be limited by the thermostat. The plastic behind the thermostat will have only limited movement, henceforth making it hard to remove * see above picture* 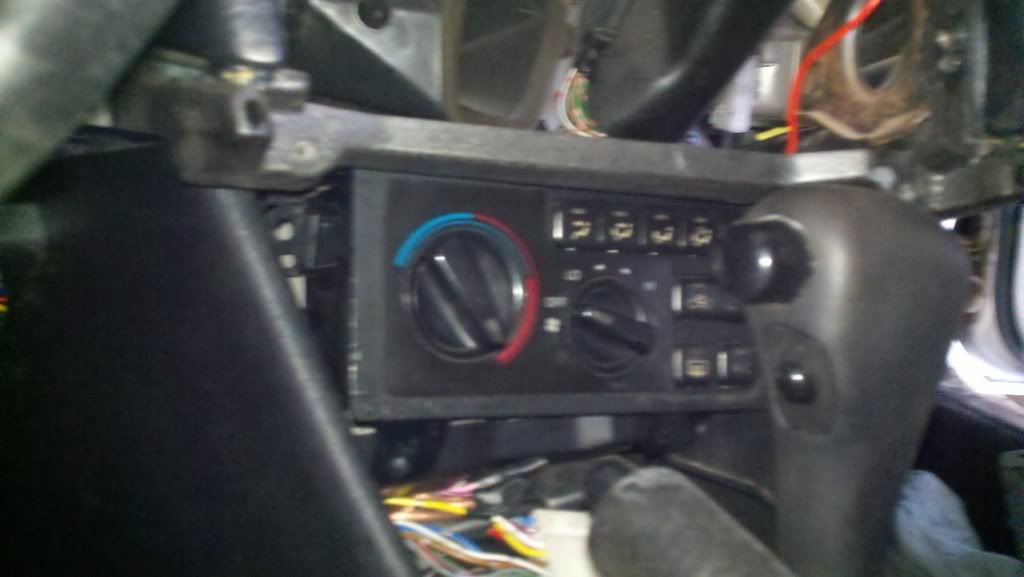 With all this about of the way, grab the center of the dash just to the right of the console, and give a firm, but controlled jerk. The dash has PLASTIC fingers that go into holes of the firewall for alignment. I broke one off trying to get it off, so be careful. Once it starts to come, wiggle and pull. You should be able to pull the drivers side out to the steering wheel. However you should be able to remove the passenger side a good 1 ft to 18 in. from it's original location. (More than 30 cm) You'll notice that you have now got the airbag clear of the main support beam that runs through the dash. *This is how it looked with things put back in* 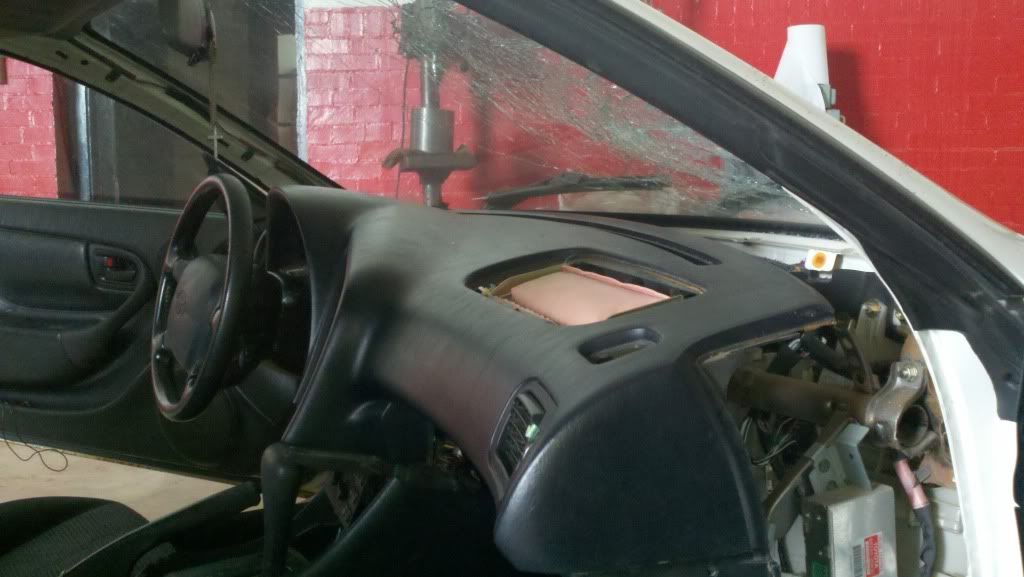 Step 7.5) Now we get to the airbag. Remove the air duct work on the back side of the dash pad. ( this is more easily accessed if your windshield is out already) Once removed you should see the 3 bolts holding on the mesh that connects to the airbag trapdoor. See here ( i cut the mesh on my broken trapdoor, but you'll see the three bolting locations) 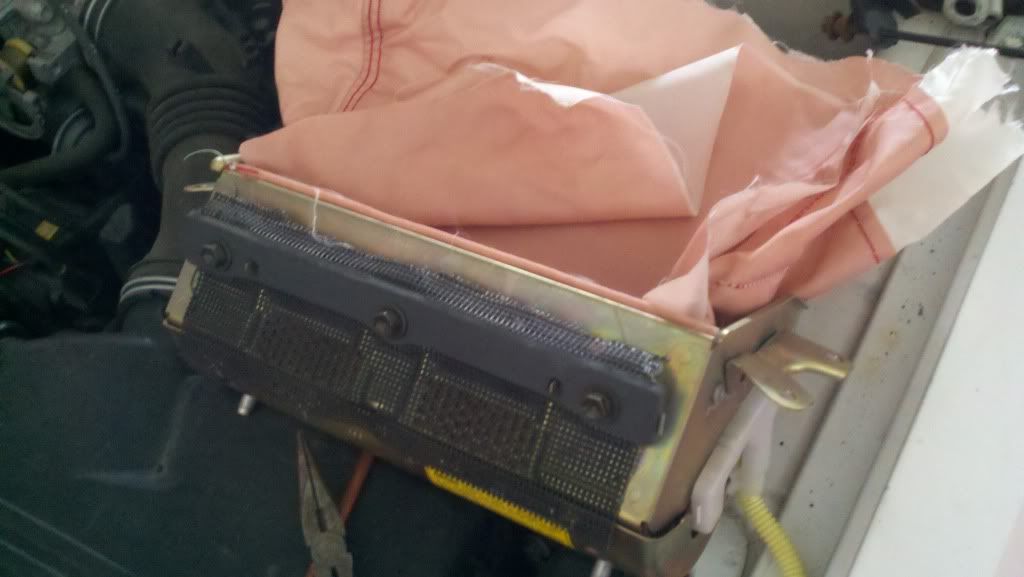 Good lid from parts car 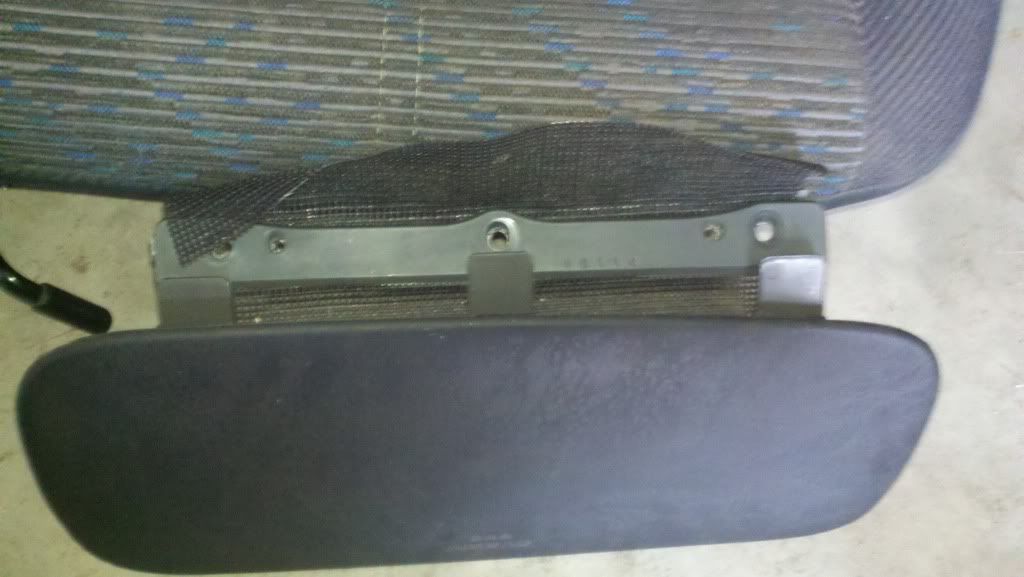 undo these bolts and pry it off and the trap door will pop right off. Now get on your back in the passenger side floorboard. And look at the underside of the airbag. The brackets you see exposed from the top have bolts that run clear through the dash. These 4 nuts/bolts need to be taken apart... but be careful here! The airbag is now totally loose and might smash you in the face. Remove the airbag. Pics here 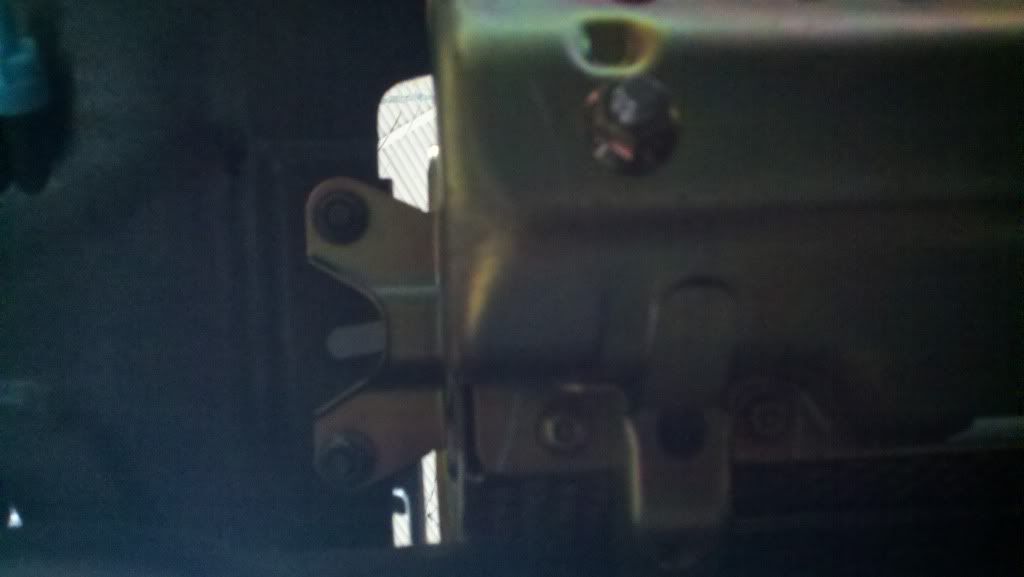 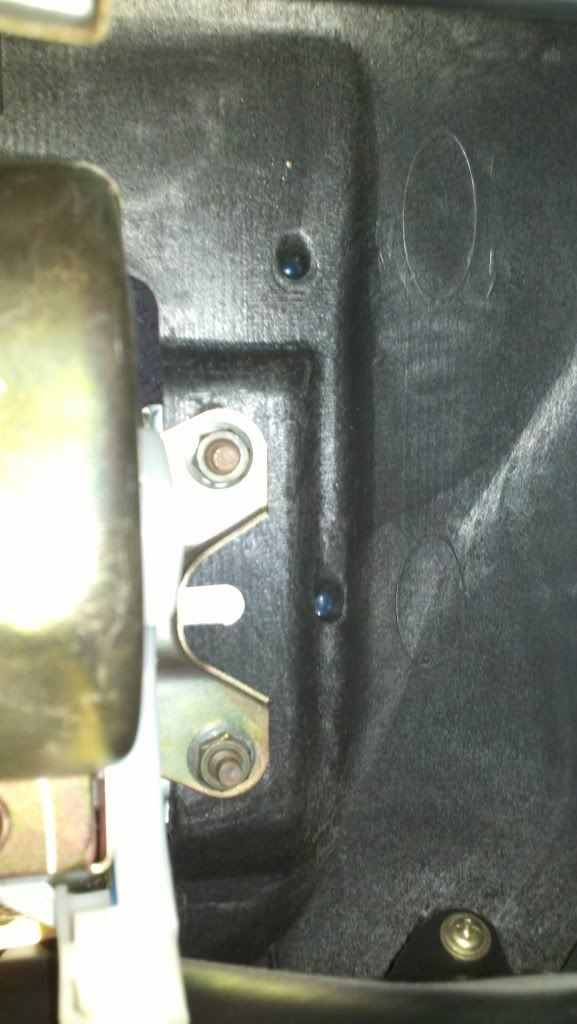 Installation is obviously reverse. Step 8) BACK TO THE ENGINE COMPARTMENT Now it's time for the sensors. On our cars there are only two as i'm sure you found from the bgb. Either side of the radiator. If you screwed your car up bad enough to need a new radiator and a/c condenser, do this step when you have all that out! But you can do it with everything still in like I did. The front bumper has to be off already and I'm assuming that you already know how to do this (three bolts on each side int eh fender well and the plastic tabs in the bumper itself) It also helps if your highbeams are out, but not totally necessary. Undo the radiator supports on the top. Then remove the nuts off the bolts coming out of the front of the core support that attach to the a/c condenser. 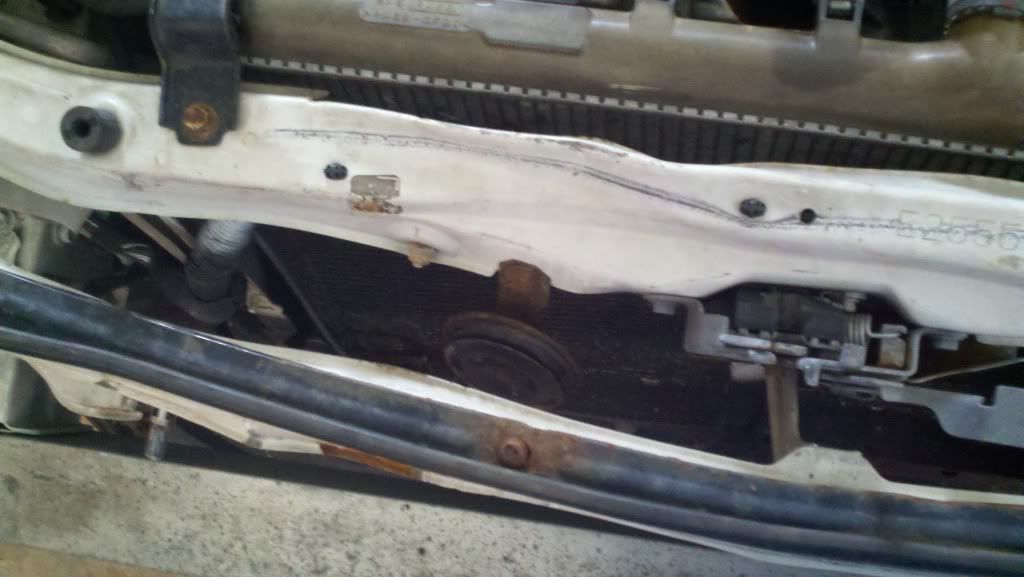 With everything loose you can now lay BOTH the radiator and the A/C condenser back and expose the torx heads on the inside of the uprights on either side of the radiator. These are also t40's I believe. (it helps if you have another person push the coolers out of the way so you can operate the socket with torx head. Remove these sensors and replace them. Step 9) Once everything is back together and HOOKED UP. Connect the battery. Turn the car to ACC. Don't sit infront of the wheel and start the car just in case. BOOM! - nothing happens. The car starts and the light is still on. Here you need to either A) follow BGB instructions to reset the computer so the light goes off and the system engages or B) spend 90$ and have the dealership reset it. If you reset the computer and the light does some stuff, read the bgb and it will tell you what error is displayed and you can diagnose the problem from there. Good luck with everything Gentlemen. ( and ladies --------------------  |
  |
2 User(s) are reading this topic (2 Guests and 0 Anonymous Users)
0 Members:
| Lo-Fi Version | Time is now: December 4th, 2024 - 1:19 PM |


