 Apr 3, 2009 - 4:20 PM Apr 3, 2009 - 4:20 PM
|
|
|
Enthusiast    Joined Apr 6, '08 From Overland Park Currently Offline Reputation: 9 (100%) |
Vincent has been kind enough to share a new gift with us. One of the newest being his new seat covers. I opted for Blue stitching and hopefully you can see that in the pictures (sorry they were taken quickly and aren't the greatest). I'll be taking much more detailed pics of how to take apart the old seats and replace the old upholstery with the new! Being that I didn't really have a clue what I was doing with the first seat I just went at it and didn't take any pictures of the dismantle or anything of the sort.. And I'm sure the drivers seat is the most PITA. On the the pics
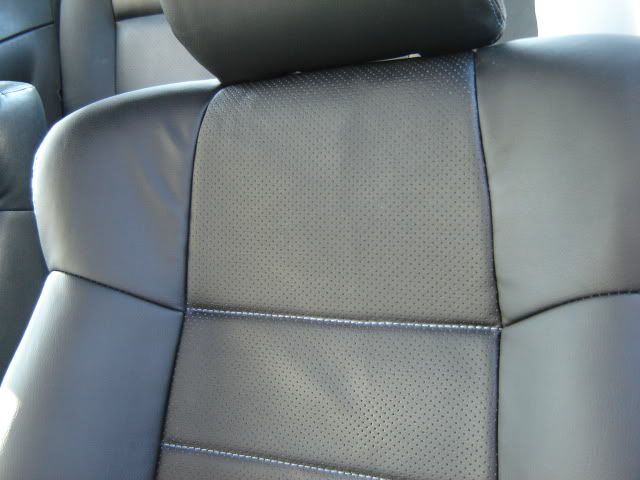 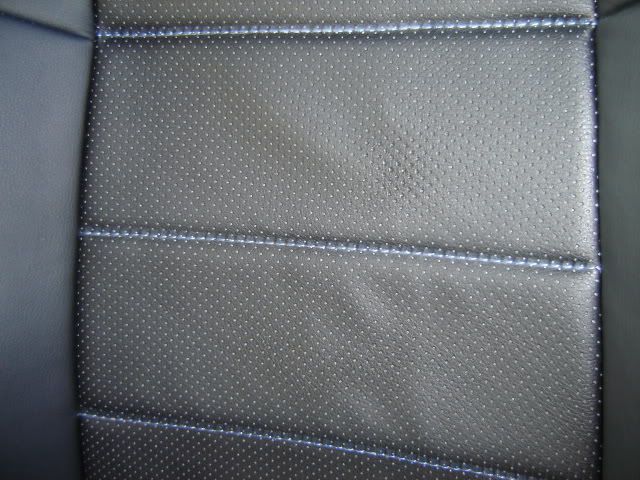 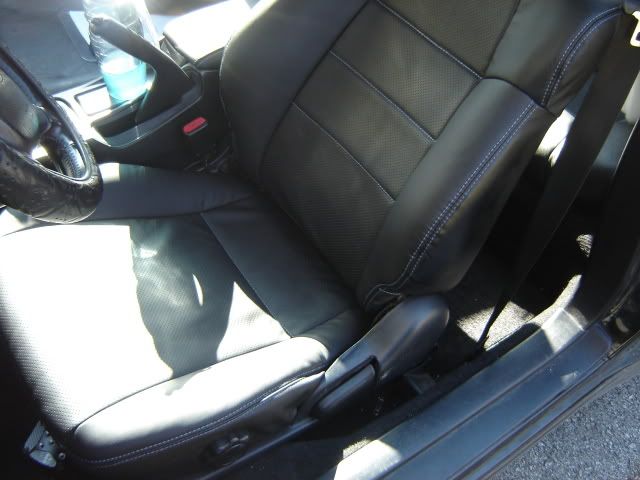 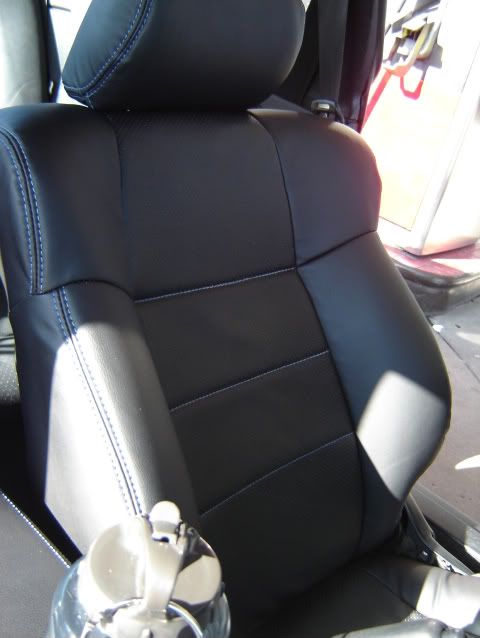 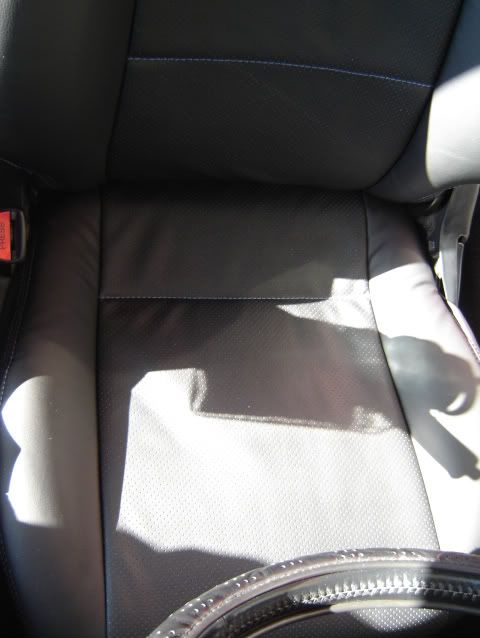 I'll edit this over the next few days and post new pics and hopefully get a how to done on this! BTW Great work on stitching. I was worried before I actually had these in my possession about durability but now that I've sat in them and witnessed them, these are DEFINITELY worth the money, Great looking upgrade to the interior! Update: Tools used: Needle Nose pliers Utility Knife 12mm Ratchet 10mm or 9mm Ratchet NOTE: DO NOT JUST YANK ON THE STAPLES! There are 2 metal bars that you use to secure the seat covers down. 1 set is inside the seat covers, you will remove and put in the new ones, the other set is INSIDE the foam of your seats, if you just yank on the staples you WILL pull that metal bar out and you WON'T have anything to hold you seat covers down all nice and snug! Now for actually getting it done: First things first take the seats out of your car, I believe it took a 12mm wrench After the seats are out on the bottom of the seats there are 4 screws that need to be removed to take apart the cushion that you would sit on. Makes it a bit easier. The drivers side is a PITA do to the spin knob on the side to adjust how the seat sits. Unless you don't have one then it makes things easier: 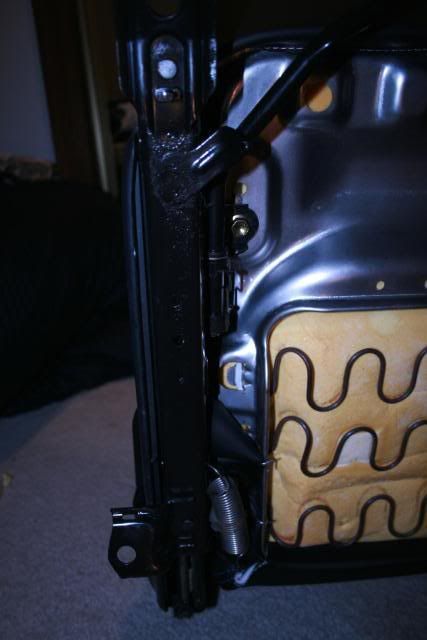 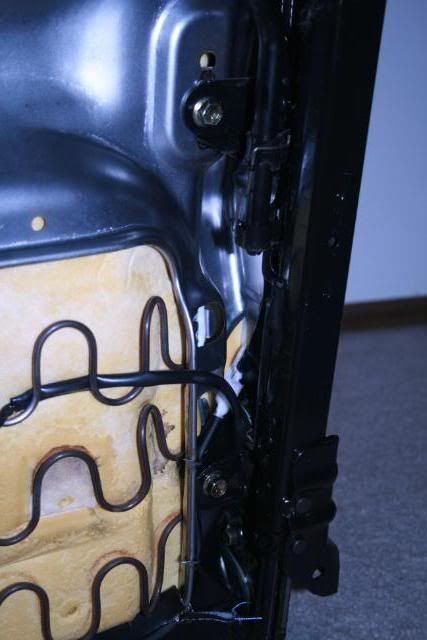 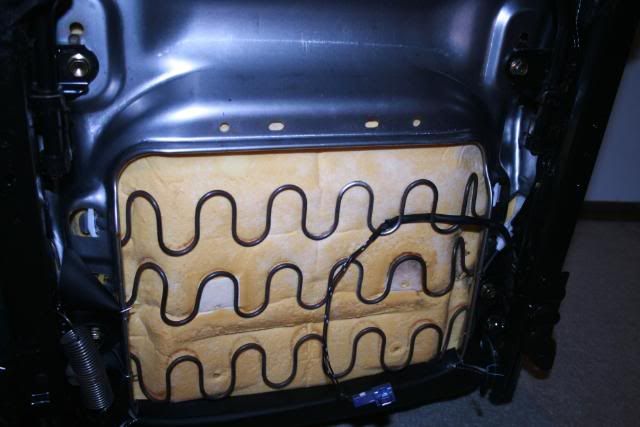 Once you have the seats apart time to pull out the pliers.. I used 2 sets, 1 pair to hold one side of the staple and another set to pull it apart. 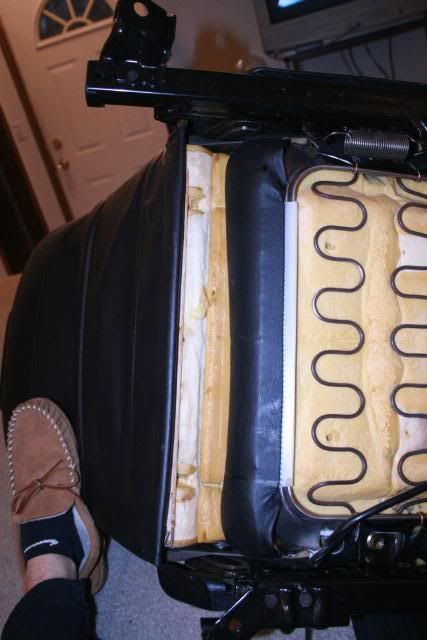 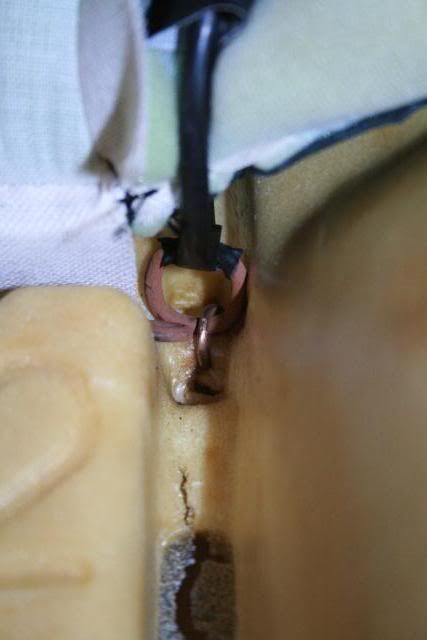 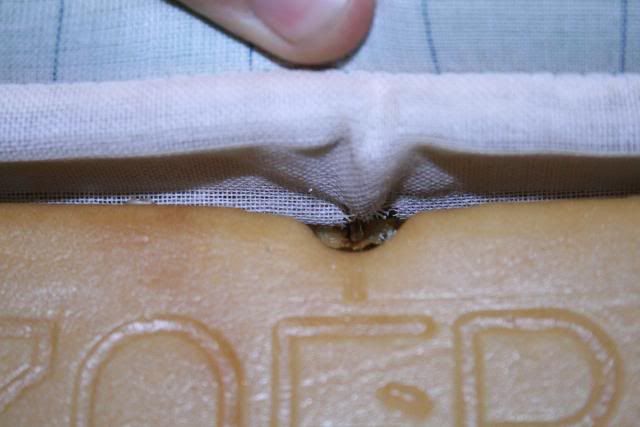  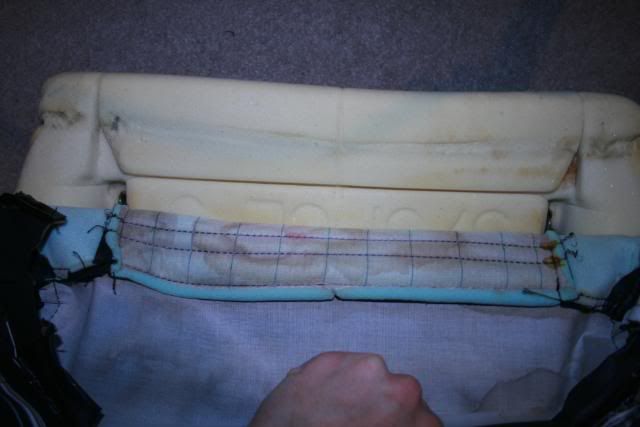 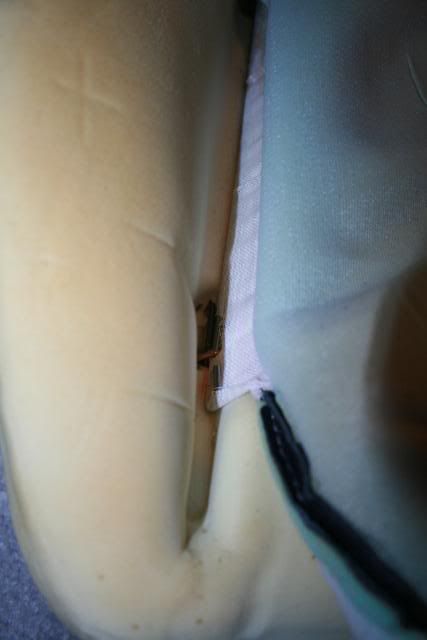 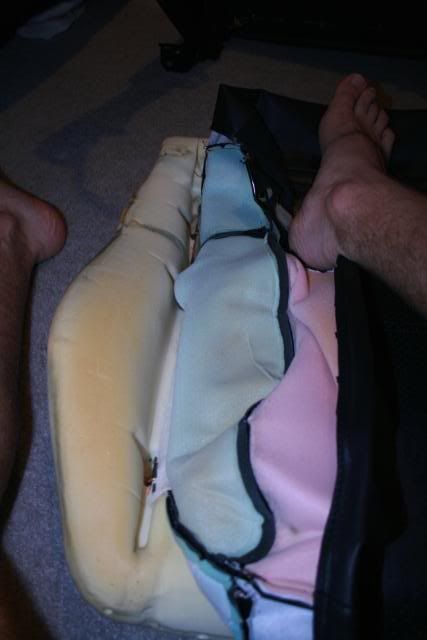 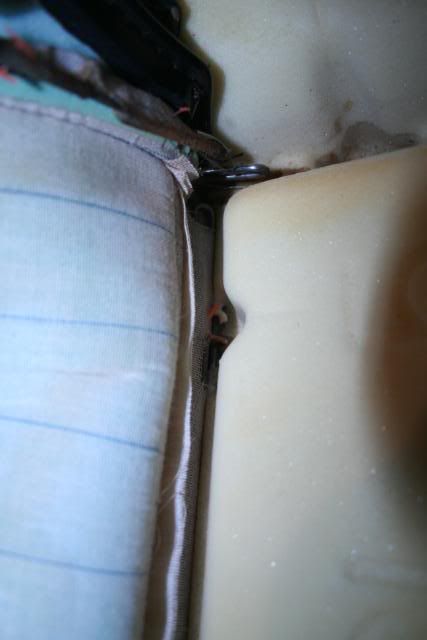  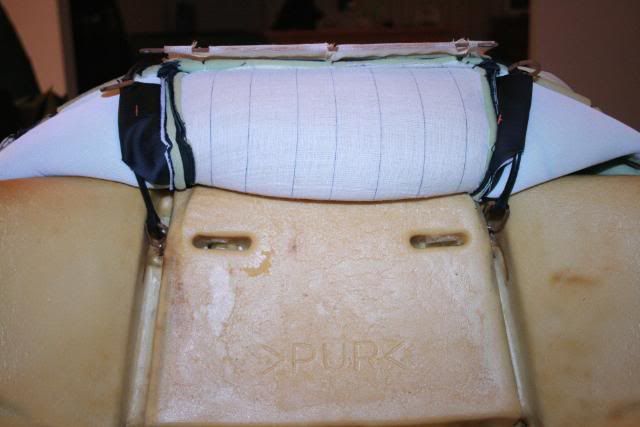 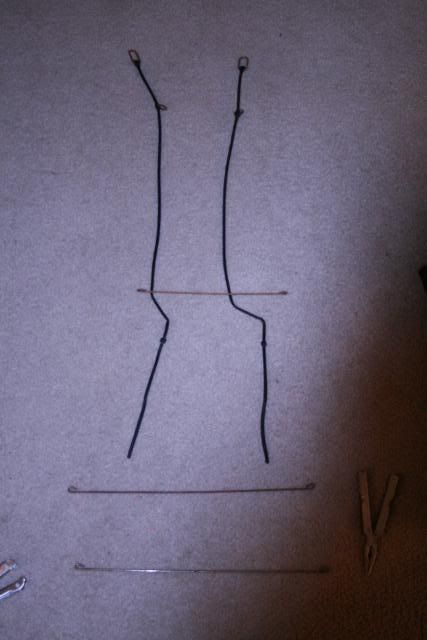 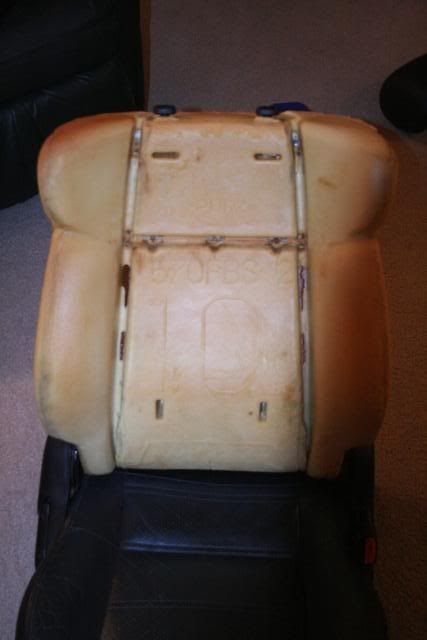 Once the metal brackets are out and the rubber sleeves you will put them into the new seat covers, and the staples need to go through the fabric loop around both bars and then pinched tight: 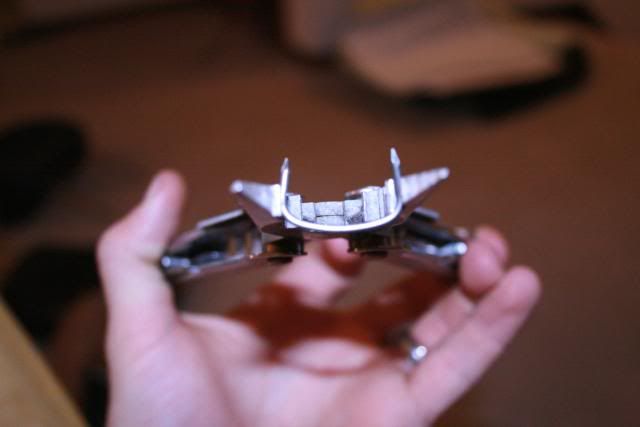 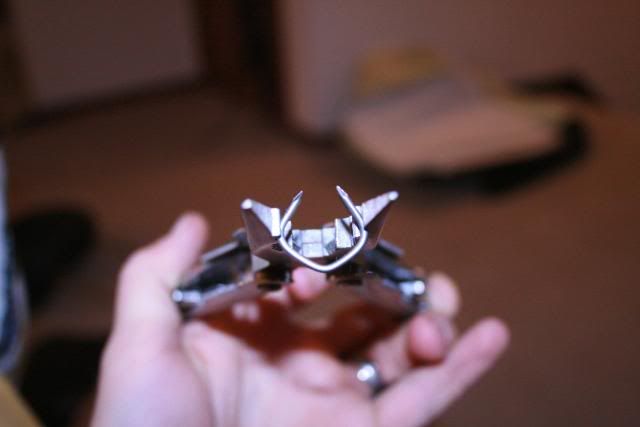 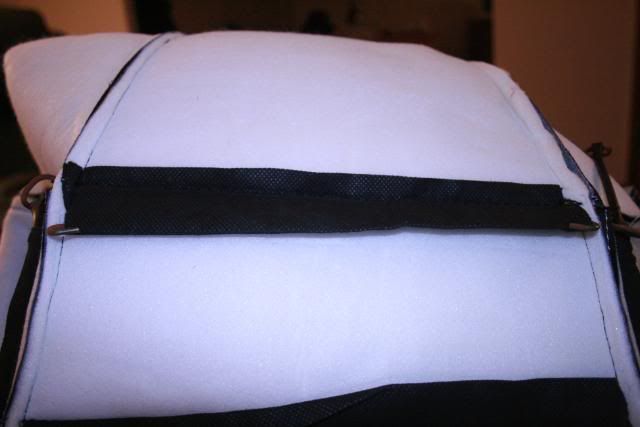 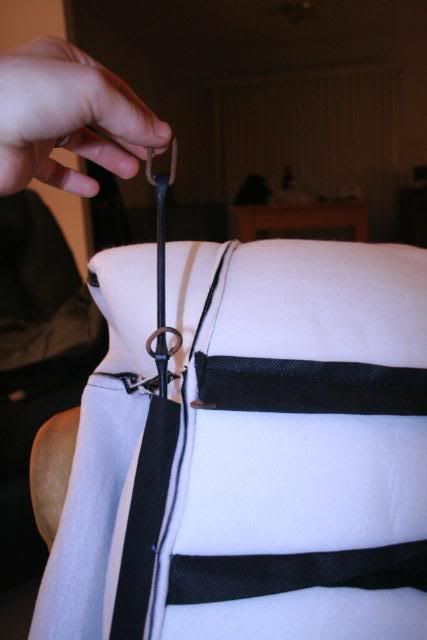 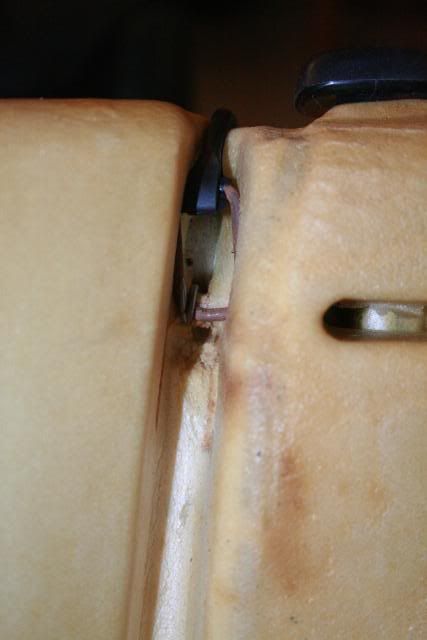 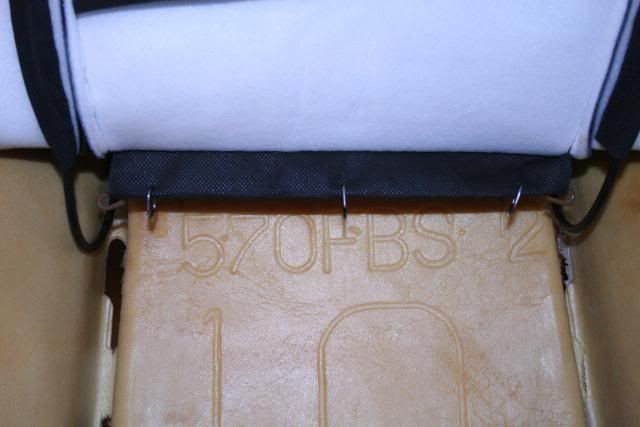 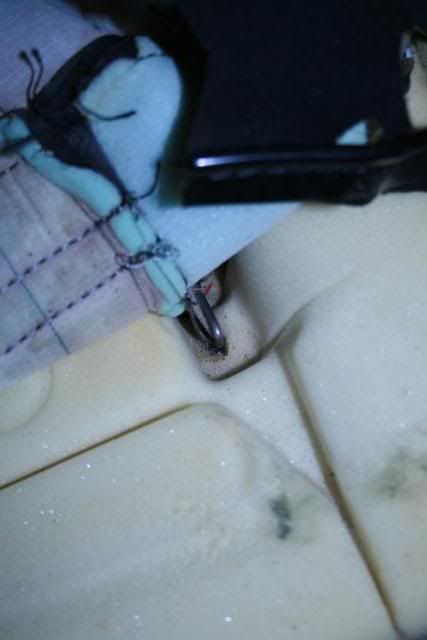 Now that that is done you end up with this: 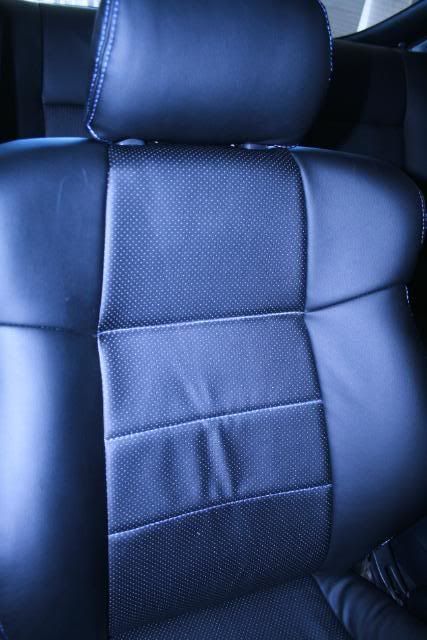 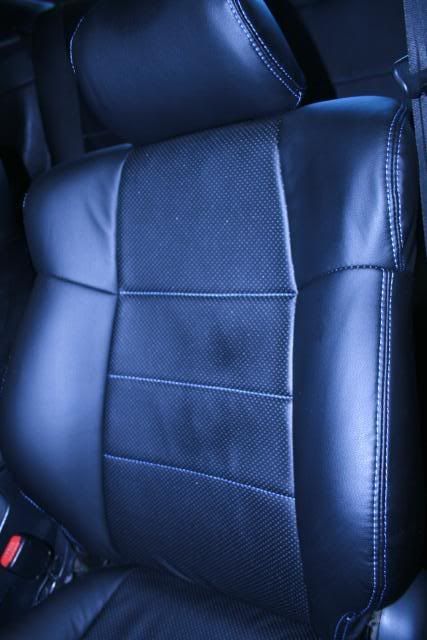 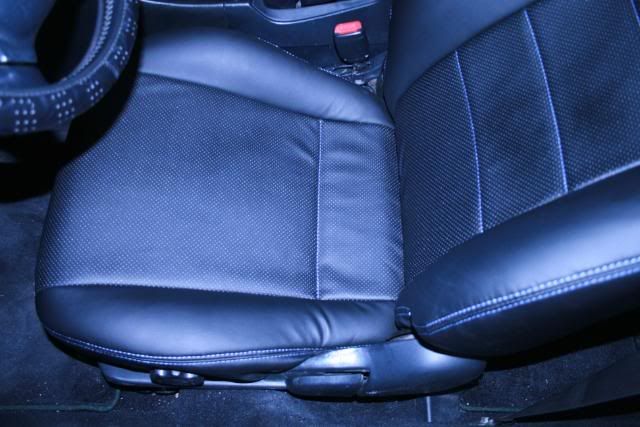 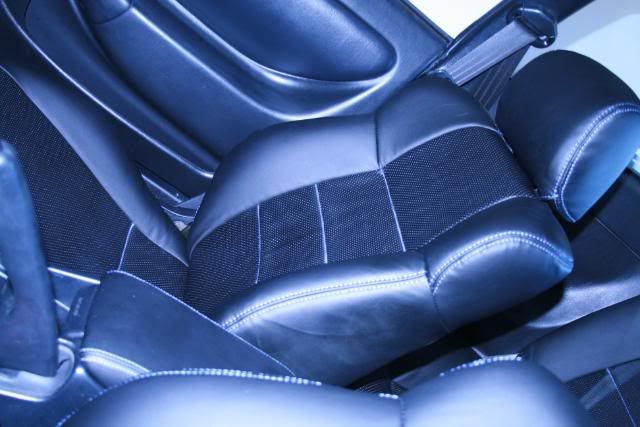 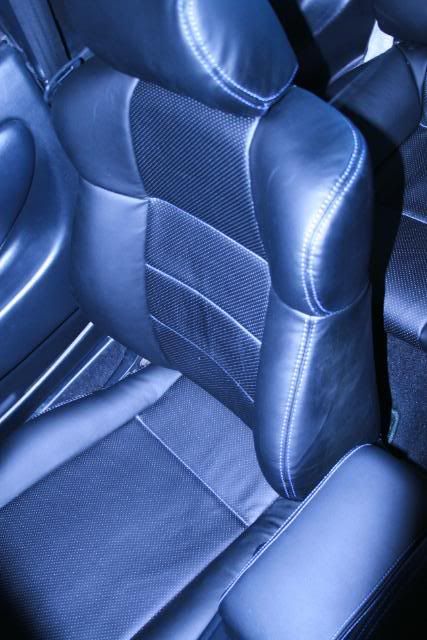 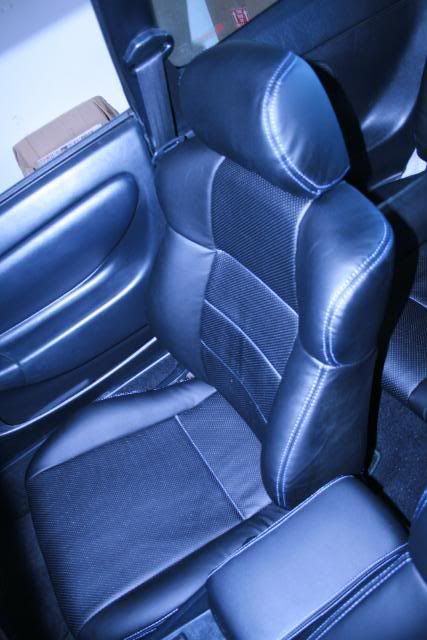  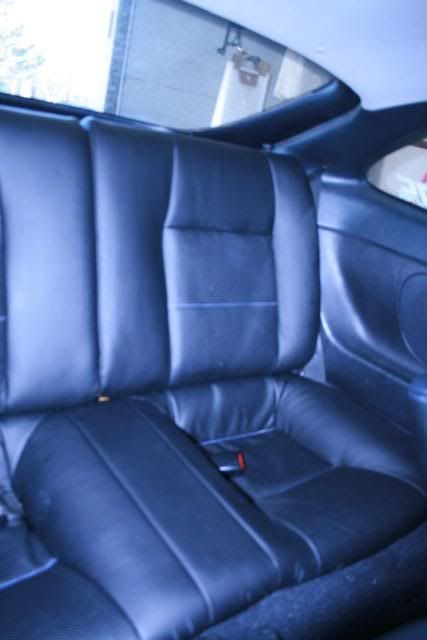   I did use a heat gun once it was all done to help smooth out the material some. But you can prolly use a blow dryer or something along those lines, blow dryer would prolly be better but prolly take a little longer than the heat gun. If you have any questions about this feel free to PM me. I'm hear to help. B. This post has been edited by bseaman_5: Apr 11, 2009 - 12:08 AM --------------------  |
 |
Replies
 Jul 22, 2015 - 2:44 PM Jul 22, 2015 - 2:44 PM
|
|
|
Enthusiast    Joined May 10, '14 From Tulsa, OK Currently Offline Reputation: 5 (100%) |
I guess, he is not checking this board or his messages!
|
Posts in this topic
 bseaman_5 Vincent_Doggy Seat Covers Apr 3, 2009 - 4:20 PM
 96bluevert Wow..That looks really really good!
So Vince ... Apr 3, 2009 - 4:26 PM
 GriffGirl That looks absolutely amazing. What is the materia... Apr 3, 2009 - 4:31 PM
 bseaman_5 Blue: Yeah Vince will soon have these available fr... Apr 3, 2009 - 4:58 PM
 supershannon77 love them...can't wait for the, Apr 3, 2009 - 6:33 PM
 95st-celica nice....any idea on a price for fronts and backs? Apr 3, 2009 - 6:55 PM

 bseaman_5 QUOTE (95st-celica @ Apr 3, 2009 - ... Apr 3, 2009 - 6:59 PM
 Batman722 being that the 94-95 and the 96-99 seats are diffe... Apr 3, 2009 - 8:00 PM

 vincent_doggy QUOTE (Batman722 @ Apr 4, 2009 - 9:0... Apr 4, 2009 - 12:38 AM
 Bigwaaagh Oh my, what dirty tease
I'm going to keep ... Apr 4, 2009 - 1:59 PM
 korban Damn, Vincent must be psychic, I was just looking ... Apr 4, 2009 - 4:49 PM
 95CelicaST Looks nice, but my only gripe is that the upper bo... Apr 6, 2009 - 12:40 AM

 vincent_doggy QUOTE (95CelicaST @ Apr 6, 2009 - 1... Apr 6, 2009 - 12:44 AM
 robby this is mine .... from Vinc 's product....
... Apr 6, 2009 - 3:30 AM
 Promasta omg i want these naow, robby's interior looks ... Apr 6, 2009 - 9:25 AM

 robby QUOTE (Promasta @ Apr 6, 2009 - 3:25... Apr 7, 2009 - 1:24 AM
 Seztor DAMN those red stitch seats l@@k's awesome... Apr 6, 2009 - 9:56 AM
 808celica these would look nice for the Street Car show off ... Apr 7, 2009 - 4:16 AM

 robby QUOTE (808celica @ Apr 7, 2009 - 9:1... Apr 7, 2009 - 4:37 AM

 808celica QUOTE (robby @ Apr 6, 2009 - 11:37 P... Apr 9, 2009 - 1:39 PM
 foxcraze also totally interested in these cant wait on a st... Apr 7, 2009 - 4:59 PM
 95st-celica probably going to be expensive... Apr 7, 2009 - 5:04 PM

 vincent_doggy QUOTE (95st-celica @ Apr 8, 2009 - ... Apr 7, 2009 - 5:13 PM

 95st-celica QUOTE (vincent_doggy @ Apr 7, 2009 - 6... Apr 7, 2009 - 5:29 PM
 Bigblock I'm anxious to see price$ too!! ... Apr 7, 2009 - 5:42 PM
 Cutrara really nice looking covers! Apr 7, 2009 - 6:20 PM
 Bigwaaagh Not to worry, the price I've heard is going to... Apr 8, 2009 - 3:47 AM
 kloudkicka i'll be so interested in this too if the price... Apr 9, 2009 - 12:32 PM
 robby other hong kong celica club member ST202C leathe... Apr 10, 2009 - 9:10 AM
 vincent_doggy I am still waiting for Bsea's progress, I wann... Apr 10, 2009 - 9:21 AM
 Bigwaaagh If LHD is the same count me in for one set, red st... Apr 10, 2009 - 9:32 AM
 bseaman_5 Alright people, I apologize for the wait, I've... Apr 10, 2009 - 10:19 PM
 foxcraze Well vince sounds to me like they work perfectly s... Apr 11, 2009 - 2:51 PM

 vincent_doggy QUOTE (foxcraze @ Apr 12, 2009 - 3:5... Apr 12, 2009 - 2:36 AM
 Cutrara hog rings can be difficult in certain areas. You c... Apr 11, 2009 - 4:40 PM
 Bigblock PM sent to bseaman_5 Apr 13, 2009 - 10:40 AM
 Badkarma kinda bringing this thread back.
im in the proces... Oct 28, 2009 - 10:04 PM
 vincent_doggy Go ahead and fill some foam Oct 28, 2009 - 10:06 PM
 Badkarma problem is it turns out kind of "lumpy" ... Oct 28, 2009 - 10:14 PM
 MrAyasli Oh no, you have to take seats out?!
I've ... Oct 29, 2009 - 6:14 AM

 Cutrara QUOTE (MrAyasli @ Oct 29, 2009 - 7:1... Oct 29, 2009 - 9:06 AM
 Badkarma im installing the covers onto the leather cushions... Oct 31, 2009 - 11:39 PM
 richee3 ^^ Are you trying to install these on top of your ... Nov 1, 2009 - 10:58 AM
 Badkarma no. took oem leather off, and installed new vince ... Nov 1, 2009 - 5:15 PM
 richee3 Whew. There for a second, I was thinking you left ... Nov 1, 2009 - 5:31 PM
 upscaleauto I got a set of the front covers for a 94 Celica GT... Jul 5, 2010 - 7:47 AM
 Originalfuture I am looking for a drivers seat, I have custom cov... Nov 6, 2011 - 8:12 PM
 Originalfuture I am looking for a drivers seat, I have custom cov... Nov 6, 2011 - 8:31 PM
 msk59 Are these seat covers still available? Jul 14, 2015 - 6:03 PM
 BonzaiCelica http://www.6gc.net/forums/index.php?showtopic=6674... Jul 14, 2015 - 6:08 PM
 msk59 Thank You. I sent him a PM. Jul 14, 2015 - 9:35 PM

 richee3 QUOTE (msk59 @ Jul 22, 2015 - 2:44 P... Jul 22, 2015 - 9:18 PM
 msk59 OK thanks, I am not a fan of Facebook but I will c... Jul 23, 2015 - 11:54 AM

 kitastrophic QUOTE (msk59 @ Jul 23, 2015 - 11:54 ... Aug 5, 2015 - 10:08 AM
 Jmk91 If you can't get a hold of him I found a site ... Aug 6, 2015 - 7:42 PM
  |
1 User(s) are reading this topic (1 Guests and 0 Anonymous Users)
0 Members:
| Lo-Fi Version | Time is now: November 23rd, 2024 - 6:22 PM |


