 May 24, 2006 - 11:53 PM May 24, 2006 - 11:53 PM
|
|
 Enthusiast      Joined Apr 18, '05 From Calgary Currently Offline Reputation: 20 (100%) |
How to install OEM 96+ Sideskirts on a 94-95 Celica ------------------------------------------------------------- Tools used: 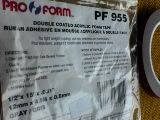 - Double-Sided Bonding Tape - Double-Sided Bonding Tape 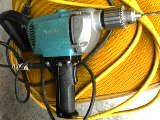 - Power Drill - Power Drill 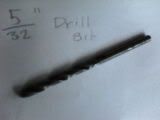 - 5/32" Drill Bit - 5/32" Drill Bit 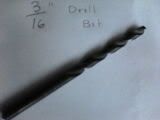 - 3/16" Drill Bit - 3/16" Drill Bit 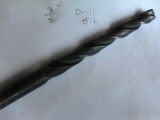 - 3/8" Drill Bit - 3/8" Drill Bit 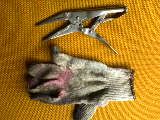 - Vice Grip and a piece of rag cloth - Vice Grip and a piece of rag cloth 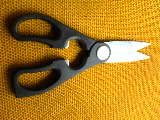 - Pair of Shears/Scissors - Pair of Shears/Scissors 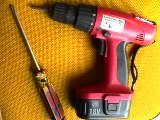 - Phillips Screwdriver - Phillips Screwdriver 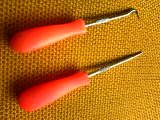 - A set up needle pics (to remove the grommets) - A set up needle pics (to remove the grommets) 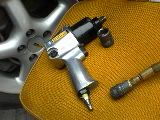 - A tire iron or equivalent for removing lug nuts. - A tire iron or equivalent for removing lug nuts. Note: You can buy the double-sided bonding tape at most body shop supplies.. i used the bodyshop mounting tape for the driver side and wal-mart type for the passenger side. the Pro-Form brand was thinner and bonded stronger than the wal-mart one but cost twice as much (Pro-Form: $7, Walmart: $3). i'd suggest you get the best bonding tape you can find at the body shop supply store. Parts needed: - The sideskirts themselves ($217 USD from the dealer) - 9 x 90467-09185 Clips ($.98 USD each) - 2 x 90189-06006 Grommet, Screw (~$1 USD each) - 2 x 90159-60414 Screw ($.52 USD each) Note: Not all the screws and grommets listed in the sticky are necessary, the ones listed above is all that's really needed. i've wasted about $35 getting them all when i should have only spent $14. so don't do what i did. Print this for reference 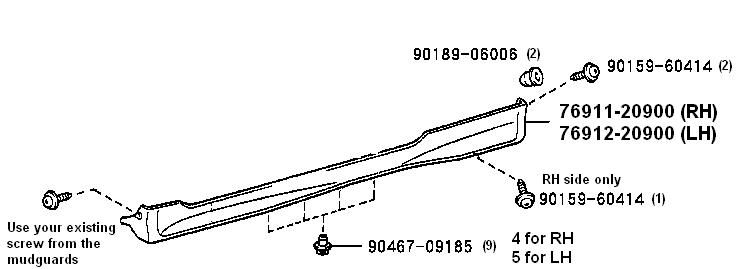 Ok.. so after i've picked up the screws and grommets from the dealer, i jumped right on to the installation.. since this was my first time doing this, i spent most of my time thinking and planning how to get these on and making sure everything is done right. First of all, these skirts initially came off a white 96 ST202 in Japan and then purchased them through ebay. you may order them straight from your local Toyota dealer but will cost you a pretty penny. fyi, it may cost you around $162.89 USD each from ToyotaWorld. the pic below shows the skirts being sanded in my garage. if you've got used skirts, there are clear adhesive protecters stickered on at the bottom rear of the skirt. these came stock and will need to be removed before sanding. to do this i used a torch to lightly heat it up and some bumper sticker removal spray (Goo Gone will work too) to help pull it off. 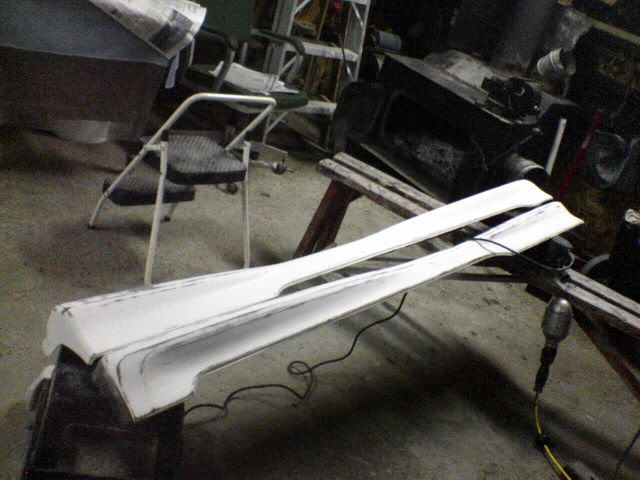 Getting Started ------------------ -Jack up the car on both sides (front and rear) and let it rest on jack stands at all four corners, try to raise it as high as possible so you'll have more room to work under. 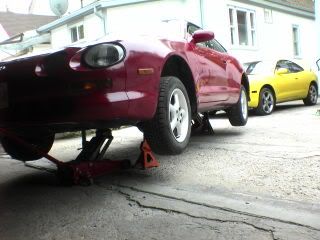 -Remove all four wheels. 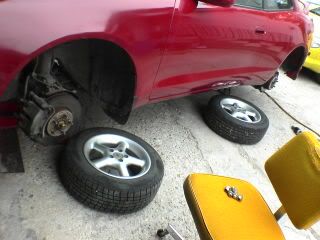
This post has been edited by azian_advanced: Jan 17, 2010 - 8:25 PM -------------------- -------------------------------------------------------------------------------- -------------------------------------------------------------------------------- |
 |
Replies
 May 25, 2006 - 2:30 PM May 25, 2006 - 2:30 PM
|
|
 Enthusiast      Joined Apr 18, '05 From Calgary Currently Offline Reputation: 20 (100%) |
Procedures
------------- 1. so i've tried lining up the skirts to the body but the front mudguard was in the way.. so the first step is to remove the mudguards which btw was very easy... simple enough, 3 bolts along the front and 1 hidden underneath. 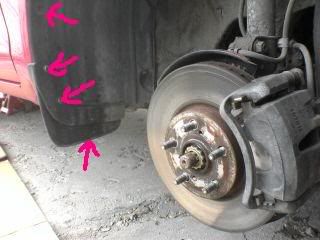 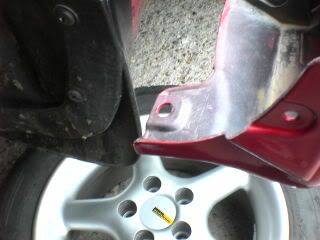 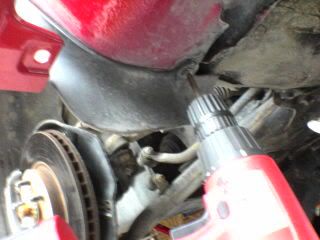 2. now that i've got the skirt held up against the body, it's obvious to see that the 'little white pegs/clips' are in the way. in this case, you can either: a) drill holes through the body and plug them in or b) just remove the white clips and use double-sided tape later (which i did). i would not recommend 'a)' because then the holes are more prone to creating rust in the future. anyway, to remove the clips simply slide them off (though it will take a little bit of muscle to snap off **kisses biceps** 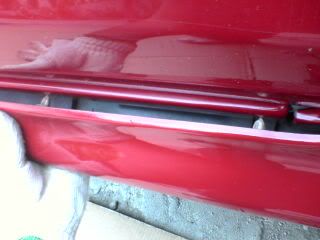 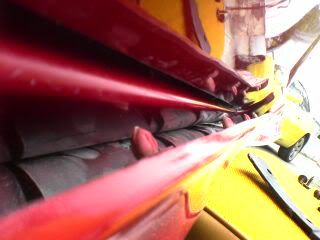 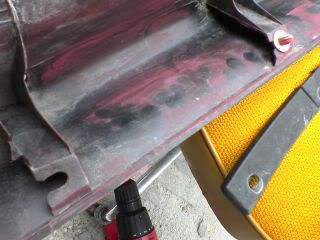 3. with the skirt held up to the car and if you take a peek underneath, you'll notice that the 'rubber plugs' that some members have been talking about have no function or purpose with the installation of the skirts. which begs the question, "what are the rubber plugs for?"... i'll let you try to figure that one out yourselves.... anyway, it's clear that there were no pre-drilled holes on the bottom side of the car. it was mentioned however in another thread that some holes DO line up. there are 2 at the front of the skirts where the lower 2 screws of the mudguards were screwed in previously and there's another 2 which are at the bottom rear. the one furthest to the rear must be screwed in, the next one in front of it already has a pre-drilled hole (this is the only one) 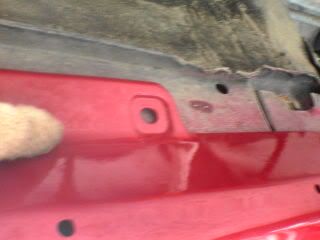 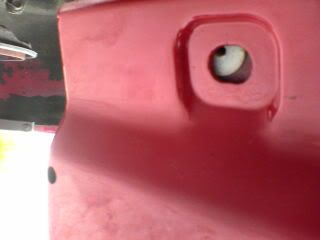 4. there is no other choice but to.. DRILL HOLES! below, i used a hi-torque drill (is that what it's called?) with two different drill bits. i used a small one (the 5/32" one) first in order to create a reference point so that drilling with the larger drill bit (the 3/8" one) would make things a lot easier rather than using the larger one straight up which can cause it to slip left and right damaging the skirt and cause a mis-aligned hole. 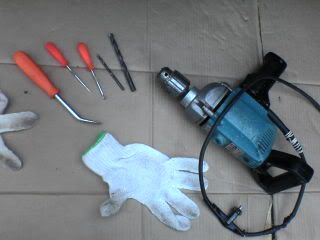 5. here is the result after drilling the small hole, then the larger hole. btw, there are 5 holes on the left side that will need to be drilled along the bottom. but only 4 on the driver side (since there's one pre-drilled hole at the rear.. though i'm not sure why?). 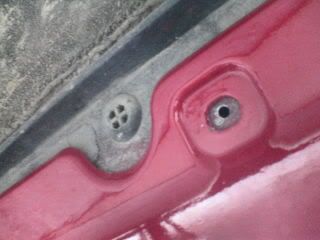 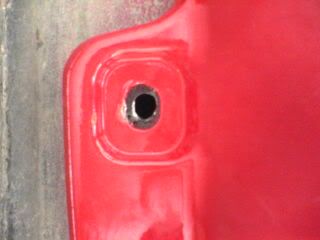 6. you can now use the clips and snap them onto the bottom of the sideskirts. they're direct snap-ons and no tools are necessary. they work similar to rivets but only it's plastic, they don't require any tools to attach them on, plus they can be easily removed. you may want to only attach a few of them on. starting from the rear, attach one at the 2nd hole and one to the 4th hole. this will allow the skirts to be remain attached but still have some play in order to put on the double-sided tape required later on. 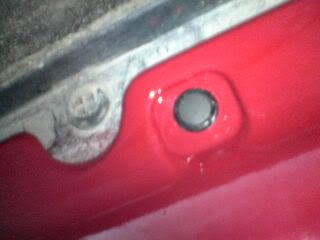 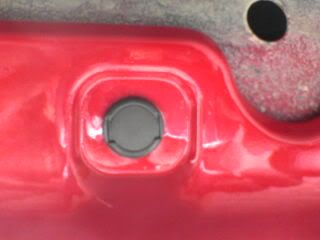 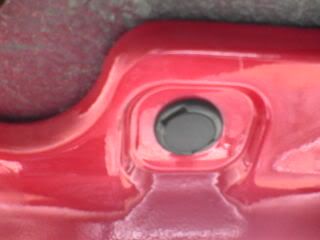 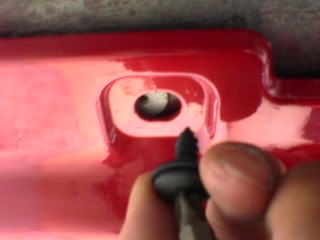 7. however, you'll notice that there is a gap at the front of the skirt to the front fender. 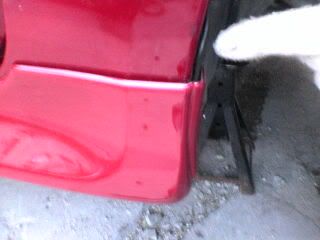 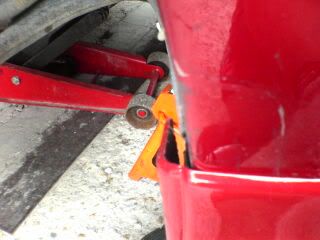 there is a part here that's needed (see pic below)... the skirts are made with a bulge for this 'fender protector' to fit inside. 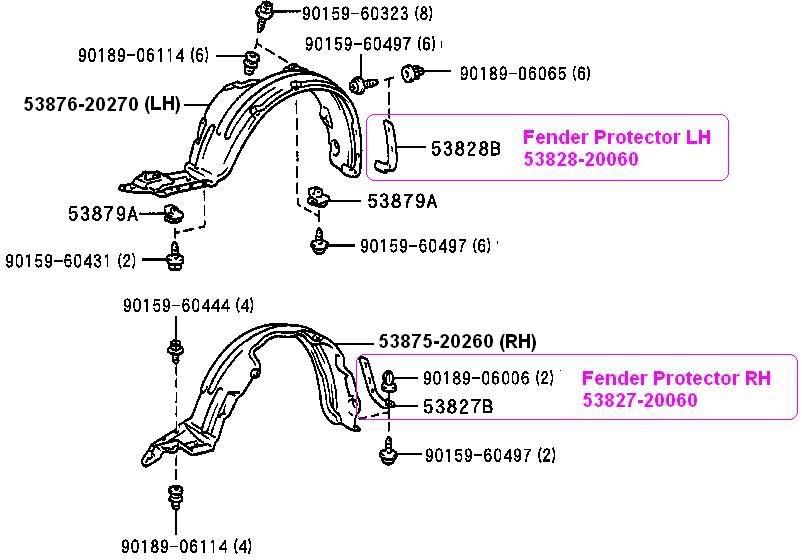 but there is no need to purchase these since you can just modify your existing mudgaurds to fill in this gap. fyi, with the skirts on, the mudguards cannot be installed and are no longer needed. below is a pic of how i cut the mudguard using shears to fill the gap. 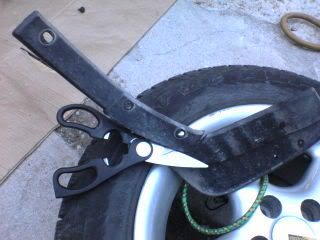 8. the end result should look like this. this should just fit inside 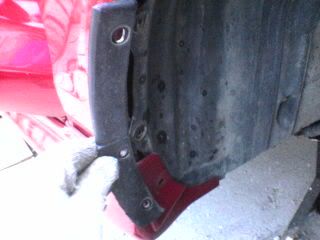 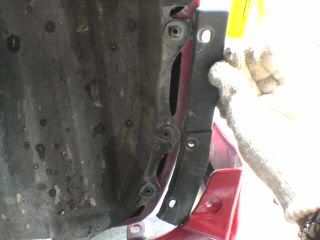 9. after screwing the front of the skirt which lines up with the mudguards holes, i pushed it against the body to see how well it lines up. i just so happens that it didn't line up as well as the passenger side did. so i adjusted the skirt and pushed on it to how i wanted it mounted on the car, then i drilled another hole using the 3/16" drill bit through the front of the skirt. 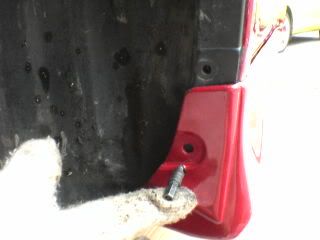 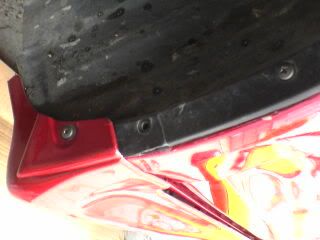 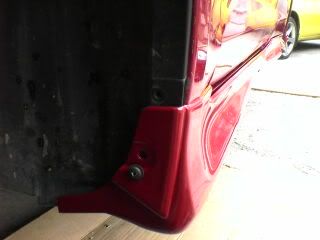 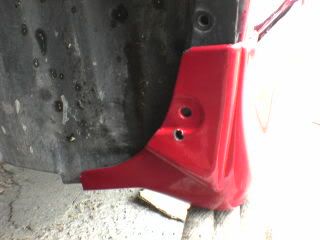 10. now with most of the bottom and front of the skirts finished, you'll need to screw the skirt from the rear. you can use your rag and vice grip to hold it in place. this may not be absolutely necessary but i would highly recommended in case you happen to grind the skirt on a speed bump and mess up the alignment of the skirt with the body. adding this screw will have some upper rear support for a more stable skirt. although, you'll notice there is also a gap in the rear part of the skirt but happens to line up nicely at the top exterior side, then it curves out to about an inch as you look at the bottom. 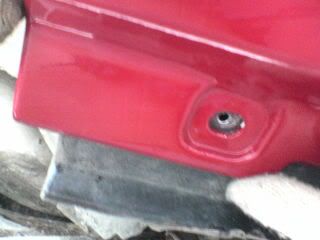 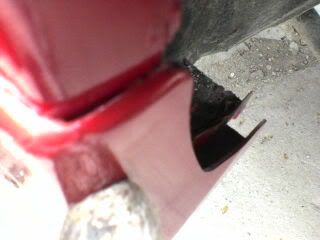 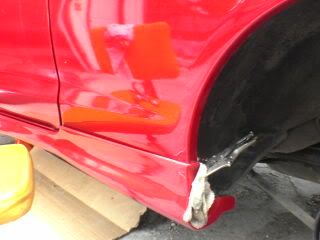 11. the best place to screw the skirt is at the top part where it lines up with the body. here i have a pic of the hole that's been drilled through the skirt and the wheel well. the screw with plastic grommet are shown below. 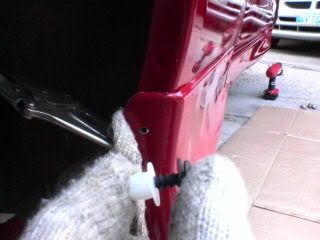 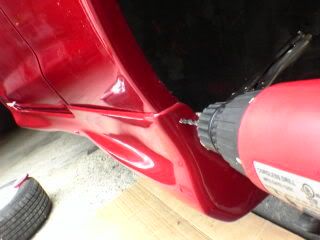 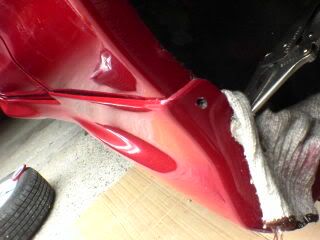 12. here's how it looks when it's screwed in. although the head of the screw may be disturbingly large, it won't be as noticeable if you've got wide rims. i don't mind the look though, but hey that's just me. you can paint it to match your car if it bothers you though. 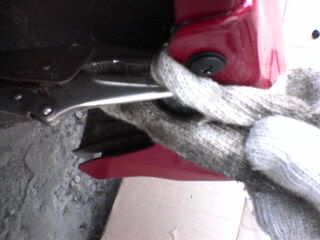 13. for this next step, you'll need to remove the rear screw (step 12) and the front screw but have the bottom clips still attached in order to hold the skirt up. this was only necessary to ensure that the skirts fits nicely when bolted on. this is in preparation for step 14. 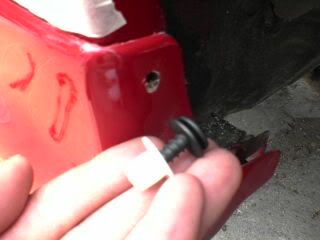  14. now for this step, you'll need to apply the double-sided tape so you'll need to make some space alont the top to work with. it's pretty straight forward from here.... just stick the tape all along the upper edge of the skirt and stick the skirt on ensuring that it's mounted the way you want it. TIP: -Do not stick the double-sided tape right up to the edge, the thickness of the tape will create a small gap and will look kinda bad. Try placing the tape about 1/10th of an inch from the upper edge and run it all along from end to end. -Also, be sure you wiped the skirts and the body clean from any dust or dirt for maximum stickiness.. -Use some masking tape as a marker so you'll know where the skirts should line up with the body. here is how much space you've got to work with 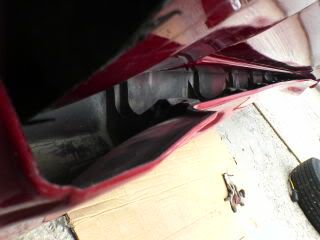 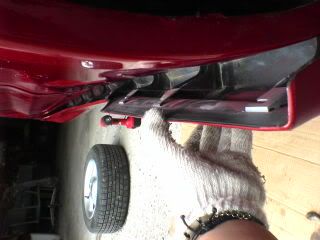 the masking tape as a marker 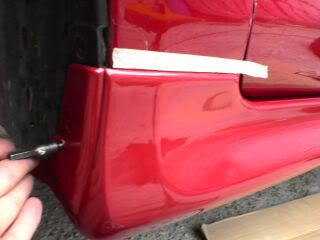 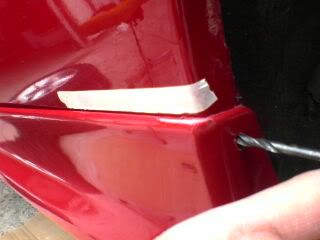 now the tape goes on. 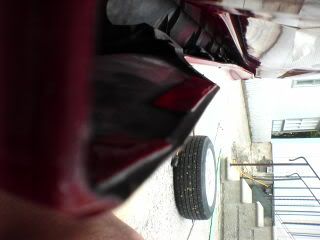 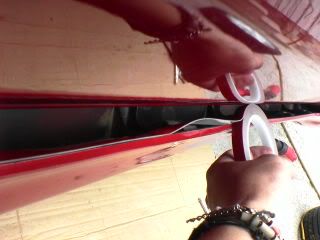 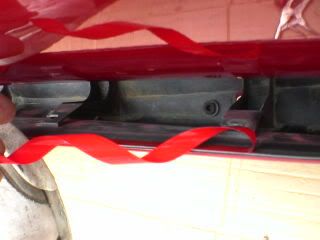
This post has been edited by azian_advanced: May 25, 2006 - 2:29 PM -------------------- -------------------------------------------------------------------------------- -------------------------------------------------------------------------------- |
Posts in this topic
 azian_advanced How to install 96+ OEM Sideskirts on a 94-95 6gc May 24, 2006 - 11:53 PM
 azian_advanced 15. now carefully mount the skirt to the body and... May 25, 2006 - 2:34 PM
 ILuvMyCelica95 this is great! May 25, 2006 - 2:46 PM
 azian_advanced QUOTE(MaX @ May 25, 2006 - 12:27 AM)... May 25, 2006 - 2:54 PM
 Batman722 Impressive !!! May 25, 2006 - 3:49 PM
 eliaz The clips and screws you listed, was the for both ... May 25, 2006 - 3:55 PM
 trdproven This is long and overwaited writeup that everyone ... May 25, 2006 - 7:41 PM
 j0e_p3t thanks. i'm gonna need this sometime in the fu... May 25, 2006 - 7:44 PM
 Starcraftjunkie When I save up enough for skirts, I'll definit... May 25, 2006 - 8:36 PM
 snapshotgt WOW! This is beyond sticky material, I vote B... May 25, 2006 - 10:16 PM
 Tech9ine im very unhappy that i have not seen your car in p... May 25, 2006 - 10:46 PM

 Starcraftjunkie I thought you did.. didn't you come to the Toy... May 26, 2006 - 2:05 AM
 sinner96ST this is the best how-to i've seen in a very, v... May 25, 2006 - 10:51 PM
 Silver94CelicaOwner Sticky this ish. Very good write up, thank you. May 25, 2006 - 11:44 PM
 malpaso no words needed... May 26, 2006 - 12:29 AM
 azian_advanced thanks for the comments guys. i actually had a lot... May 26, 2006 - 1:17 AM
 azian_advanced yeah that was me.. haha.. i told my cousin about t... May 26, 2006 - 8:58 AM
 Starcraftjunkie Then you did see my car there. It was the silver... May 26, 2006 - 11:18 AM
 Tech9ine QUOTE(Starcraftjunkie @ May 26, 2006 - 2... May 26, 2006 - 1:11 PM
 njccmd2002 how is that double tape holding out? Jul 4, 2009 - 2:13 PM
 azian_advanced the double side tape is still holding on most of t... Jul 4, 2009 - 3:27 PM
 njccmd2002 whats it called? Jul 4, 2009 - 6:05 PM
 azian_advanced i'd have to ask him, i don't remember it Jul 4, 2009 - 8:25 PM
 BeefyT would i be able to order the clips that the side s... Oct 4, 2009 - 12:23 AM
 azian_advanced from Toyodiy.com (page 3 of 3)
Part number: 90467... Oct 4, 2009 - 12:36 AM

 BeefyT QUOTE (azian_advanced @ Oct 4, 2009 - 1... Oct 4, 2009 - 11:50 AM
 OldskoolTizok 7yr old post will serve me well, I will be perform... Nov 2, 2013 - 6:46 PM
 jeffrosie Can use Tiger Seal or PU18 Sealant. Nov 3, 2013 - 9:23 AM
 doory100 I'm thinking of installing mine soon. I have p... Jun 26, 2014 - 8:14 PM
 Special_Edy Dont try to drill out the holes on the rocker pane... Jun 27, 2014 - 11:12 AM
 doory100 QUOTE (Special_Edy @ Jun 27, 2014 - 11... Jul 12, 2014 - 7:45 AM
 doory100 QUOTE (doory100 @ Jul 12, 2014 - 7:4... Jul 13, 2014 - 6:58 AM
 Constantine QUOTE (doory100 @ Jul 13, 2014 - 7:5... Jun 21, 2016 - 9:44 AM
  |
2 User(s) are reading this topic (2 Guests and 0 Anonymous Users)
0 Members:
| Lo-Fi Version | Time is now: April 23rd, 2025 - 10:15 PM |


