 Sep 4, 2006 - 6:40 AM Sep 4, 2006 - 6:40 AM
|
|
 Enthusiast      Joined Apr 18, '05 From Calgary Currently Offline Reputation: 20 (100%) |
---------------------------------------------
Part A - A How-To I've finally finished my gt-four front conversion.. to be honest, seeing it in person is a lot more surprising than in the pictures.. this is probably my best mod so far and was far beyond my first expectations.. perhaps i'm overexaggerating a bit but in short, this is definitely hotter than what i had in mind it was not an easy task for me since my car was previously in an accident and the fenders, hood, and gt-four bumper didn't line up like it should. so washers were added onto bolts to fill gaps to align the fenders properly. but otherwise, you shouldn't have a problem since everything attaches the same way. i first thought that this was simply ALL BOLT ON but really wasn't. i mean, it was but it wouldn't fit and line up correctly... so a couple of things (for you future gt-four convertors) that needed modifications were: 1. cutting the st205 reinforcement bumper 2. the gap to fill between the bumper and hood the reinforcement bumper was not a direct bolt-on job... the front frame rails where the re-bar bolts on to is different on the gt4's. this is how it appears when you have it against the frame rails... 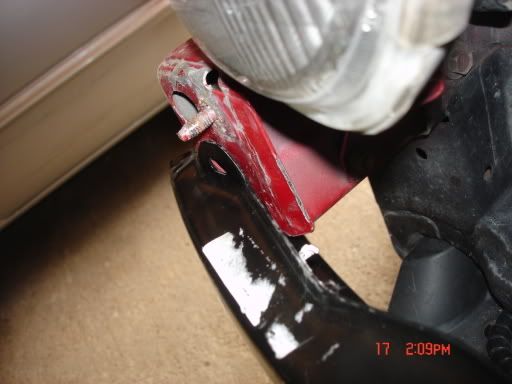 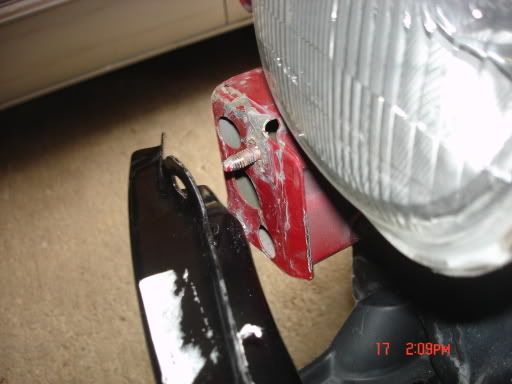 as you can see, the bottom is far too forward for the upper threading to fit through... this is how it looks after being cut (using an impact metal sheet cutter): 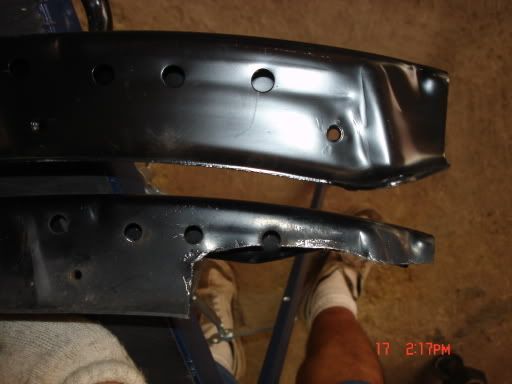 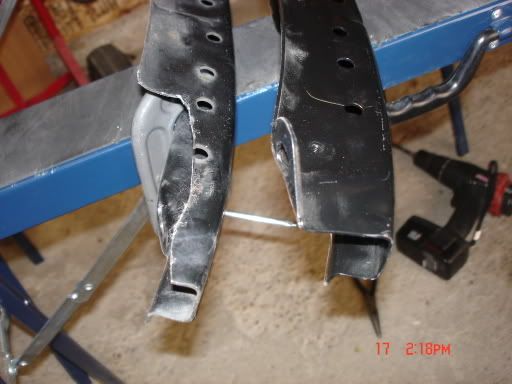 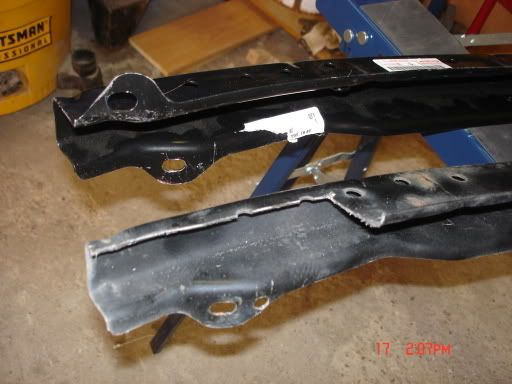 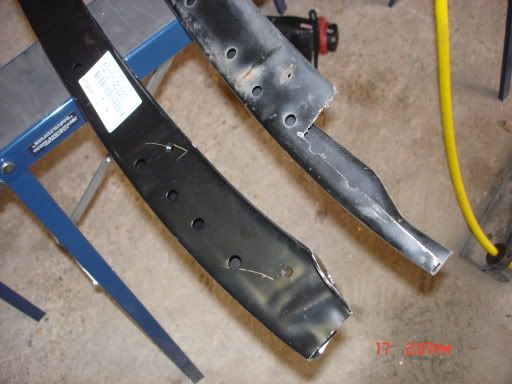 and here it is when bolted on 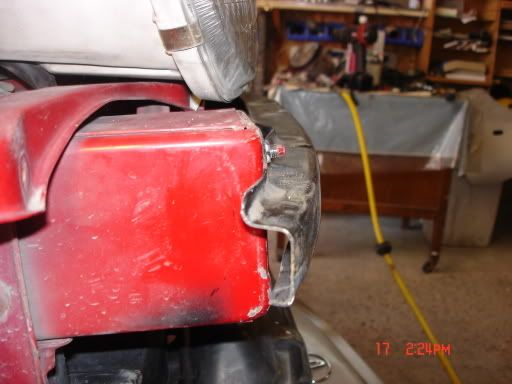 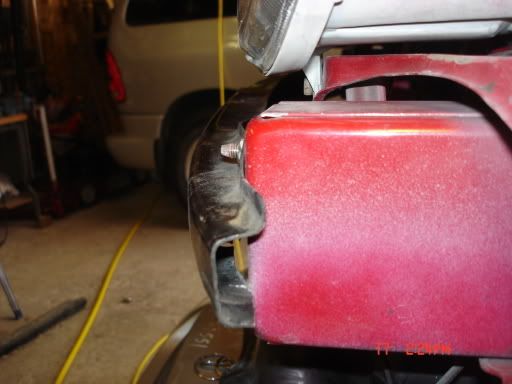 another thing which i totally missed is when you have the bumper installed, the bar sits slightly higher than it should be. right now, it doesn't fit in the groove on the bumper absorber. that may be because my car was in a previous front end accident and things aren't lining up 100% perfect. to fill the gap between the bumper and hood, i used about 2.25" screws with a nut. the head of the screw and the nut clamps the bumper seal to the bumper plastic, and the bottom tip of the screw screws into the threading on the metal retainer. thank god i have tons of all sorts of screws in my garage. finding the right screw is gonna be hard. i've heard other members use the same thing but instead used washers to lift the bumper up high. either way is fine i guess, but i like my idea better. this is how mine looks like btw... 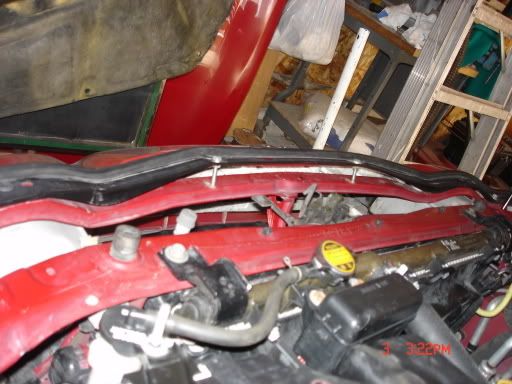 some custom 4" lamps were put in. i bought them from a local hardware store for $8 each (which beats the ~$250 that they normally cost). though they don't mount onto the rebar but are just the lamps themselves.. i've read that another member used Mercury Topaz (or something) 4" fogs instead but i couldn't find those anywhere. besides, i like the crystaly (not sure if that's even a word 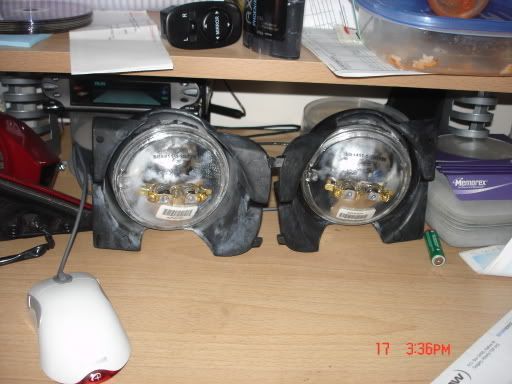 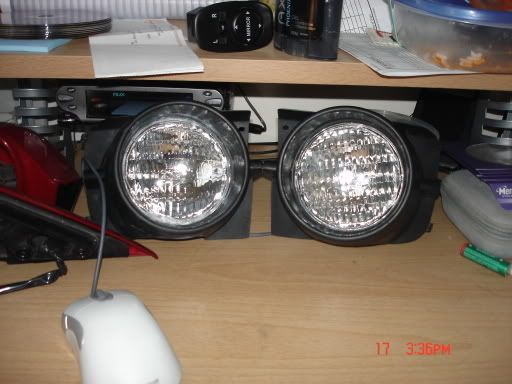 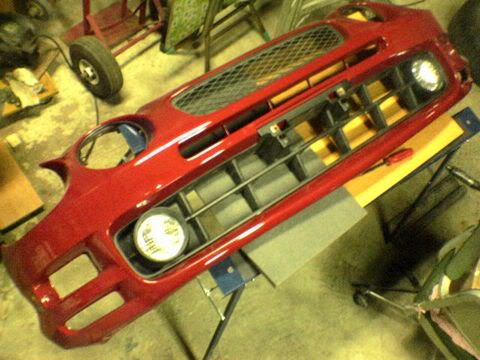 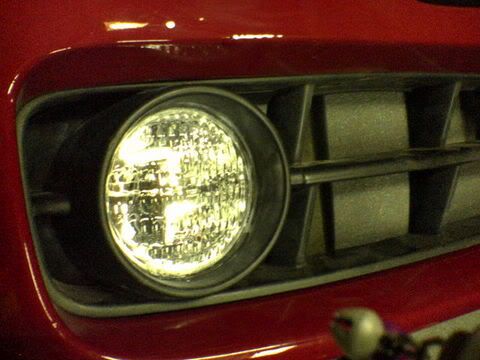 that's all there is to know for the conversion.. it's relatively simple just takes some time. in my case, i also had the fenders that came off the clip where my bumper and hood came off of. so i ordered some jdm sidemarkers and wired them up to the turn signals.. this is also an easy mod and very appealing at night. --------------------------------------------- Part B - Becoming 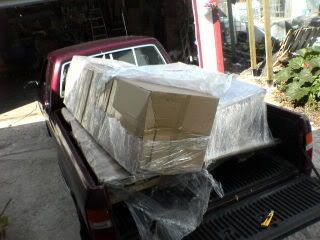 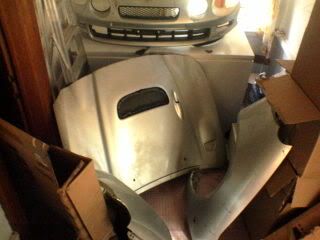 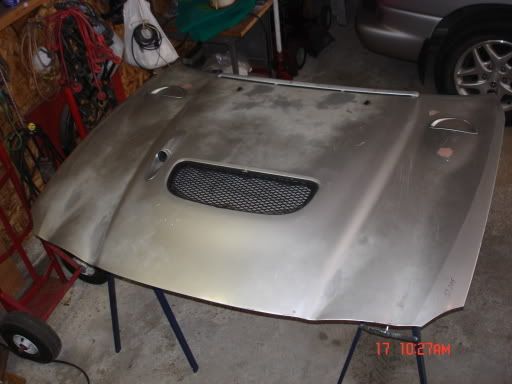 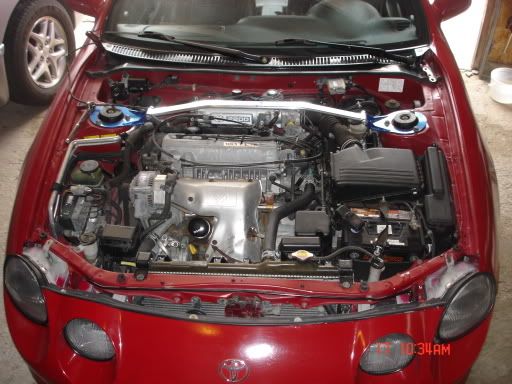 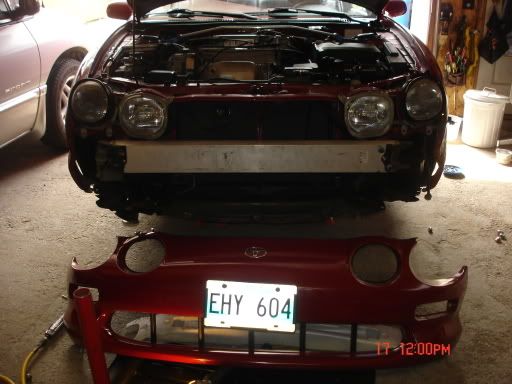 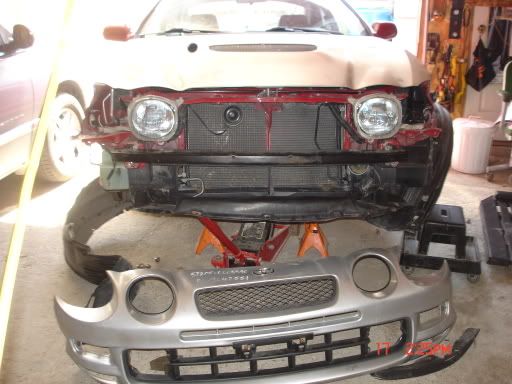 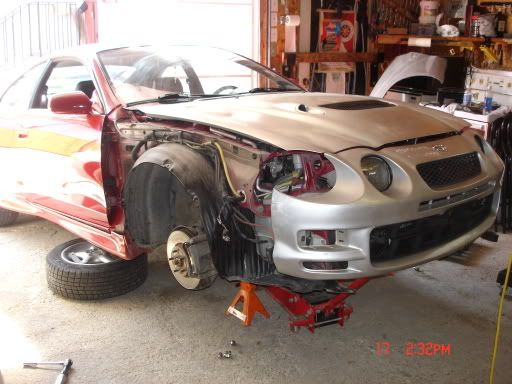 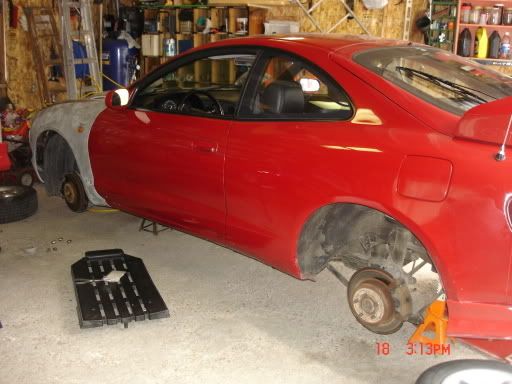 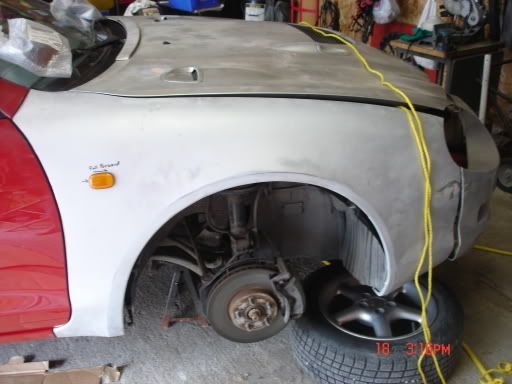 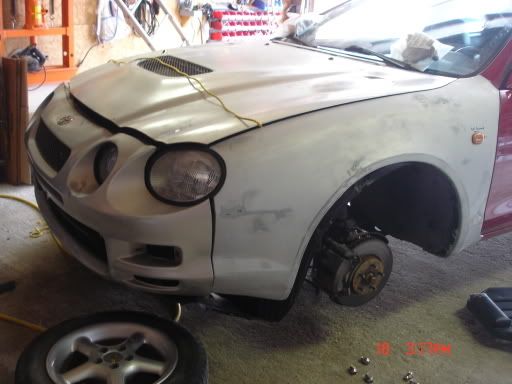 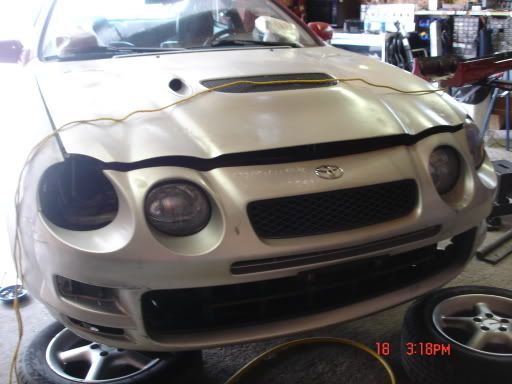 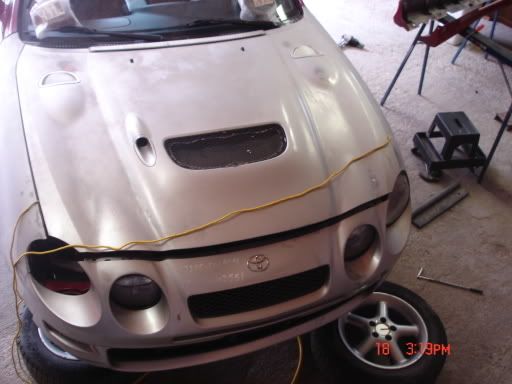 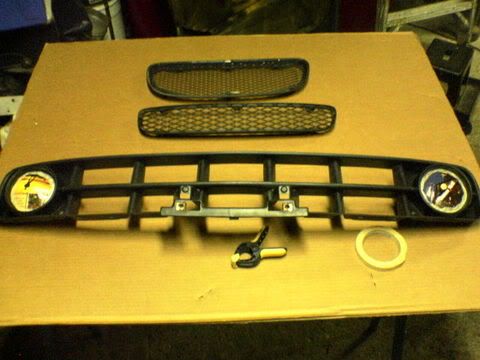 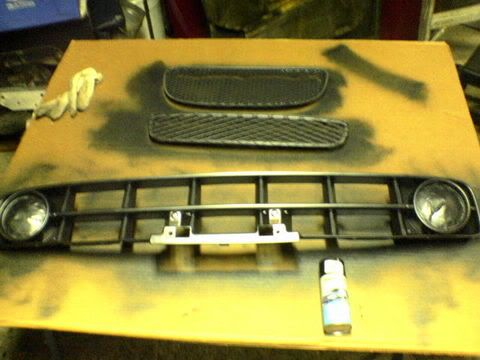 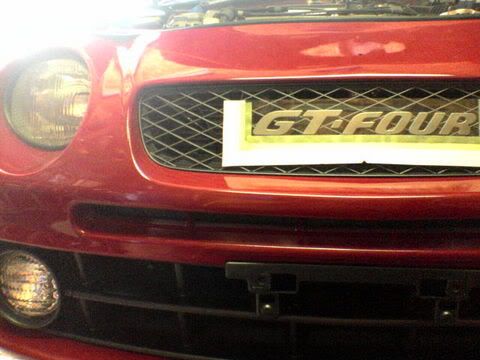 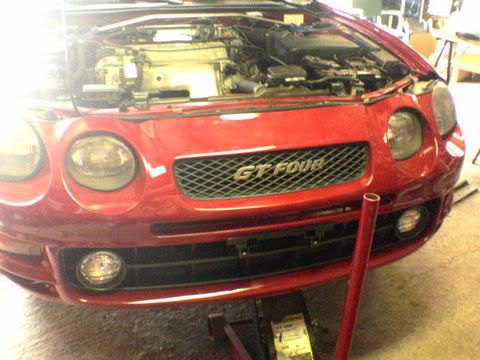 --------------------------------------------- Part C - Completetion 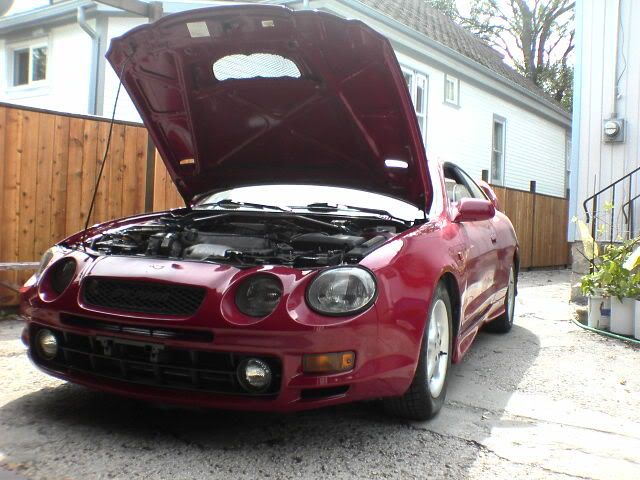 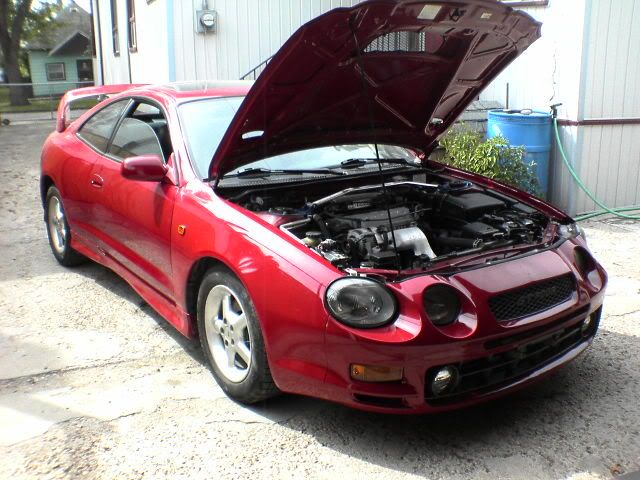 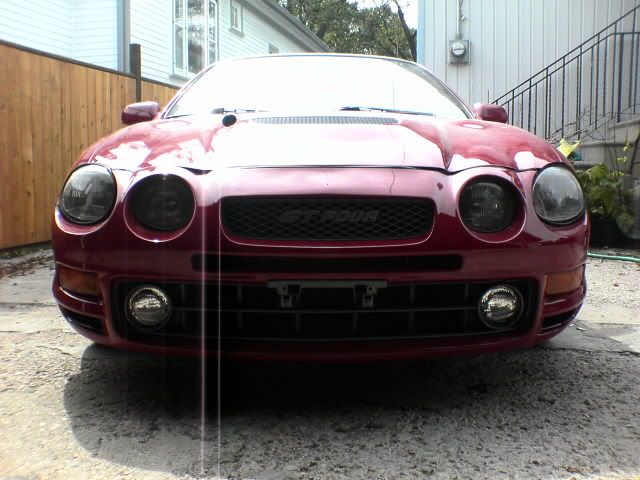 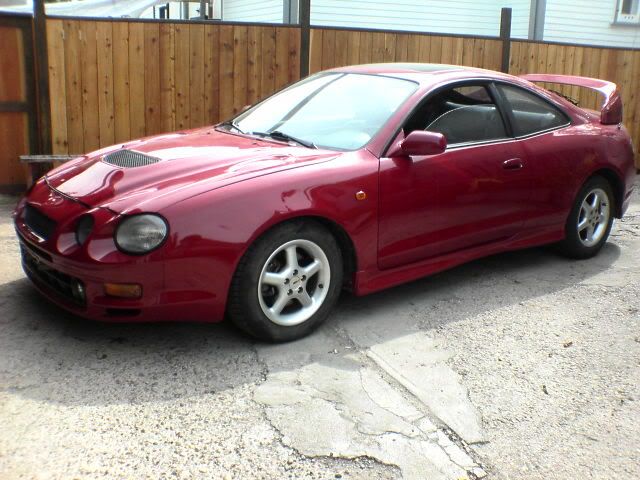 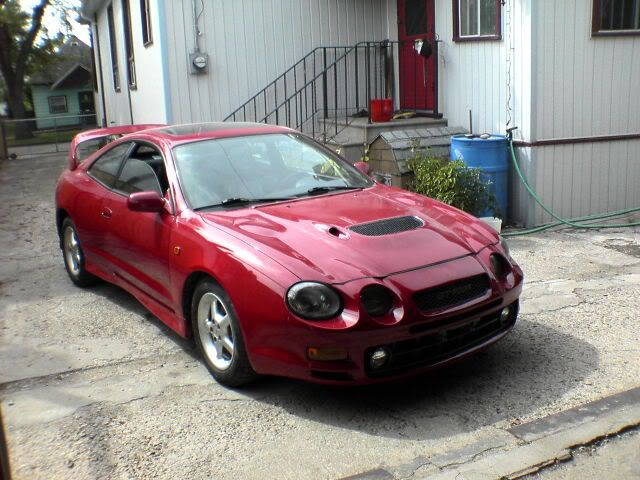 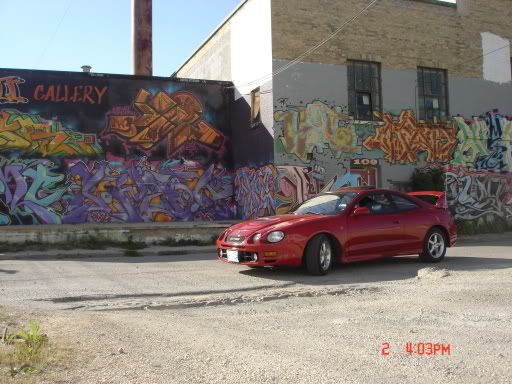 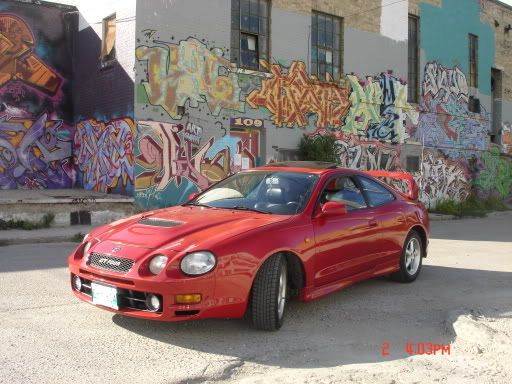 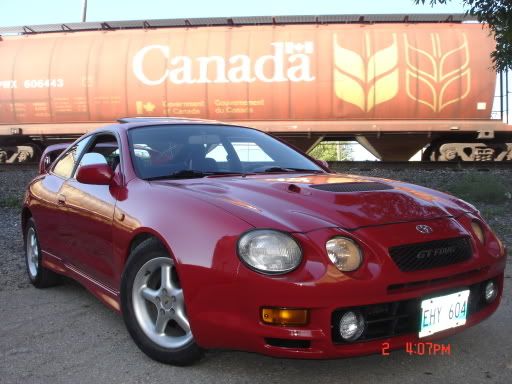 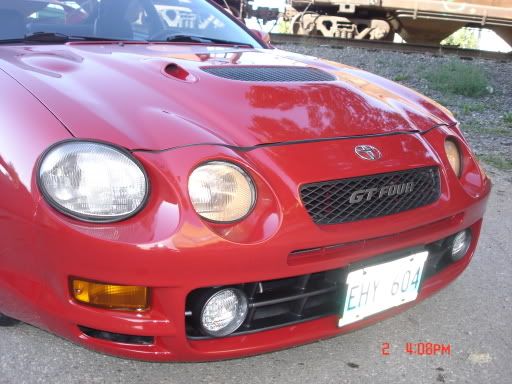 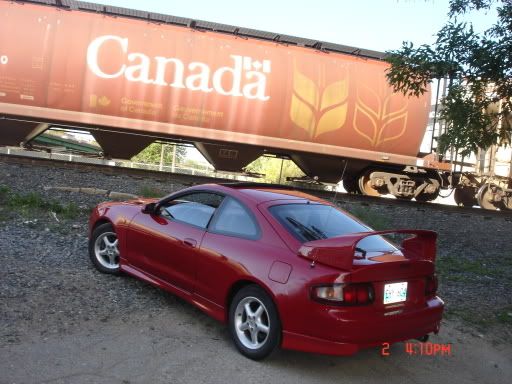 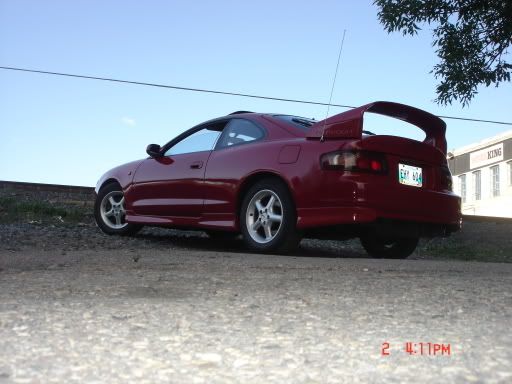 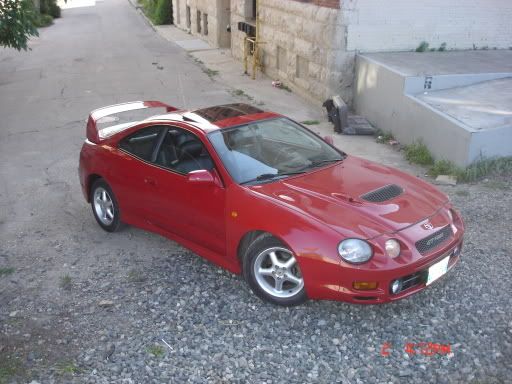 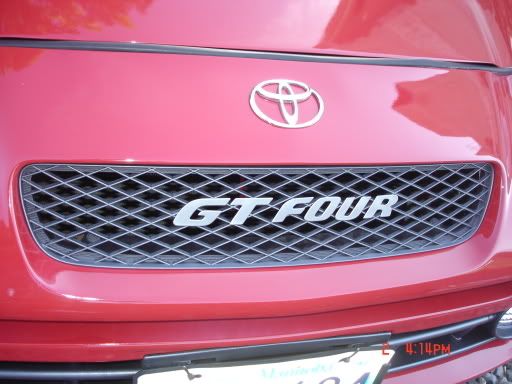 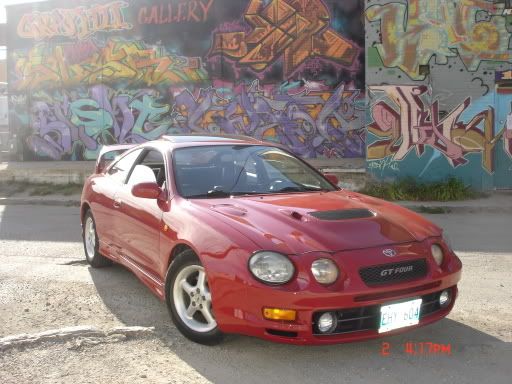 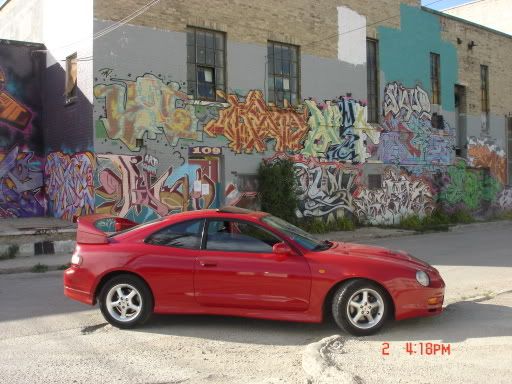 [size=1] is this too many pics for one post? -------------------- -------------------------------------------------------------------------------- -------------------------------------------------------------------------------- |
 |
Replies
 Sep 5, 2006 - 1:05 AM Sep 5, 2006 - 1:05 AM
|
|
 Enthusiast      Joined Apr 18, '05 From Calgary Currently Offline Reputation: 20 (100%) |
also added the rear ss suspension sticker.. i know i know, not sportin the ss suspension but looks hot nonetheless.
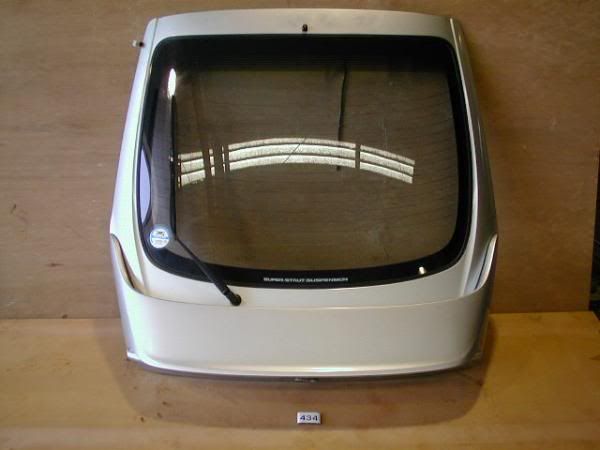 a real ss-III hatch   my hatch all thanks to malpaso This post has been edited by azian_advanced: Sep 5, 2006 - 1:12 AM -------------------- -------------------------------------------------------------------------------- -------------------------------------------------------------------------------- |
Posts in this topic
 azian_advanced finished gt4 conversion Sep 4, 2006 - 6:40 AM
 malpaso This pictures are what I waited for... amazing wor... Sep 4, 2006 - 6:45 AM
 Insanity-74 Nice job. Sep 4, 2006 - 6:47 AM
 WannabeGT4 QUOTE(azian_advanced @ Sep 4, 2006 - 6... Sep 4, 2006 - 7:23 AM

 presure2 QUOTE(WannabeGT4 @ Sep 4, 2006 - 8:2... Sep 4, 2006 - 7:51 AM

 malpaso QUOTE(presure2 @ Sep 4, 2006 - 2:51 ... Sep 4, 2006 - 8:47 AM


 hitcachi QUOTE(malpaso @ Sep 4, 2006 - 8:47 A... Sep 4, 2006 - 12:26 PM

 azian_advanced QUOTE(presure2 @ Sep 4, 2006 - 7:51 ... Sep 4, 2006 - 12:05 PM
 Celica power damm that is a mean looking car Sep 4, 2006 - 8:34 AM
 twitchh17 nice job man. the before and after pics are awesom... Sep 4, 2006 - 8:44 AM
 DSRT-FX holy smokes! that is hot!!!! Sep 4, 2006 - 8:50 AM
 Jaws4God awesome! pics are great!! makes me ... Sep 4, 2006 - 9:23 AM
 kCed looks good...i saw it yesterday when you were leav... Sep 4, 2006 - 11:10 AM
 Sh0gunkid8721 Im just curious...Whats the difference between a b... Sep 4, 2006 - 12:42 PM

 hitcachi QUOTE(Sh0gunkid8721 @ Sep 4, 2006 - 12... Sep 4, 2006 - 3:29 PM
 j0e_p3t looks sweet. plus another great how-to article. go... Sep 4, 2006 - 2:01 PM
 Akimbo looks great. its something id love to do..but I do... Sep 4, 2006 - 2:58 PM
 azian_advanced hahah.. nice..
anyway, i've been toying out ab... Sep 4, 2006 - 4:01 PM

 malpaso QUOTE(azian_advanced @ Sep 4, 2006 - 11... Sep 5, 2006 - 2:03 AM
 FlamingCelica Looks great man, I wish i could get my little red ... Sep 4, 2006 - 4:12 PM
 trdproven Thats pretty clean looking and great install. Goo... Sep 4, 2006 - 4:55 PM
 BBoYRuGGeD sexy car bro
bboy Sep 4, 2006 - 5:16 PM
 celica3sgte Looks awesmoe, great pics, and great job!... Sep 4, 2006 - 7:14 PM
 Rayme Awesome work man! Does that make you the first... Sep 4, 2006 - 10:45 PM
 devilsden97 nicely done Sep 4, 2006 - 10:54 PM
 Batman722 guy you make incredible how-to's I'm impr... Sep 4, 2006 - 11:04 PM

 azian_advanced QUOTE(Batman722 @ Sep 4, 2006 - 11:0... Sep 5, 2006 - 1:00 AM
 trdproven Well, whats wrong with badging it a gt-four when i... Sep 5, 2006 - 12:18 AM
 CelicaZR Very nice conversion A_A
Good write up too.
I t... Sep 5, 2006 - 8:25 AM
 rstype23 How much this the conversion cost? Feb 6, 2009 - 2:48 PM
 pepsiman QUOTE (rstype23 @ Feb 6, 2009 - 2:48... Feb 6, 2009 - 5:01 PM
 trdproven It cost pretty much to do it even if you get just ... Feb 6, 2009 - 7:09 PM
 MacgibaS2 nice write up.. beautiful car! Feb 8, 2009 - 12:47 AM
  |
2 User(s) are reading this topic (2 Guests and 0 Anonymous Users)
0 Members:
| Lo-Fi Version | Time is now: November 23rd, 2024 - 6:32 PM |


