 Apr 29, 2007 - 10:49 PM Apr 29, 2007 - 10:49 PM
|
|
|
Enthusiast     Joined Nov 7, '06 From Lawrence IN, 46226 Currently Offline Reputation: 17 (100%) |
i got a new mod, my new stereo is a sony head unit. i didnt think i could possible mod it. i was able to put a the word "celica" and a toyota symbol in the background. i am loveing it i am going to put a pic up soon til then, i just thought i would rant.
This post has been edited by mneal2_92788: May 3, 2007 - 11:03 PM |
 |
Replies
 May 3, 2007 - 10:59 PM May 3, 2007 - 10:59 PM
|
|
|
Enthusiast     Joined Nov 7, '06 From Lawrence IN, 46226 Currently Offline Reputation: 17 (100%) |
sorry it took so long but here we go...
lets start with what you need. a small phillips screwdriver, maybe a small flathead to pry the outer peices apart. also a slip of paper (i suggest white with dark graphics)or clear plastic with the graphics cut to just larger than the size of the visible screen. sorry for the poor quality this is a sony headunit. first remove the wheel on the front. 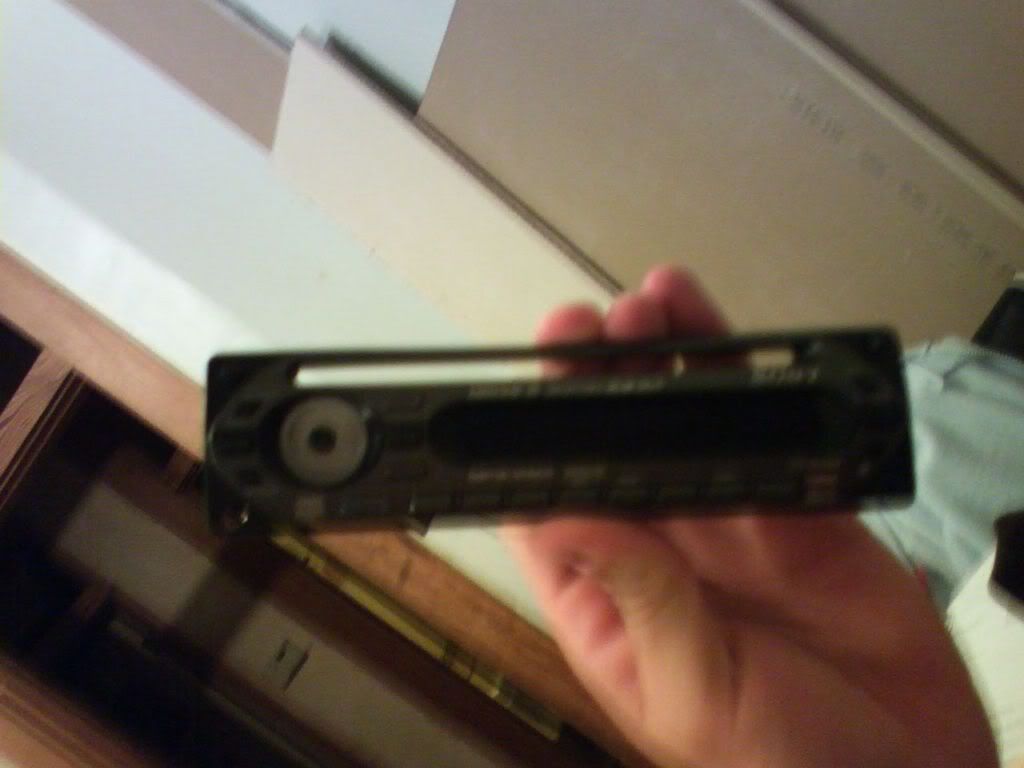 next turn over and remove the five screws. be careful not to lose the screws. when removing the back the button that takes the faceplate off likes to stick and the spring will go with it. also if you have teh AUX input on the front it needs to come out with the cicut board. 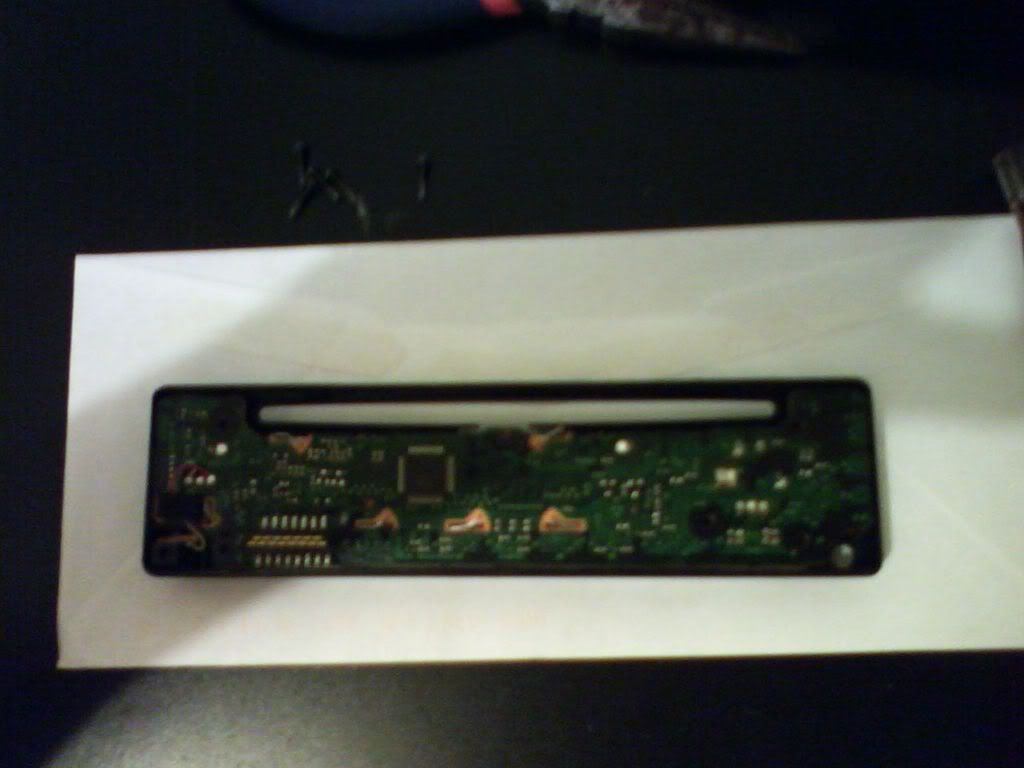 take out the board and be sure not to drop it. 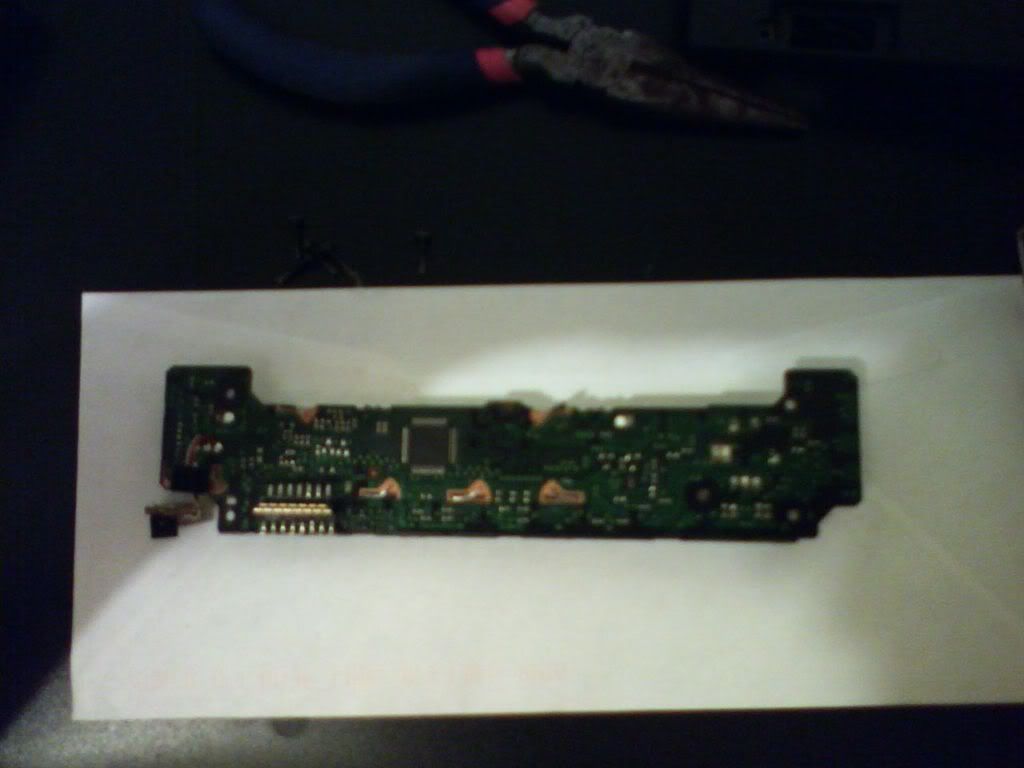 turn over and notice the screen. 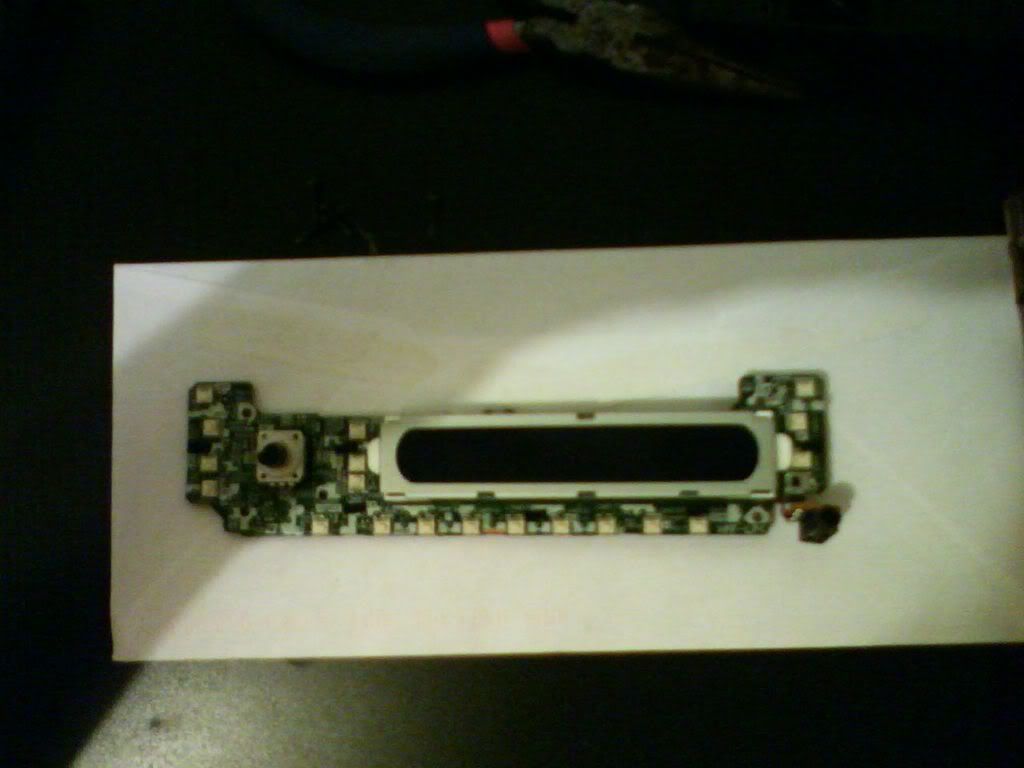 now on the back once again there are six metal tabs that are holding the screen on. some models of stereos have the tabs soldered on, the sony's i have seen do not. anyways. take a pair of needle nose pliers and bend the tabs straight. there are three on the bottom, two on the top, and one just beside the part that plugs into the stereo itself. 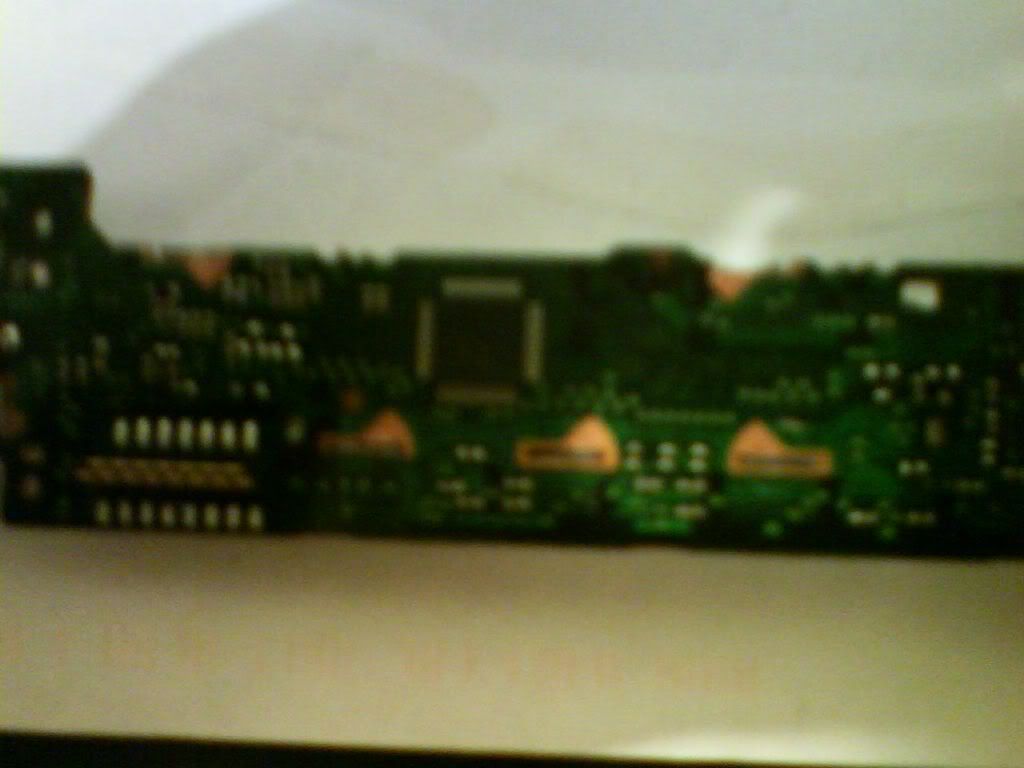 when all are bent enough to move the screen, carefully turn over and take the screen off. 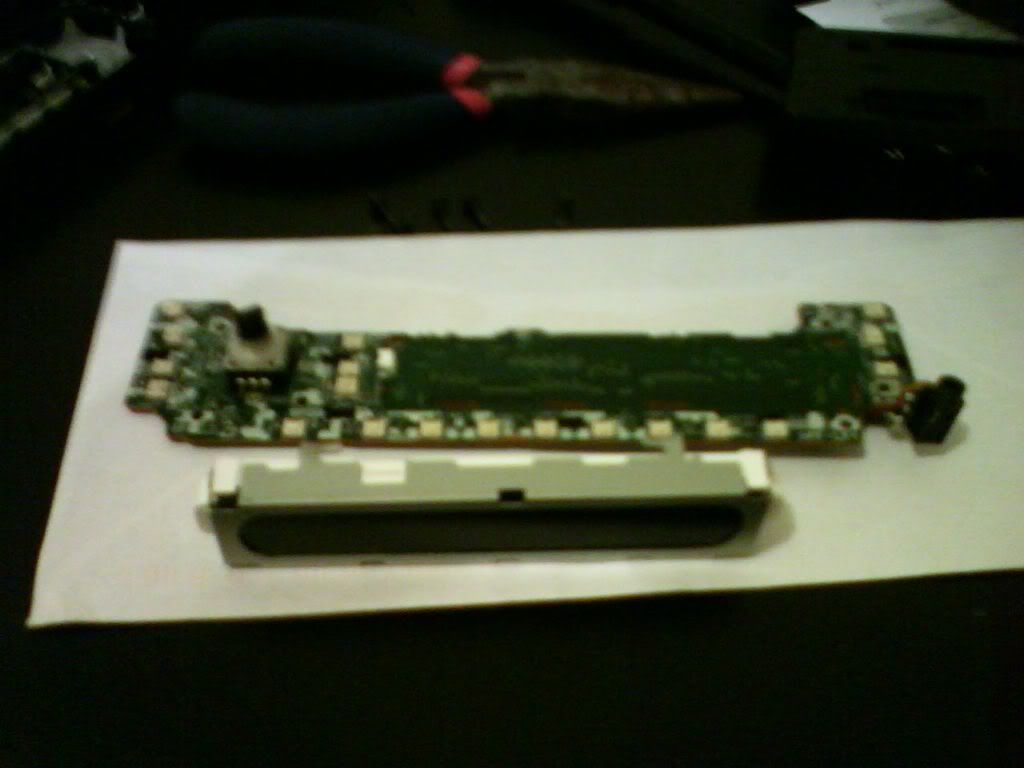 this video part is showing how to take the paper off and where to put the slip of paper with the graphics in the screen. sorry it is sideways  this part shows how to put teh screen part back together and place it back on the board. this one is sideways too  finally when the screen is placed back on the board, bend the tabs back into place. it may take some wiggleing the screen to get it all to fit together perfectly. finally put it all back together and plug it in. 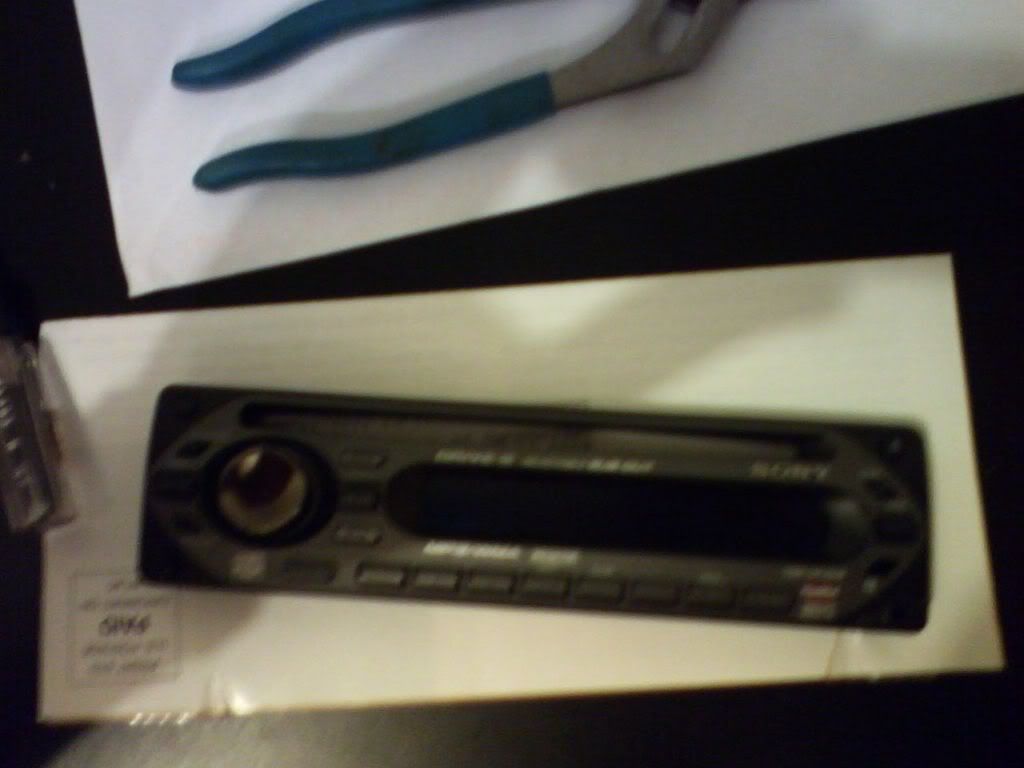 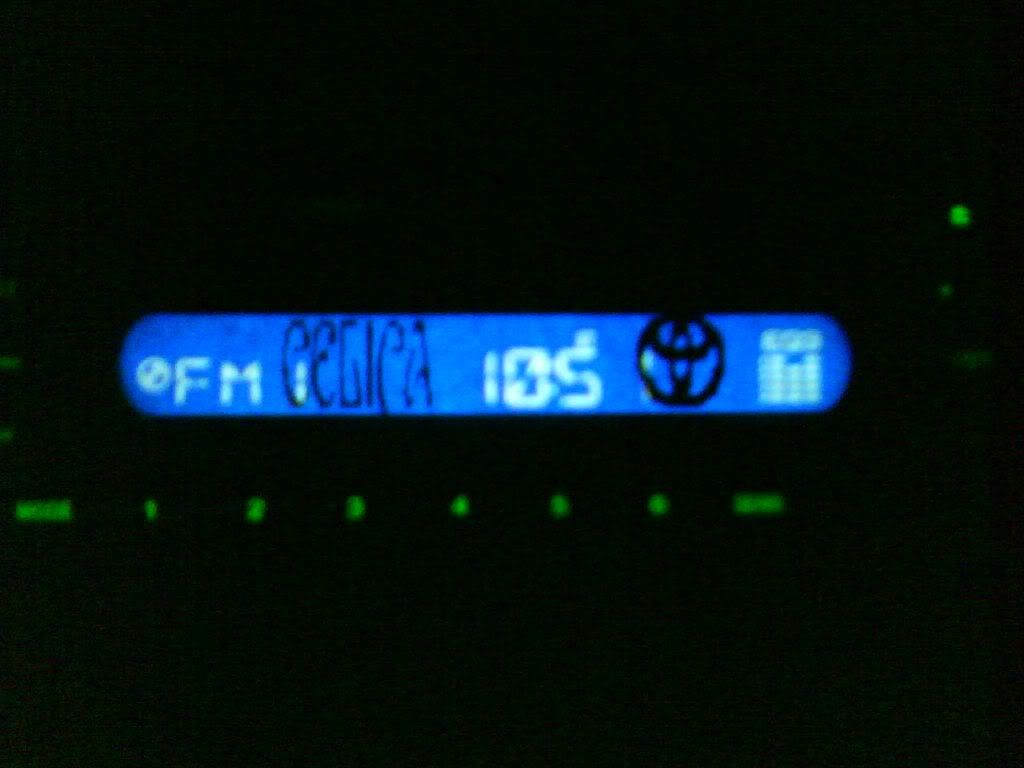 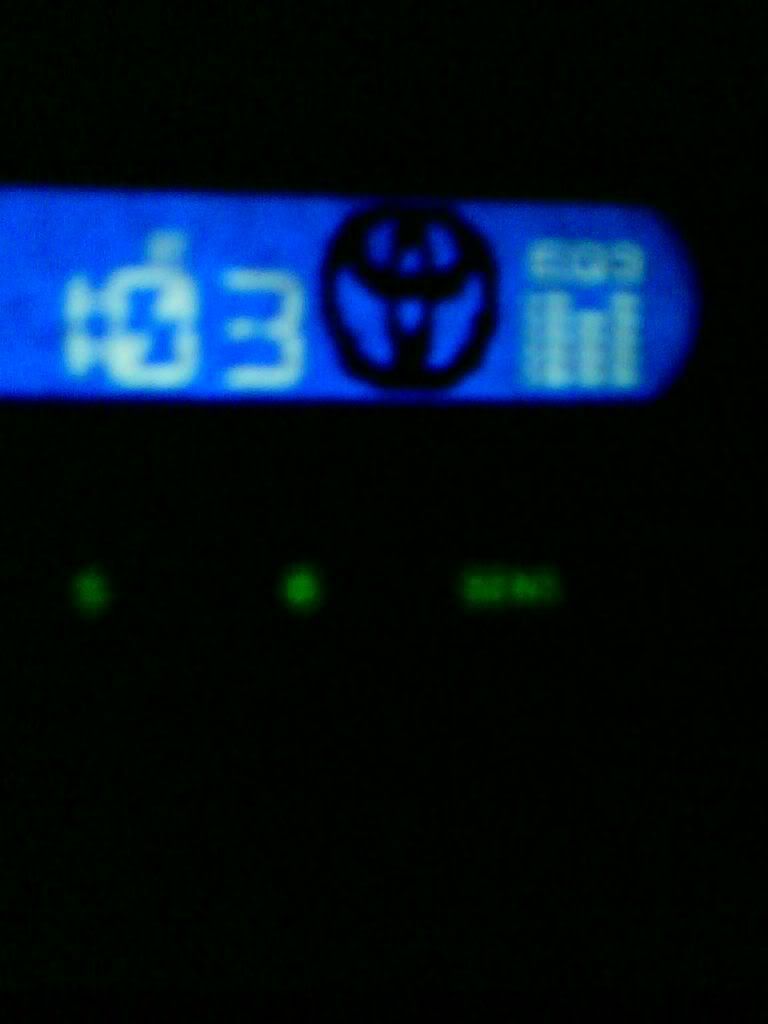 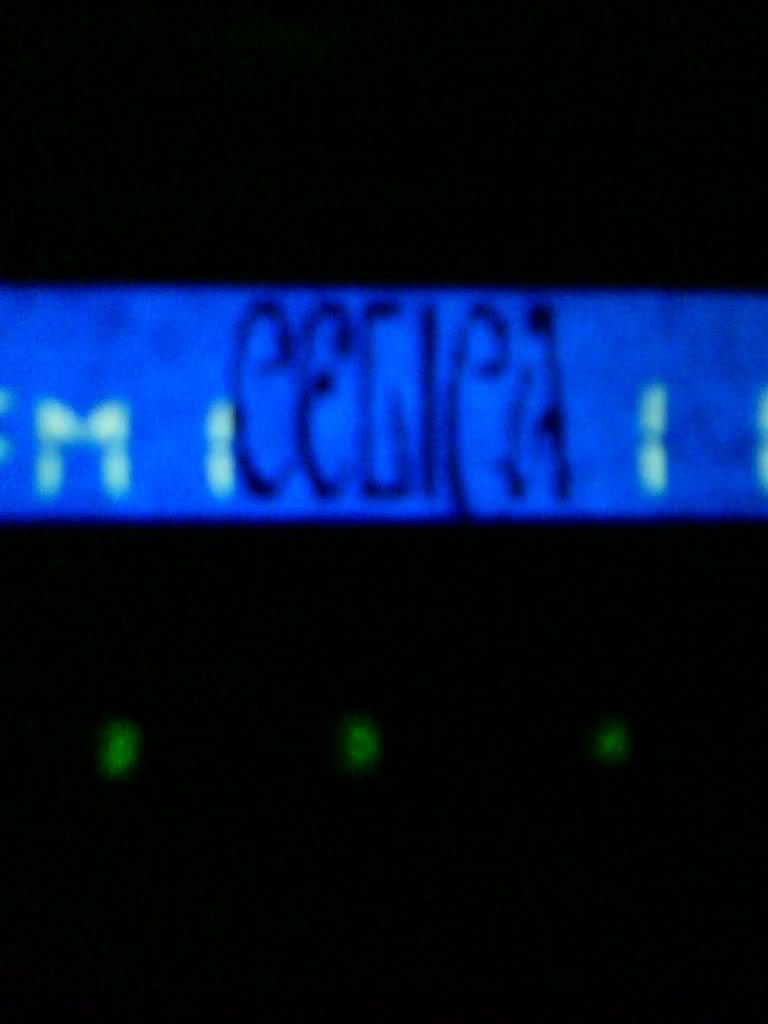 good luck to all, any q's just ask me. |
Posts in this topic
 mneal2_92788 another little free mod...UPDATE!!! Apr 29, 2007 - 10:49 PM
 Jaws4God how'd ya do that? Apr 29, 2007 - 10:50 PM
 mneal2_92788 well ill do a mini how to. ok
first take the entir... Apr 30, 2007 - 12:31 PM
 Jaws4God pic?? Apr 30, 2007 - 2:10 PM
 mneal2_92788 im going to post pics tonight with the directions ... May 1, 2007 - 8:36 AM
 2003cbgts pretty awesome but out of my league May 4, 2007 - 2:01 PM
 Jaws4God thats.. interesting... May 4, 2007 - 2:08 PM
 bufferdan bahahahahha...
Or you could get a scion radio and... May 4, 2007 - 2:26 PM
 mneal2_92788 2003-anyone could do it, oh well. live with what y... May 4, 2007 - 10:38 PM
 spolski07 QUOTE(bufferdan @ May 4, 2007 - 2:26... May 14, 2007 - 2:42 PM
 cjh4l22 uh.... yea that or u just buy a head unit from ...... May 14, 2007 - 3:53 PM
 mneal2_92788 yeah well, again i got hte unit for free so it wor... May 14, 2007 - 5:08 PM
 jason hahaha i occasionally have some bad pictures in mo... May 14, 2007 - 5:56 PM
 mneal2_92788 yeah well, ive been looking for a cool font, but s... May 14, 2007 - 11:18 PM
 NaderG is there a way to change the green lighs to blue o... May 15, 2007 - 10:32 AM
 mneal2_92788 im actually working on figuring that out. i think ... May 15, 2007 - 12:37 PM
 playr158 QUOTE(jason @ May 14, 2007 - 6:56 PM... May 15, 2007 - 1:59 PM
 C3L1CA Thats pretty cool, I would have never thought of a... May 15, 2007 - 2:02 PM
  |
8 User(s) are reading this topic (8 Guests and 0 Anonymous Users)
0 Members:
| Lo-Fi Version | Time is now: December 4th, 2024 - 9:23 PM |


