 Feb 17, 2008 - 9:01 PM Feb 17, 2008 - 9:01 PM
|
|
|
Enthusiast      Joined Jan 18, '08 From Houston Currently Offline Reputation: 7 (100%) |
Okay; Many members have been wanting me to post up my work as i go thru it. I've decited to respect theese wishes, and try my best to make a decent thread form now till i finish this project.
Id also like to take a second and ask our more experienced members to not knock on parts of my job. I do live by the "Do it once, Do it right" theme, However; For my purposes, some things MUST be done over. In this first post, there will be some items that some people would consider "Half-Ass" (Mod's Please pardon the figure of speech) BUT please rember that due to time and financial restrictions; I'm posting this as i go. I DO infact have a motive to do theese things. There is a reason i do things the way i do. Also; NO, i am not a mechanic. Infact, I'm an accountant / Office supervisor. Many of you know that i spend my days online here at 6gc.net trying to help others. Everything i know, is because i've had to do it. I'll be the first person to say "I dont know" if i cant help you. I am aslo not a photographer. I dont have a camera. I use my Cell phone. Sorry they're blurry. With that said, I hope some of you can learn a thing or two from this project. Namely the Noobs. I would also like to take a second and mention that Noob is short for Newbi, someone who is new at something. I am new at 6 gen Celicas. I have had mine for almost 3 months now. There is nothing wrong with being new, it just means that you have a bit of catching up to do. Well, seeing as i wasn't a member when i did the power searing, and the window brackets; That wont be included here. Lets start off with this lovely image: 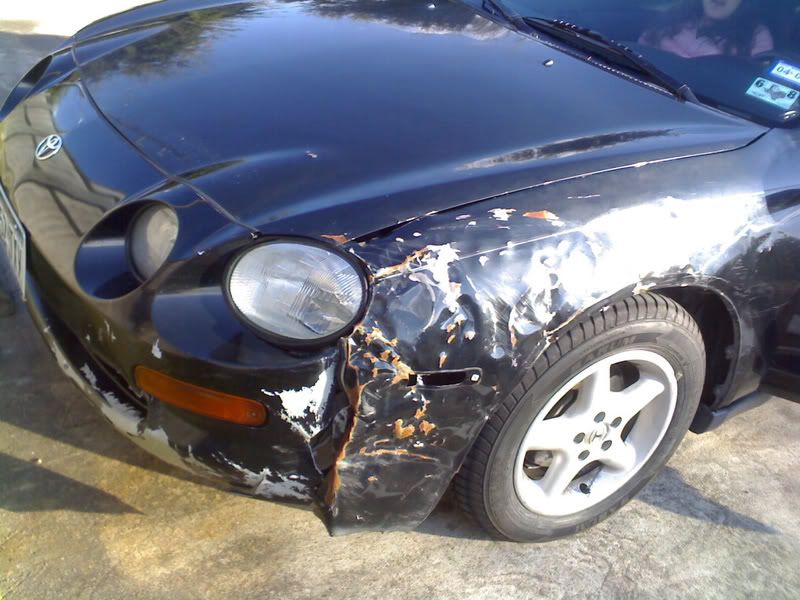 And this is what we'll be working with on todays episode. First off; We'll have to remove the bumper. Now when you have a few of theese: 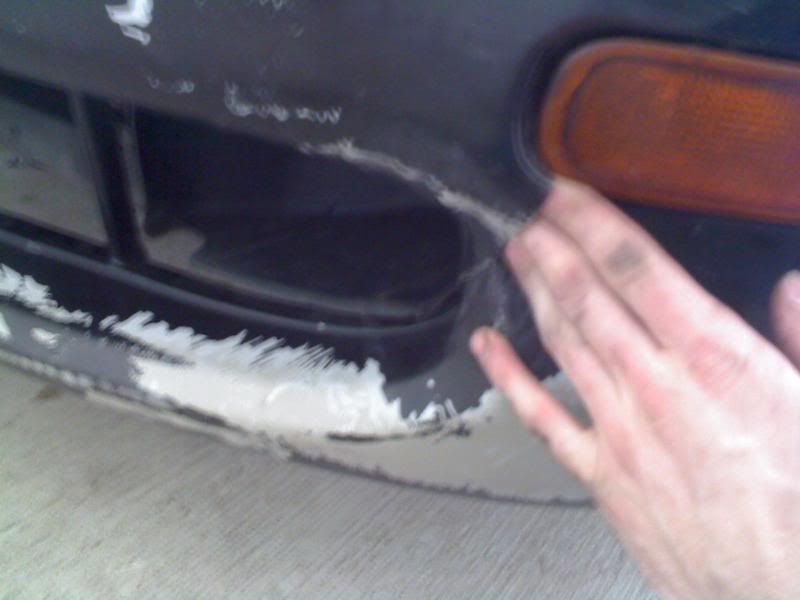 3 finger holes... And no suppots except for a zip-tie... It's not hard. For the rest of us, we'd start by poping the hood; removing the 4 bolts on the top lip of the bumper. Then we'd move downward to remove the plastic tabs holding to the frame in our grills. Witch would let us to remove the 3 bolts holding our splash guard. Then there are going to be 3 nuts to remove inside of the body, between the fender and the bumper. Voila, bumper has been removed. Now just for Schetts and giggles; I'm also going to show you how to fiberglass a bumper crack back into one peice. I'll do that in a second. Lets finish changing the fender first. Next we are going to Remove that bad fender. Start by removing your splash guard. There are something like 6 bolts i think... I dont know... Because i dont have one. It's in the mail... We're going to then remove the side skirt. You can unbolt the whole skirt if you want, But i only removed the first 3. There is one bolt holding the fender in, Look for yourself: 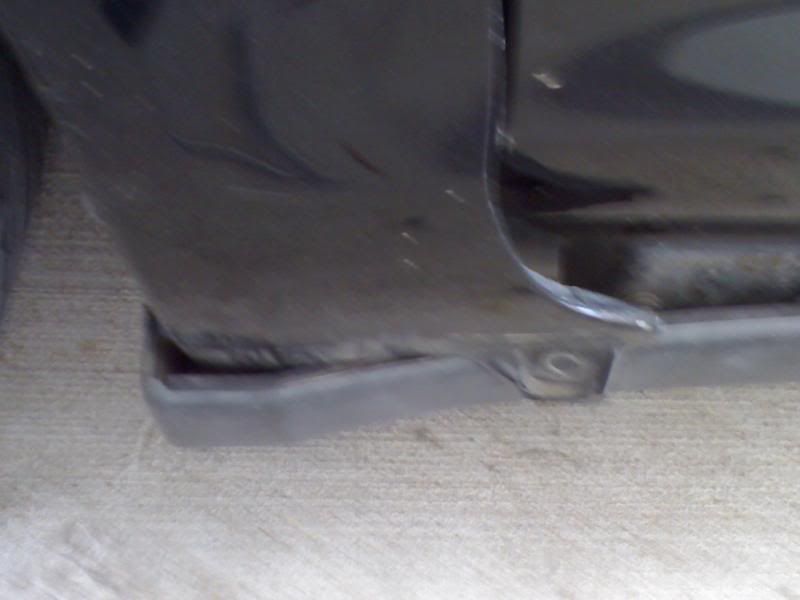 And one more vertical to the top of the fender, Inside the door. You'll have to get an extention to get to it. 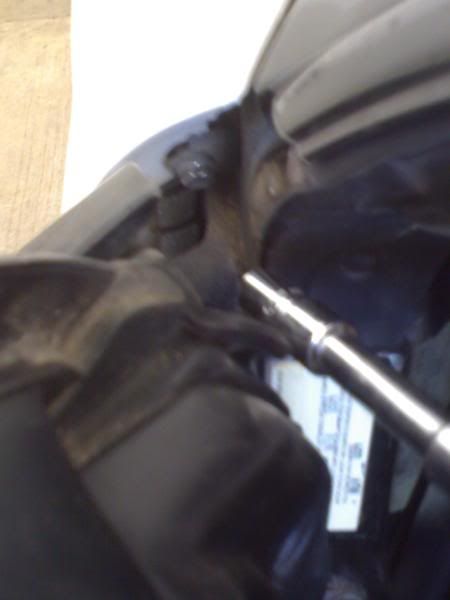 Sorry again for the blurry images. Now we're going to move back under the hood. There are 3 final bolts holding that fender on located on the top lip of that fender: 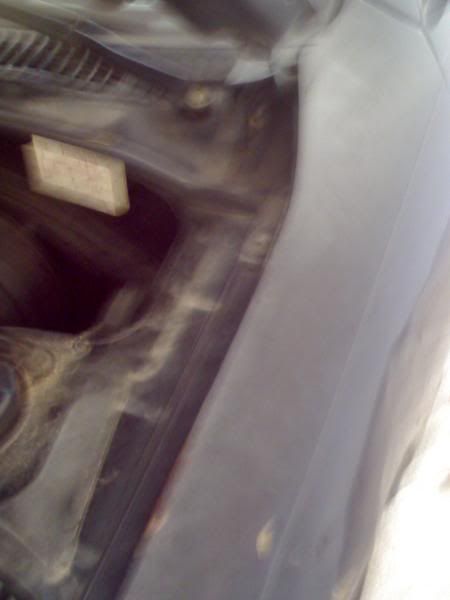 Now we should be looking at this: 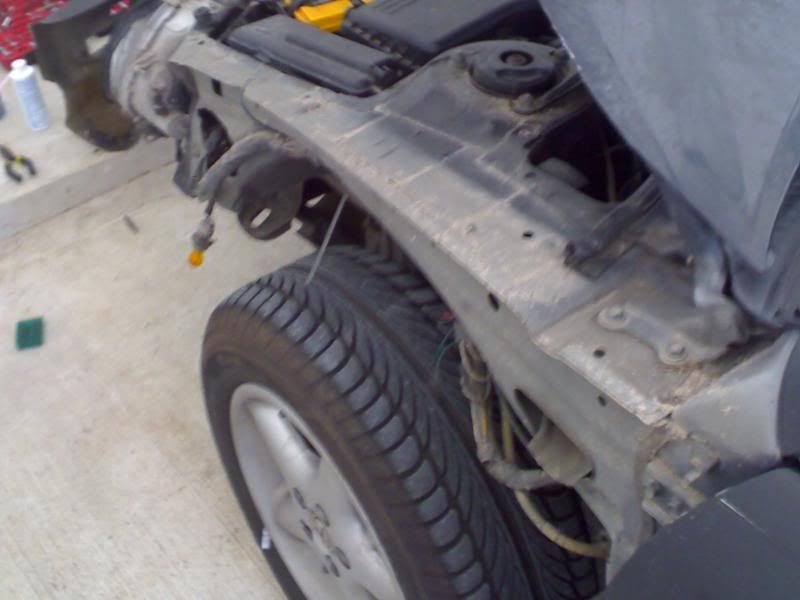 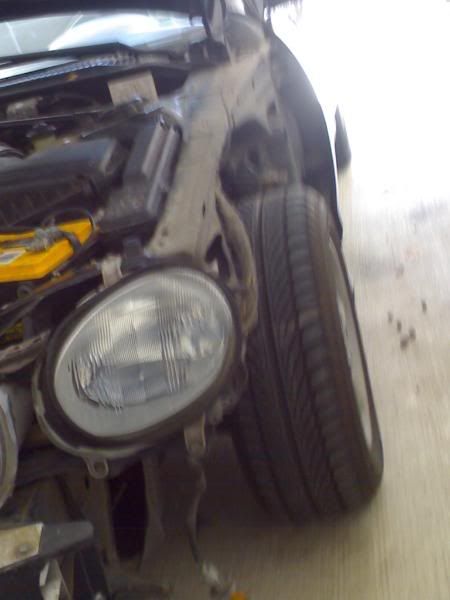 Now for my purposes, This was a great opportunity to look for crap like this: 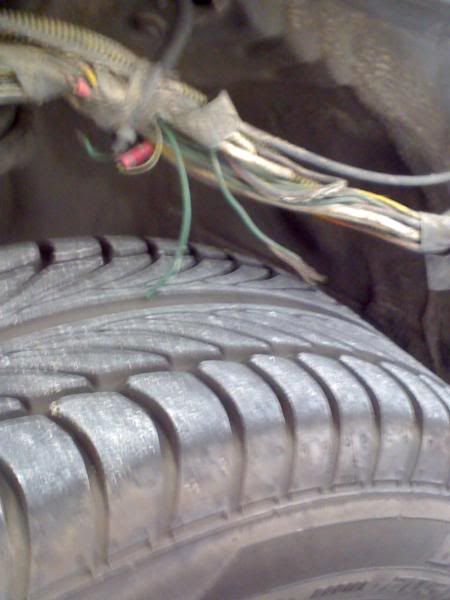 Oooohhhh THAT's why my hazard lights dont work Quick connect; and it's fixed. (And test to make sure you didnt wire something crazy up) Its a good idea to check wires before connecting them. However, it's also a good assumption that when you see 2 riped wires, Perfect length for each other, With matching colors... For my purposes, i assume they go together. but if it was YOUR car, i'd recommend to check first. Okay, I suppose this would be a good time to worry about that busted bumper as well... You see it was held on by a zip-tie... The lip that holds the bracket; that goes into the fender VIA the 3 nuts, Was riped off on the seam. Look: 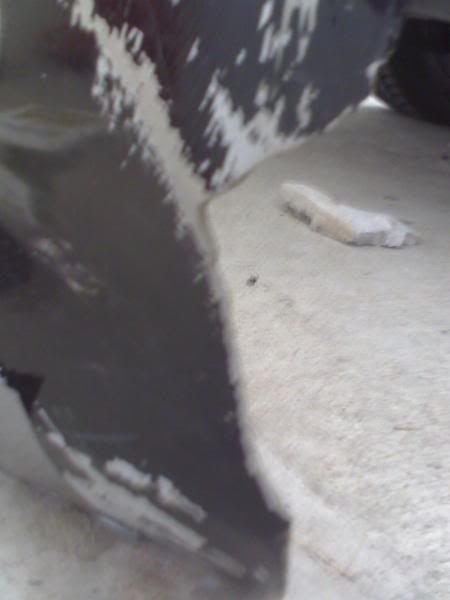 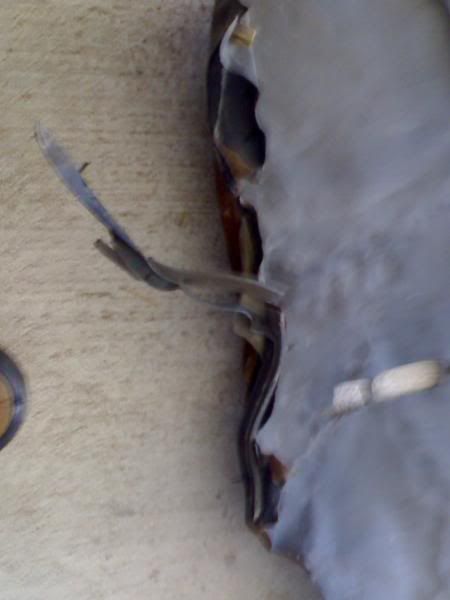 This is a quick advance into the future, but to prove my point: 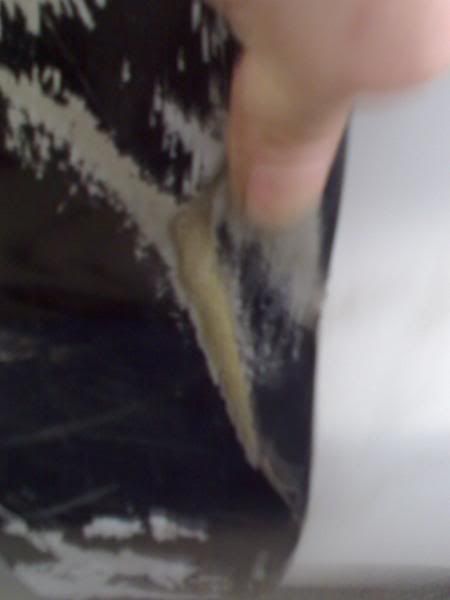 And the bracket it self was: 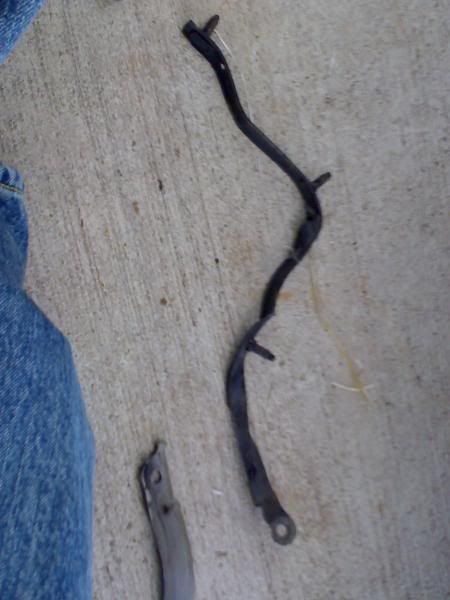 Well it wasnt quite in tip top shape. So using the finest pliers i had... 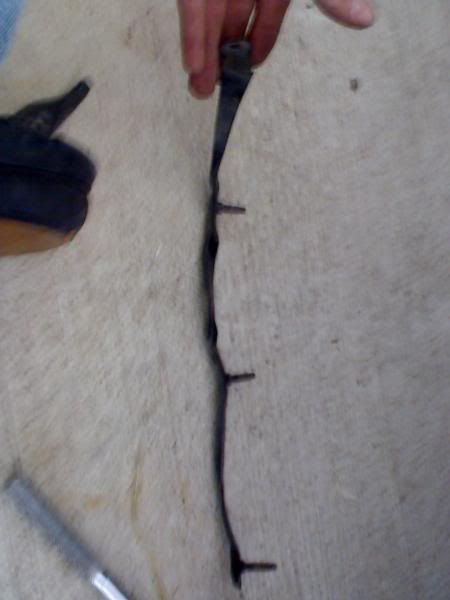 Is something like what it should look like. Also; for my purposes, A bit of fiberglass work was required. I dont need to, But for this fourm i will go back and finish this fabrication... Lets jump to that real quick. 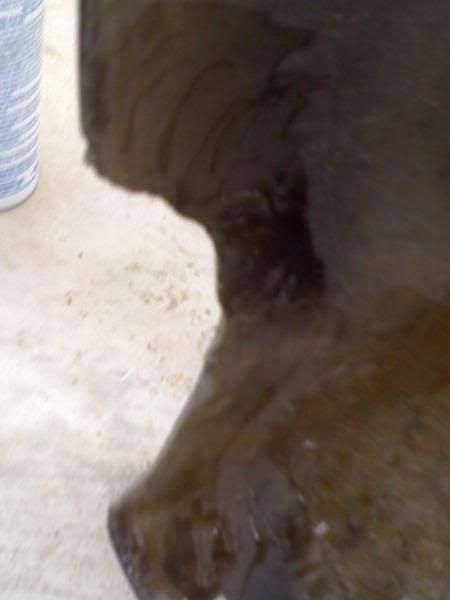 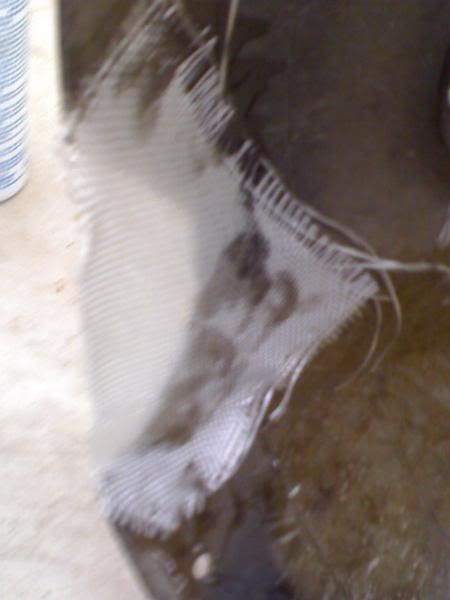 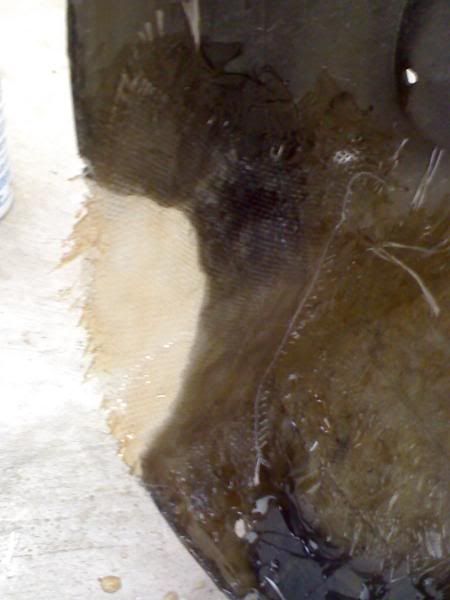 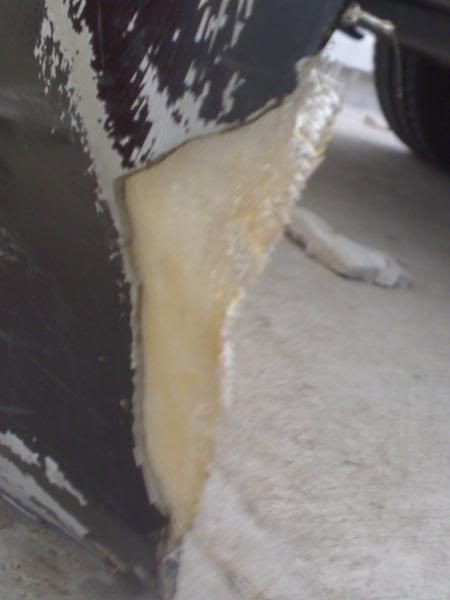 Now this is where i stoped. It was getting late, the wife and baby were hungry, I'll finish this next weekend for you guys. Please note; that last picture is actually 9 layers of fiber cloth. i didnt see any reason to post it up 9 times... Also: to mend cracks, your going to pull it together best you can and tape the front. 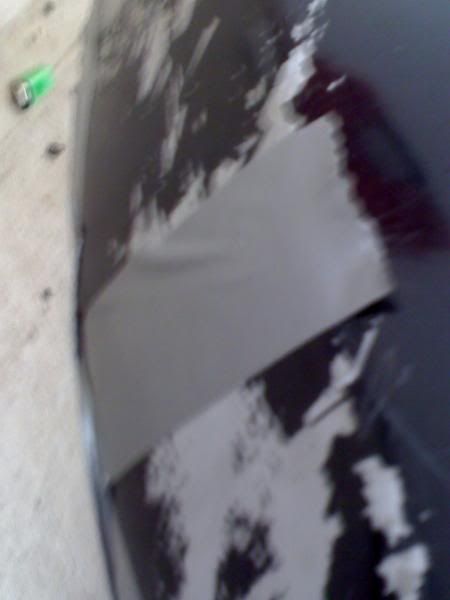 Then on the reverse side you'r going to lay about 10 layres. 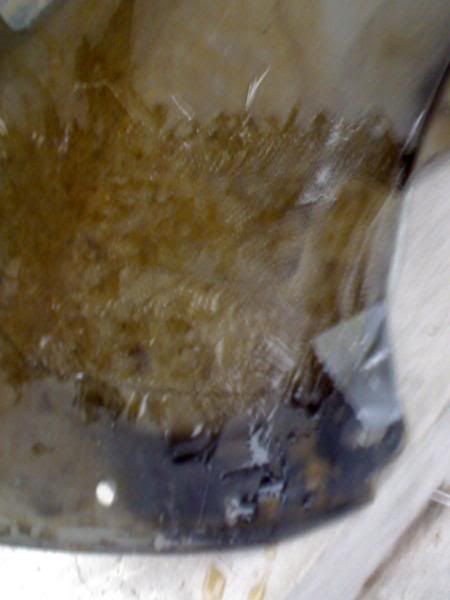 Then when you come back to the front; it should look like, or better than this: 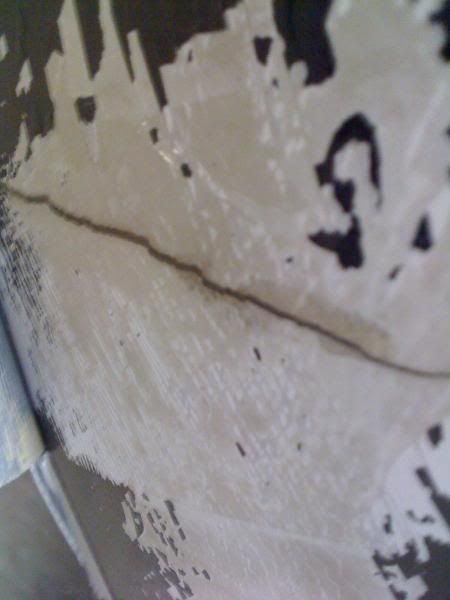 Please note this is not a half-ass job. I am purchasing a full body kit after the 1st of next month. (Pay rent first Again, this is something i'll finish next week for you guys. But FYI, from here you'd lay a coat of resen/hardner over the crack and all arround. Then you'd sand it down. Then Bondo - Sand - Paint. I'll show you guys next weekend. Back to the fender. Because i have need for a new bumper, and wife/baby getting hungry and complaining about it; I actualy drilled holes and used more zip-ties to secure the bracket to the bumper. I then secured the bumper to the fender as if it were legit. For my purposes, it is okay. I'm buying a new one in 2 weeks. At witch point the old one will be scraped. 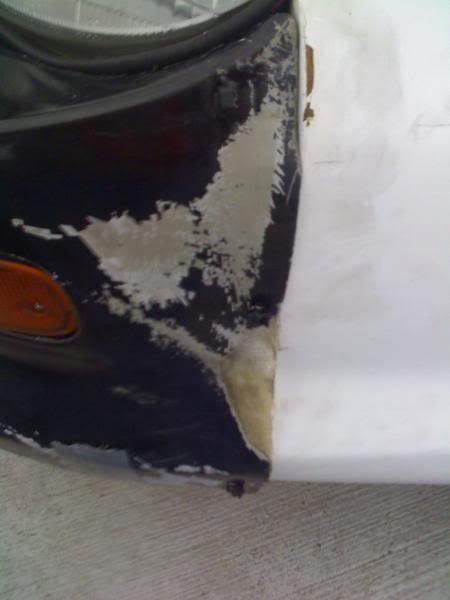 But holes like this cannot be fixed, not after it's warped so bad, and for so long: 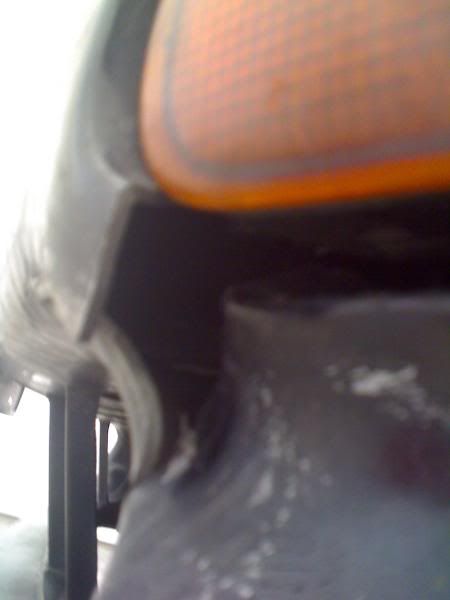 Back to the fender -> For anyone still useing this as a refferance, Replaceing the fender is just like taking it off... But in Rewind. Now lets assume that you read this backwards and put it on. It may not be stright. Thats okay. There may be a scientific method, But i'm a fan of trial and error. Put it back on; close your hood, and see how it looks. If there are large gaps, loosen the top 3 bolts, and put weight where the gaps were. If its too close together, than pull out before re-tightening the bolts. When its done, you'll want to compare one side with the other. 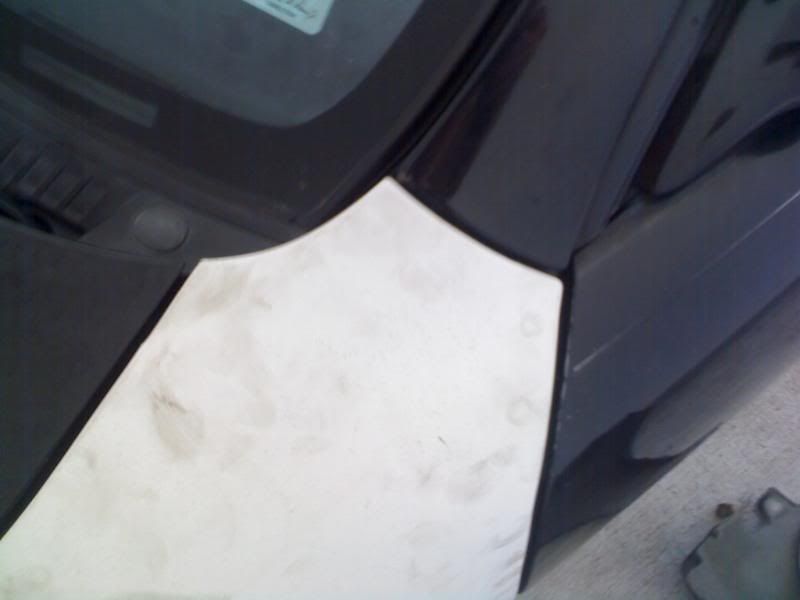 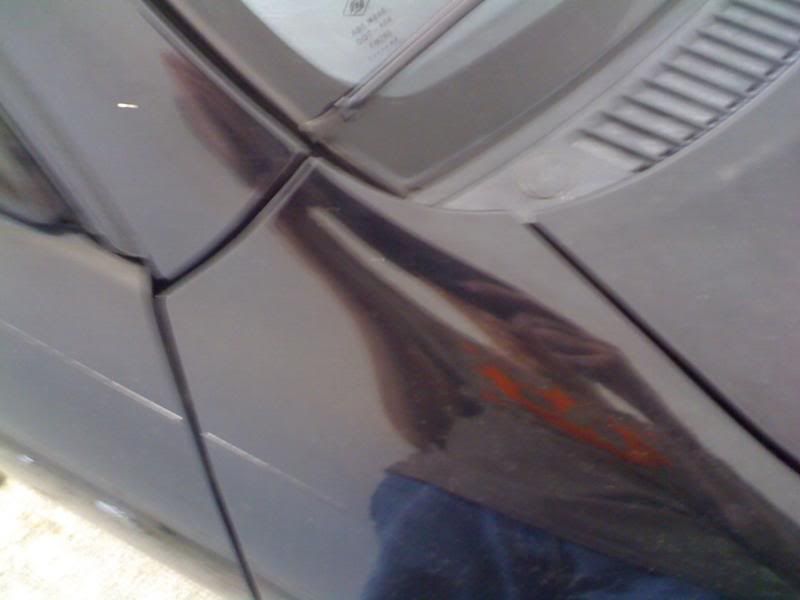 And dont forget the bottom:  Now we should end up with this: 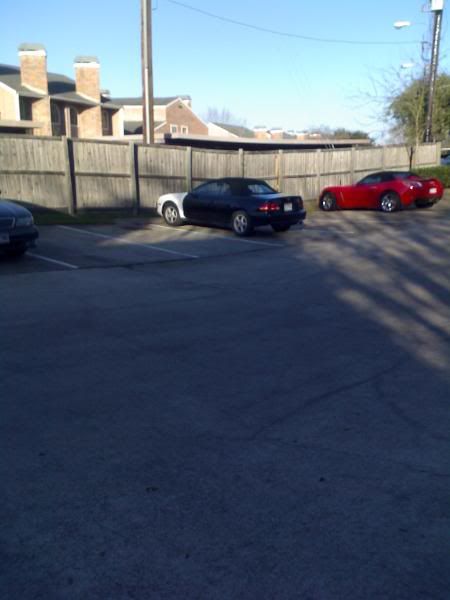 Also, make sure that if your doing this, that you take every attachment off your old fender; Even if you have new ones, A fourm member here may not, and it'd be a very nice thing to do, if you helped that member out, those attachements may be cheap and crapy, but can make a world of difference. Plus the dealership is going to screw you hard if you want to buy them. So if you dont need em, sell em for a dollar or something, please? ***** If anyone has any questions or comments on this thus far, Please feel free to speak your mind. I'm going to be adding a little more every weekend, and hopefuly this helps someone, Or atleast entertains them. Stay tuned, For soon we'll be doing a full body kit, a spoiler, and custom fabricated sub boxes. I have a Turbo Project in the works... Early phases, i'm trying to get my hands on all the parts, and with certain fourm members helping me, It may be pretty soon, Or in a milllion years. Who knows... Thanks for tuning in~ This post has been edited by D-Man: Jun 9, 2008 - 3:11 PM -------------------- QUOTE (presure2 @ Nov 6, 2010 - 6:16 AM) Via FB: fcuking awsome!!! D-man FTW! Damn D-Man - most impressive. D-Man's post should be a sticky LOL, oh boy, you can always count on D-Man for ridiculously hilarious posts. |
 |
Replies
 Feb 18, 2008 - 12:00 AM Feb 18, 2008 - 12:00 AM
|
|
|
Enthusiast      Joined Feb 28, '07 Currently Offline Reputation: 1 (100%) |
i guess i read it now...
-------------------- BANNED. for life, you moron.
|
Posts in this topic
 D-Man Project Hellica Feb 17, 2008 - 9:01 PM
 CelicaST_CALI that has got to be the biggest post i have ever se... Feb 17, 2008 - 10:12 PM
 95st-celica good work bro...i woulda just ordered new but that... Feb 17, 2008 - 10:13 PM

 D-Man QUOTE(CelicaST_CALI @ Feb 17, 2008 - 10... Feb 17, 2008 - 10:30 PM
 GriffGirl I think this is awesome, especially for people lik... Feb 18, 2008 - 11:44 AM

 D-Man QUOTE(GriffGirl @ Feb 18, 2008 - 11... Feb 18, 2008 - 12:10 PM

 parriehunter QUOTE(D-Man @ Feb 18, 2008 - 12... Feb 18, 2008 - 5:06 PM
 D-Man Yeah, well I learned the hard way... i was learnin... Feb 18, 2008 - 5:36 PM
 ImportChick95 Thank you for making this thread. Great work. I... Feb 18, 2008 - 10:33 PM

 D-Man Okay, so i'm installing a few new toys today; ... Feb 18, 2008 - 10:36 PM
 azn87 can u get another set of front brake rotors like u... Feb 25, 2008 - 9:26 PM

 DEATH QUOTE(azn87 @ Feb 25, 2008 - 9:26 PM... Feb 26, 2008 - 11:18 AM

 D-Man QUOTE(DEATH @ Feb 26, 2008 - 11:18 A... Feb 26, 2008 - 11:39 AM
 laff09 Not tryna bash, but you dont need that much 'd... Feb 26, 2008 - 3:54 AM
 DEATH Bring it over - I'll fix it.
Should have staye... Feb 26, 2008 - 1:29 PM

 D-Man QUOTE(DEATH @ Feb 26, 2008 - 2:29 PM... Mar 1, 2008 - 6:14 PM
 D-Man Okay, it's been a while sience my last update,... Aug 10, 2008 - 1:28 PM
 CelicaST_CALI just curious but how did u secure the razor blade?... Aug 10, 2008 - 7:36 PM

 D-Man QUOTE (CelicaST_CALI @ Aug 10, 2008 - 7... Aug 11, 2008 - 7:40 AM
 njccmd2002 Fiberglass 101,
stay tuned in.. Aug 10, 2008 - 9:06 PM
 D-Man okay, for the D/S rotors, it's all pretty simp... Aug 11, 2008 - 10:30 AM
  |
2 User(s) are reading this topic (2 Guests and 0 Anonymous Users)
0 Members:
| Lo-Fi Version | Time is now: November 24th, 2024 - 1:30 AM |


