 Feb 19, 2008 - 8:02 AM Feb 19, 2008 - 8:02 AM
|
|
|
Enthusiast Joined Mar 13, '07 From Ireland Currently Offline Reputation: 0 (0%) |
OK, so Im about as far from an electrician or motoring genius as can be, so if this thread does nothing more than give hope and inspiration to other newbies, then so be it!!
Unfortunately i didnt take as many pictures of the install as i probably shud have but maybe some others with similar set-ups can point you in the right direction... This was my chosen mounting site, as it was discreet yet provided an overall good view of the blind spot 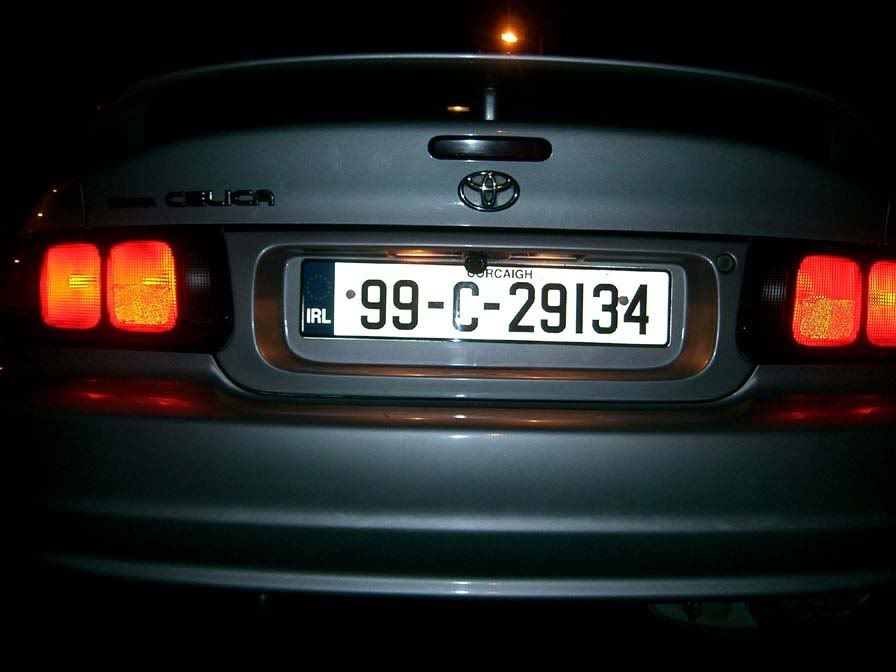 tools/equipment required: 1 reversing camera (bought off ebay for approx €24 shipped) 2 drill 3 screwdriver, 10mm rachet head 4 sodering iron, or other method for securely attaching wires Time: 2hours max so heres the kit i bought (minus the drill bit!):  1. first thing is to remove the interior boot panel so you can take off those lovely JDM tails 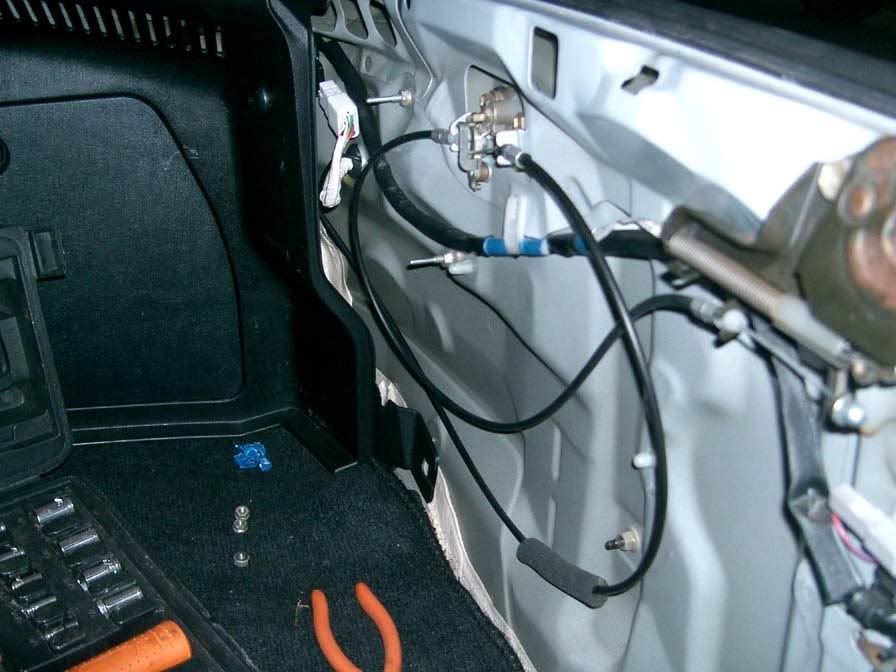 remove the 3 nuts on either side that have the pop out inserts(if you have a rachet extension then no need to remove the panel...lucky you!! 2. next remove one of your tail lights from the harness, i reccomend taling off both so that you precious JDMs arent hanging over the pavement, like mine in the pic...! 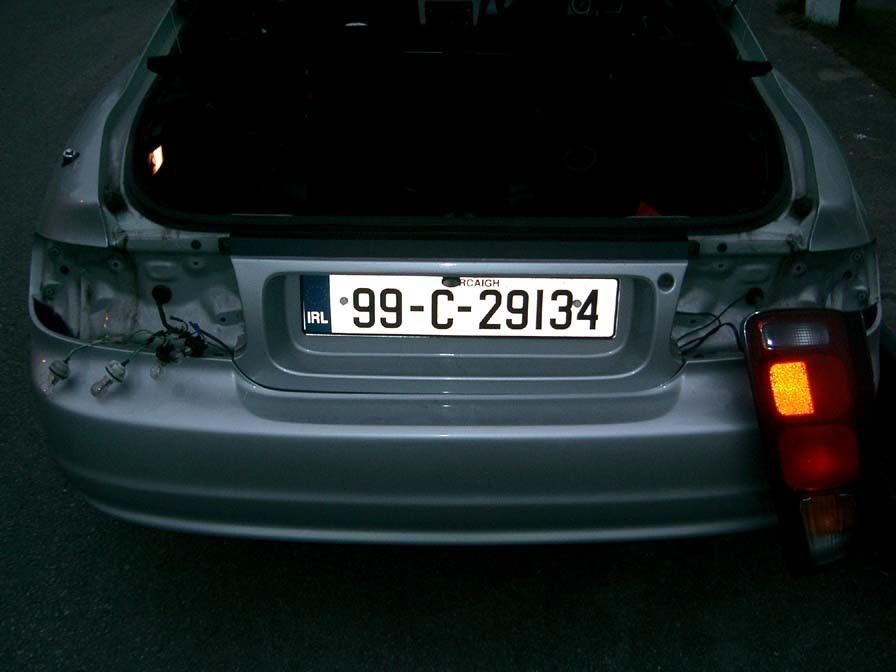 3. Now you need to take off the liscence plate panel, this is done by unscrewing the 10mm bolts on either side (seen below)and unclipping the small white buttons just below it... 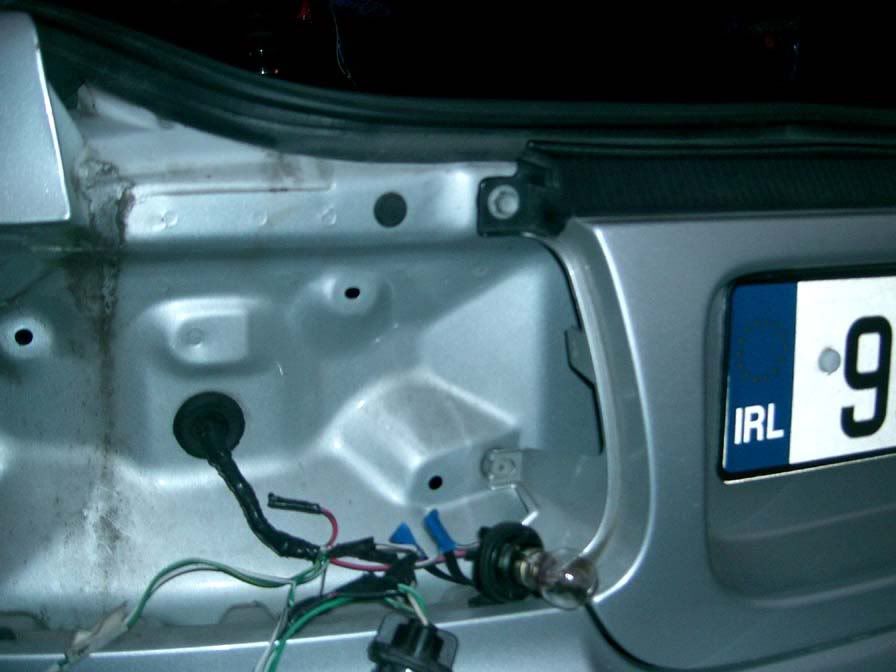 now you need to remove the liscence plate lights, two small bronze screws and the whole unit slides off...sorry bout d blurry pic... 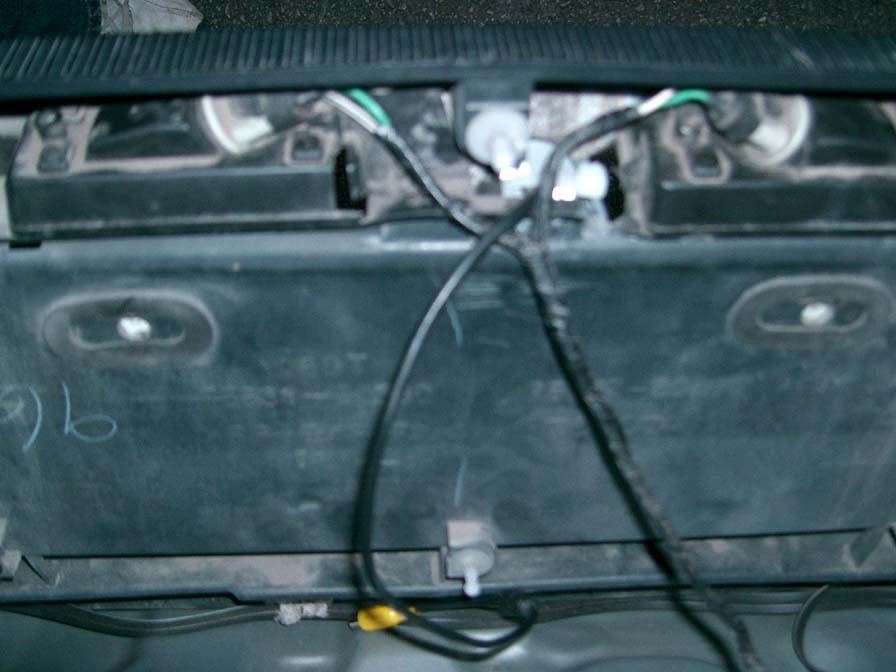 Now using a drill(and a razor to get the hole just right!) cut out the area in between the lights. make a circular hole but slightly elongated so that the camera can sit at an angle facing out (sorry i forgot to take a pic before i fitted the camera dont have a better pic this is just how it looked after i had it in place) 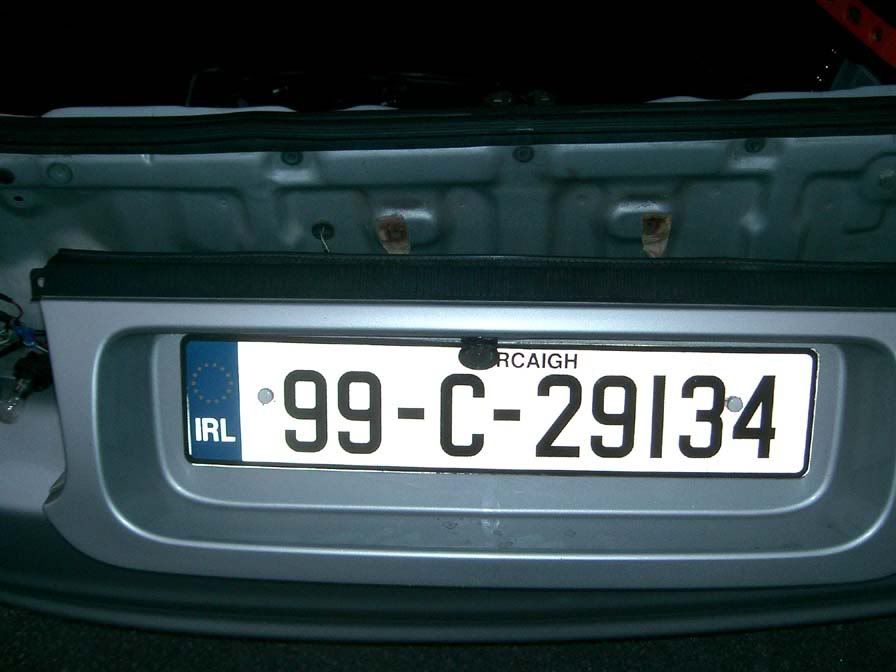 test fit the camera and make sure that the back of the camera isnt sticking out from the panel. once your happy that the camera is in position, test fit brackets but dont cement it in just yet, you still need to check your camera alignment! Now its time to wire it up! OK my kit came with a 5meter long signal wire that needs to be routed through the interior up to where your screen is. find a suitable grommet and go for it! next is the power wire, which i sodered onto the reversing lights wire so that the camera will only get power when the car is in reverse(you can set this up differently if you like) my head unit also has a reversing sensor wire, so that when the car is in reverse the camera image will automatically come up on the screen. the small blue wire is the sensor wire to the head unit, and the two areas of blue insulation tape are where i sodered the power for the camera and the sensor wire up to the reversing light power feed. the black wire leading out through the grommet is the signal wire, also leading to the head unit 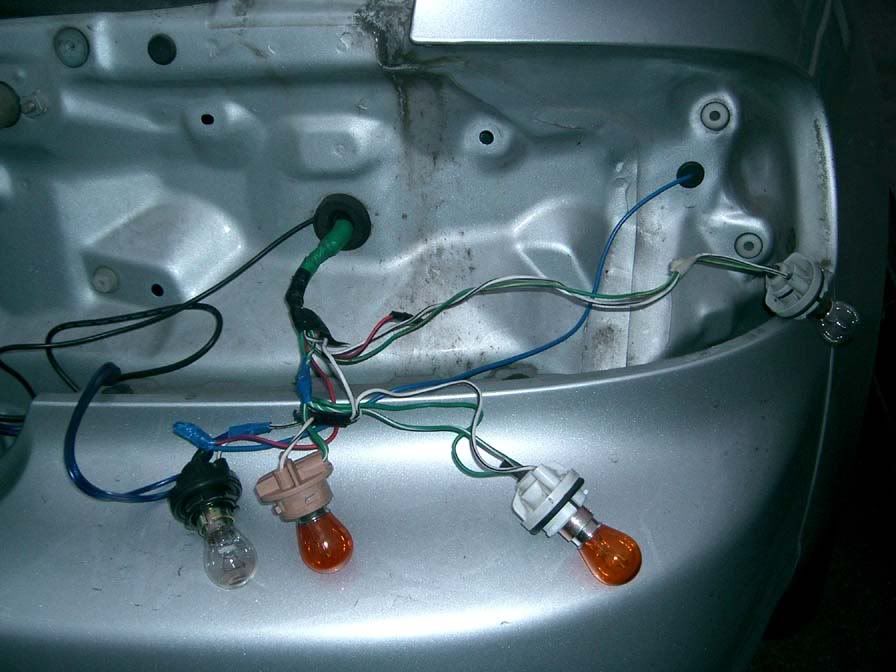 now just connect up the signal and power wires to the camera(use insulation tape around the connections just for piece of mind) 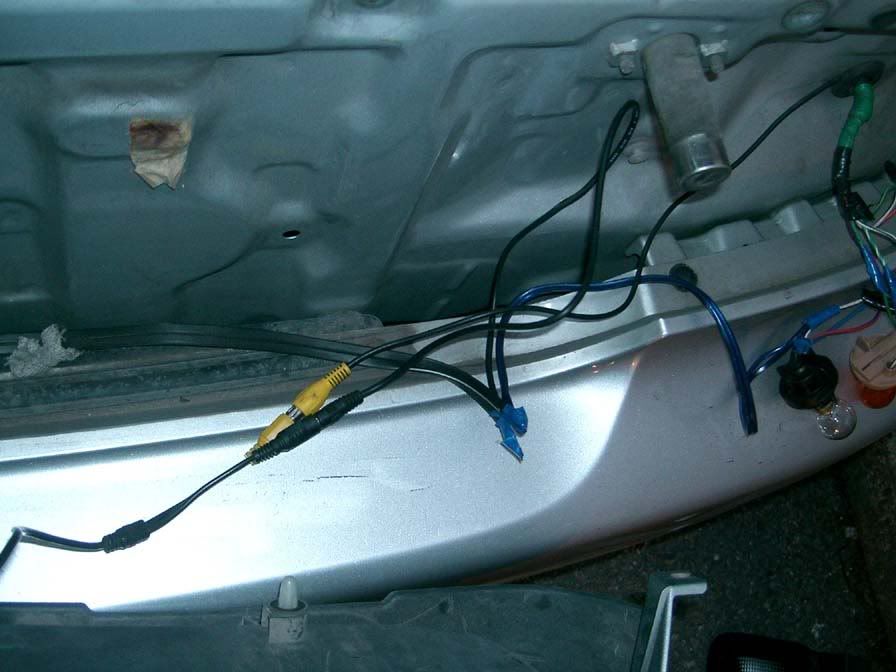 re-attach the liscence plate panel and replace both taillights and if you removed the boot panel, put that back too!! Now you have both the signal and sensor wires routed throught the interior and up to your center console. unscrew the gear knob, take off the gaiter, and pop out the lower console cover 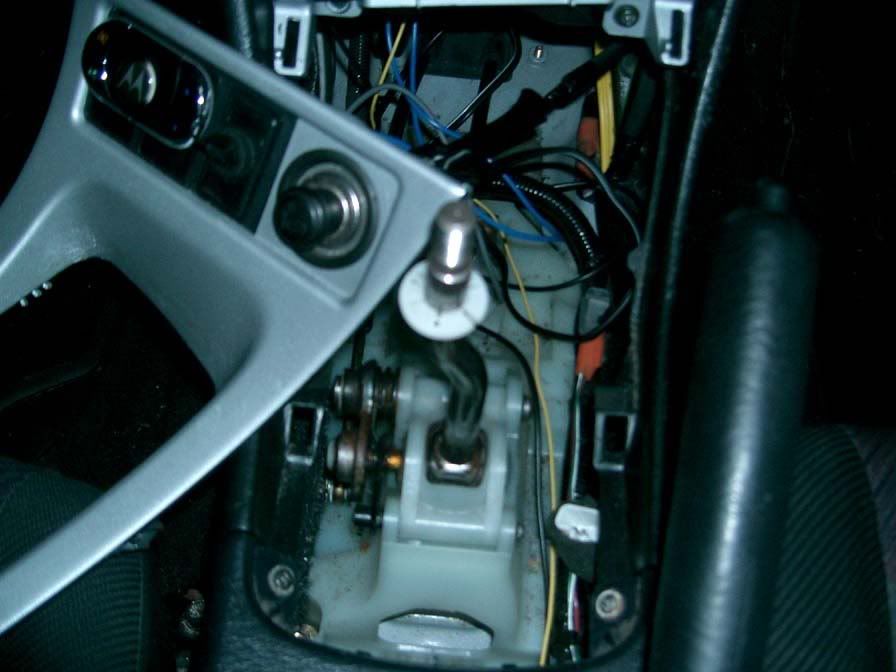 Now unscrew the two black screws at the bottom of the main console cover, once these are off the cover should pop out with a little encouragement 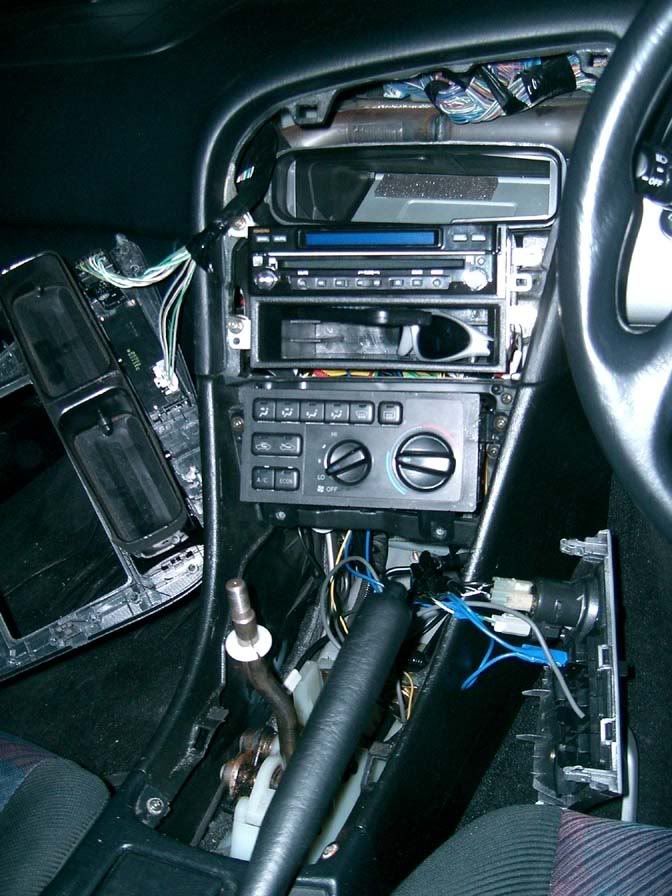 now unscrew the four gold screws holding the headunit bracket in place and pull it out as far as the wire harness will allow. this obviously depends on what screen or head unit you are using, but consult you manual, mine had a lovely diagram... 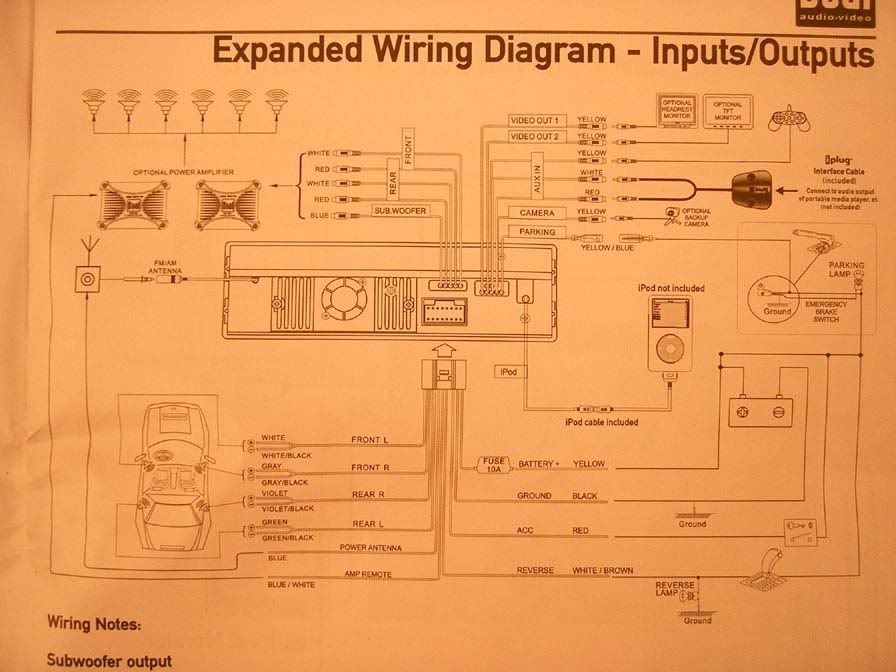 my head unit had a wire with a big label 'camera'...pretty idiot proof!! 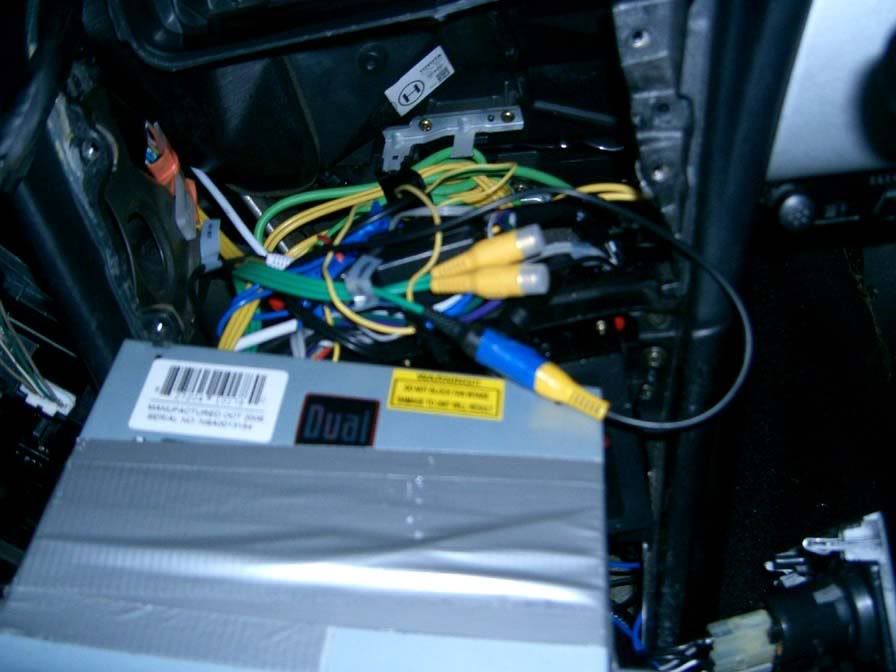 once all your wires are connected put all the panels bak on and test the camera... 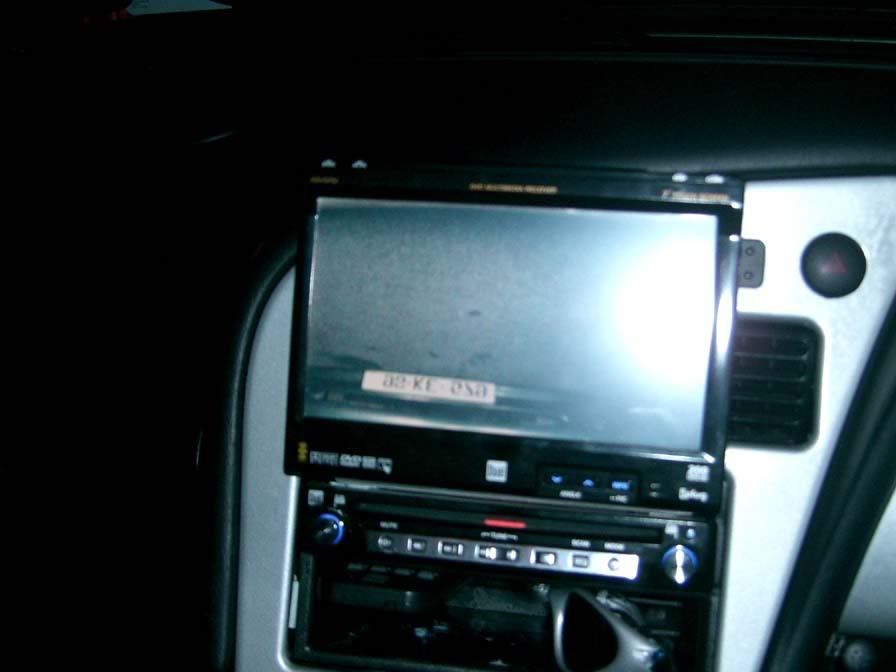 now you can adjust the camera to the exact angle that you want... 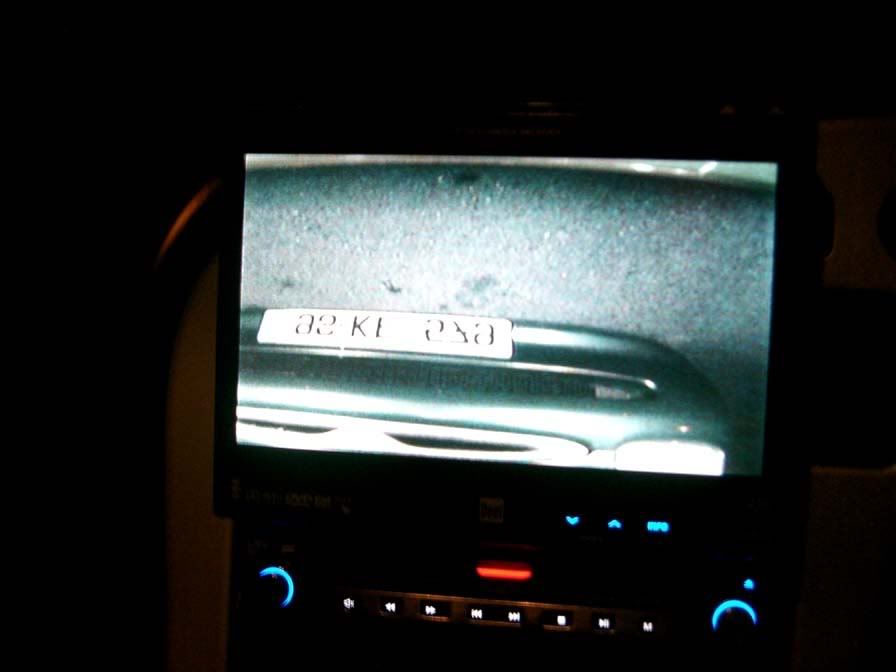 and use the brackets and sealant to cement it in place (i used a silicone adhesive sealant and a cable tie to hold it in place while it dried)...dont worry i took off the cable tie and cleaned it up a bit once it dried!! 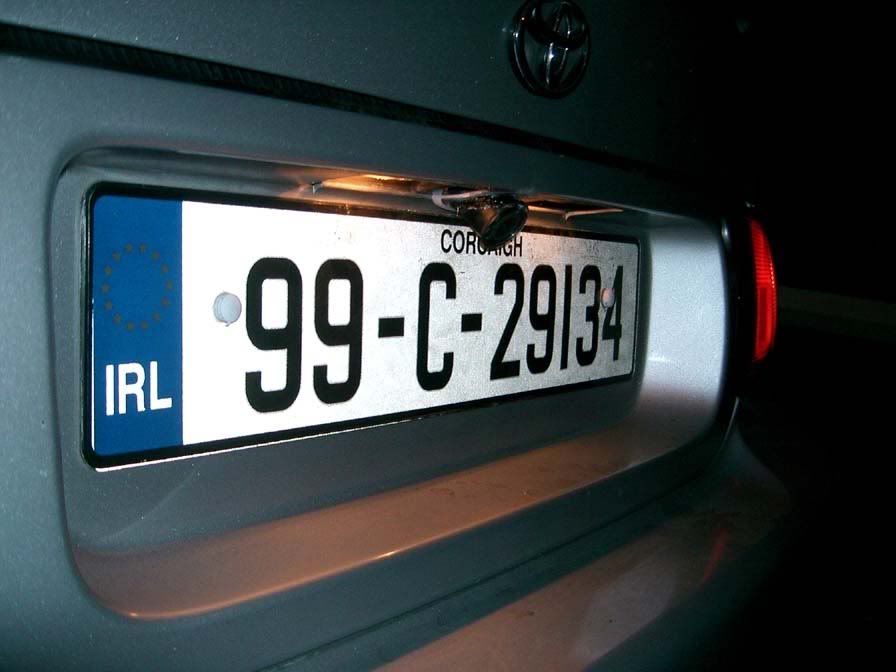 and now you have a lovely discreet reversing camera that only comes on when you need it!! 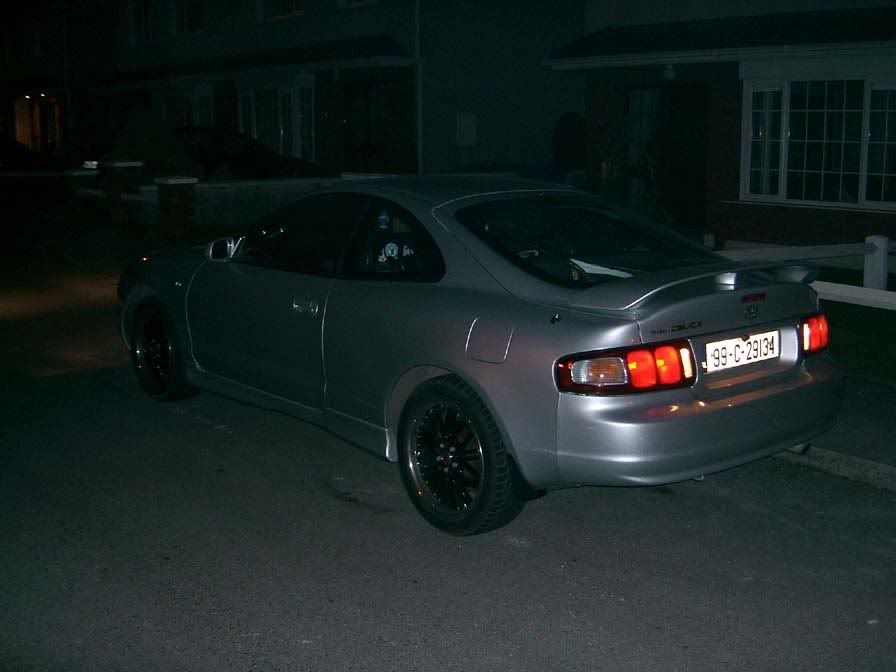
|
 |
Replies
 Feb 19, 2008 - 8:41 AM Feb 19, 2008 - 8:41 AM
|
|
 Enthusiast      Joined Feb 3, '06 From Czech Republic (Europe) Currently Offline Reputation: 56 (100%) |
that's unbelievable
-------------------- No more replicas... This is evolution... This is SS-four :)
 ________[Featured Celica of 6gc.net @ 2010]_________ |
Posts in this topic
 mul-1 how to install a reversing camera... Feb 19, 2008 - 8:02 AM
 D-Man Great job, I can barely see it, But you can see be... Feb 19, 2008 - 10:31 AM
  |
1 User(s) are reading this topic (1 Guests and 0 Anonymous Users)
0 Members:
| Lo-Fi Version | Time is now: November 30th, 2024 - 3:36 PM |


