
 Apr 9, 2008 - 7:42 PM Apr 9, 2008 - 7:42 PM
|
 
|
 Enthusiast  Joined Feb 27, '07 From cape coral/ft myers florida Currently Offline Reputation: 7 (100%) |
starting my own how to on turboing the 7a because there were some areas of the install where i just kinda had to make educated guesses so hopefully this will help others
Ok lets get started... First removal: To start off simply remove the stock headers and whatever intake you have on your car Like nik lets start with the fuel setup: Fist is the fuel pump. The stock 7a fuel pump is not sufficient enough to support a turbo setup so the plug and play alternative for our cars is the supra 255lph pump. First open you gas door and gas cap while doing this to relieve pressure. To get to the stock pump remove your rear seat and you will see a plate held on by 4 screws with an electrical harness going through it. remove this panel and you will see where the harness plugs into another panel, remove that harness to make the next panel more accessable. once you remove that harness remove the two lines attached to the top of the panel. the next step is to remove the 8-10 screws holding the second plate on and the fuel pump will come straight out. remove the pump and replace it with the new one then reinstall it in the car. Now there are 2 different ways to continue this: the first way is the "ghetto way" and is only safe to about 8psi. for this setup you will take the vortech fmu and run the bottom line to the fuel line comming from the back of the car and the top line to the fpr. 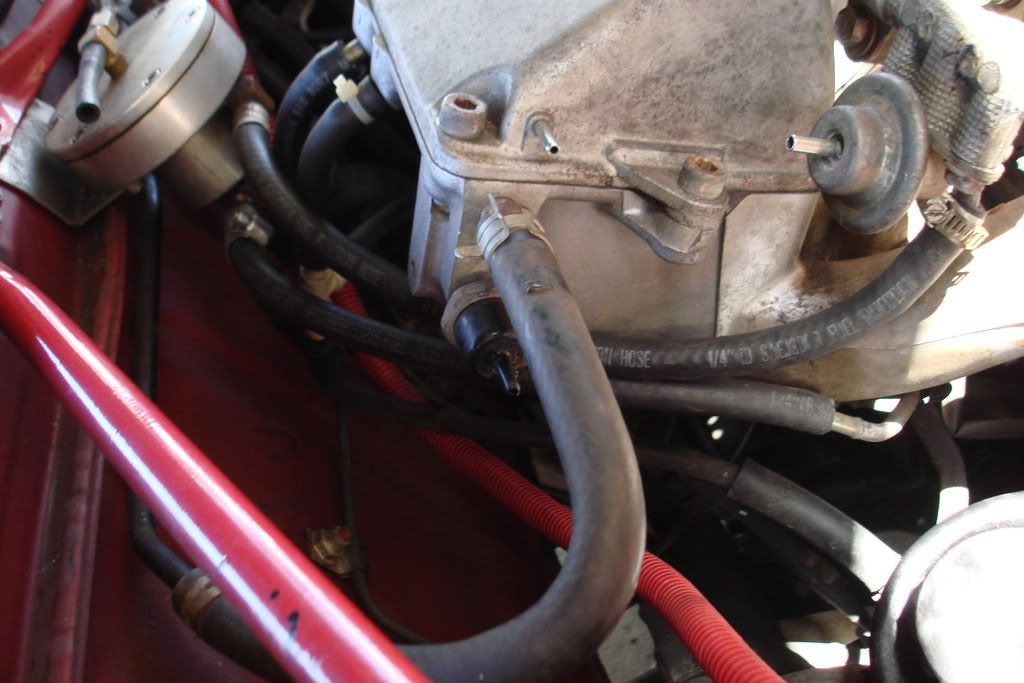 the vaccum port on the top will splice into the vaccum for the fuel pressure regulator  with this "ghetto" setup you will also use check valves in the vaccum line for your stock map sensor so it can see boost 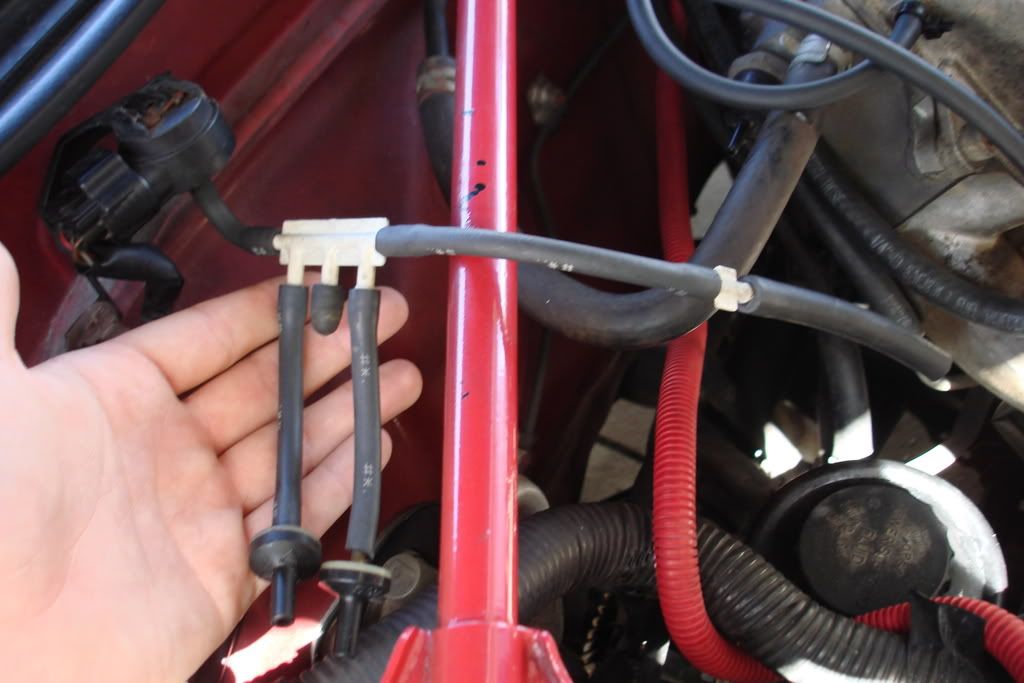 now the correct way is forget about the fmu and the check valves, instead you replace your map sensor with the 3sgte 2 bar map 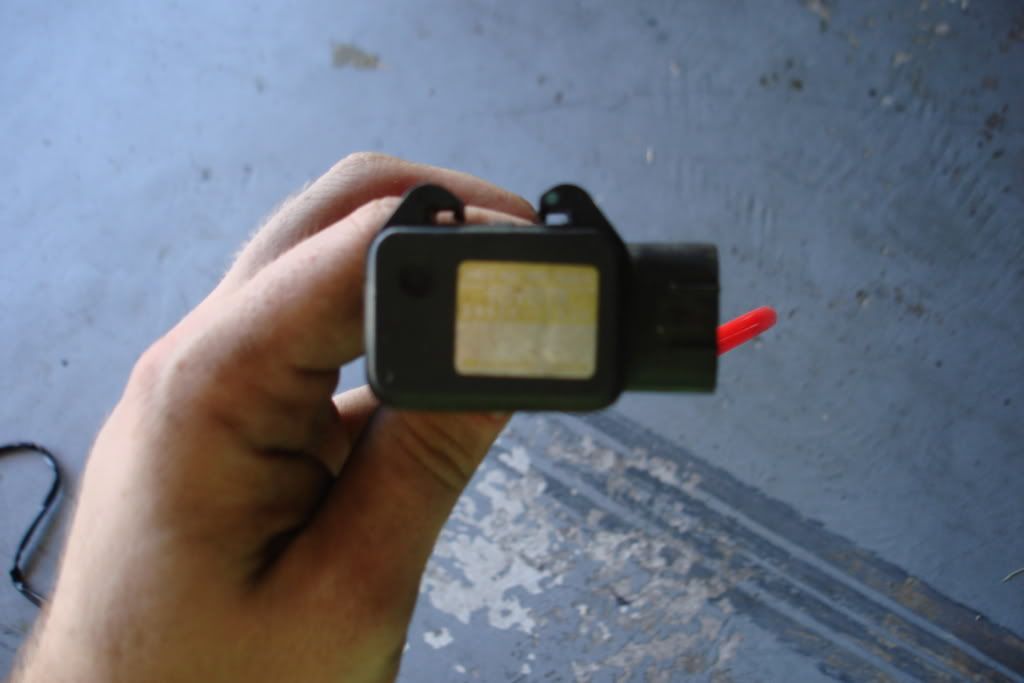 and use the supra 315cc lime green injectors 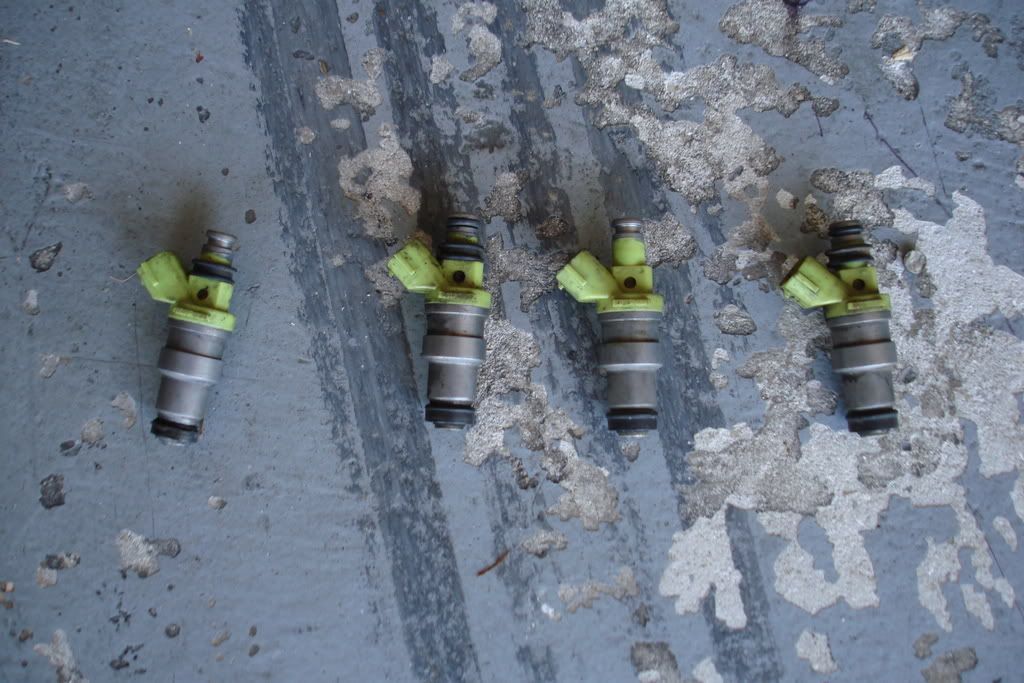 Oil Lines: First we'll start with the feed line. You can order this kit from the same place i did and it comes with everything you will need. here The 7a has an oil temp sensor that provides a perfect tap point for the oil supply 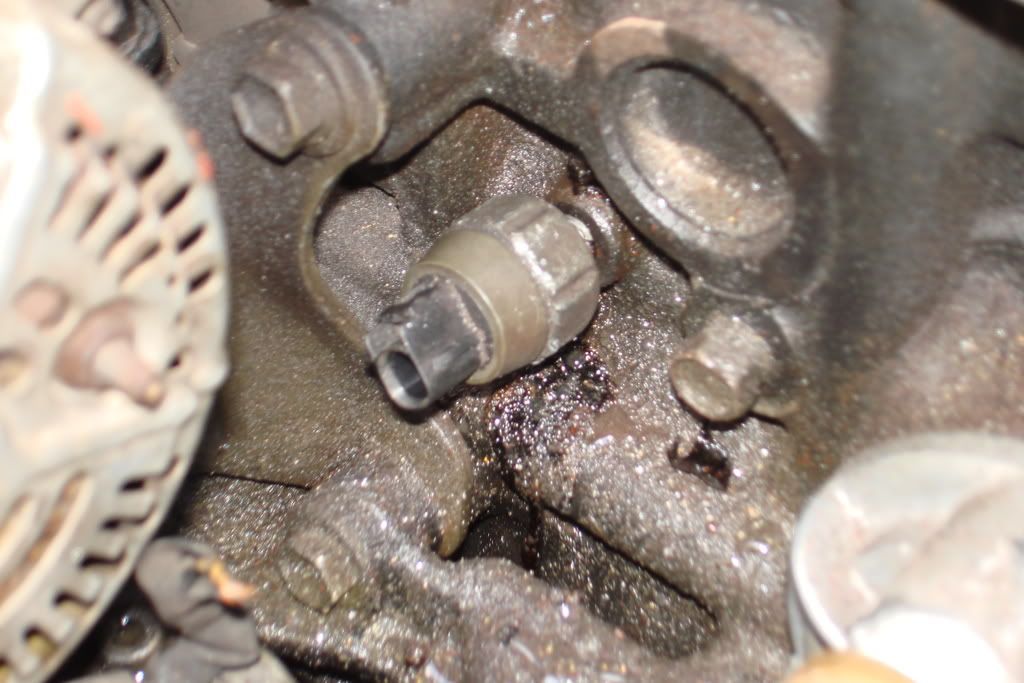 use the supplyed t fitting and threaded fittings to create a t for the oil feed  attach the supplyed stainless steel line and we will come back to the feed line when we get the turbo in remove your oil pan you will need to go to napa or some place like napa and get a 3/4 inch galvanized hose fitting. now what i did was take my pan and the fitting to an exhaust shop and had them drill a hole and weld it in. 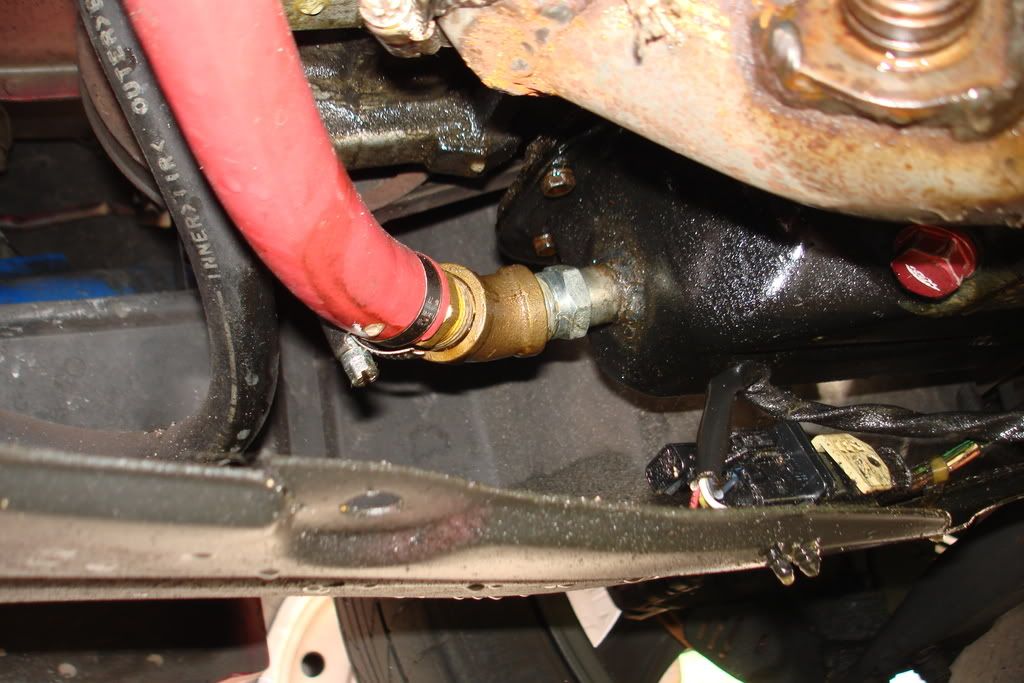 on a side not do NOT use anything under 3/4 inch for the return line because you will restrict oil flow tired of typing more to come tomorrow 
This post has been edited by jesterwr217: Apr 9, 2008 - 10:05 PM --------------------  BOOST GETS YOU LAID!!!! |

 |
Replies
|
Apr 10, 2008 - 2:40 AM
|
|
|
Enthusiast Joined Feb 27, '07 From cape coral/ft myers florida Currently Offline Reputation: 7 (100%) |
ok cant sleep so i guess ill keep going
ok so now putting the turbo on: my advice go ahead and attach the manifold and oil fittings to the turbo before you put it in the car it will make it much easier to work with 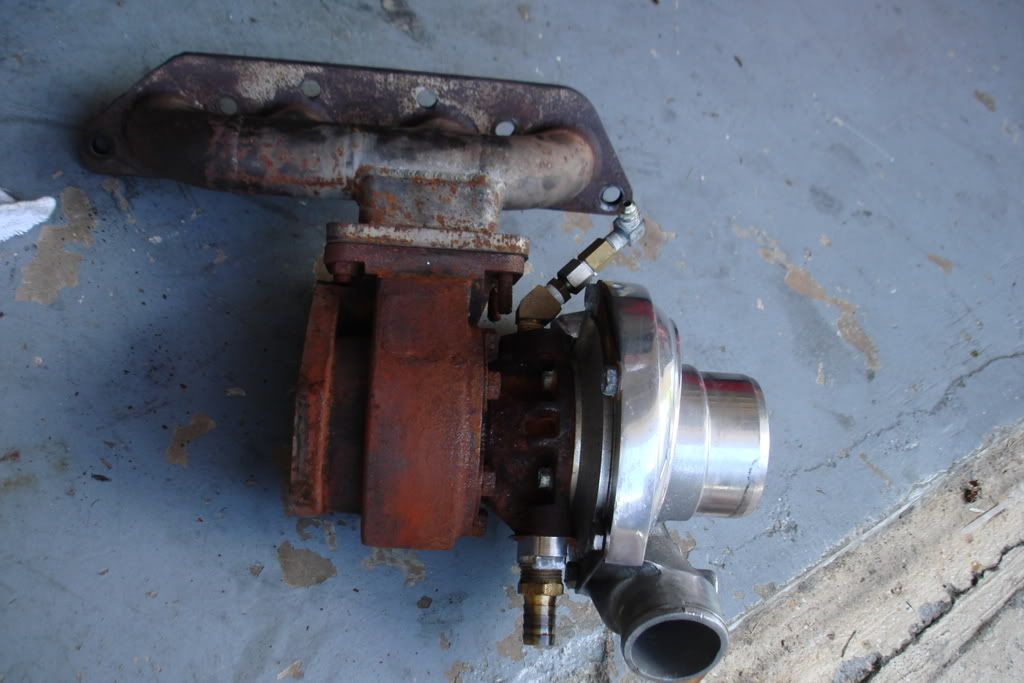 now line the holes on the manifold up with your head bolts and tightn it down (always use new gaskets btw) 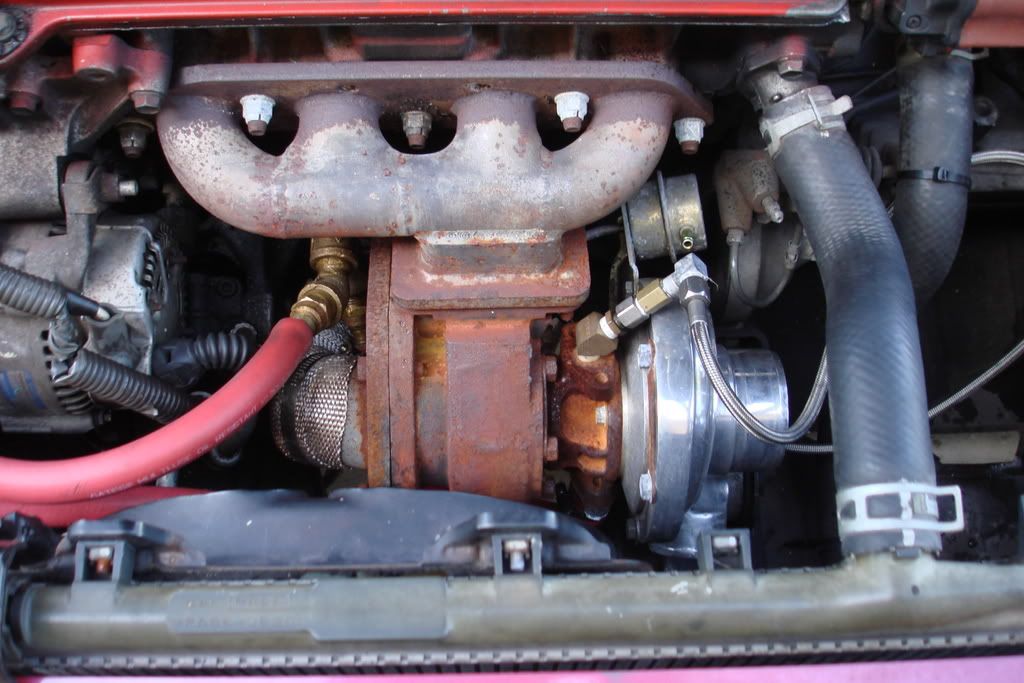 now that you have the turbo on attach the feed line and make sure your using an oil pressure reducer because the oil pressure is way too high on our engine after youve done that its time to do the return line now like i said before do not use anything under 3/4", keep it away from the DP, and keep it as straight as possible 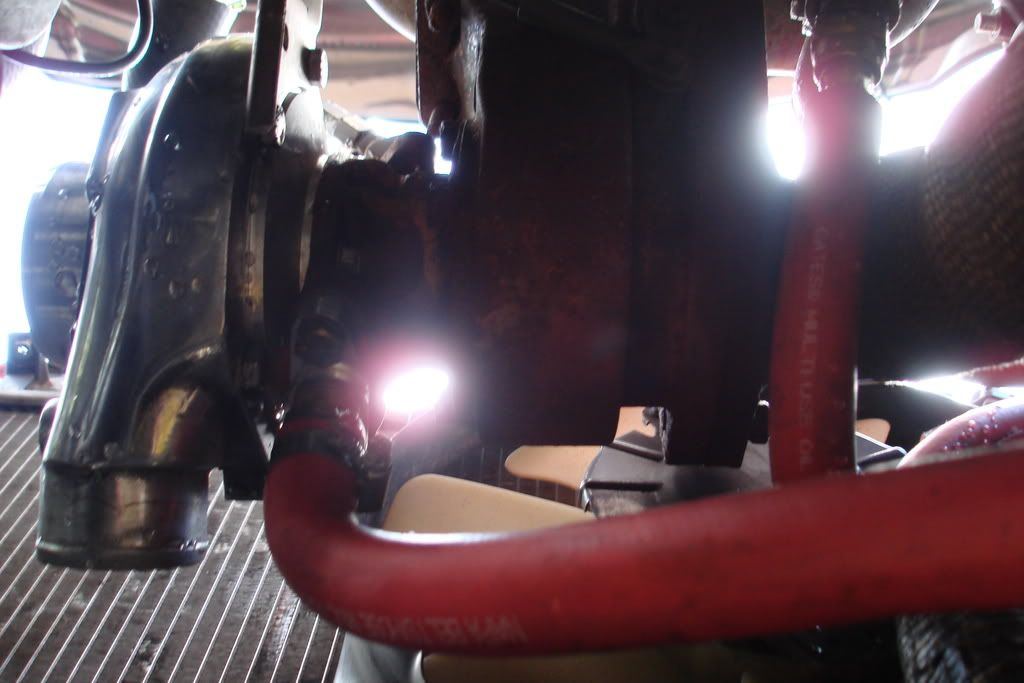  now for the filter relocation kit its really simple all you do is screw the plate on where you would put the oil filter on the block , find a place to mount your bracket that holds the oil filter, then run the lines. Now there is a trick when you start the car after installing this watch your oil pressure light if it doesnt go off TURN YOUR CAR OFF then switch your lines because theyre on backwards 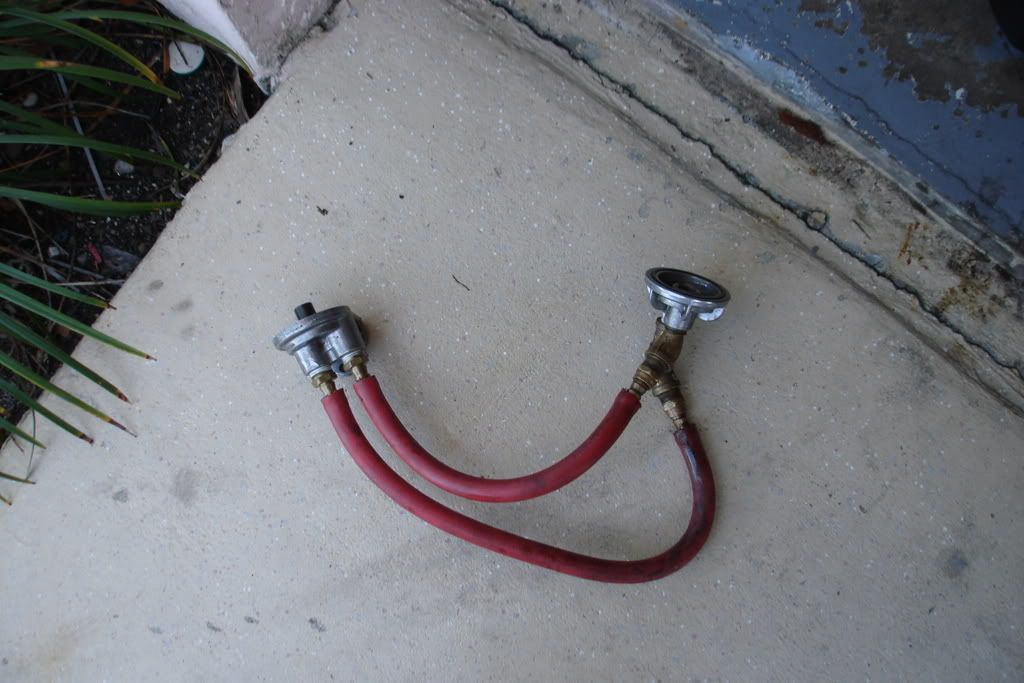 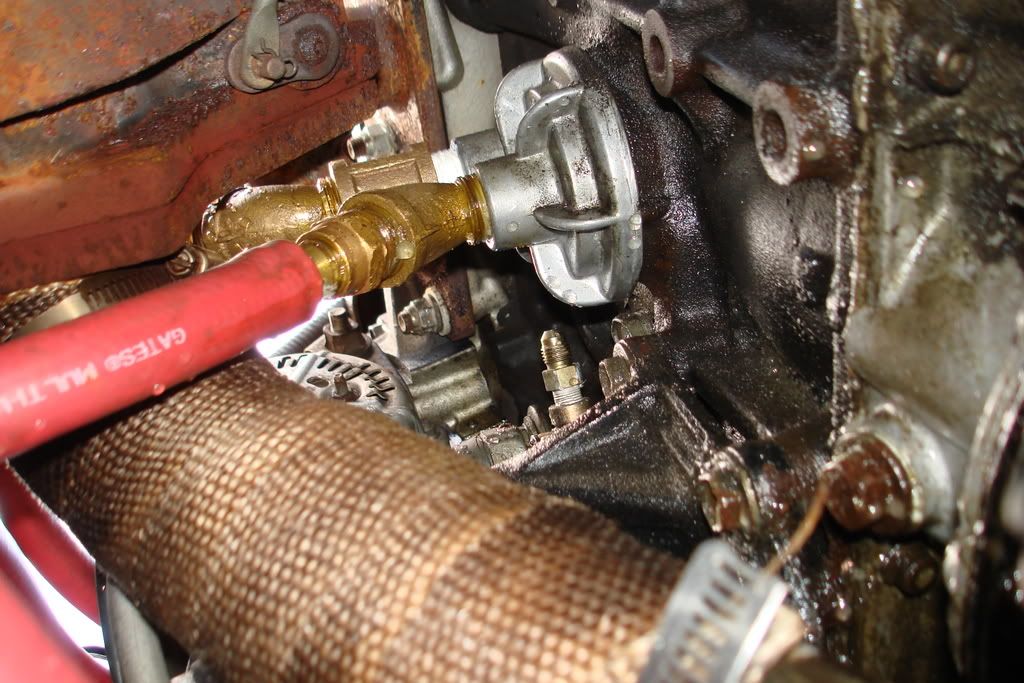 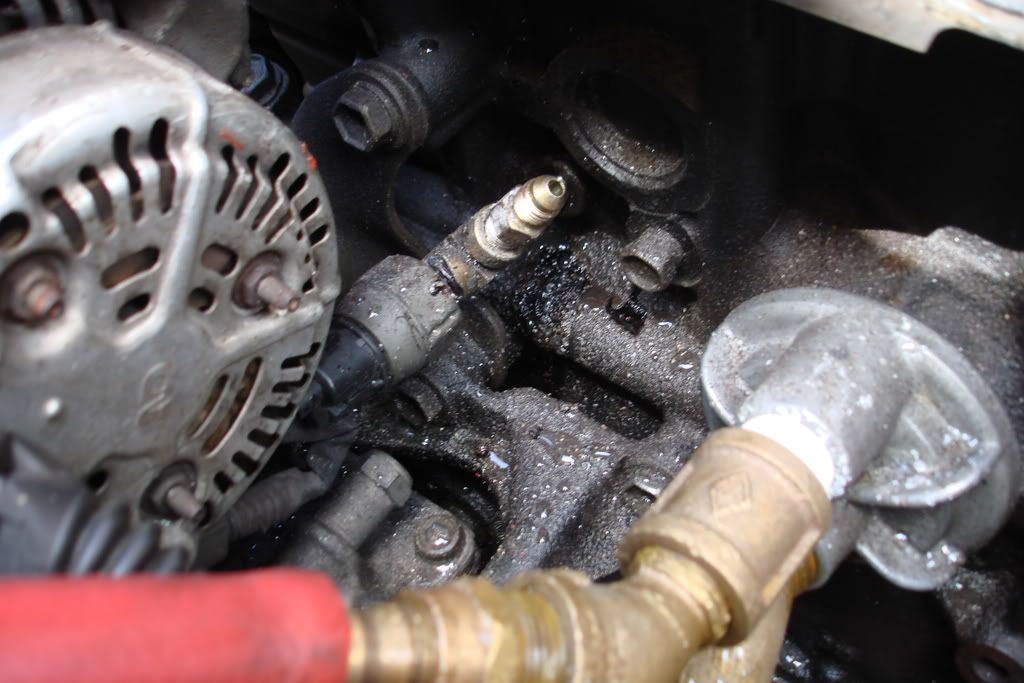 ok now onto intercooler piping we'll start from the throttle body and work our way to the turbo the first piece is going to have to have a hole drilled in it and the grommet in your intake put in for your IAT sensor 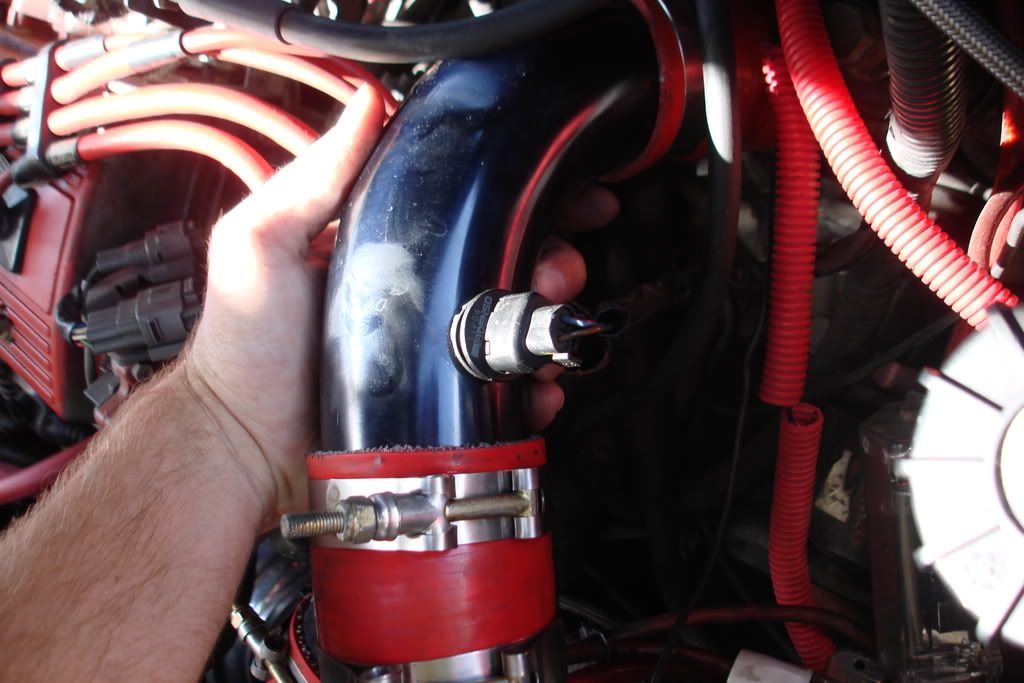 the piping is pretty self explanitory but i took pics one by one starting at the TB and goin to the turbo so here they are 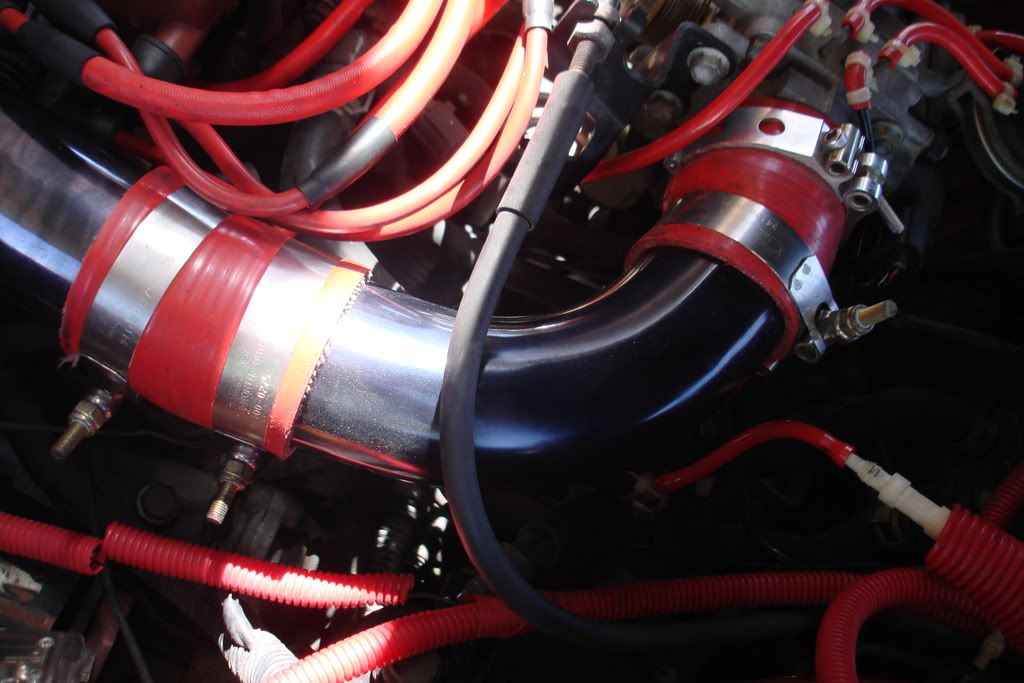 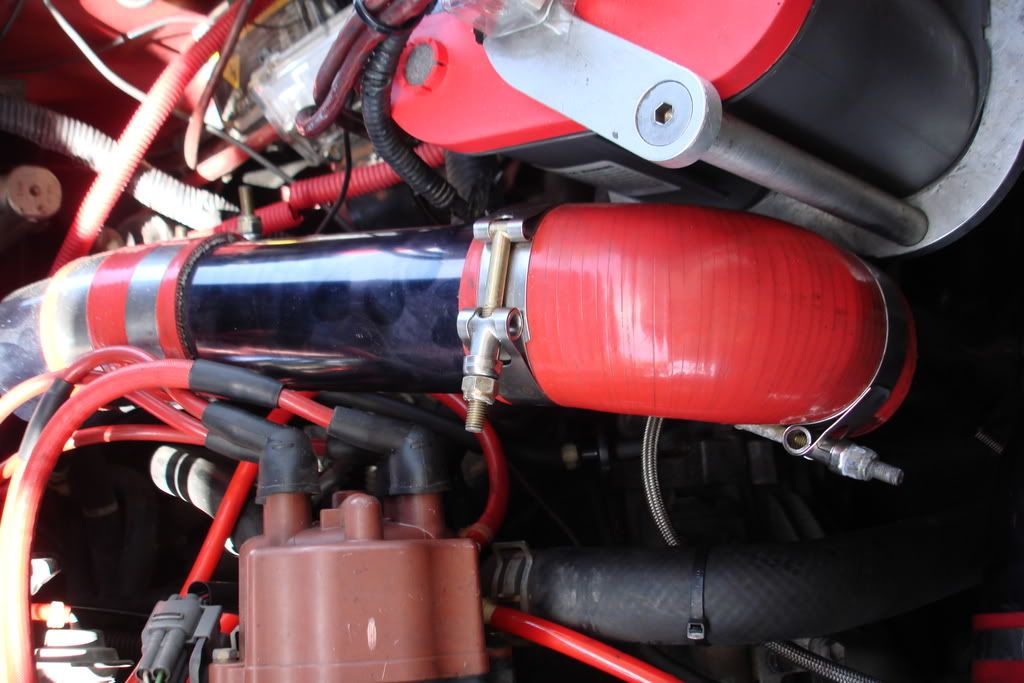 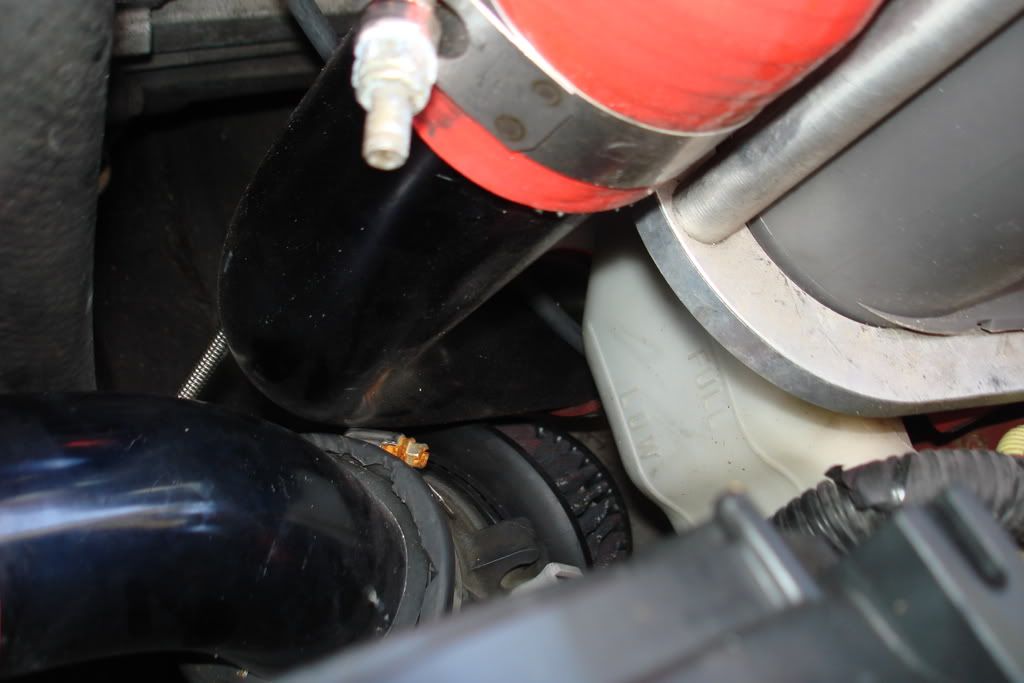 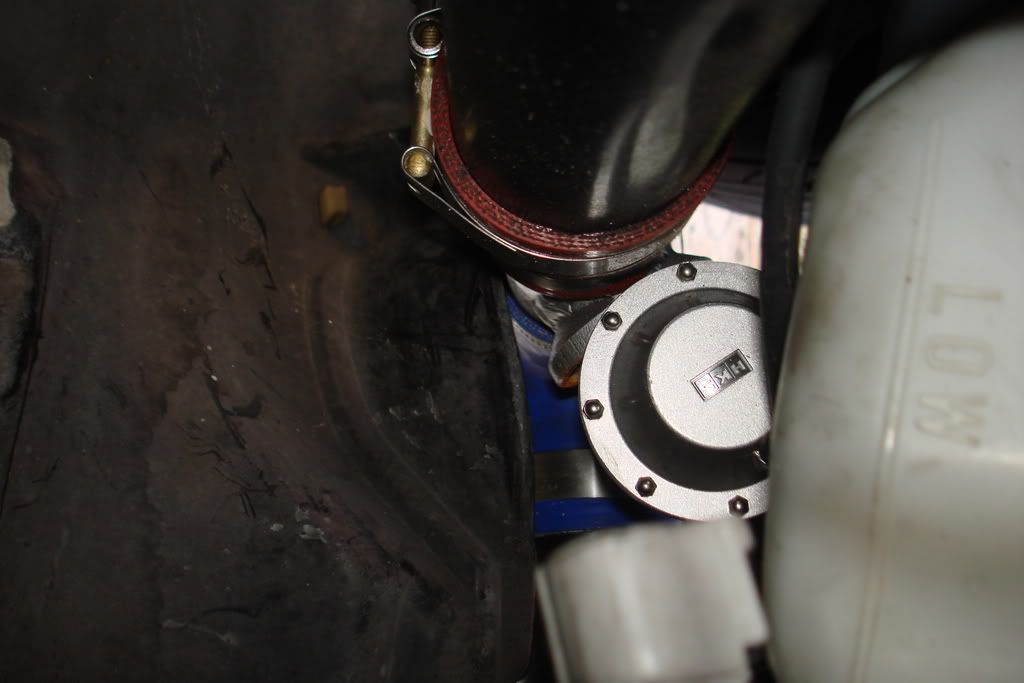  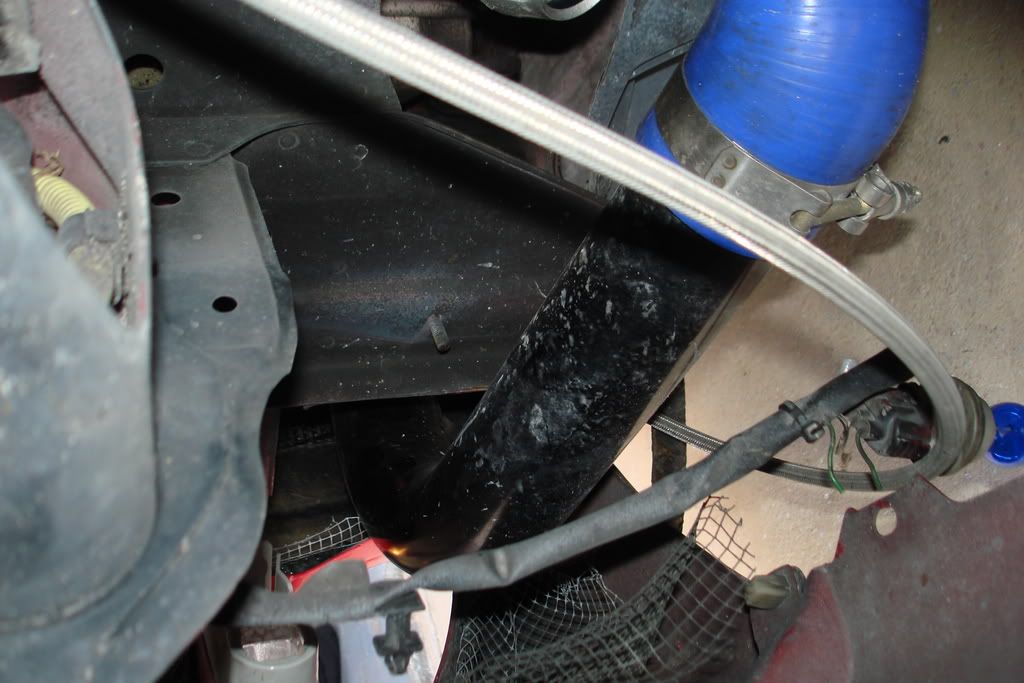 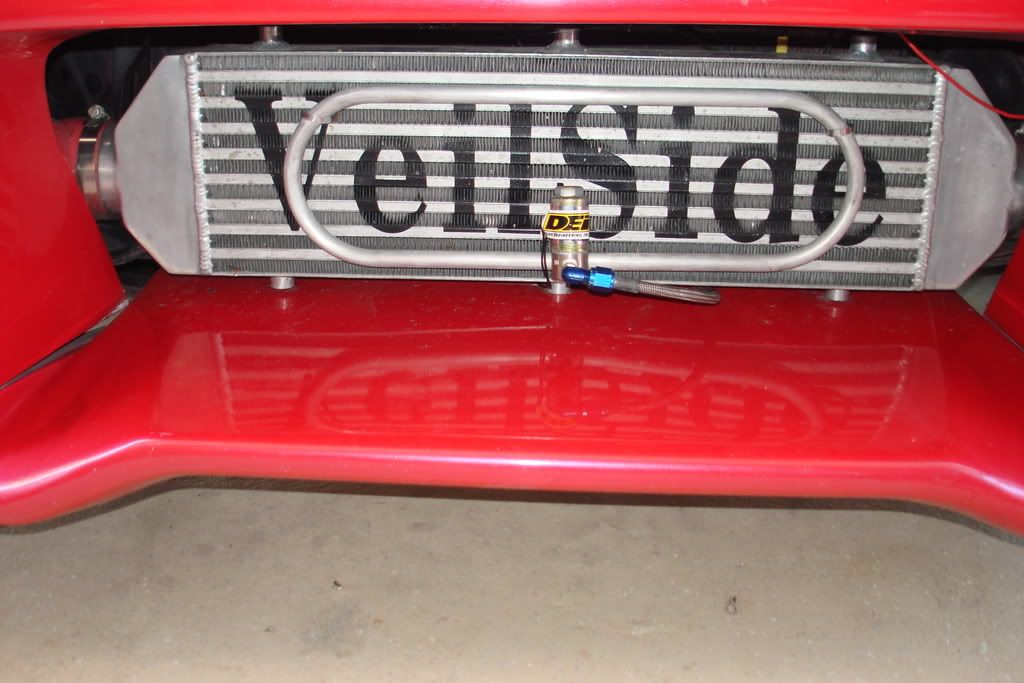 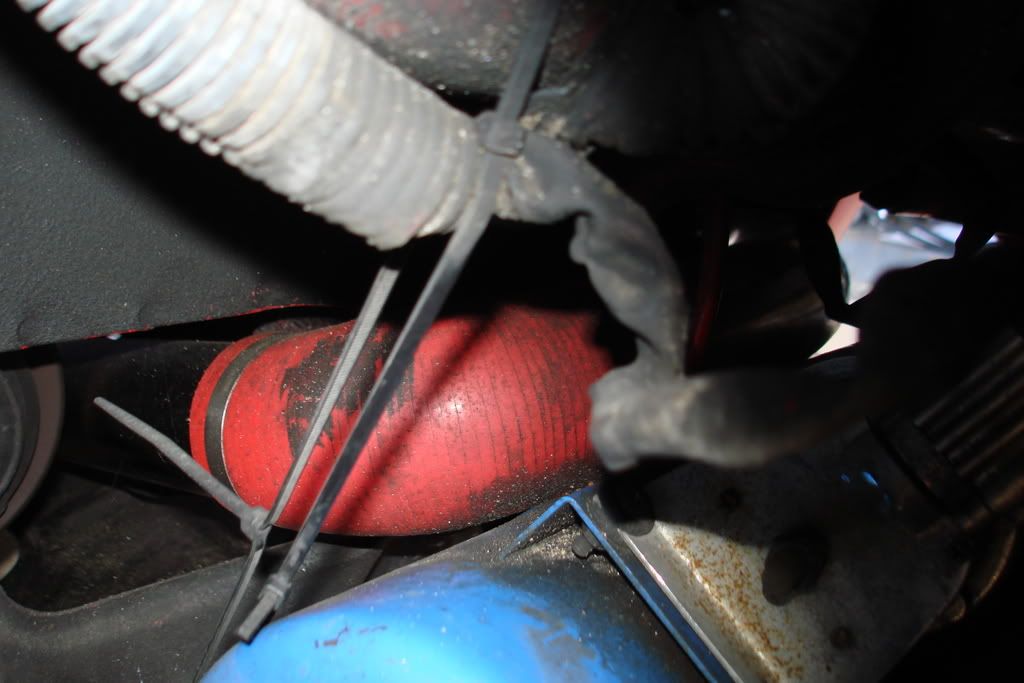 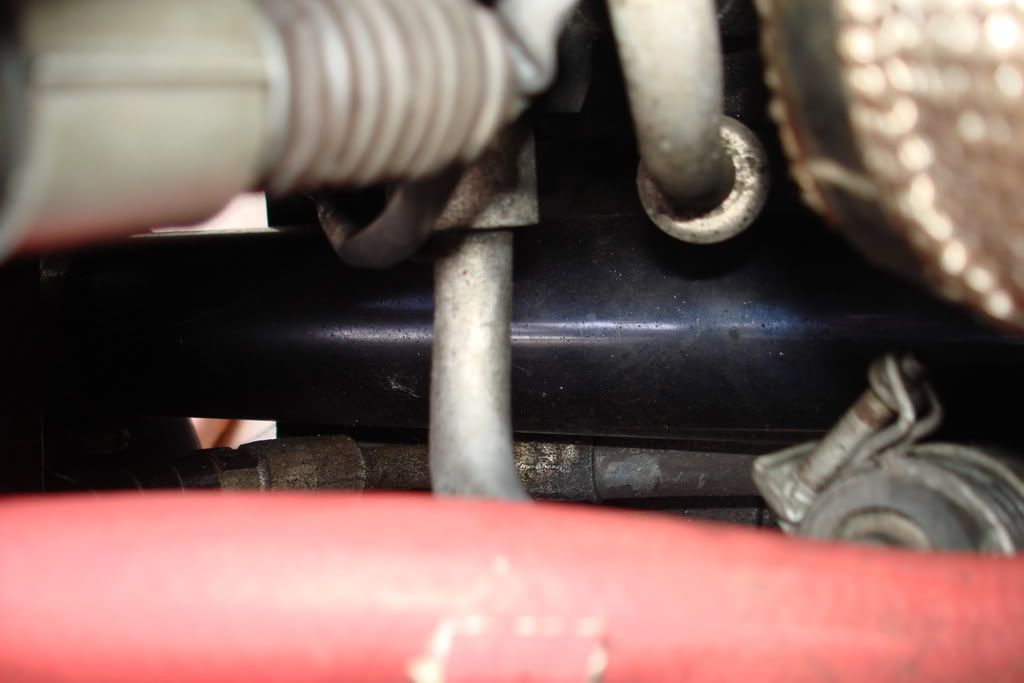 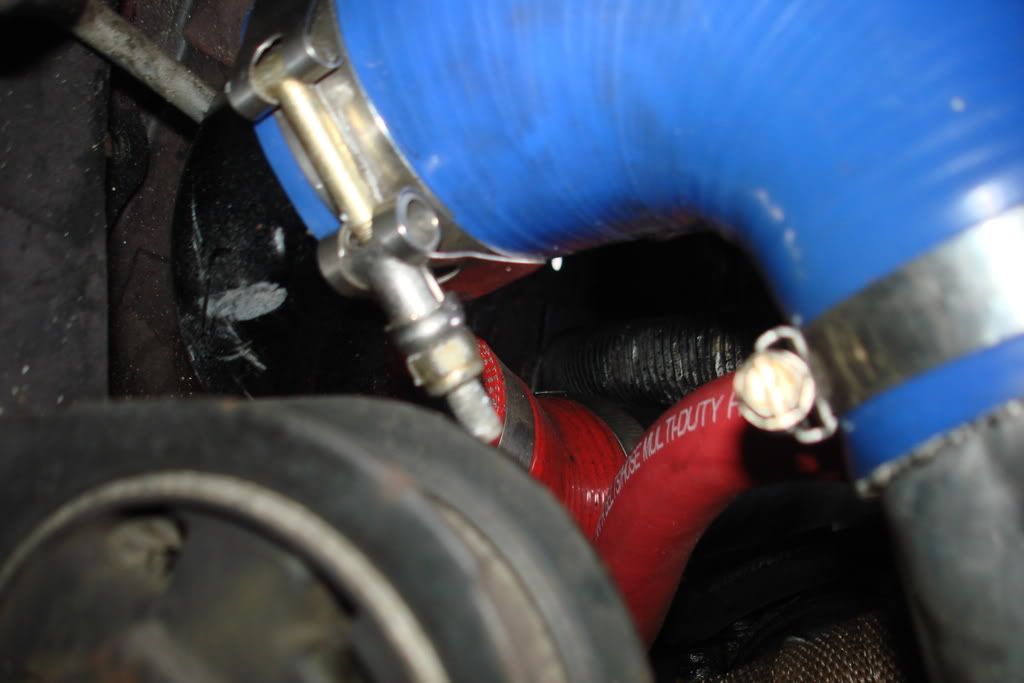 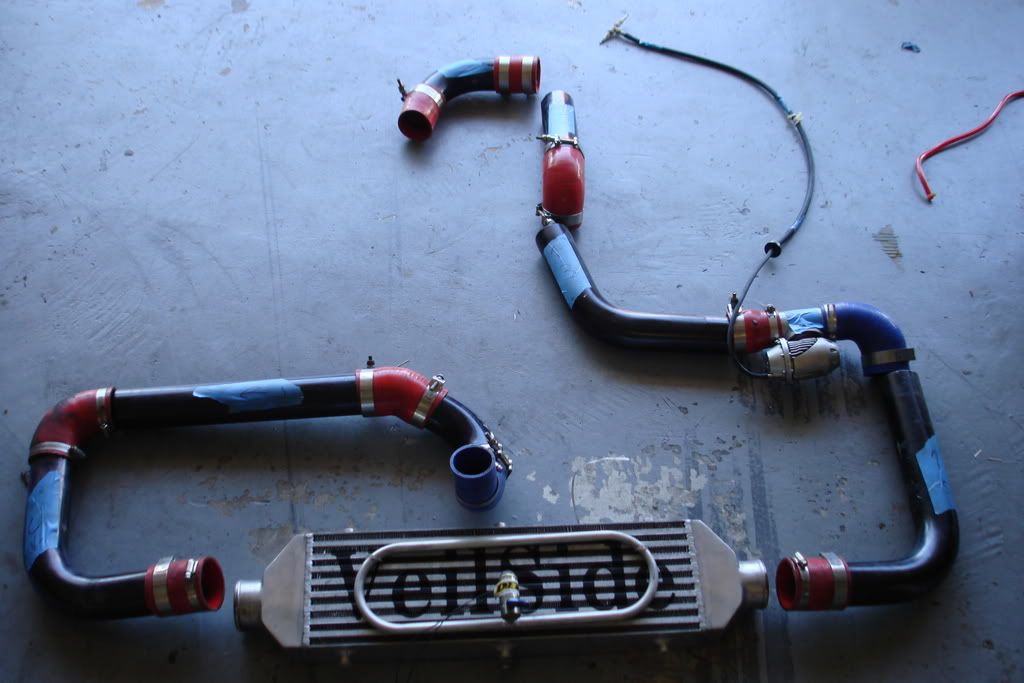 ***side note make sure you bolt down your intercooler ...loose parts = recipie for disaster 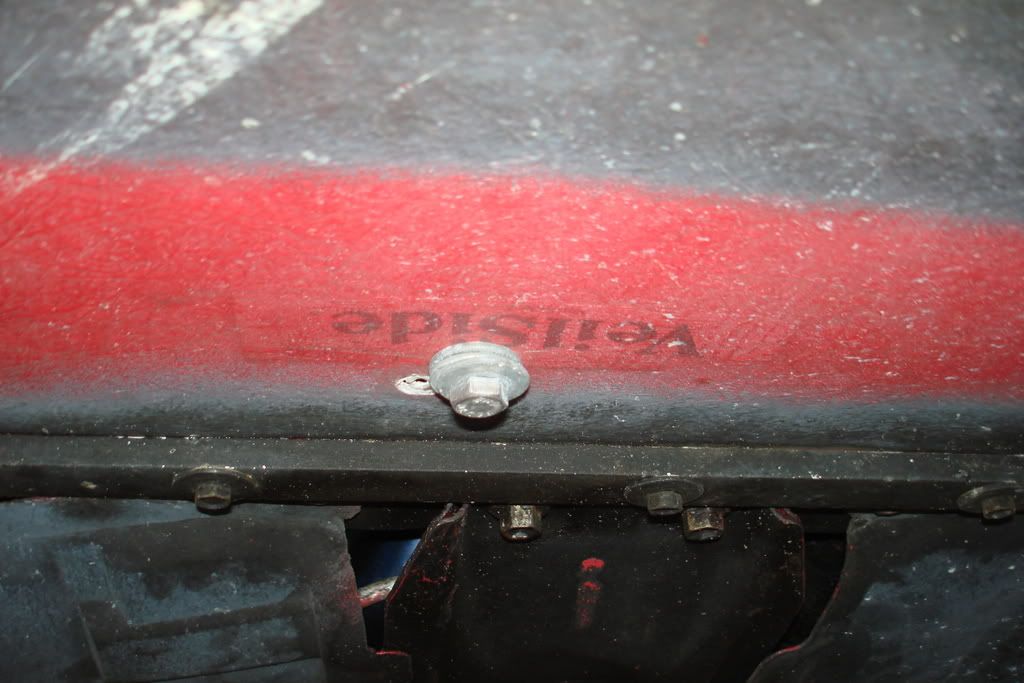 ok done for tonight tomorrow vac lines gauges and anything i missed and im also gona be doing separate write ups on the co2 spray and installing the safcII -------------------- BOOST GETS YOU LAID!!!! |
Posts in this topic
 jesterwr217 HOW TO TURBOCHARGE THE 7AFE Apr 9, 2008 - 7:42 PM
 addictions sick write up so far man keep it coming for us noo... Apr 9, 2008 - 9:58 PM
 jesterwr217 QUOTE(addictions @ Apr 9, 2008 - 10... Apr 9, 2008 - 10:03 PM
 southwest2118 QUOTE(addictions @ Apr 9, 2008 - 8:5... Apr 9, 2008 - 10:16 PM jesterwr217 QUOTE(southwest2118 @ Apr 9, 2008 - 11... Apr 9, 2008 - 10:28 PM southwest2118 QUOTE(jesterwr217 @ Apr 9, 2008 - 9... Apr 9, 2008 - 10:36 PM jesterwr217 QUOTE(addictions @ Apr 9, 2008 - 10... Apr 10, 2008 - 2:17 AM presure2 wow...thats some SERIOUS getto rigging.
-1 Apr 10, 2008 - 5:12 AM jesterwr217 QUOTE(presure2 @ Apr 10, 2008 - 6:12... Apr 10, 2008 - 11:59 AM jesterwr217 ok vac line time
ok if your going to use the ghett... Apr 10, 2008 - 12:22 PM addictions if i put the map sensor in instead of running what... Apr 10, 2008 - 2:22 PM jesterwr217 QUOTE(addictions @ Apr 10, 2008 - 3... Apr 10, 2008 - 2:29 PM presure2 brass T fittings, rubber oil lines next to a 900+*... Apr 10, 2008 - 4:07 PM jesterwr217 QUOTE(presure2 @ Apr 10, 2008 - 5:07... Apr 10, 2008 - 4:24 PM presure2 QUOTE(jesterwr217 @ Apr 10, 2008 - 5... Apr 10, 2008 - 5:13 PM jesterwr217 QUOTE(presure2 @ Apr 10, 2008 - 6:13... Apr 10, 2008 - 5:30 PM Celiracer18 i think that instead of having threads on the bare... Apr 10, 2008 - 4:38 PM jesterwr217 QUOTE(Celiracer18 @ Apr 10, 2008 - 5... Apr 10, 2008 - 4:47 PM nik i got away from the valves after i put in my gredd... Apr 10, 2008 - 4:49 PM jesterwr217 QUOTE(nik @ Apr 10, 2008 - 5:49 PM) ... Apr 10, 2008 - 4:54 PM nik im also not being rude i started with the check va... Apr 10, 2008 - 6:09 PM jesterwr217 QUOTE(jesterwr217 @ Apr 9, 2008 - 8... Apr 10, 2008 - 6:19 PM
southwest2118 QUOTE(addictions @ Apr 9, 2008 - 8:5... Apr 9, 2008 - 10:16 PM jesterwr217 QUOTE(southwest2118 @ Apr 9, 2008 - 11... Apr 9, 2008 - 10:28 PM southwest2118 QUOTE(jesterwr217 @ Apr 9, 2008 - 9... Apr 9, 2008 - 10:36 PM jesterwr217 QUOTE(addictions @ Apr 9, 2008 - 10... Apr 10, 2008 - 2:17 AM presure2 wow...thats some SERIOUS getto rigging.
-1 Apr 10, 2008 - 5:12 AM jesterwr217 QUOTE(presure2 @ Apr 10, 2008 - 6:12... Apr 10, 2008 - 11:59 AM jesterwr217 ok vac line time
ok if your going to use the ghett... Apr 10, 2008 - 12:22 PM addictions if i put the map sensor in instead of running what... Apr 10, 2008 - 2:22 PM jesterwr217 QUOTE(addictions @ Apr 10, 2008 - 3... Apr 10, 2008 - 2:29 PM presure2 brass T fittings, rubber oil lines next to a 900+*... Apr 10, 2008 - 4:07 PM jesterwr217 QUOTE(presure2 @ Apr 10, 2008 - 5:07... Apr 10, 2008 - 4:24 PM presure2 QUOTE(jesterwr217 @ Apr 10, 2008 - 5... Apr 10, 2008 - 5:13 PM jesterwr217 QUOTE(presure2 @ Apr 10, 2008 - 6:13... Apr 10, 2008 - 5:30 PM Celiracer18 i think that instead of having threads on the bare... Apr 10, 2008 - 4:38 PM jesterwr217 QUOTE(Celiracer18 @ Apr 10, 2008 - 5... Apr 10, 2008 - 4:47 PM nik i got away from the valves after i put in my gredd... Apr 10, 2008 - 4:49 PM jesterwr217 QUOTE(nik @ Apr 10, 2008 - 5:49 PM) ... Apr 10, 2008 - 4:54 PM nik im also not being rude i started with the check va... Apr 10, 2008 - 6:09 PM jesterwr217 QUOTE(jesterwr217 @ Apr 9, 2008 - 8... Apr 10, 2008 - 6:19 PM |
11 User(s) are reading this topic (11 Guests and 0 Anonymous Users)
0 Members:
| Lo-Fi Version | Time is now: February 13th, 2025 - 7:07 PM |