 Aug 14, 2010 - 6:28 AM Aug 14, 2010 - 6:28 AM
|
|
|
Enthusiast   Joined Jul 15, '08 From Norway Currently Offline Reputation: 5 (100%) |
Hey there!
Got a ST without power windows, and yeah, its really lame at these days. Its really embarassing to manually slide the windows down, so I have always been thinking of a conversion! So this is the time, finally. I got my hands on some really nice JDM 93/94 celica doors, with everything. Power windows, power locks, power folding mirrors etc. So I'll got everything I need now, so its basicly to just swap the old ones into these! But I'll got a European ST, which is LHD. The doors came from a RHD JDM. So its some tweaking with wires. Basicly I have to do this:
And this is without ANY problems or trouble. I dont expect it to be as easy as the list, though. Great resource for JDM Power folding mirrors: http://www.6gc.net/forums/index.php?showtopic=17207 and another one for the power windows: http://www.6gc.net/forums/index.php?showtopic=59251 And another one for wiring diagrams: http://www.6gc.net/forums/index.php?showtopic=75461 This post has been edited by AnaXyd: Aug 21, 2010 - 1:31 AM |
 |
Replies
 Sep 12, 2010 - 3:21 PM Sep 12, 2010 - 3:21 PM
|
|
|
Enthusiast   Joined Jul 15, '08 From Norway Currently Offline Reputation: 5 (100%) |
One door 95% finished!
So, time to do some more work on this project. My doors have been to repaint, and I had to wait till yesterday to pick them up. 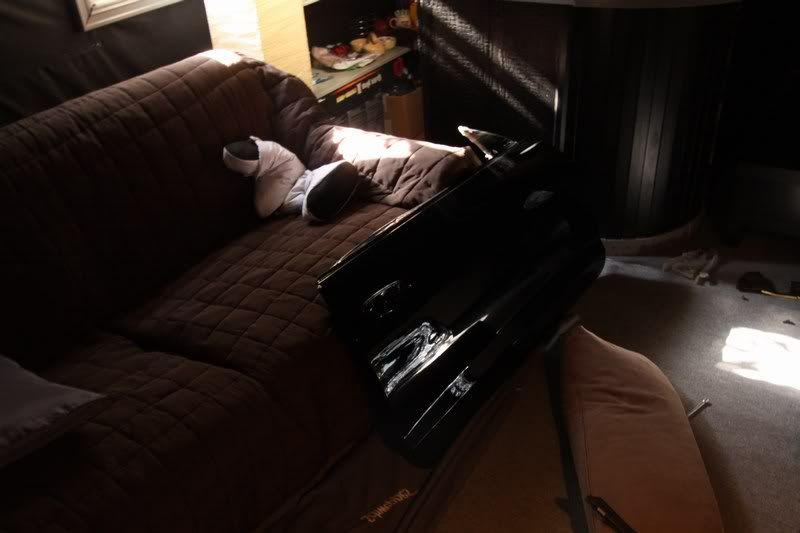 Here is one of the newly painted doors. Repainted surfaces is sexy! The things I had to do with one door were:
And this is about 12 hours of work. The work is mainly to figure out the electricial work. The door remount is really easy. 4 bolts, and some cables that need to be pulled away. - - - The power folding mirror work 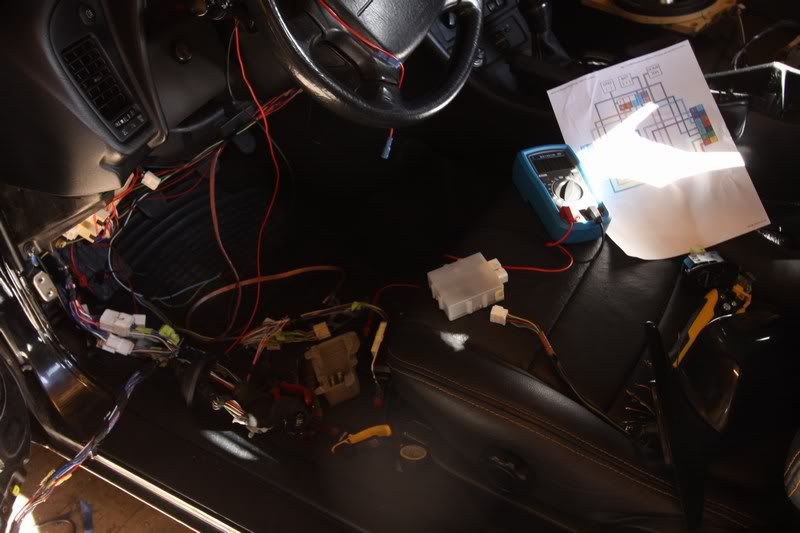 This harness work have to be done in the car. Its so much easier to plug in the harness, and work out the problems from there, since it works a bit unmodified. http://www.youtube.com/watch?v=SvBQwsEBxt8 Testing the power folding 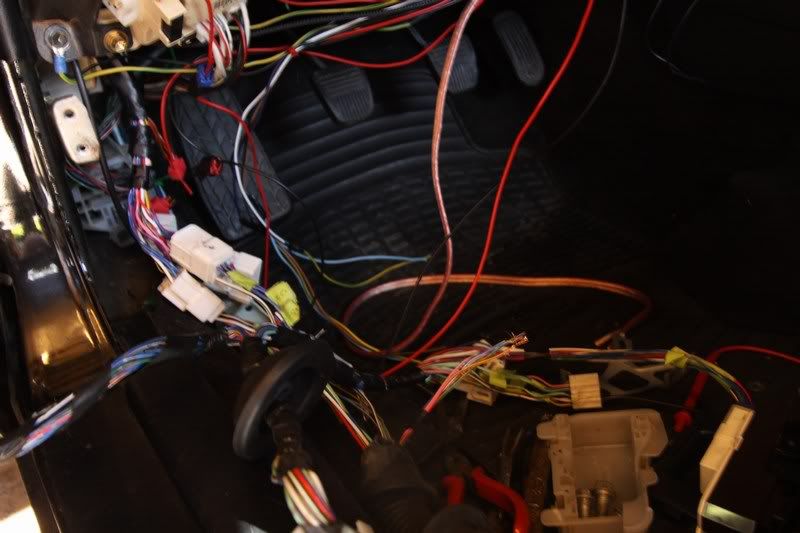 Cables makes a real mess in the car. So the thing we need to do, is to get these parts: - WHITE boxed relay to power folding mirrors. The text "Mirror Control" are printed on it. - The plug that fits to this relay - And of course the harness and mirrors. If you want do use a harness without power folding mirrors on it, you should check for cables of these colors: - red/yellow - green/yellow - blue/red - blue/white This is for the left side harness (JDM) - I am using this harness on my left side. It is different colors on the other side harness. I cut the cables mentioned above in the list from the plug, and made my own harness from there. My stock car harness (sits under the dash etc) didnt have enough cables in, so this is why I had to do this. Then we need to extend the harness: 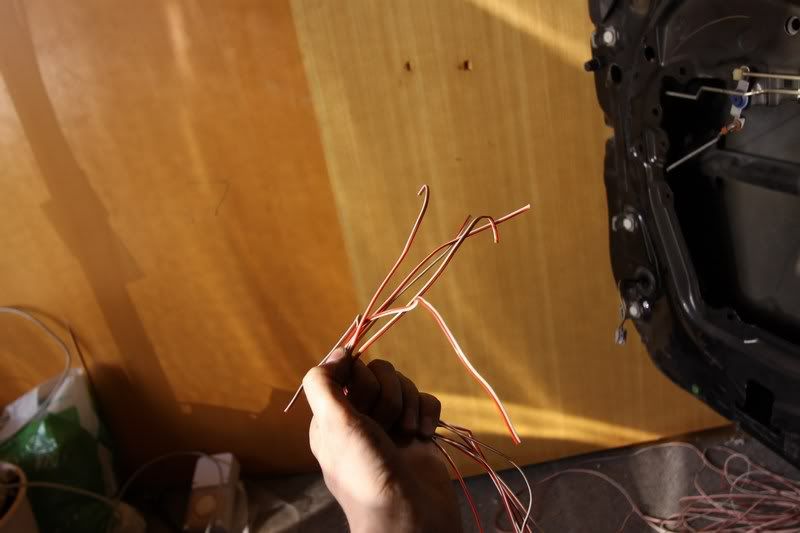 So we start out with some fresh unused cables. This are speaker cables, and will be great. 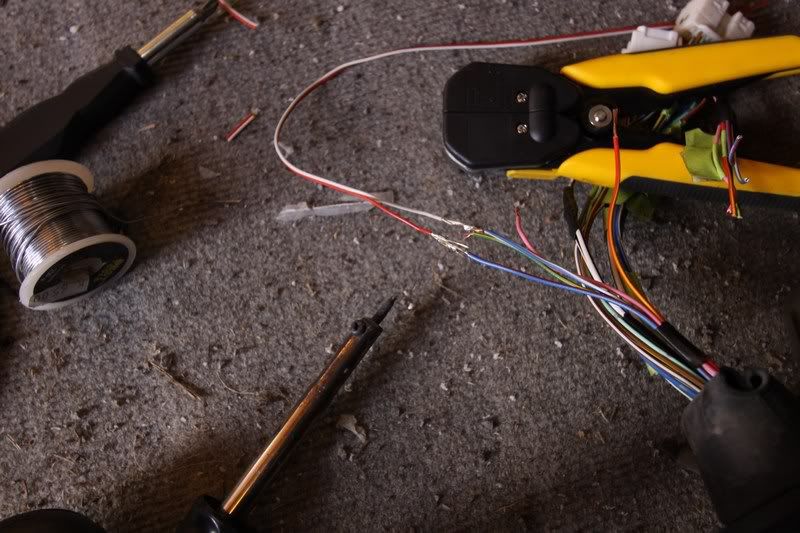 First we need to solder the unused cables to the door harness. 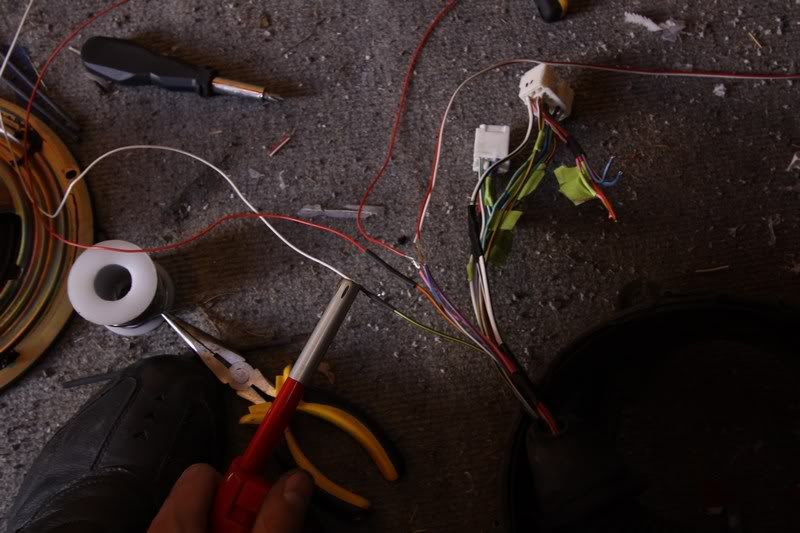 >>>REALLY<<< imporant to be carefully here, and use shrink tubes. You dont want loose positive cables around in the door. 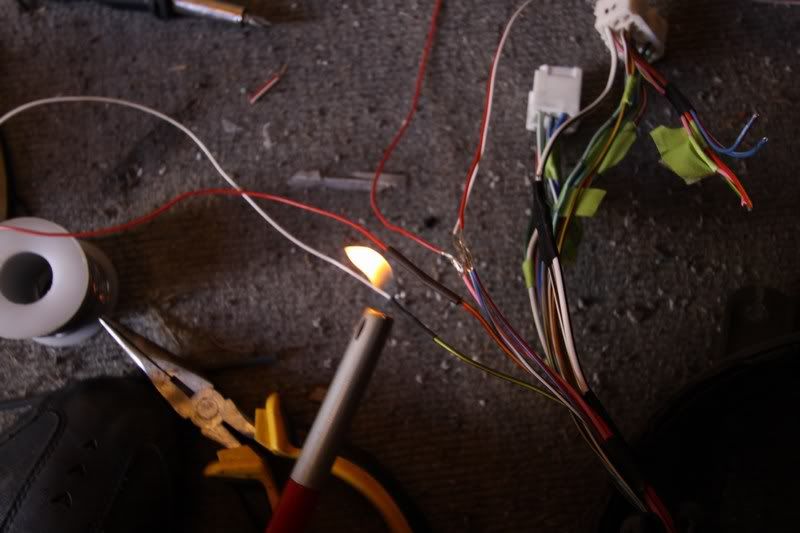 Flame on! 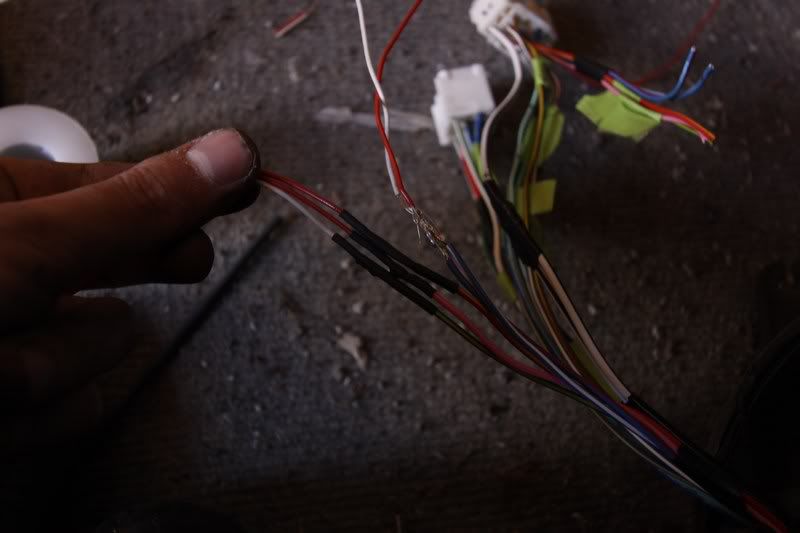 Some cables done 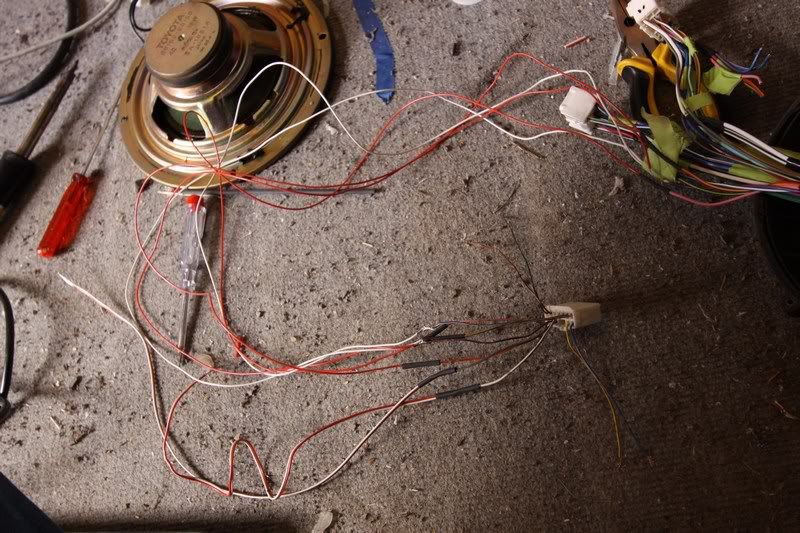 The harness almost done. The plug at the bottom is the plug which fits in the power folding mirror relay. To be informative, I am soldering the relay plug onto the door harness. 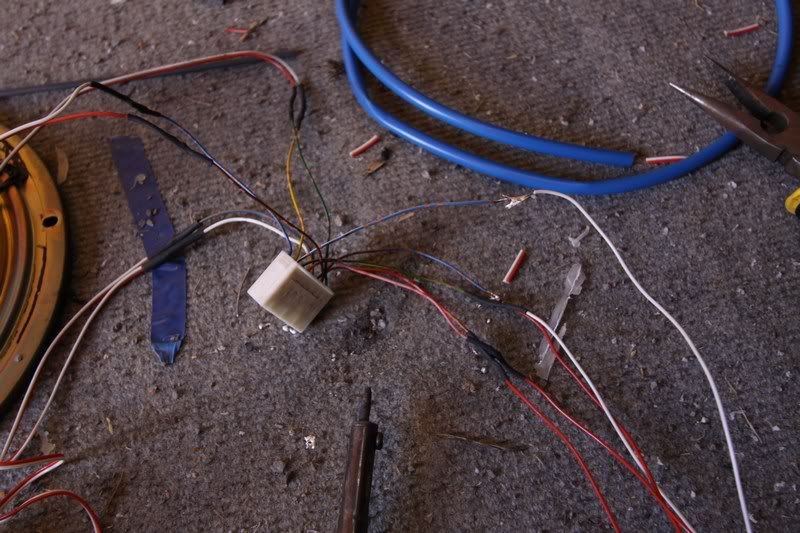 More pictures. Blue/yellow cable is positive, which should be connected to a dome fuse or something. And there is a White/black cable there too, which is ground. Pink is the signal from the power folding button, and all the others are the power to the folding mirror motor. http://www.youtube.com/watch?v=VaYPZJIHp80 Testing my new harness 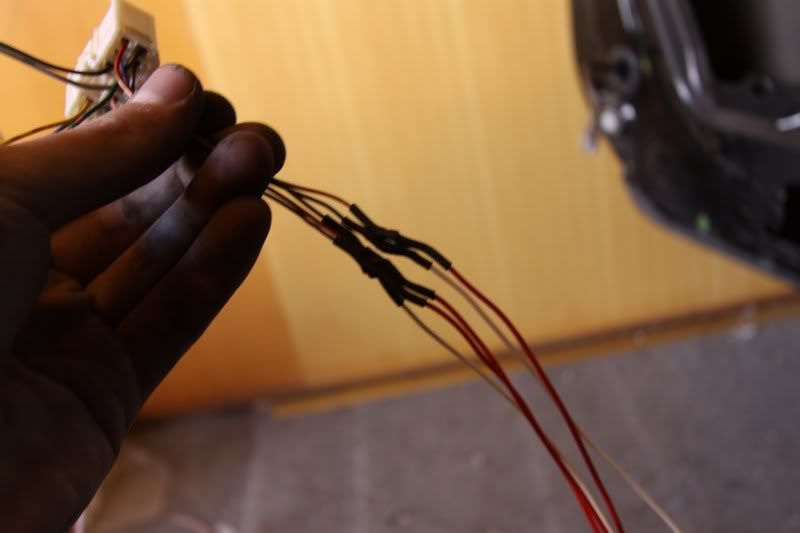 Almost done 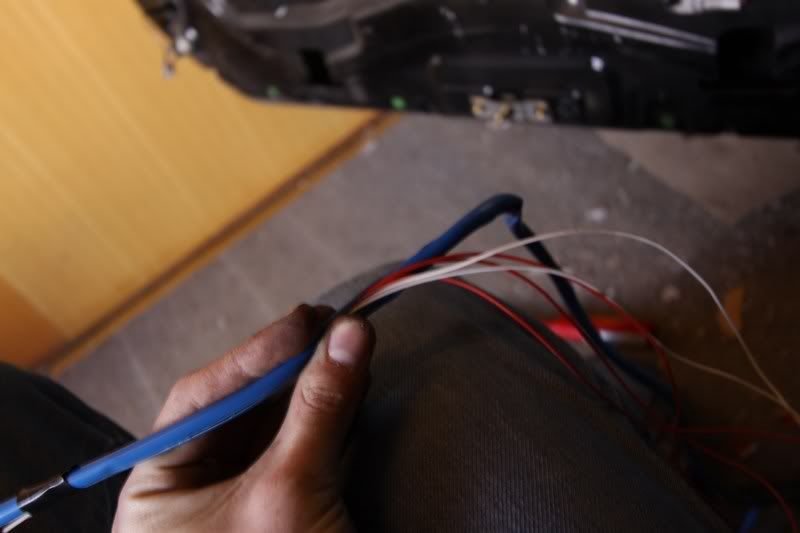 So, I used a plastic tube to protect the harness. 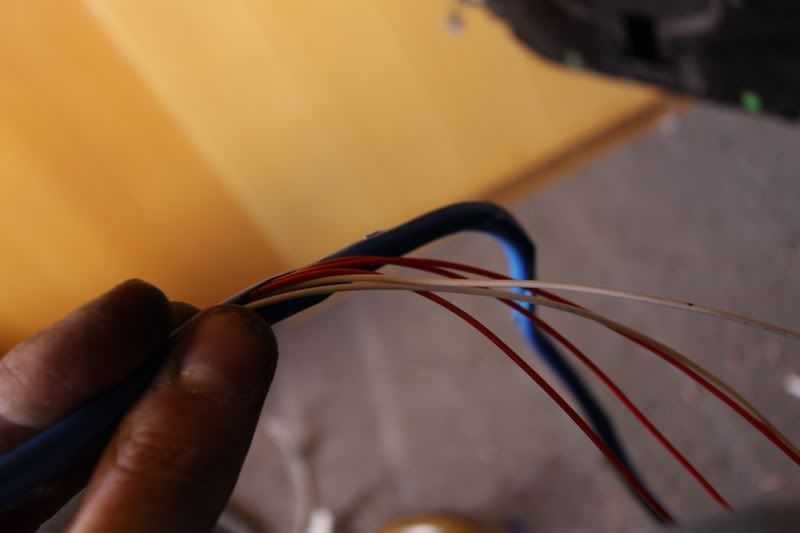 Push the cables inside 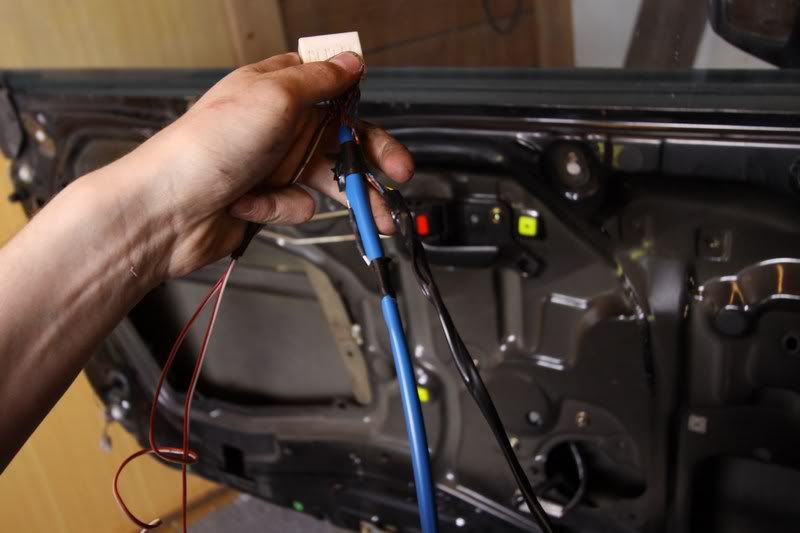 99% finished. This is from the relay. The cables at the left side are positive and negative, and the black taped cables at the right are to the passenger side. We want both of the mirrors work, right? So mainly, it was quite easy work, but time consuming. The cables are color labeled, and I soldered f.ex green/yellow from the door harness to green/yellow at the plug. The things that you need to figure out, is that the blue/yellow cable at the plug are from a positive source, like dome. I mentioned this above, but make sure to make that right. Other door work 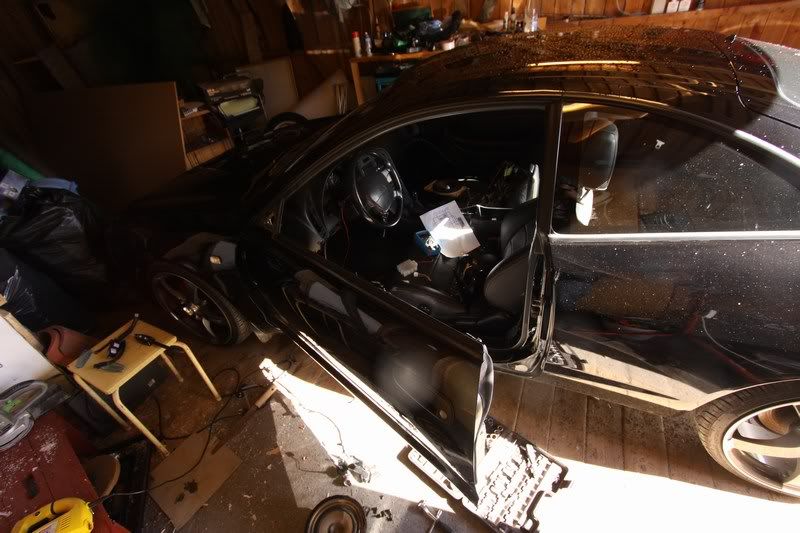 The JDM door mounted and confirmed fitting. Perfect! 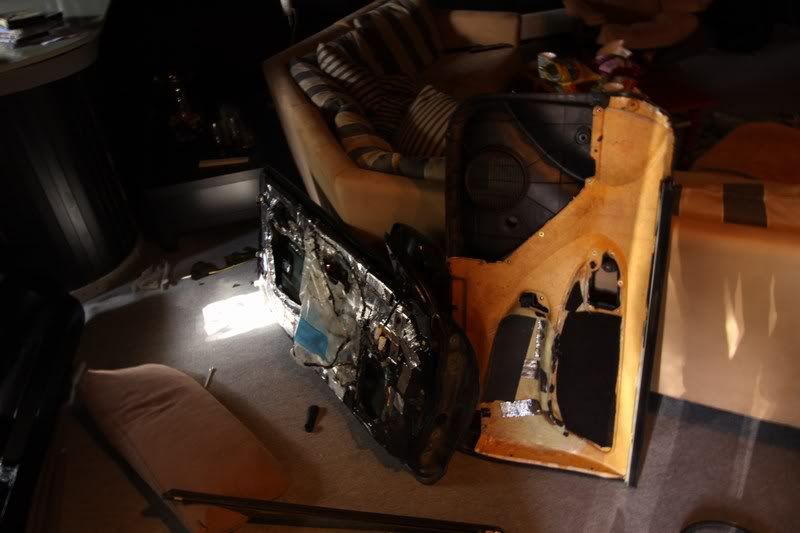 The old door. 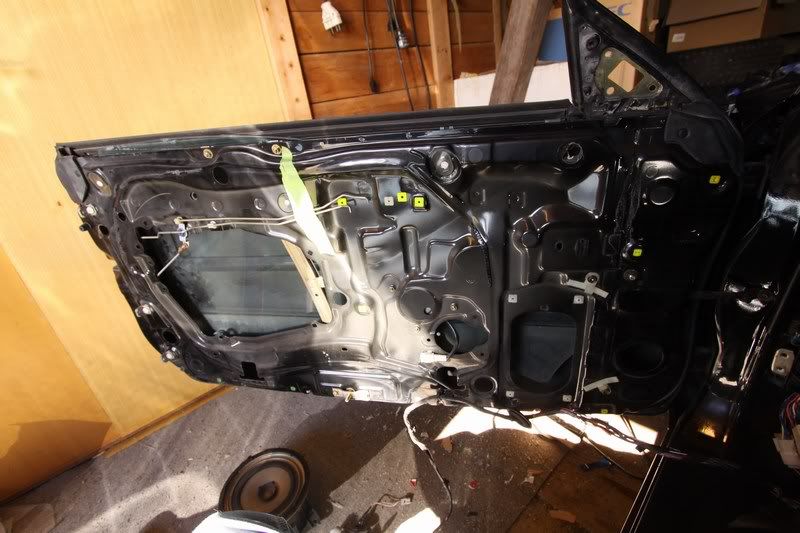 New door at inside. Need to buy some insulating to this door too! 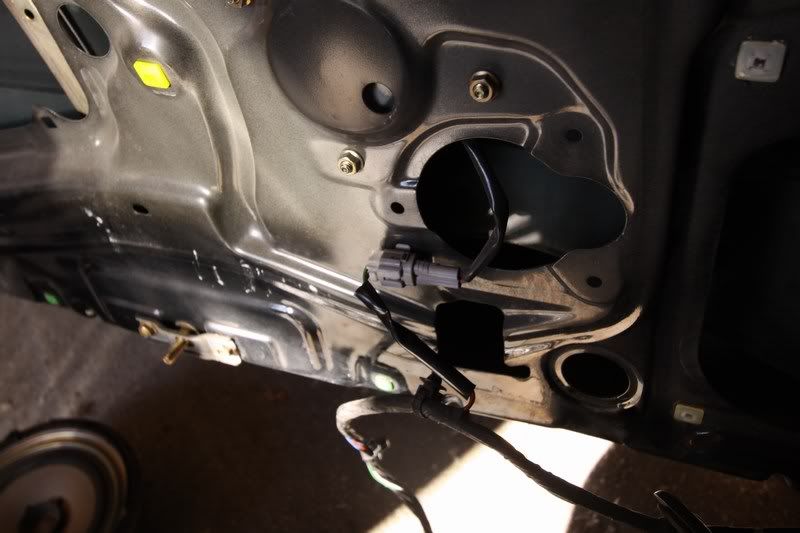 Testing the power windows 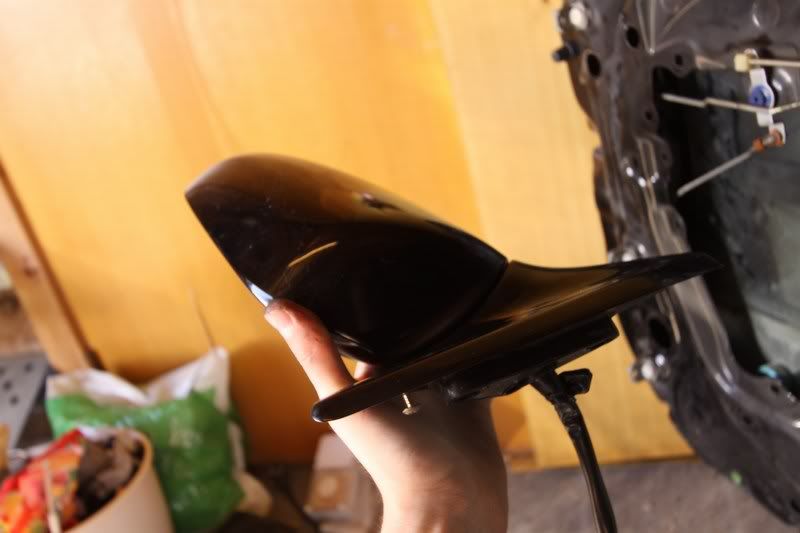 Mounting the power mirrors 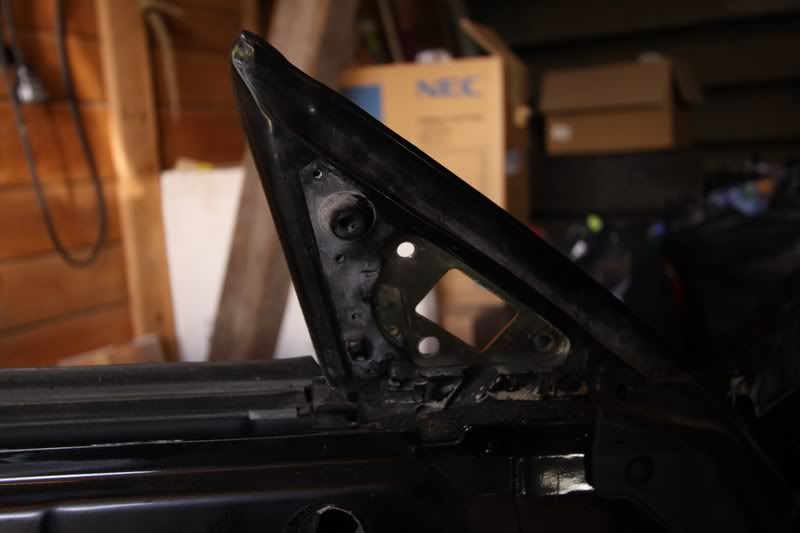 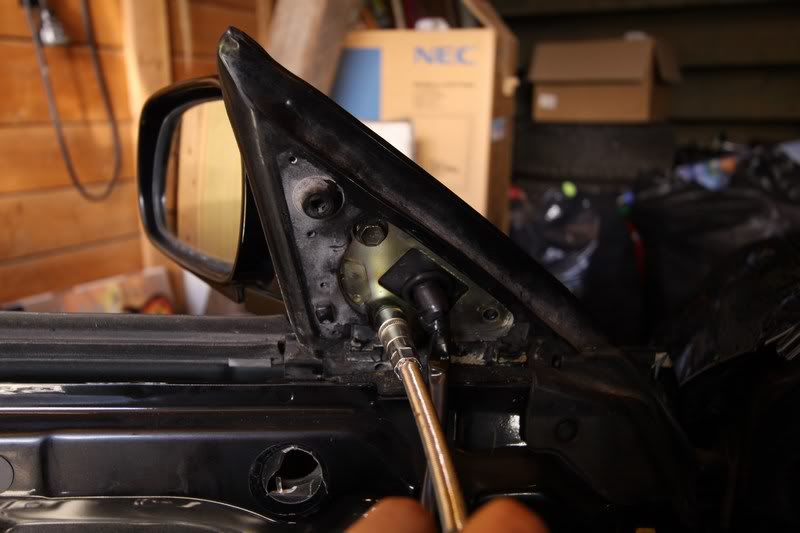 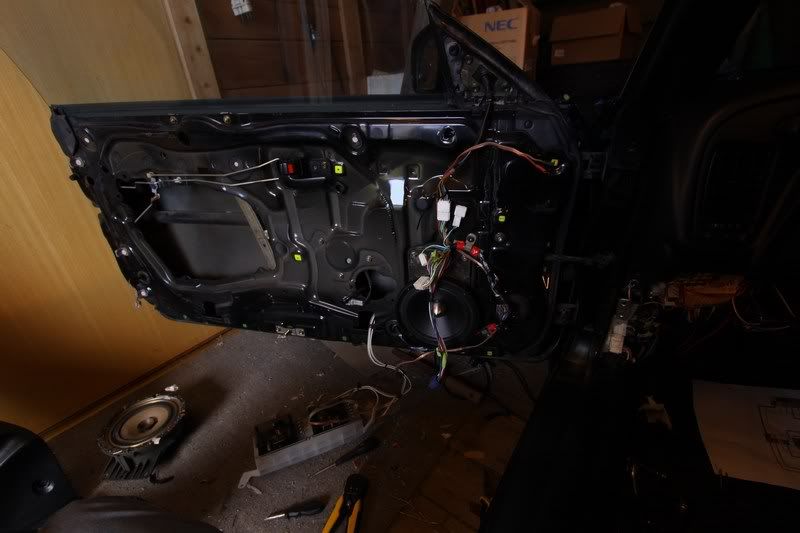 Still a mess, but getting closer! 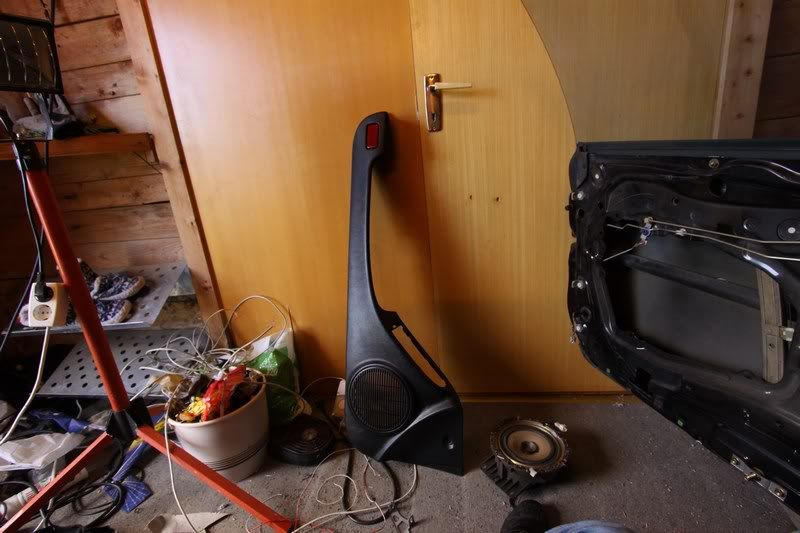 The new plastic piece waiting. 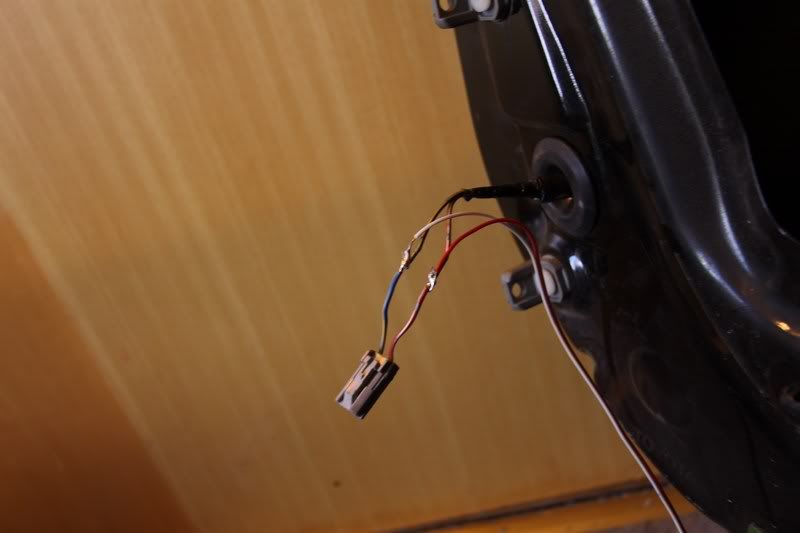 Solder to the dome light. I want som additional lights, so this is perfect to use! 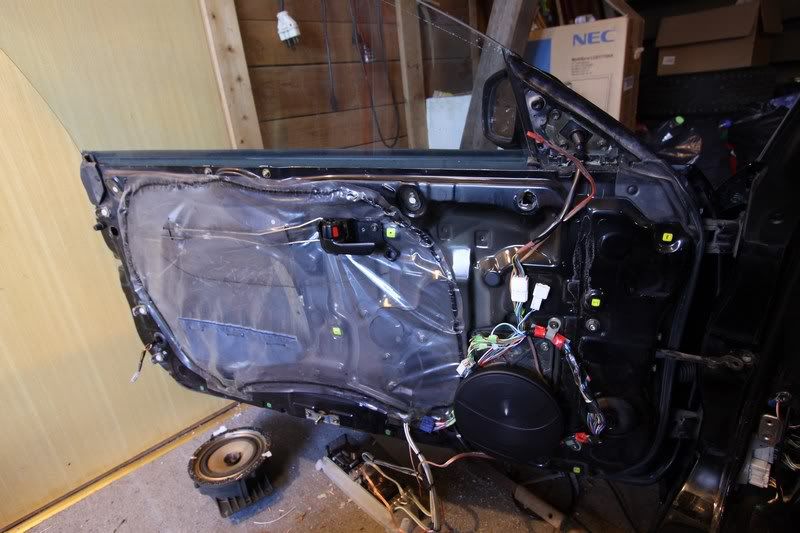 The door almost finished. The door panel are the last step. 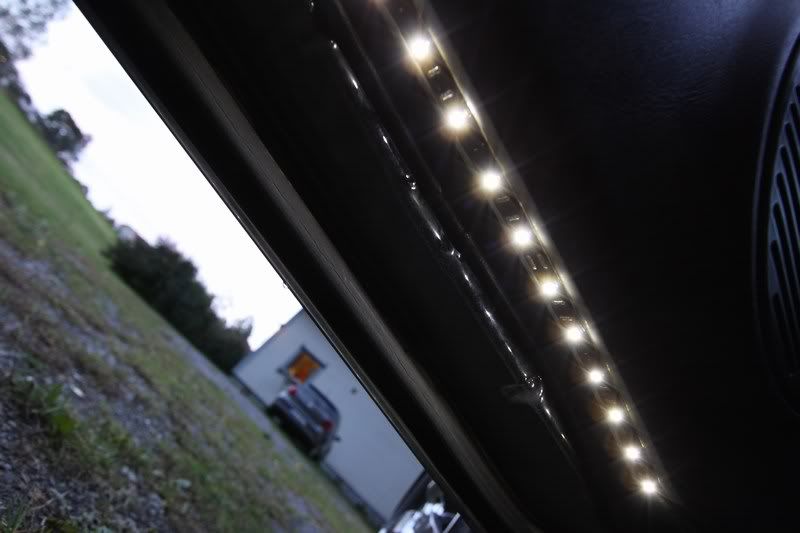 This was the additional lights. Nice in the dark, and works when you open the door without the key in! 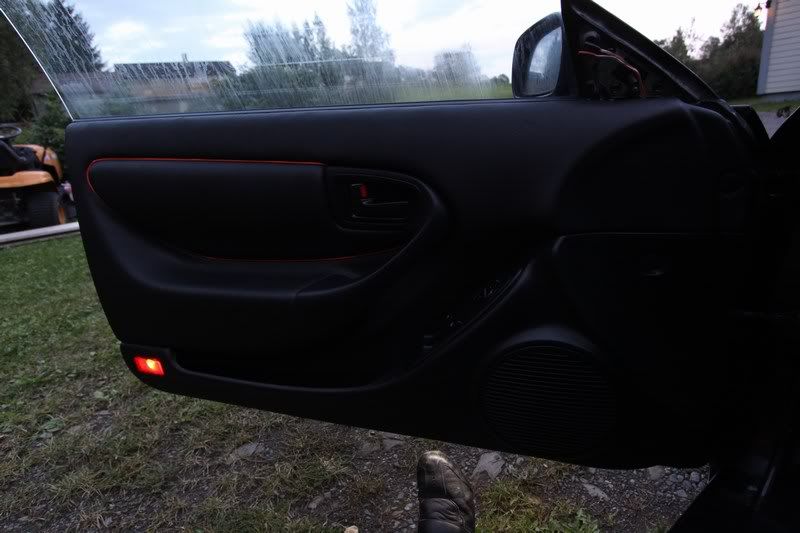 The door finished. http://www.youtube.com/watch?v=rXluUdGrCfo 95% final product (How do I make youtube videos show in my post?) One door closer to... satisfaction? So, that was one door. Now I know exactly what to do to the other door, so that will be simple. Some problems will always show up, but they will be figured out. STILL, I havent figured out the central locking. Its impossible for me to just try the cables, because its like 7 cables that goes only to the central locking module in the door. So please, if someone can help me out here! I need to know what each of the cables do: 1. WHITE/BLACK - This is ground 2. WHITE/BLACK - This is also ground 3. BLUE/BLACK 4. BLUE 5. GREEN 6. BLUE/RED 7. BLUE/WHITE |
Posts in this topic
 AnaXyd Manual to power windows! Aug 14, 2010 - 6:28 AM
 AnaXyd So, the first day I made progress came!
Unhoo... Aug 14, 2010 - 6:34 AM
 enderswift cool man. a few members tried doing something simi... Aug 14, 2010 - 7:22 PM
 AnaXyd Update! - Checking JDM harness vs original har... Aug 21, 2010 - 1:58 AM
 enderswift nice progress man. we need more threads like this ... Aug 23, 2010 - 9:55 PM
 AnaXyd Thank you! I will try to post up everything, t... Aug 24, 2010 - 1:08 PM
 Rusty great stuff. The layout and reference to other thr... Aug 25, 2010 - 2:11 AM
 enderswift good stuff man. I like how you're wiring every... Sep 12, 2010 - 7:53 PM
 AnaXyd Finally...
..after some hours of testing leads, I ... Sep 16, 2010 - 11:32 AM
  |
1 User(s) are reading this topic (1 Guests and 0 Anonymous Users)
0 Members:
| Lo-Fi Version | Time is now: November 26th, 2024 - 5:25 AM |


