 Apr 8, 2008 - 10:15 PM Apr 8, 2008 - 10:15 PM
|
|
 Enthusiast      Joined Dec 22, '06 From Columbia, MD Currently Offline Reputation: 13 (100%) |
this is a guide for the install of the Apexi Auto (turbo) Timer
it is a very easy install for our cars here is a list of the tools you will need for the car TT-4 Harness (for all 6gens available through racinglab.com) Phillips Head Screw Driver Wire Strippers (for o2 sensor and ground wire) Large Pliers Patience and an Hour of Free time everything else you need is included in the box of the package such as a red wire tap (for the handbrake wire) wire crimps (for o2 sensor) double sided tape for the mount of the distributor box and the timer here we go first of all sit and contemplate how you are going to deal with getting flamed for having a turbo timer on a N/A car here is the whole assembly the grey wire is for the parking brake the black is the ground wire the white wire is the o2 sensor wire  1. disconnect the negative battery cable 2. Take the plastic piece above the steering column off. it pulls right out. and make sure you disconnect the dimmer. place the piece to the side, you are going to need some breathing room. 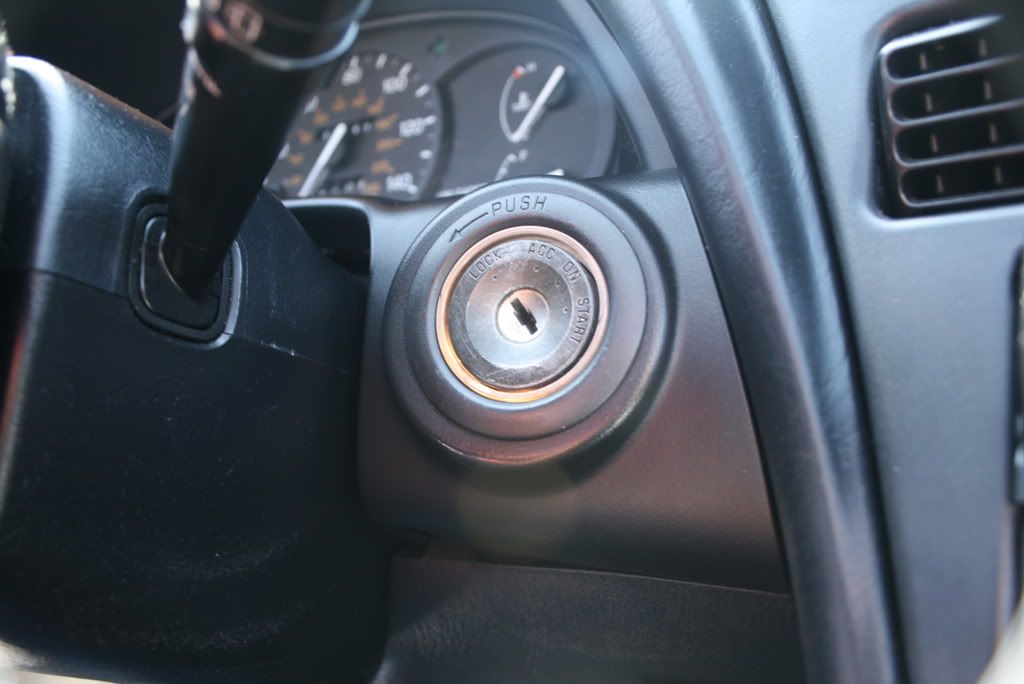 3. Take the plastic piece under the steering column off. There are 4 screws. One on either side of the steering wheel. and two below on either side of the steering wheel. Unplug the alarm wire(if you have that there) Just let the piece hang. there is no point in completely taking it out. 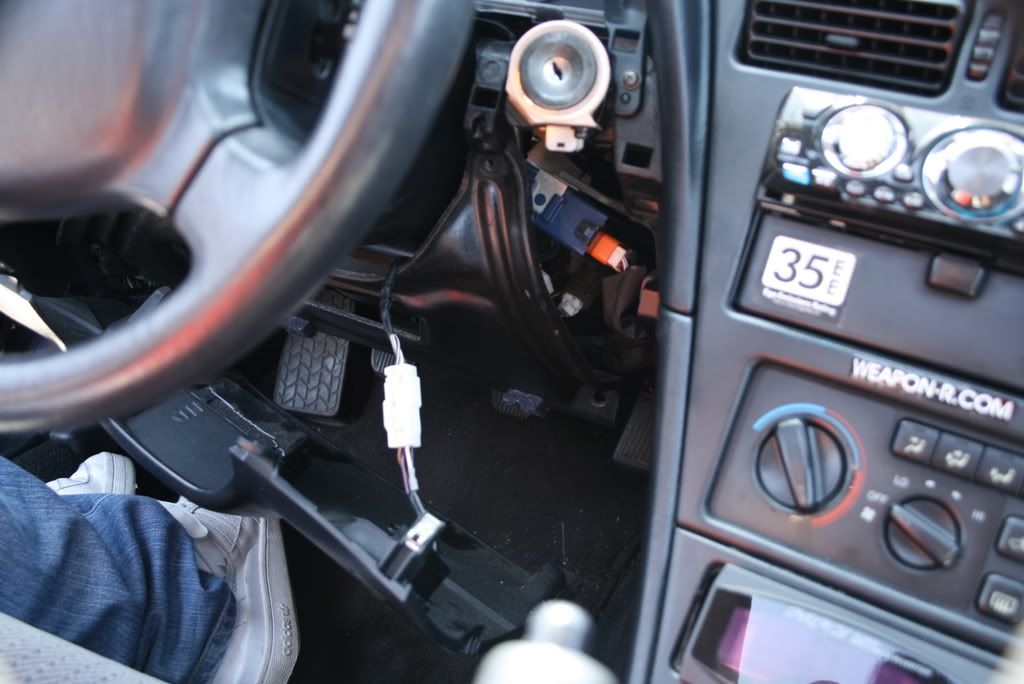 4. there is another plastic piece in the way. DAMN! just take the two screws out and pull it down a little. you don't need that much room now. 5. You will now be able to see the ignition harness which you can unplug and connect the TT-4 harness this is the ignition harness 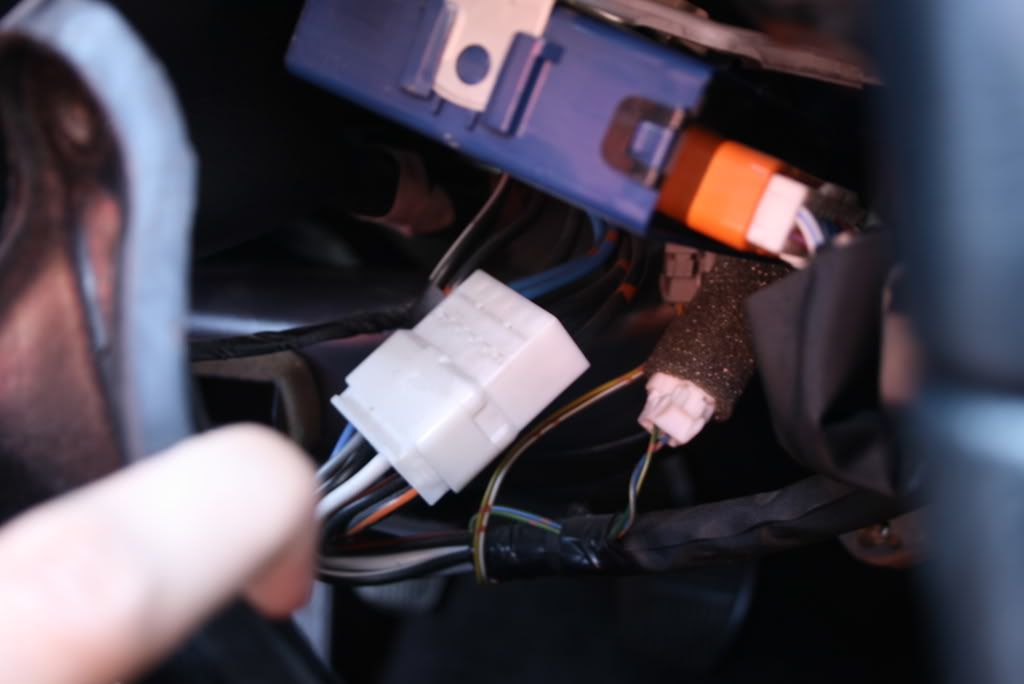 tt-4 harness 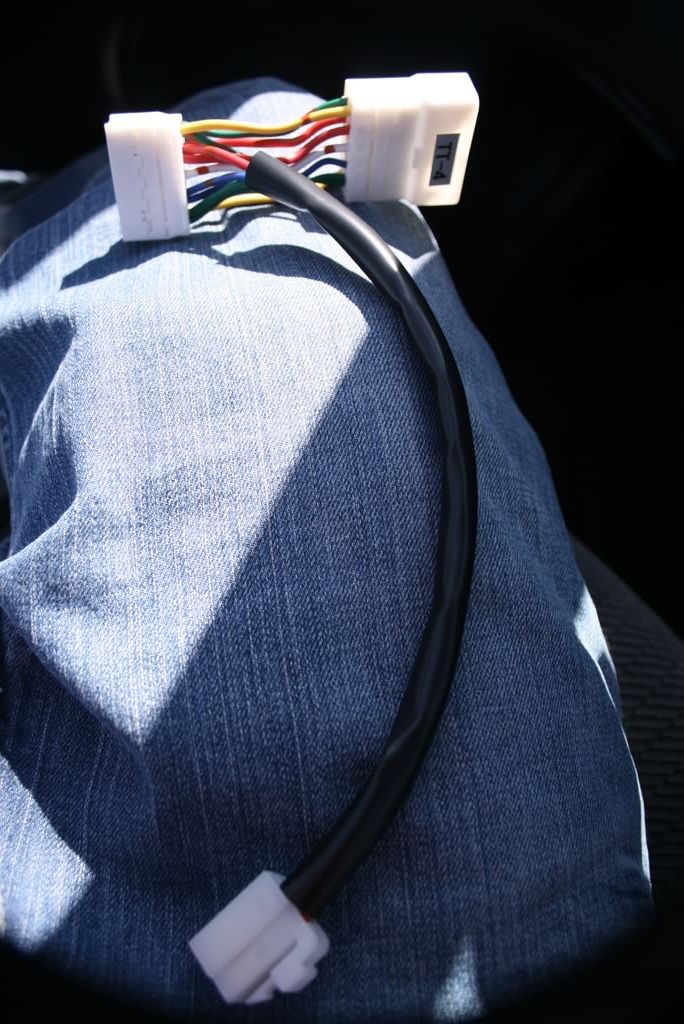 harness plugged in 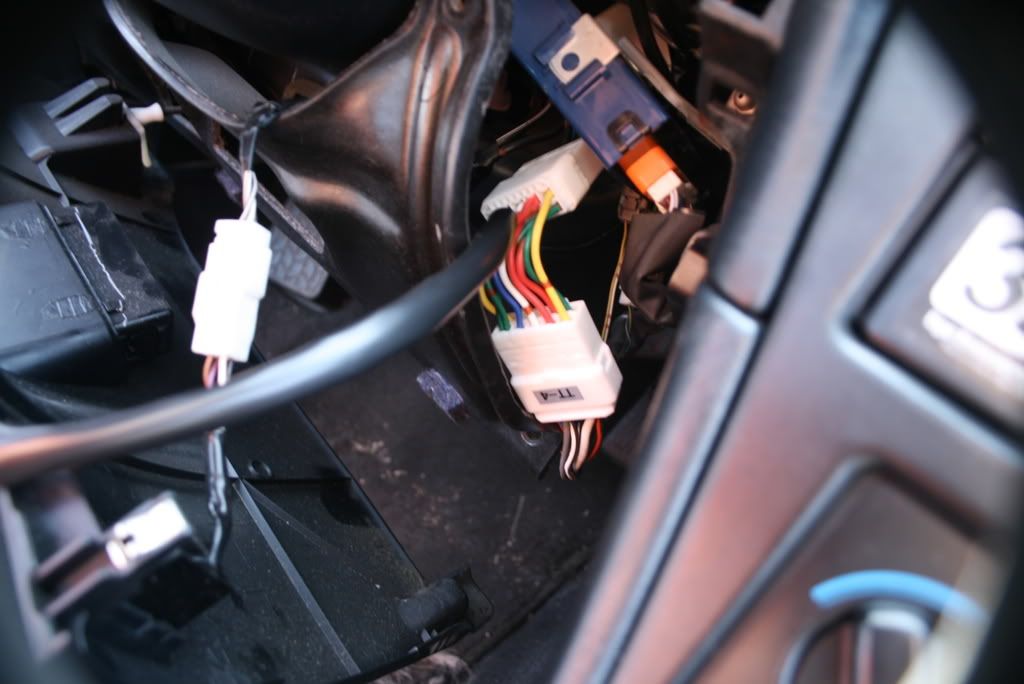 6. take the harness connector on the timer assembly and connect it to the tt-4 (dont mid the elec. tape, i messed up thinking there wasnt a harness for our cars and was gunna tap into the ignition) 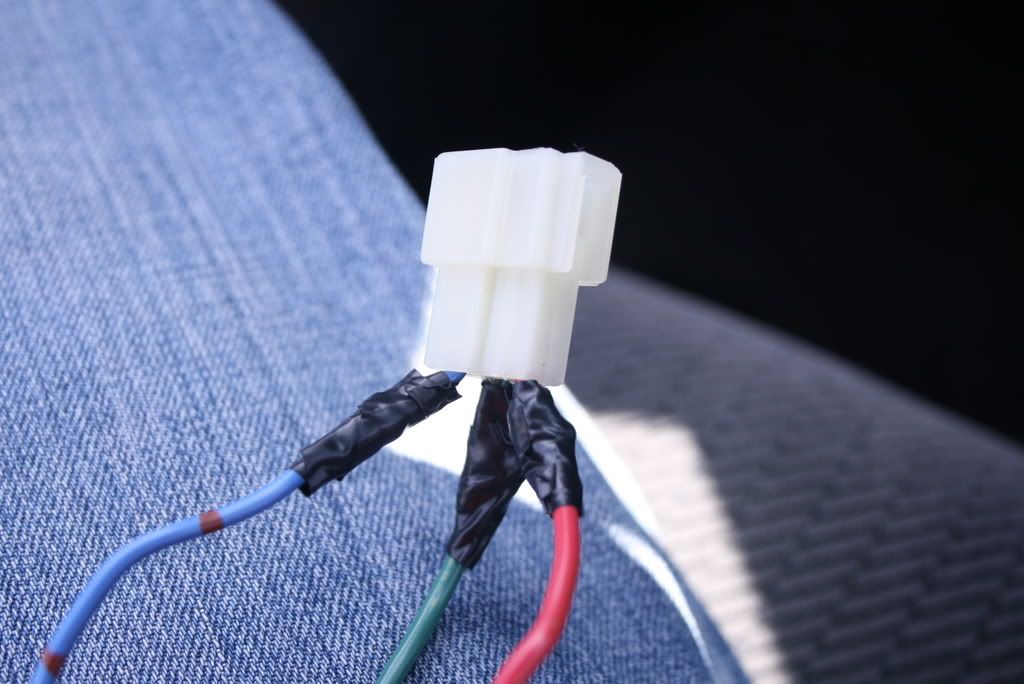 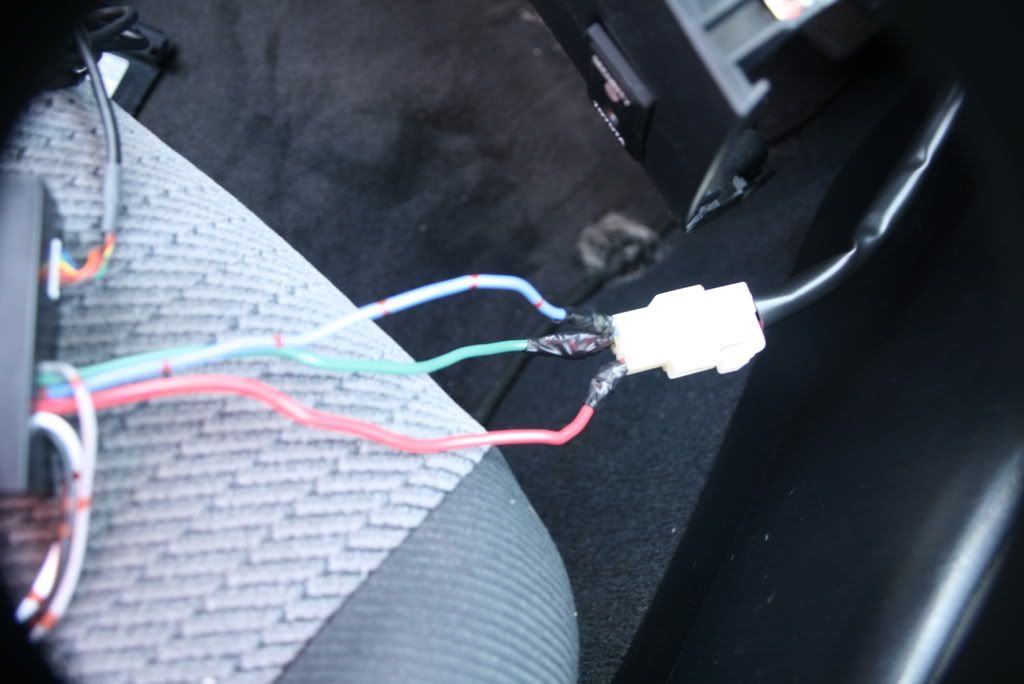 now it is time to put the the handbrake safety feature 1. remove the whole center console which consists of 4 bolts 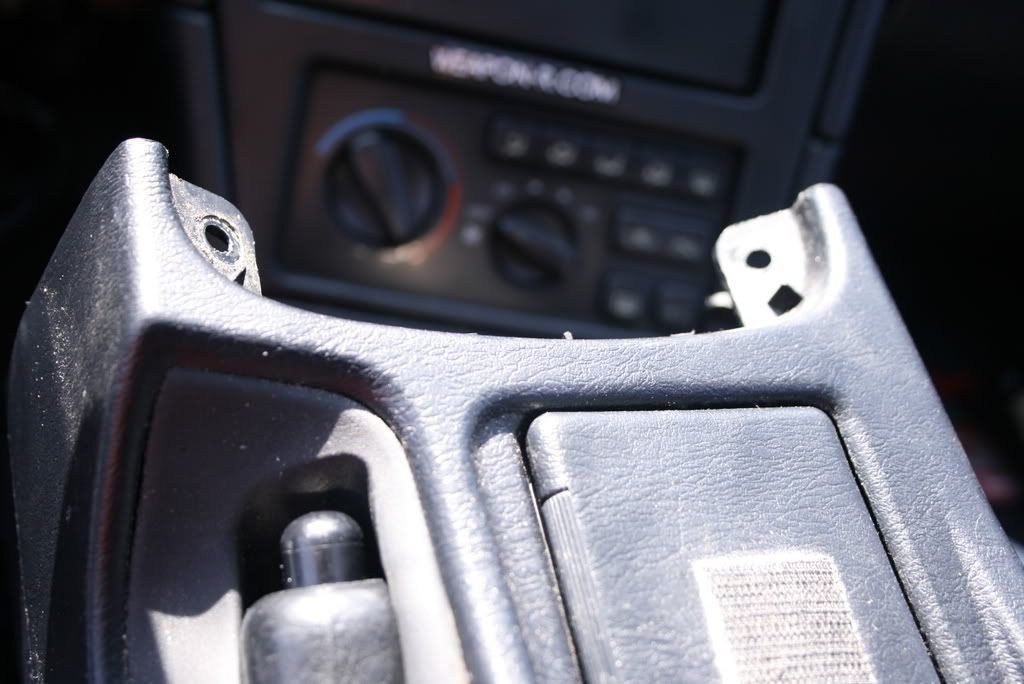  2. lift it right out and place it to the side and eat a sandwich 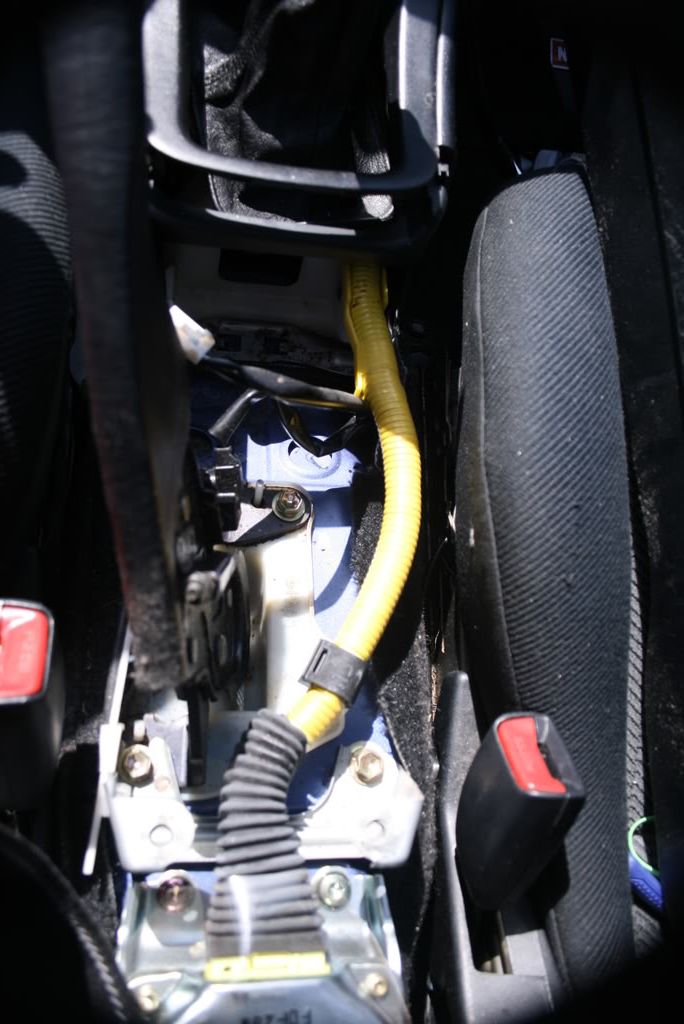 3. Unplug the Parking brake light plug and cut the black wire cover back a little bit  4. take the wire tap piece the timer came with 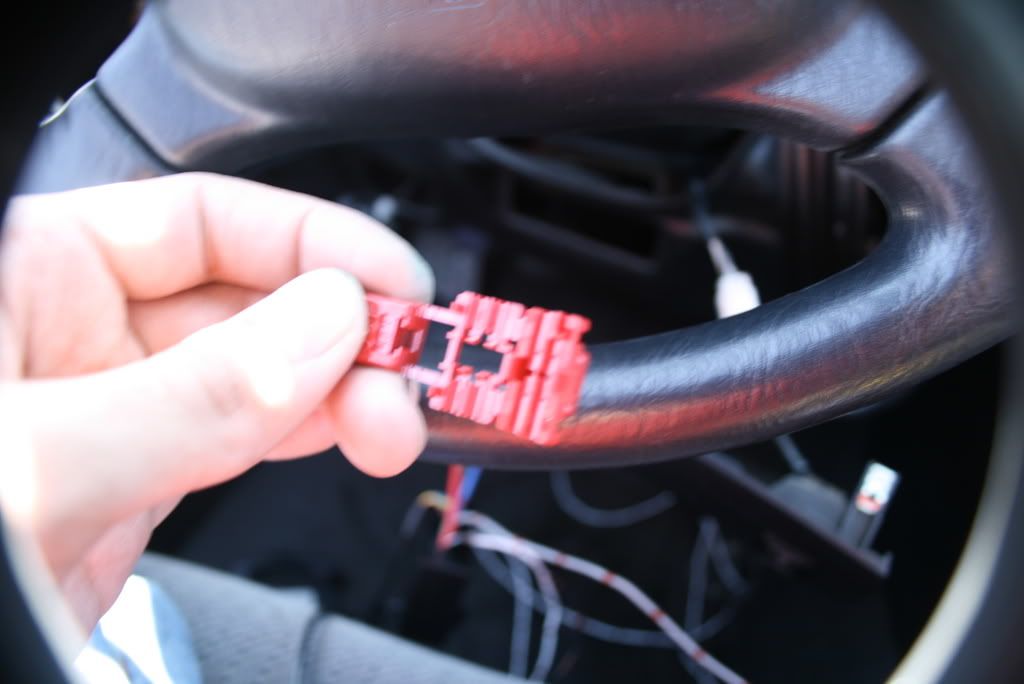 5. Put the parking brake wire in the tap and close the tap. then take the grey wire in the timer assembly and put the end of it in the tap. then close the tapping part on the wires. take the pliers and squeeze the tap together to close it completely. 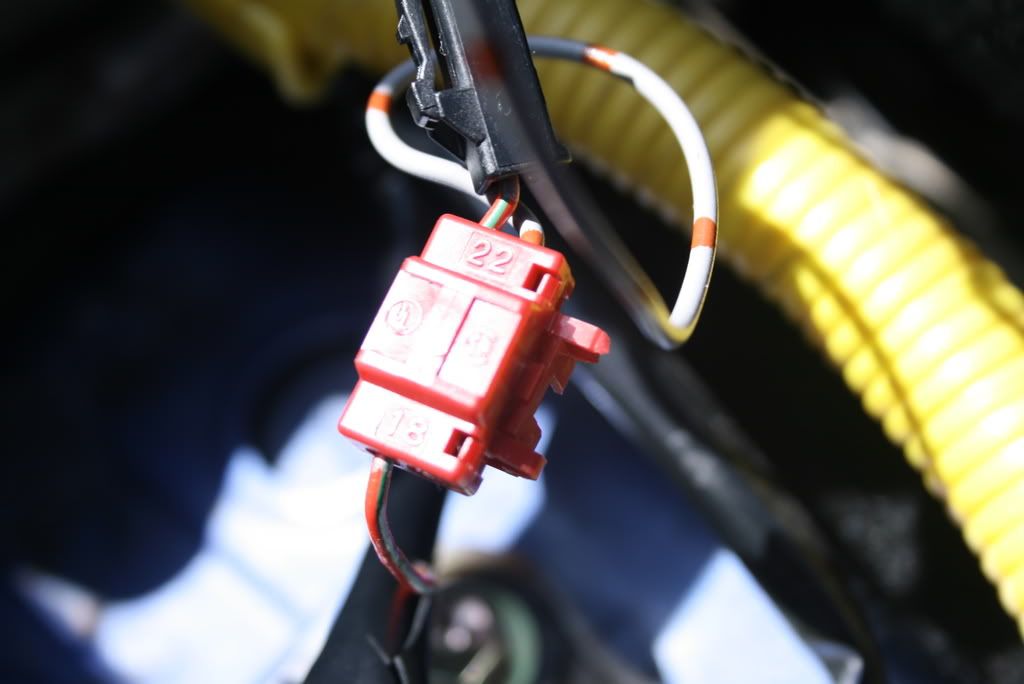 6. plug the clip back in and put all the center console and back together. take the black ground wire from the timer assem. and connect it to some part of the cars body. take the black box from the timer assem. and the double sided tape and stick it to the bottom of the blue relay box. tuck all the wires so they dont fall out. everything should be connected. but dont mount the timer and but all the covers back just yet reconnect the batter cable and make sure everything is on, especially the parking brake light if so put everything back together and mount the timer where your heart desires. i put it here 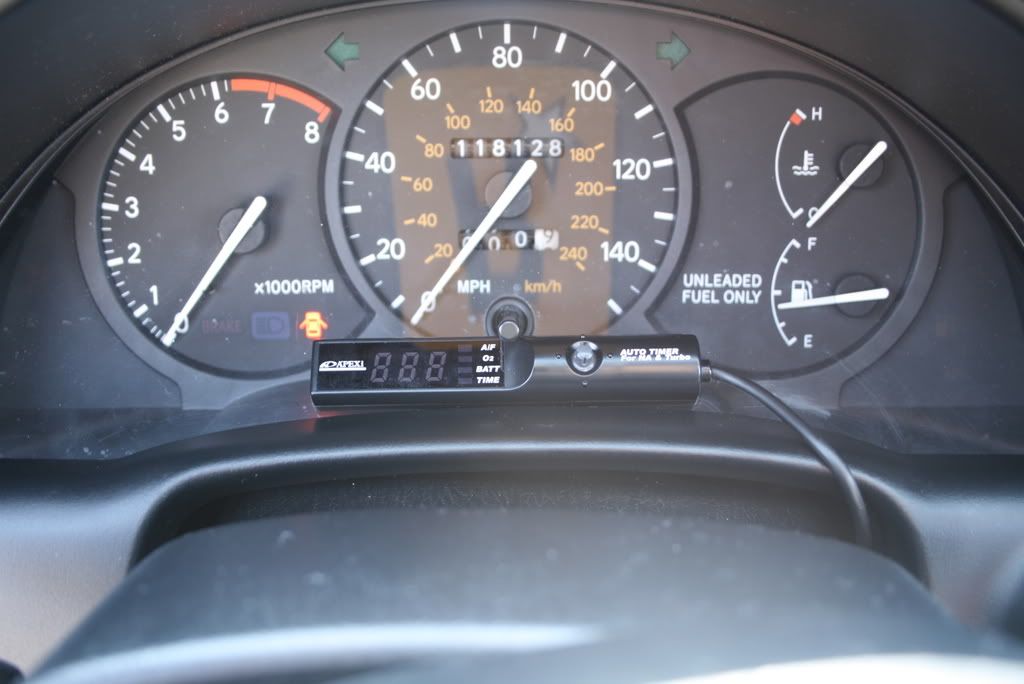 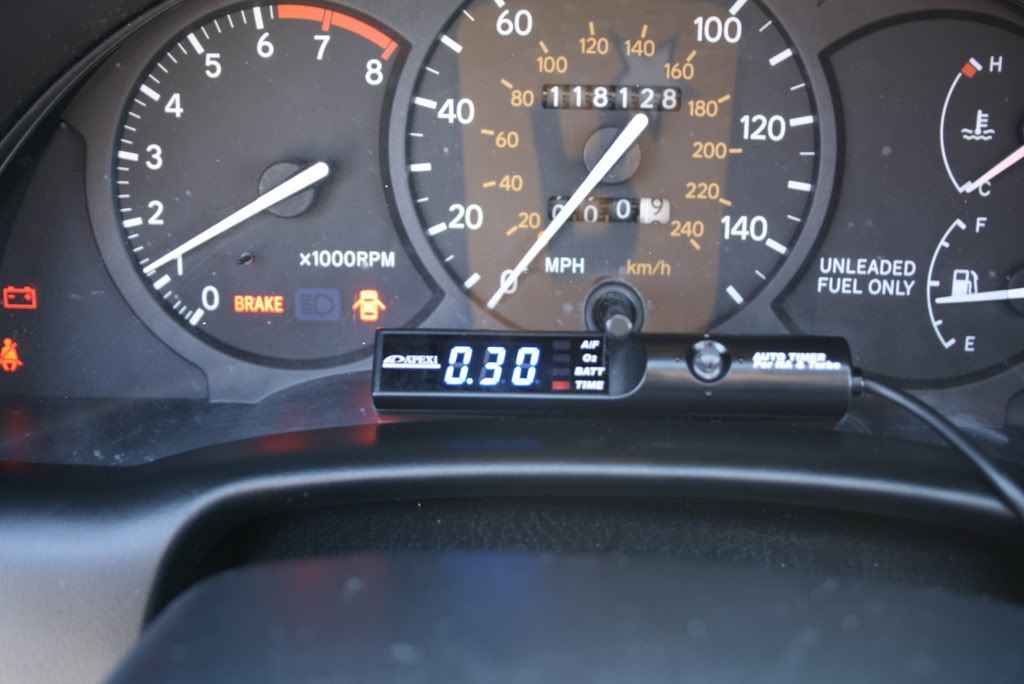 everything should be working. there are a few more things i am going to update this week any questions you can pm me oh i didnt put the o2 sensor wire in yet but i will update that once i do this weekend. This post has been edited by Tigawoods: Apr 9, 2008 - 6:38 AM --------------------  1995 GT::::Diffusing the Situation エキサイティングカーレーシングチーム! march 2010 COTM : 6GC feature 2014 : january 2015-2016-2018 COTM |
 |
Replies
 Feb 14, 2011 - 8:11 PM Feb 14, 2011 - 8:11 PM
|
|
|
Enthusiast Joined Feb 14, '11 Currently Offline Reputation: 0 (0%) |
nice job
This post has been edited by Matthew101: Feb 14, 2011 - 8:13 PM |
Posts in this topic
 Tigawoods Apexi Auto Timer Install Apr 8, 2008 - 10:15 PM
 Supersprynt I think your missing something... Apr 9, 2008 - 12:21 AM
 MaskedMan QUOTE(Tigawoods @ Apr 8, 2008 - 8:15... Apr 9, 2008 - 12:24 AM
 Tigawoods ahhh i knew i couldnt have gone that long without ... Apr 9, 2008 - 6:40 AM
 Supersprynt I meant a turbo. Apr 9, 2008 - 7:36 AM
 Tigawoods ah ha! i just got it 2 years ahead of time Apr 9, 2008 - 7:44 AM
 Batman722 are you going to put a boost controller in next ? ... May 25, 2008 - 4:01 PM

 Tigawoods QUOTE (Batman722 @ May 25, 2008 - 5... May 26, 2008 - 10:39 AM
 lagos QUOTE (Batman722 @ May 25, 2008 - 5... May 25, 2008 - 5:13 PM
 Stambo i guess i should get one of these. I usually just ... Feb 14, 2011 - 8:43 PM
 str8thugginit4ya QUOTE (Stambo @ Feb 14, 2011 - 9:43 ... Feb 15, 2011 - 11:15 AM
  |
1 User(s) are reading this topic (1 Guests and 0 Anonymous Users)
0 Members:
| Lo-Fi Version | Time is now: November 23rd, 2024 - 10:17 AM |


