 Oct 29, 2012 - 6:06 PM Oct 29, 2012 - 6:06 PM
|
|
 Enthusiast    Joined May 13, '06 From Kaimuki, HI Currently Offline Reputation: 10 (100%) |
I'm not sure if this is the right category that the locks will fall under. I figured they would fall under "maintenance" but there isn't a regular maintenance section, only engine maintenance. The trunk lock stopped turning right (unlock) with both of my keys, and it would still turn left(lock), so I knew it wasn't a worn key. I would have taken pictures and described in detail how to take the lock cylinder apart, but all I have is what is listed below. (be careful if you attempt this because there are small pieces that are easy to lose or not set back exactly right) The trunk lock has 10 wafers, 5 on each side, using 9 instead of 10 wafers will not make it easier for someone to break into your trunk. If you are reading this because someone tried to break into your trunk and you want to rebuild your lock cylinder with pieces from a junkyard one, you will need to try to rearrange the wafers so that your key fits in the junkyard trunk lock.
pry up on the plastic cover on the back until it can slide back 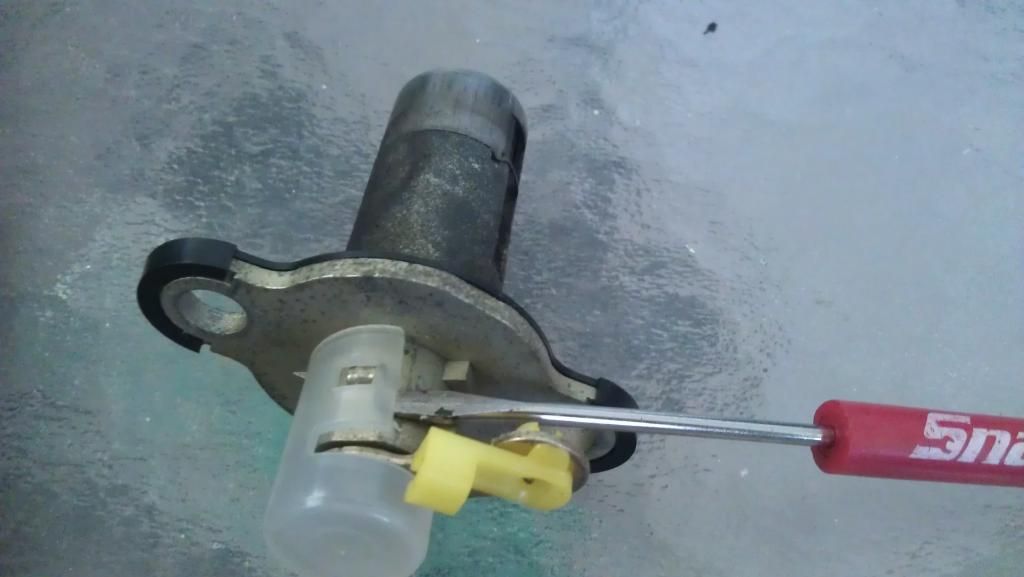 pop the c-clip off 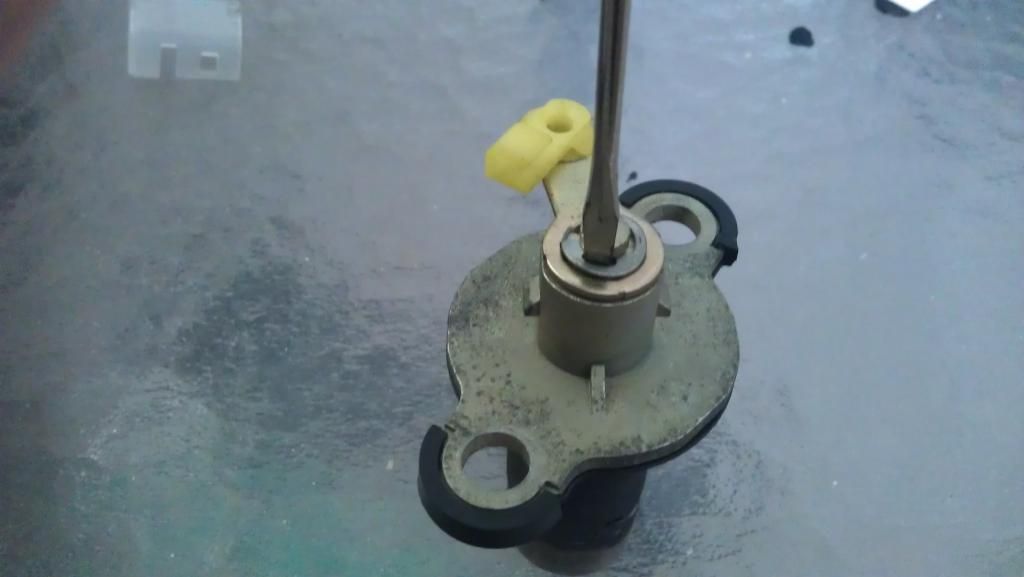 don't let it fly off somewhere where you can't find it 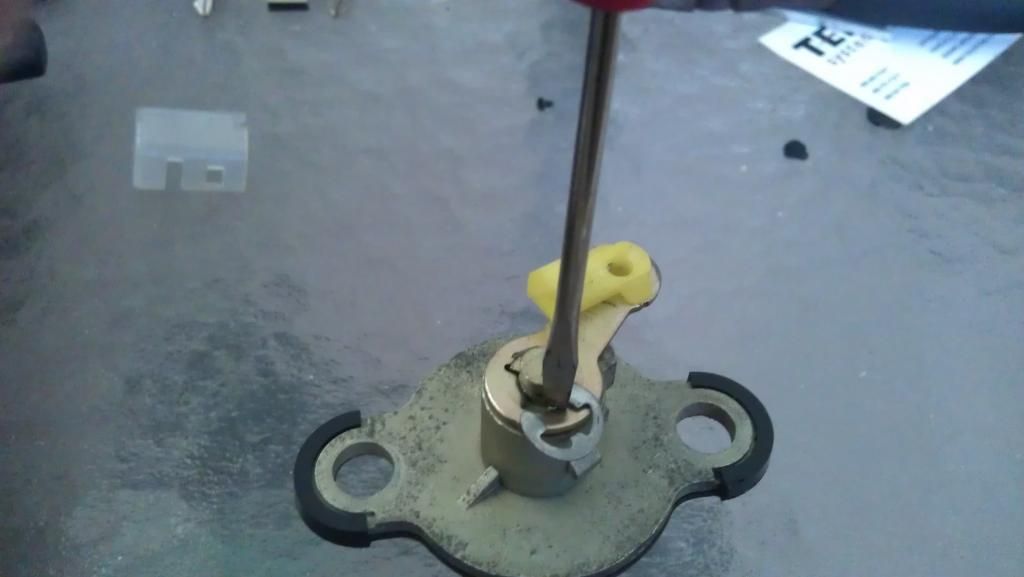 now it's off and the back of the lock cylinder is not held in by anything (be careful beyond this point not to lose any internal parts) 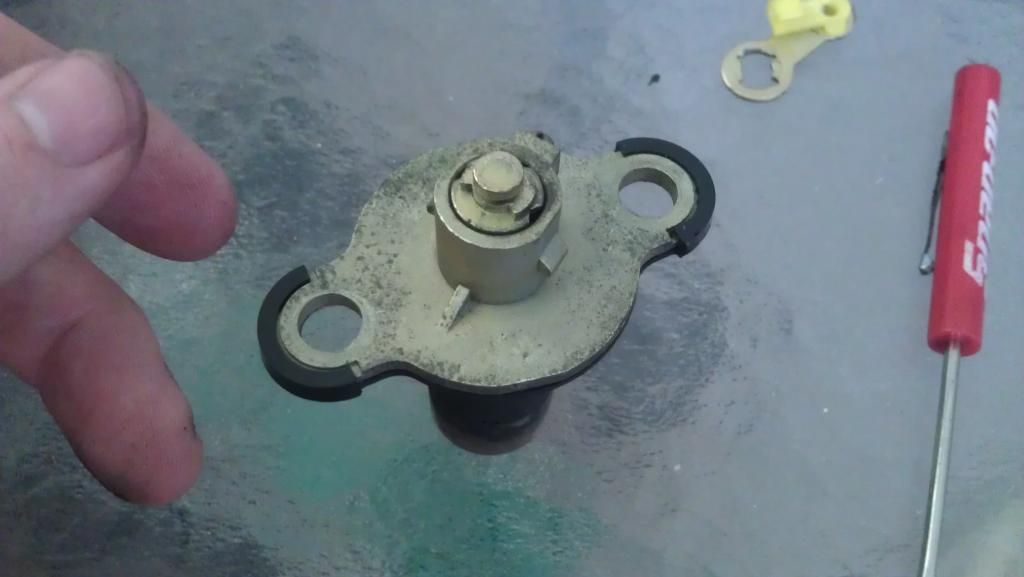 The cover holding the front of the lock cylinder is pinched in place, pry up where it is pinched and the cover should slide off 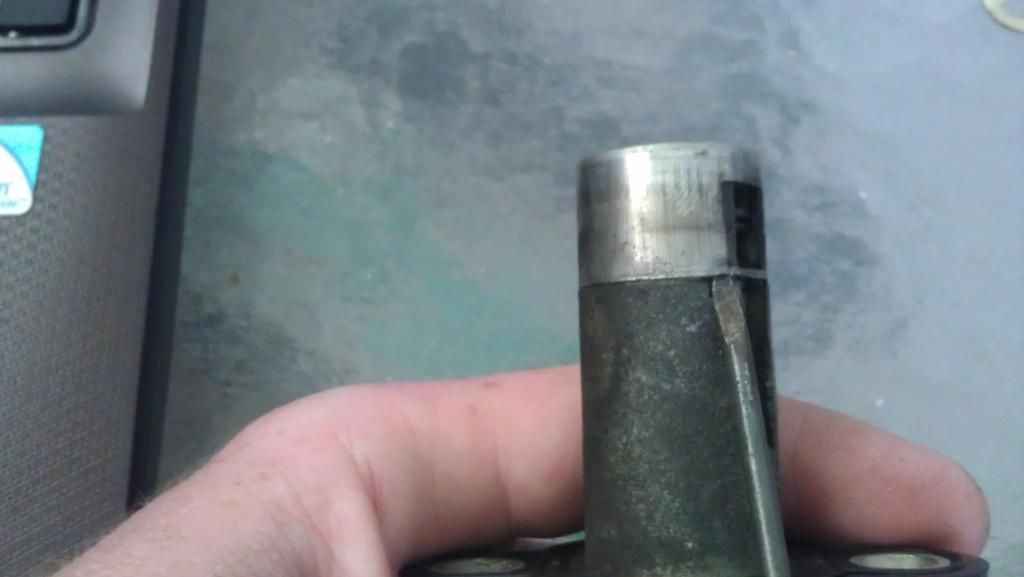 it's pinched in both sides 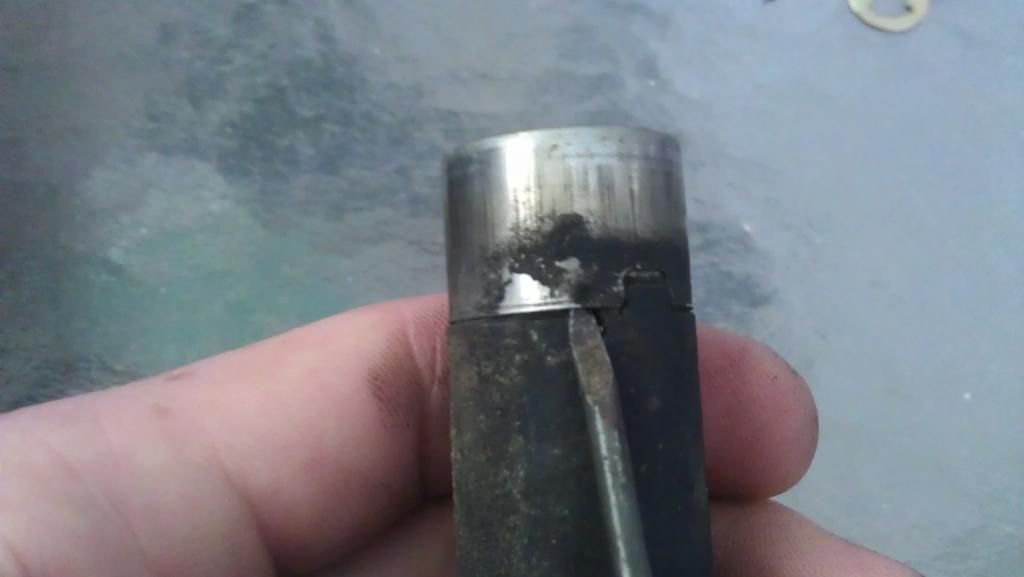 mine was stuck a little, but it came off after a few minutes of trying to slide it 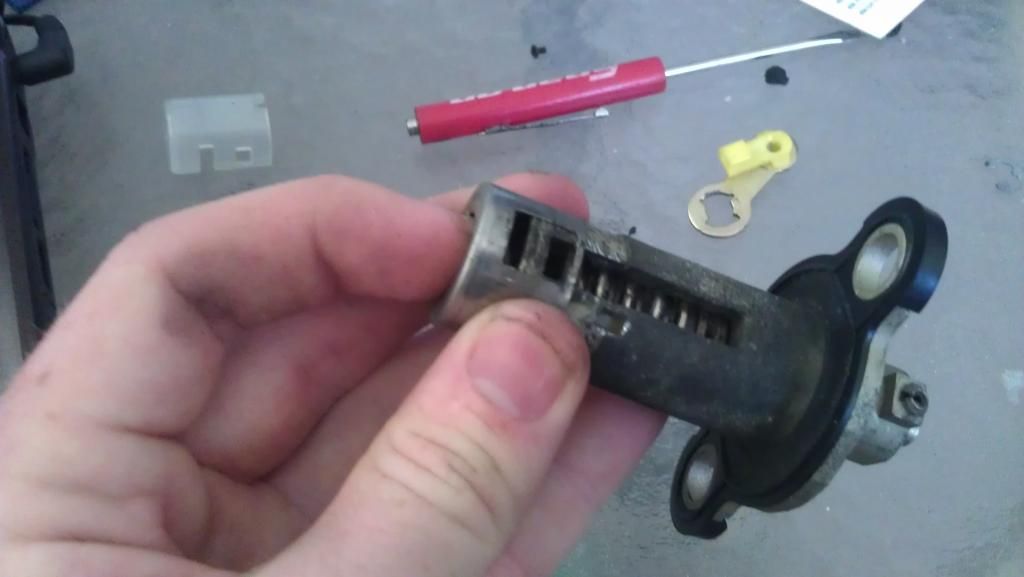 be careful with this door, there is a spring behind it 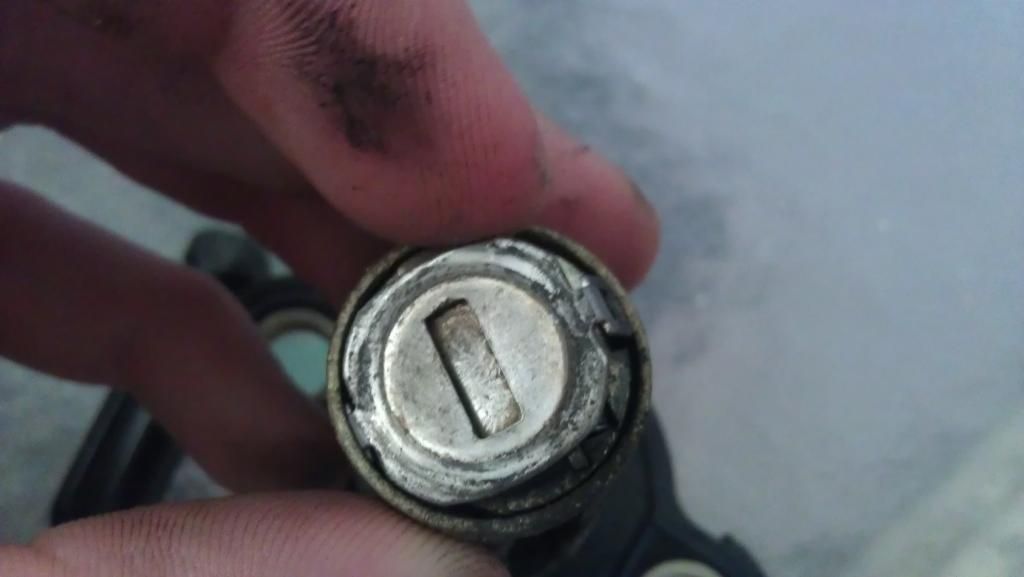 I put a screwdriver between the cover and the door to hold down the door and spring 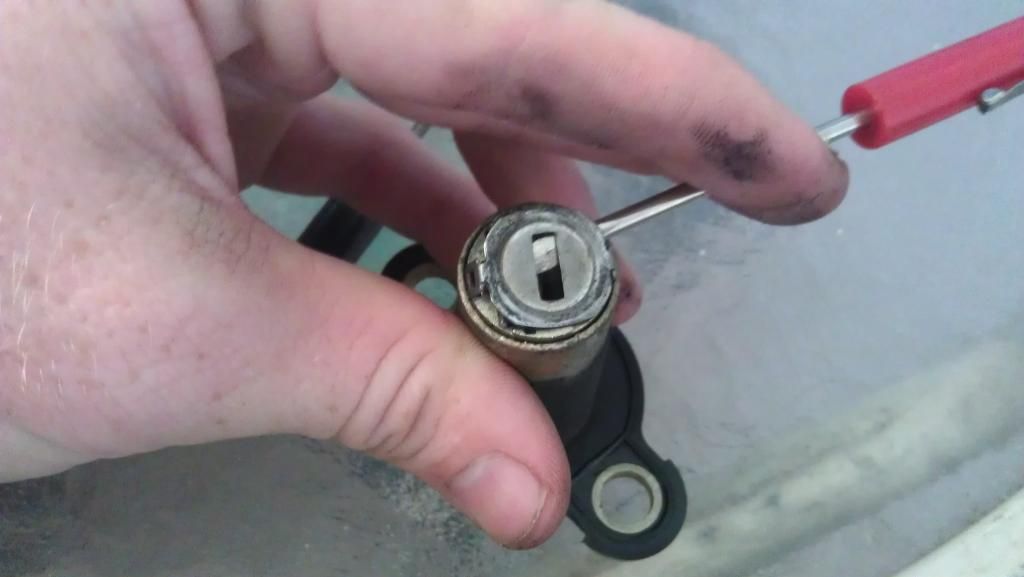 then took the other cover off to expose the door 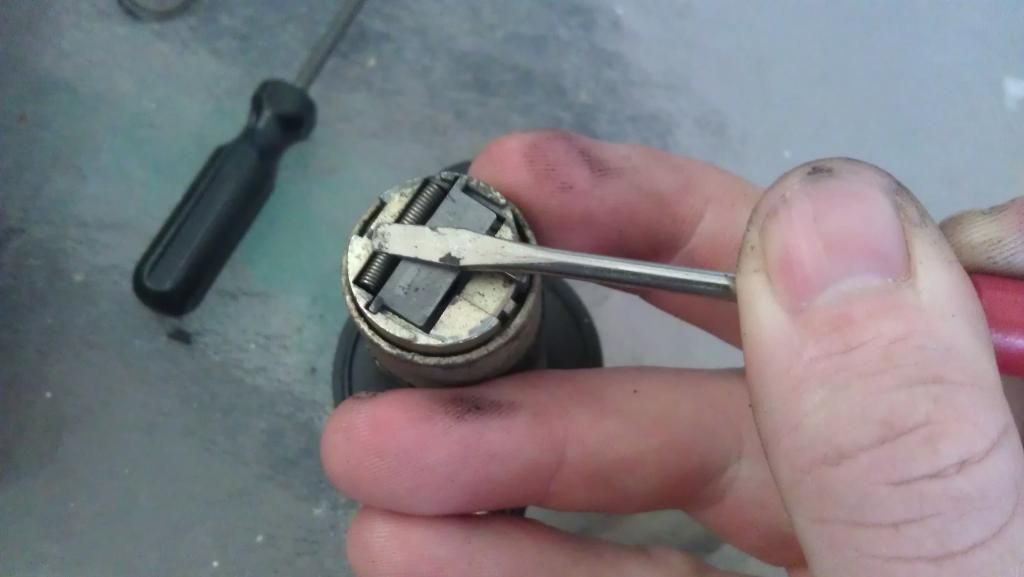 door is off and safely stored, and spring is fully exposed 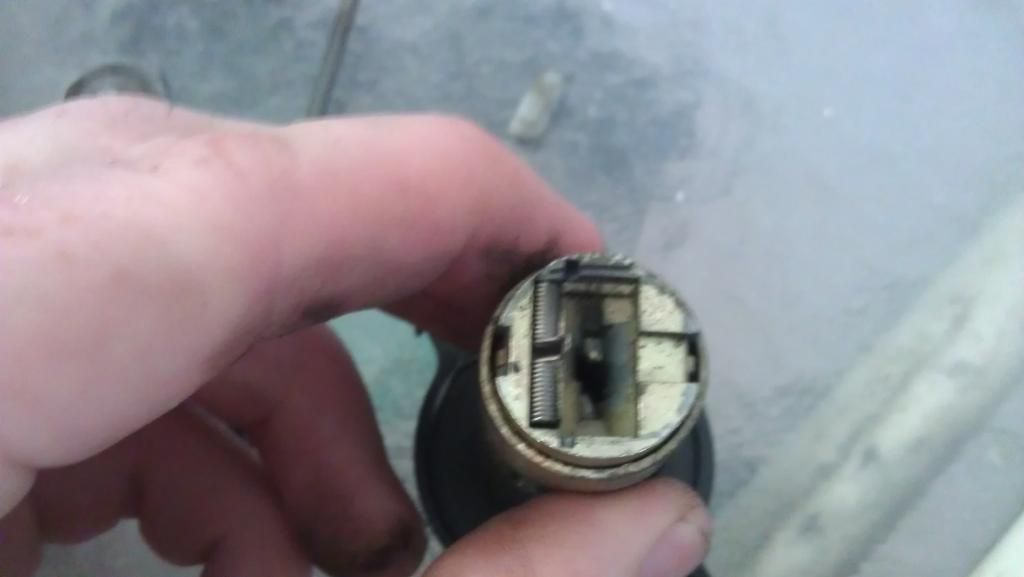 spring is out and safely stored 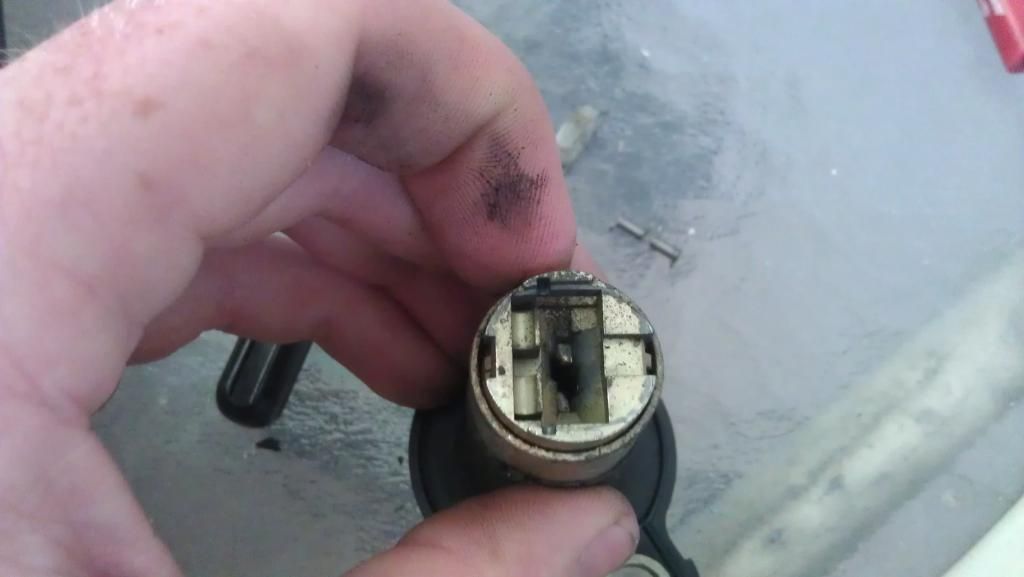 when you start to slide the lock cylinder out, put the key in the lock so it comes out easily, there is a ball bearing that will fall out from a hole in the back side 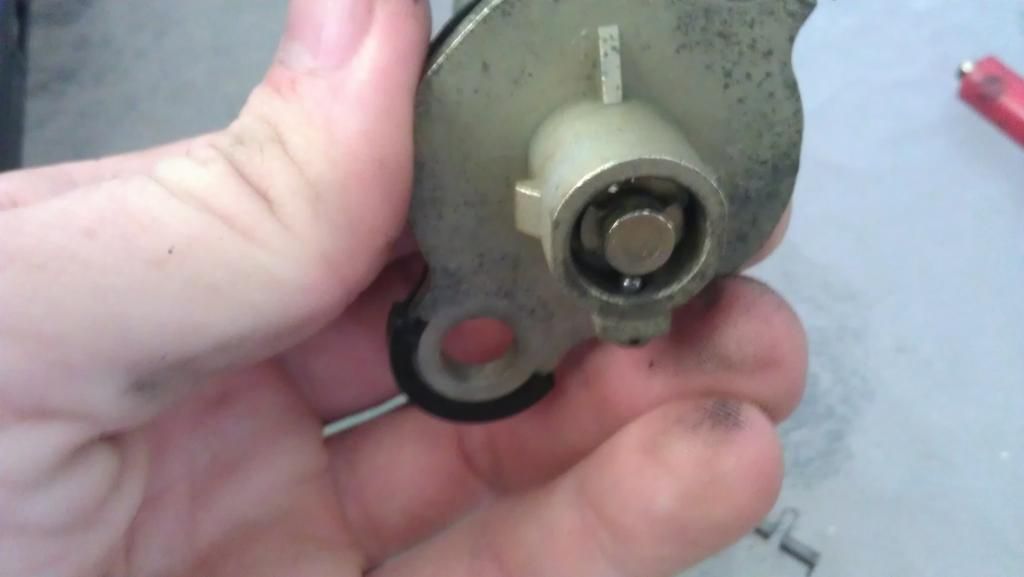 it sits here and is supposed to stop in one of the grooves (don't lose it!!) 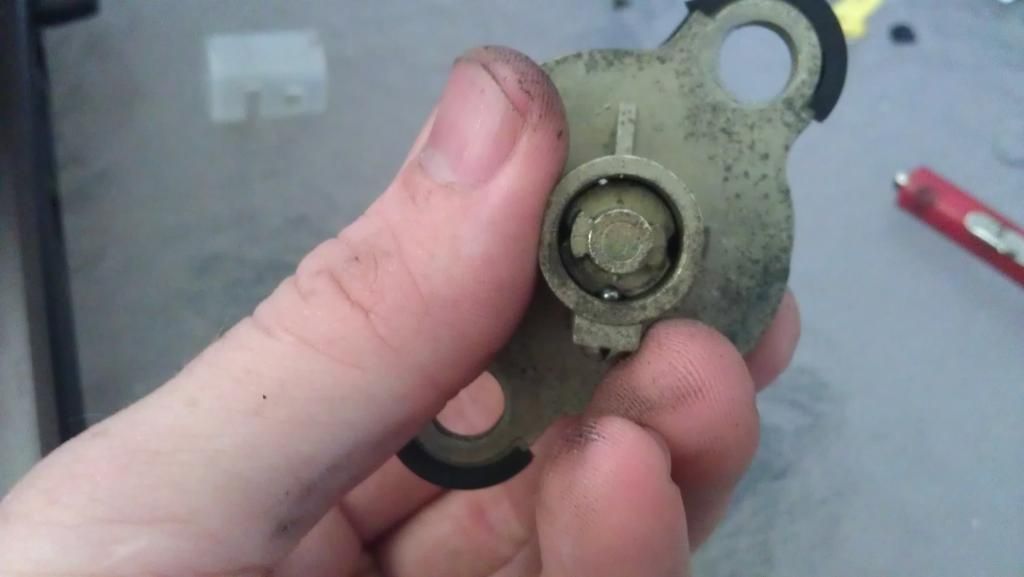 the key holds the wafers in while you are pulling out the lock cylinder and also holds the wafers in so they don't hang on anything on the way out 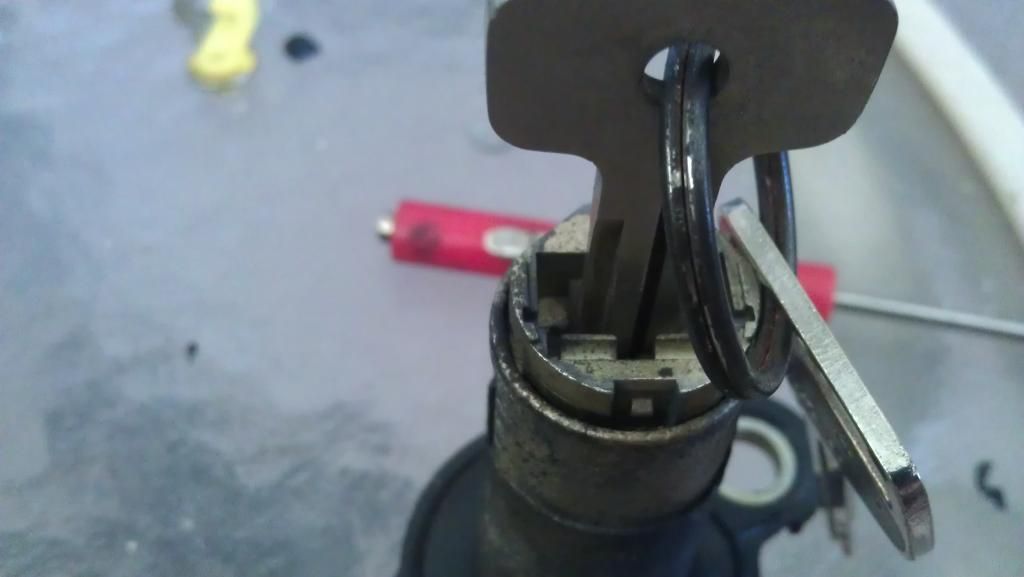 there is the problematic wafer. nothing holds it in except for the key, so slide the key back just far enough to pull the wafer and spring out. (the other wafers will fall out very easily, so be careful) 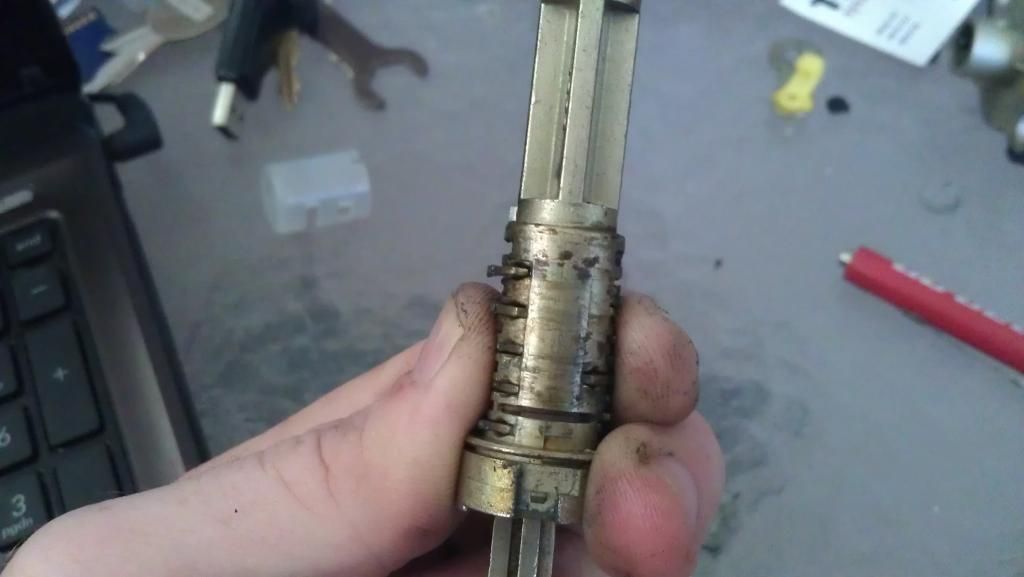 the wafer is out! (get the spring out too) (ignore the screw in the picture, that is for something else) 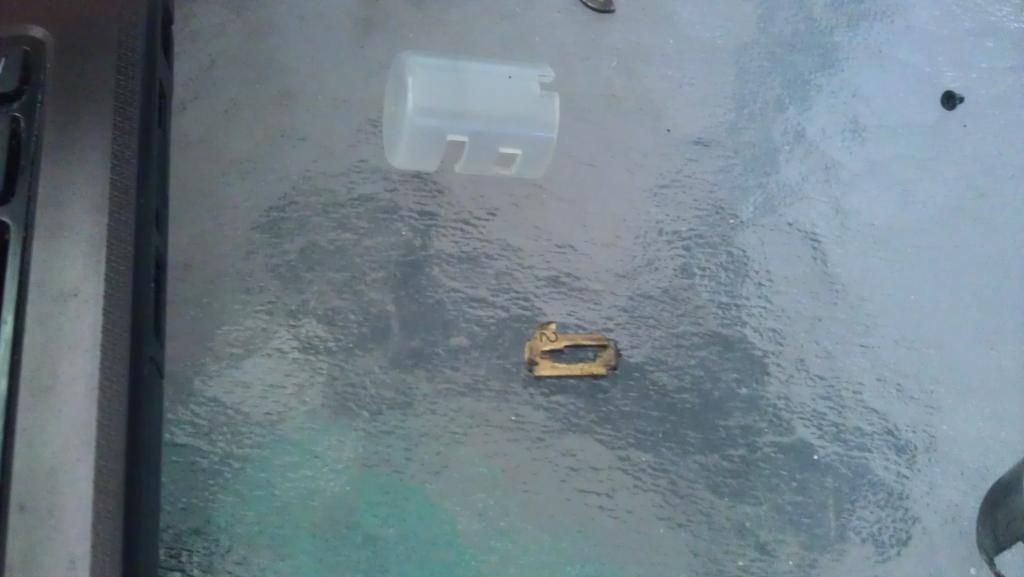 you can see the spring in this picture, pull it out with something small so it doesn't float around inside of the lock 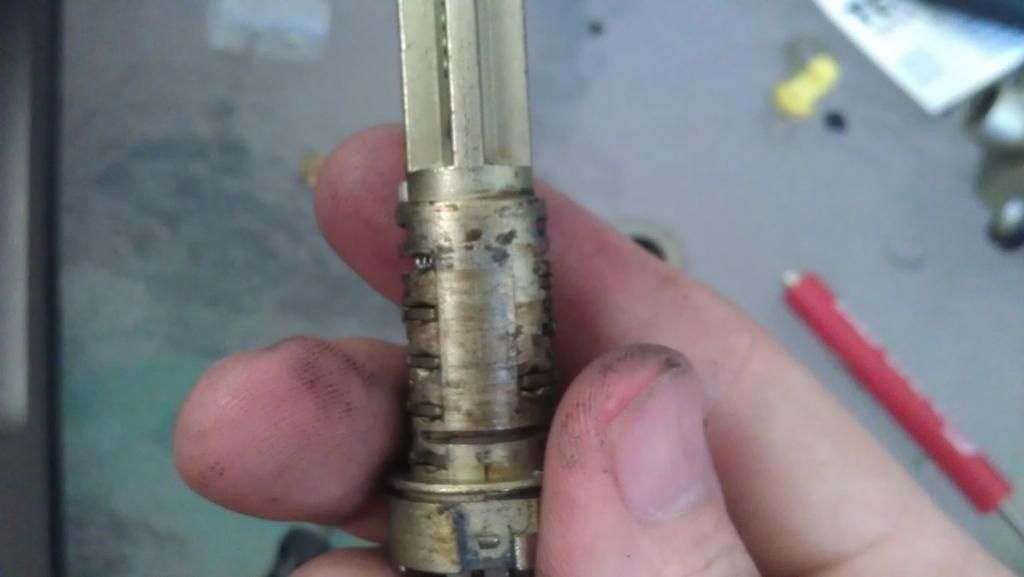 put the ball bearing back in place and push the lock cylinder back (note: I had to push down on the ball bearing with a tiny screwdriver so the lock cylinder went around it) 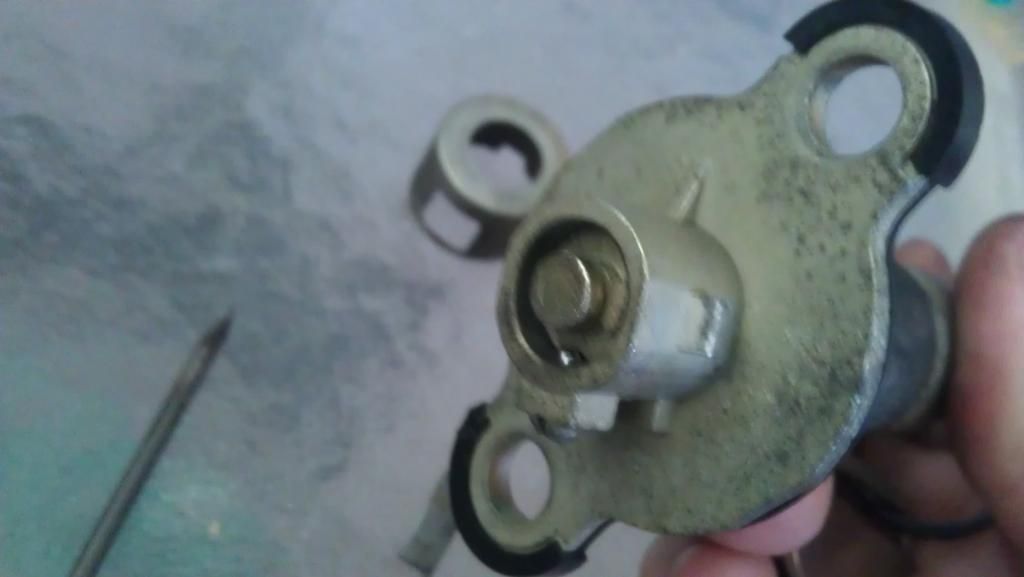 it kept falling out while I was working with the dust shield on the front and putting it and the spring back in (you can reassemble the c-clip/arm part on the back if you want, it will ease frustration) 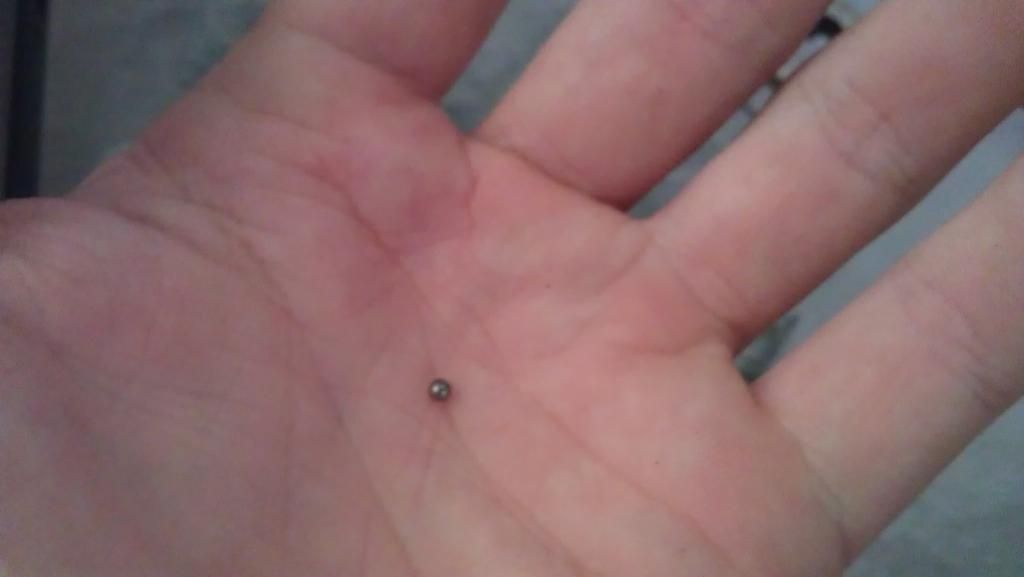 this is the way the spring sits 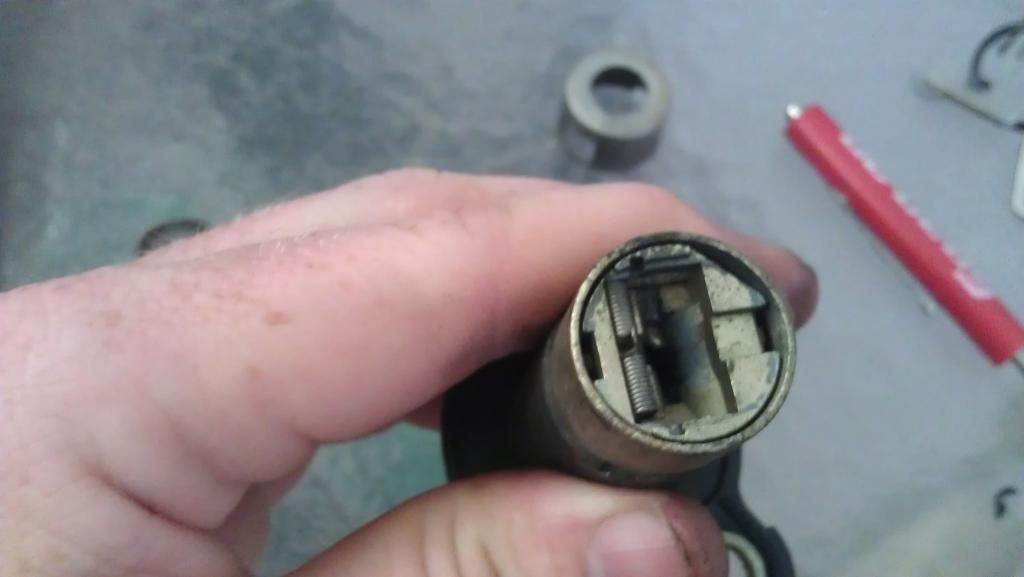 this is how I held the door down while I put the first cover back on 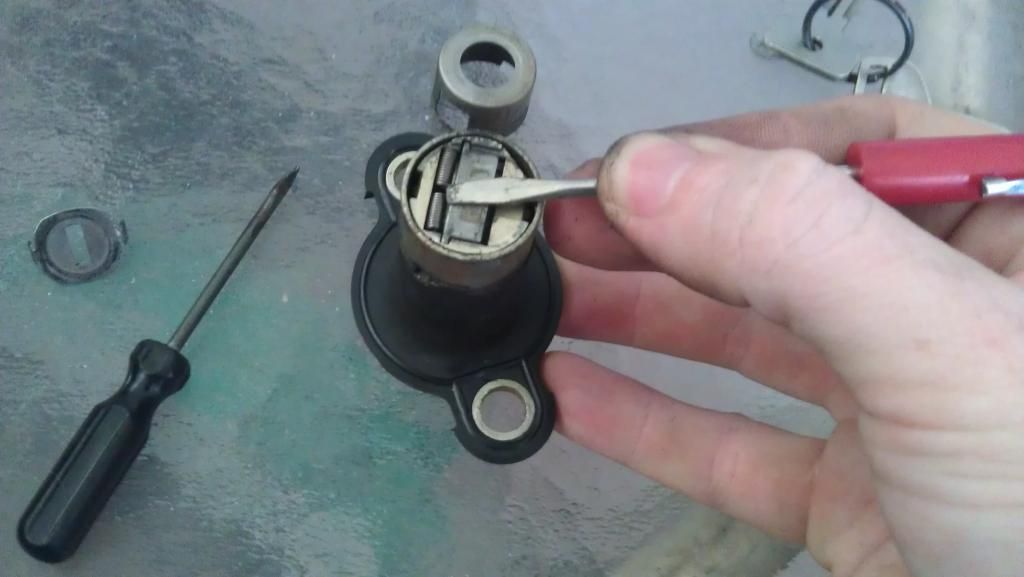 then I held the second cover 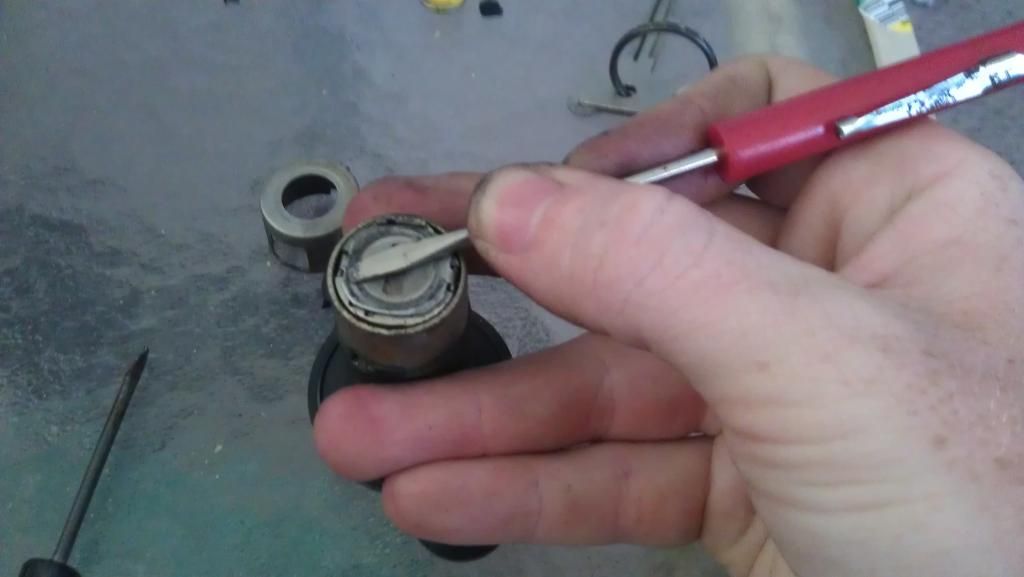 I found it easier to put the key through the outer cover and slide the key into the lock. This way the spring and door are held down by the key, as long as the lock isn't turned upside down or sideways they will stay in. 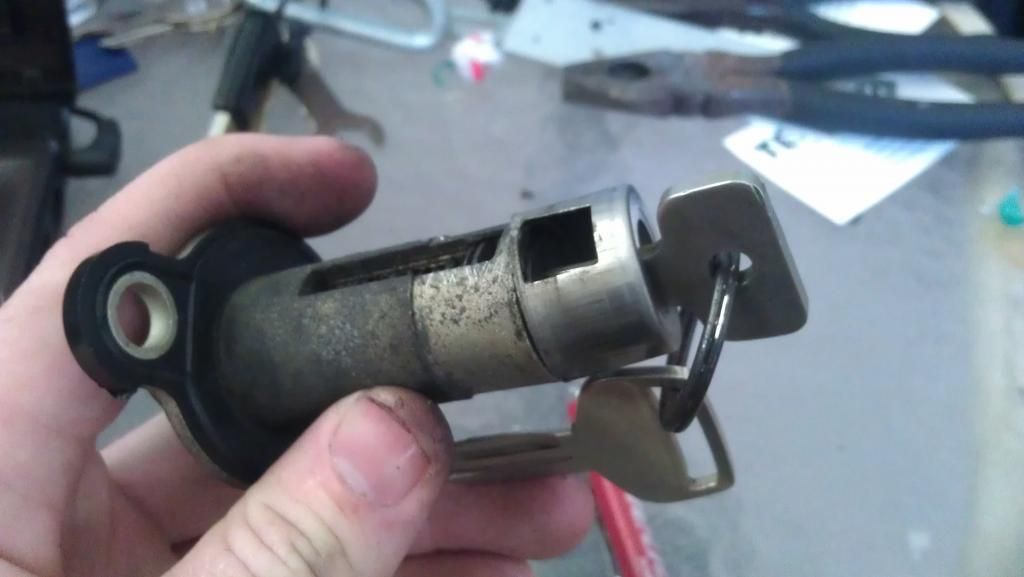 snap the c-clip back on the back of the lock 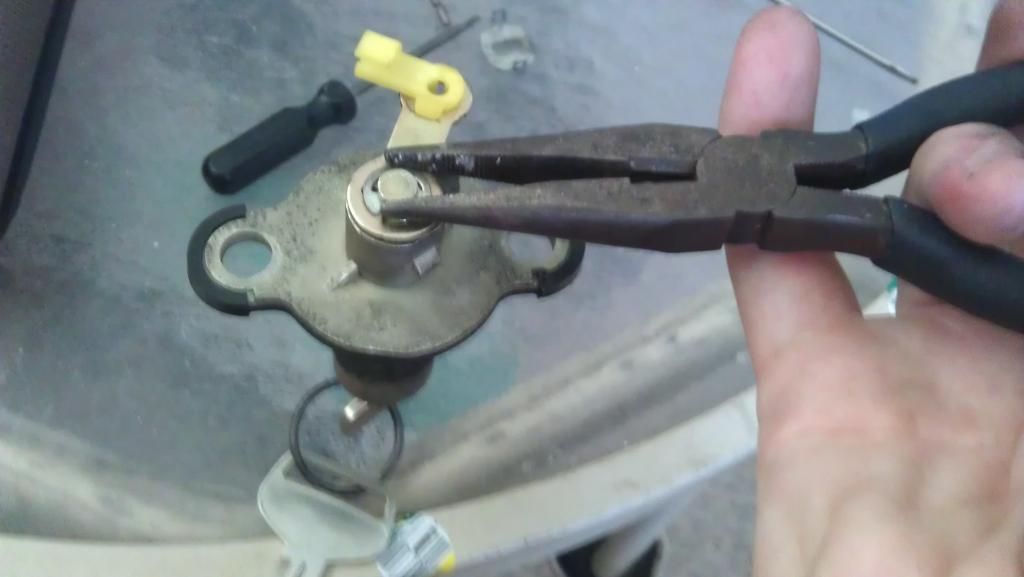 turn it to make sure it works again 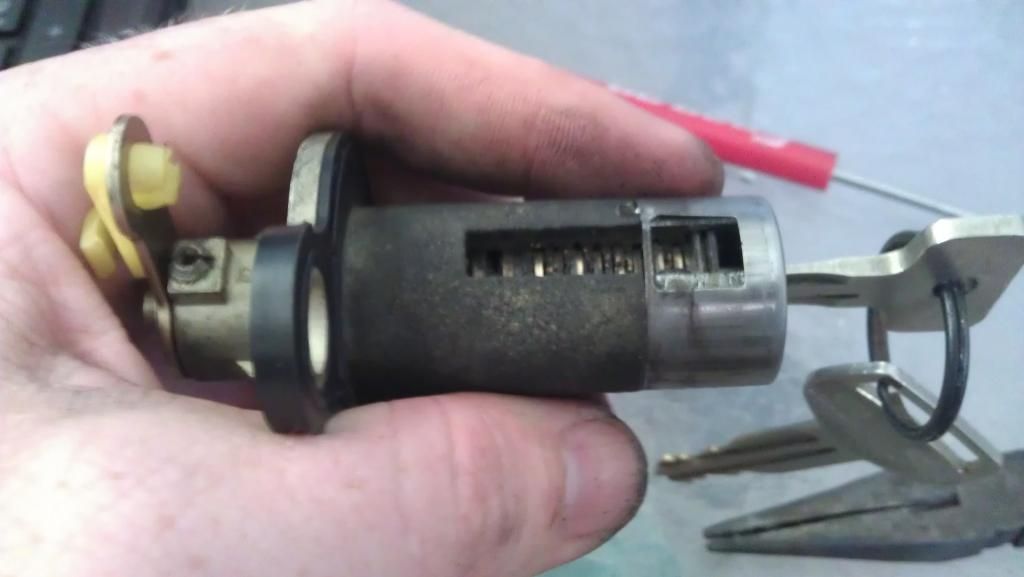 punch the sides back in so they will hold like they are supposed to 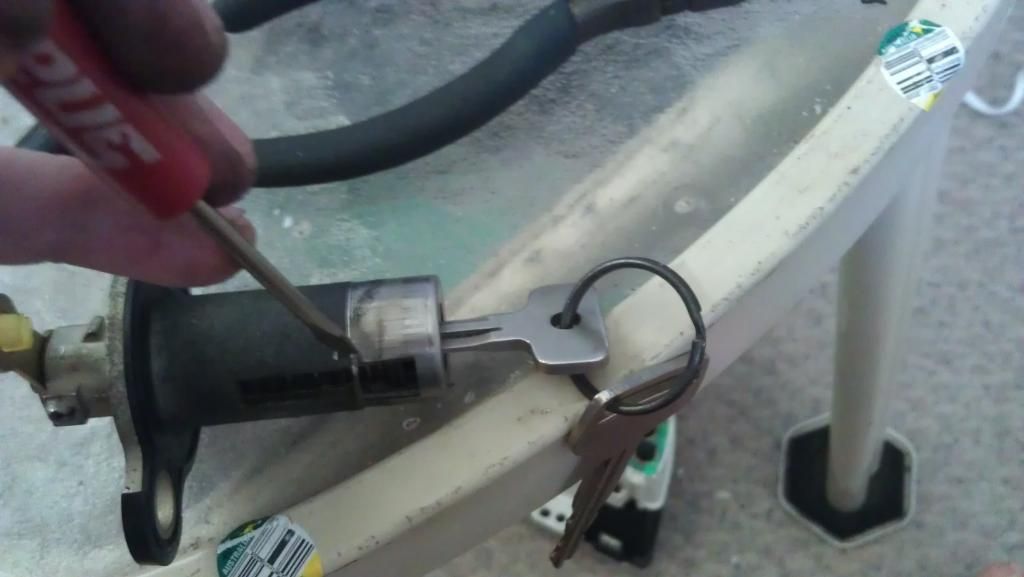 do the other side 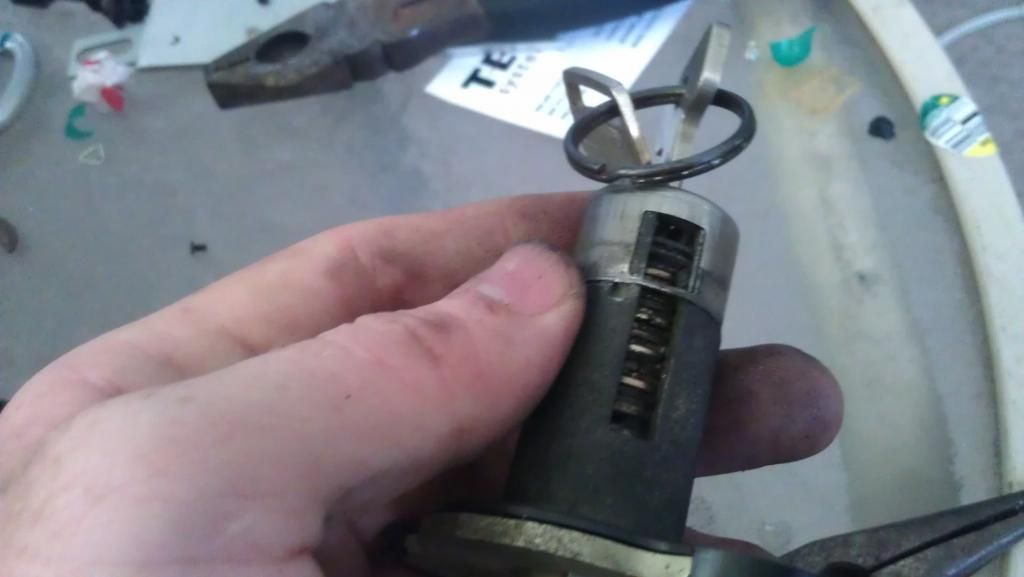 that's it, now put it back in your car and use the lock like it's supposed to be used This post has been edited by match220: Oct 29, 2012 - 6:11 PM -------------------- -Jay
95 GT conv. project car: Manual, Gen III 3sgte, JN pisons, Eagle rods, overbore, crank knife-edged, crank scraper, ARP head/main/flywheel, Autronic EMS, Haltech Dual Wideband O2 controller, Audi 1.8T individual coils, FMIC and SSQV BOV, 3" downpipe, 3" ultra-high-flow cat, 2.5" Borla muffler, +other 01 S2000: FMIC, Haltech EMS, Haltech wideband, 570cc inj, forged pistons/rods, sleeved block, 5 angle valve job, ported and polished 02 R6, all stock, except for braided stainless brake lines, frame sliders, and adjustable brake/clutch leve |
Posts in this topic

 richee3 I could've used this a while back, before I pa... Oct 29, 2012 - 6:53 PM
 njccmd2002 you can get another number2 wafer from another yot... Oct 29, 2012 - 6:56 PM
 match220 QUOTE (njccmd2002 @ Oct 29, 2012 - 1... Oct 29, 2012 - 7:02 PM
  |
1 User(s) are reading this topic (1 Guests and 0 Anonymous Users)
0 Members:
| Lo-Fi Version | Time is now: November 27th, 2024 - 12:00 PM |


