 Dec 3, 2005 - 5:19 PM Dec 3, 2005 - 5:19 PM
|
|
 Enthusiast      Joined May 15, '05 From Toronto Currently Offline Reputation: 4 (100%) |
This write up will cover how to install a set of sparco/momo reclinable race seats with sliders using Sparco's peices.
Tools: 14mm socket Socket wrench Allen Wrenches(misc sizes) Hacksaw Exacto Knife or siccors Adjustable wrench Peices: Sparco or Momo Seat Mine are Torino 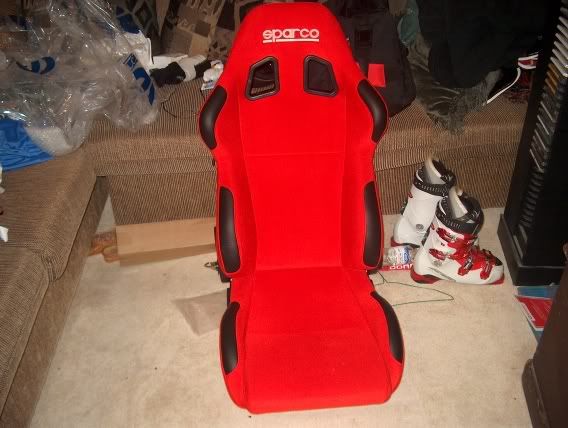 Sliders, Adaptors, Hardwear kit, and bases. 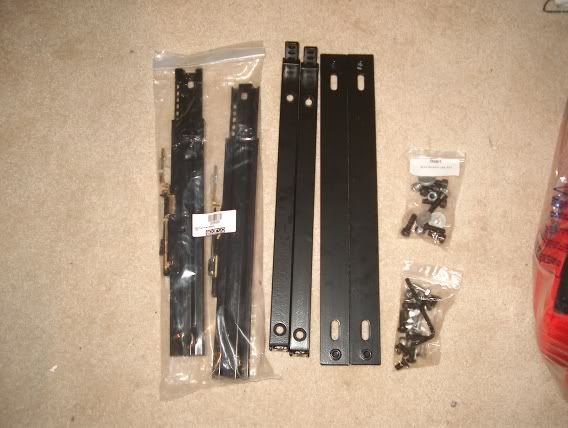 So to start unwrap every thing, take the sliders out of the box. First start to assemble the brackets to the sliders usin the hardwear in the kit. Picture of the 2 peices im talking about. 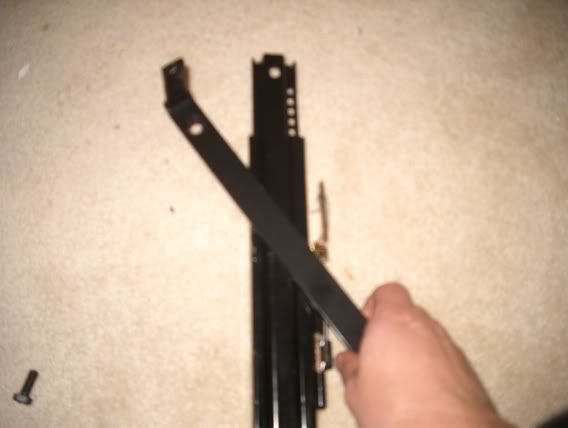 These peices will only fit one way. Also it is gonna be hard to move the slider, so maybe get a friend to help u pull on the slider. Bolt these pices together using the correct hardwear from the packages that came with the sliders. There will be to places for bolts. Tighten these down fully, you wont need to use them again. After tightening these down, tighten the sliders down to the adaptor bars just usin the nuts attached to the welded on bolts. Once these peices are tightened, tighten the adaptor bolts to the bottom of the seat usin the holes. Here you can either use the allen wrench bolts or u can use the regular bolts. Either or. 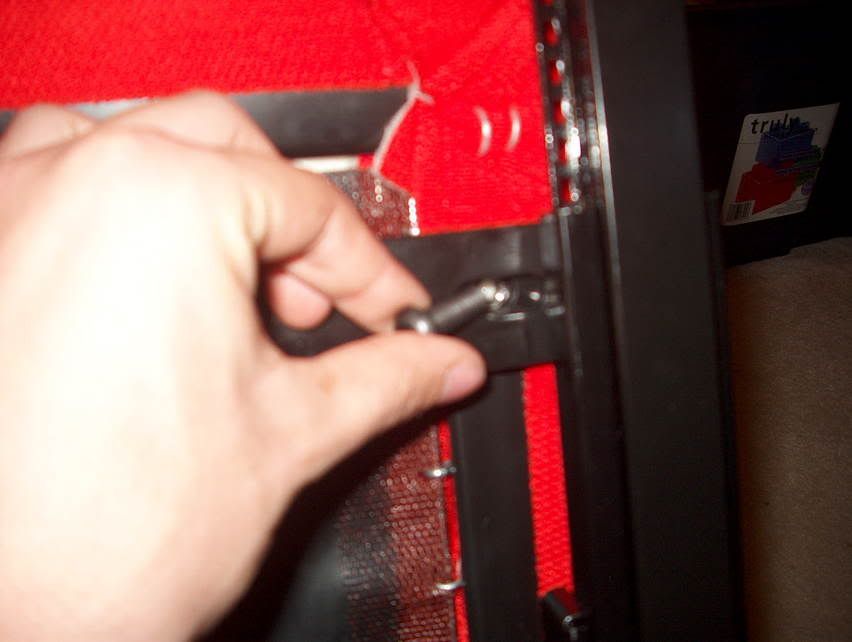 So by now, the base should be attached fully to the seat. 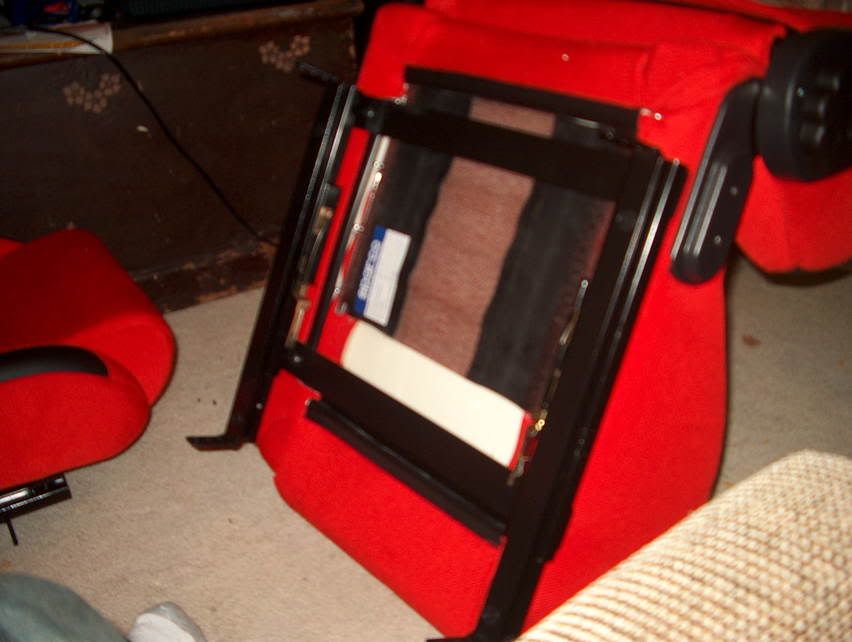 This is the most part of the direct bolt on part. Now for the semi fabrication. This is where that hacksaw is gonna come in. When you were installing the first section of the bases, there r 3 little holes. This is ur hight adjust ment. Unfortunatly the way these bases are made, you cant make it lower, without modification. Pic of the seat and rails attached to base at its hight. 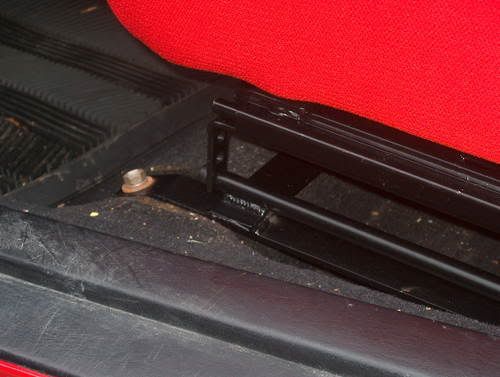 Im about 6 foot and at this seat hight, i felt like i was driving a bus and my head was hittin the head liner, so i suggest cuttin these tabs down to the last hole. Break out the hack saw and cut them down to size. U can use any tool that will give a clean cut, but i mean 95% of us have a hacksaw. 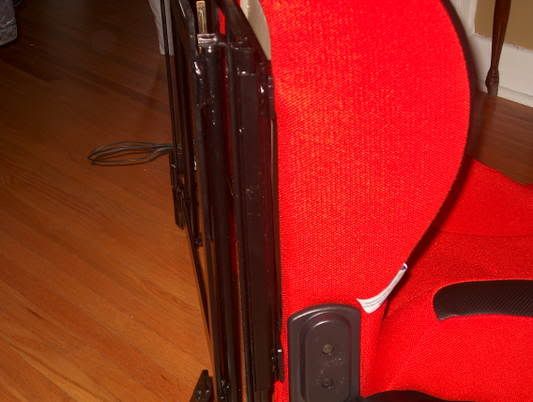 Once this is done, thats it for modifciation on the seat side. Now, last thing u have to do is on the base, the tab closest to the door on the back, it will not fit properly. So what you have to do is cut about 1/4 - 1/2 an inch off the end of it. Yes, you are gonna cut the weld, but it wont matter. Once this is done, Time to go back to the old seat. Go to your stock seat and pull it out of the car, and just disconnect the wiring with the quick tab. Once the seat is out, using a small screw driver, unscrew the screw holding the plastic sheild on the seat around the retainer. Take this plastic off and unscrew the belt retainer. Get out ur exacto knife and cut the yellow tape holding the wiring to the seat base. Once the belt retainer is off, go to your sparco heardwear and get one of the smaller length bolts, 2 washers and one of the nylock nuts. Go to your seat base and attache it to the tab using the heardwear just mentioned. Once every thing is done up to this point, head back to the car. Using the original bolts for the seat, botl the seat into place, plug in the belt retainer wiring and bolt your seat belt back up to car's frame. Once every thing is done, hop in, sit back and admire your work and ur new seats. 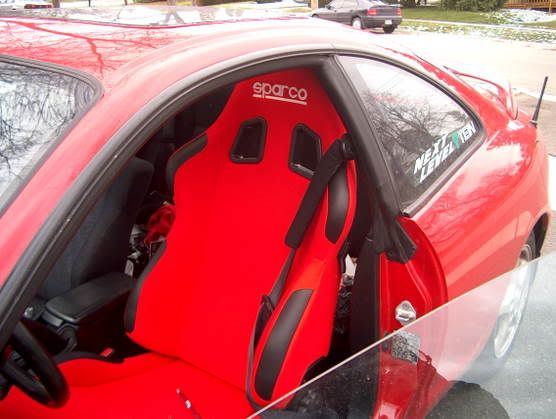 From start to finish, should take about 2 hours per seat. Could take longer but because i found out some things the hard way, should take you less time. Enjoy. This post has been edited by Valo666: Dec 4, 2005 - 1:28 AM |
Posts in this topic
  |
1 User(s) are reading this topic (1 Guests and 0 Anonymous Users)
0 Members:
| Lo-Fi Version | Time is now: November 28th, 2024 - 5:41 PM |


