 Sep 27, 2012 - 11:32 PM Sep 27, 2012 - 11:32 PM
|
|
|
Enthusiast     Joined Sep 23, '12 From Australia Currently Offline Reputation: 4 (100%) |
Okay, This is my first post
This is for changing a 1994/5 (ST204) Celica gauge light, but I am pretty sure the 1995-1999 also uses the same method... What you'll need: - 2 Screwdrivers (one mini, but both same head size), - 3 LED which fit the OEM socket (eBay is your friend), Optionally: - a fourth smaller bulb, (usually included with the LED kit) Let's take a look at the before shot: 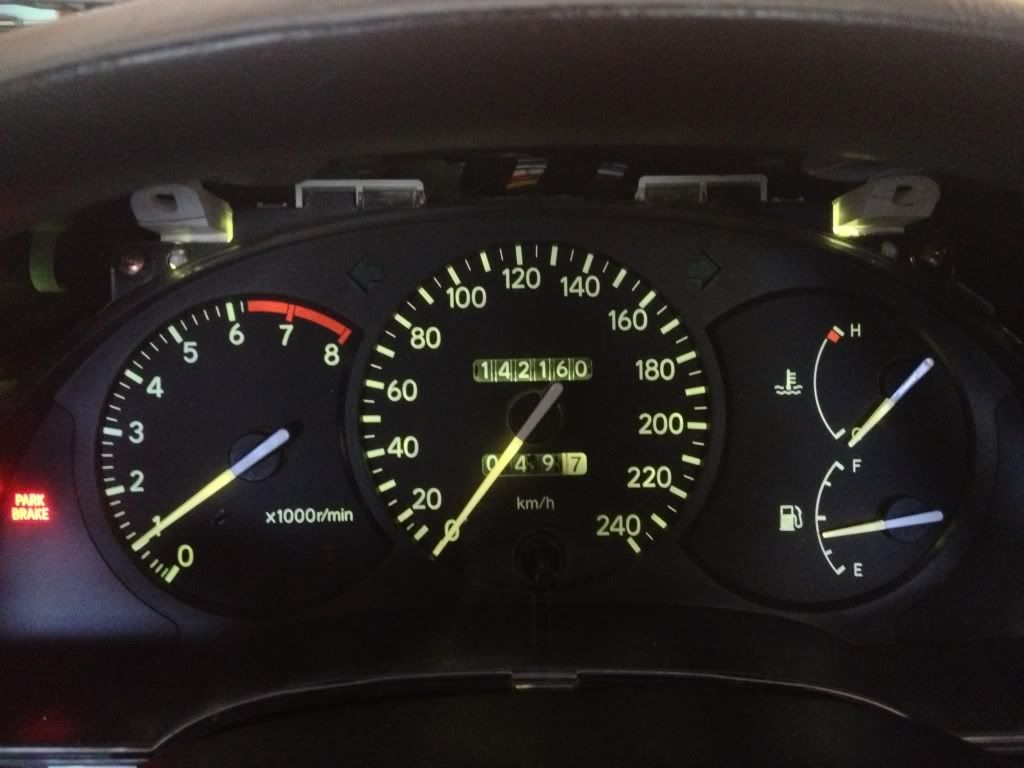 A repulsive green/yellow colour... Time to change that. Step 1: Remove ignition trim Easier done than said (No really, it just pops out), there are two 'grips' these will make it so much easier. 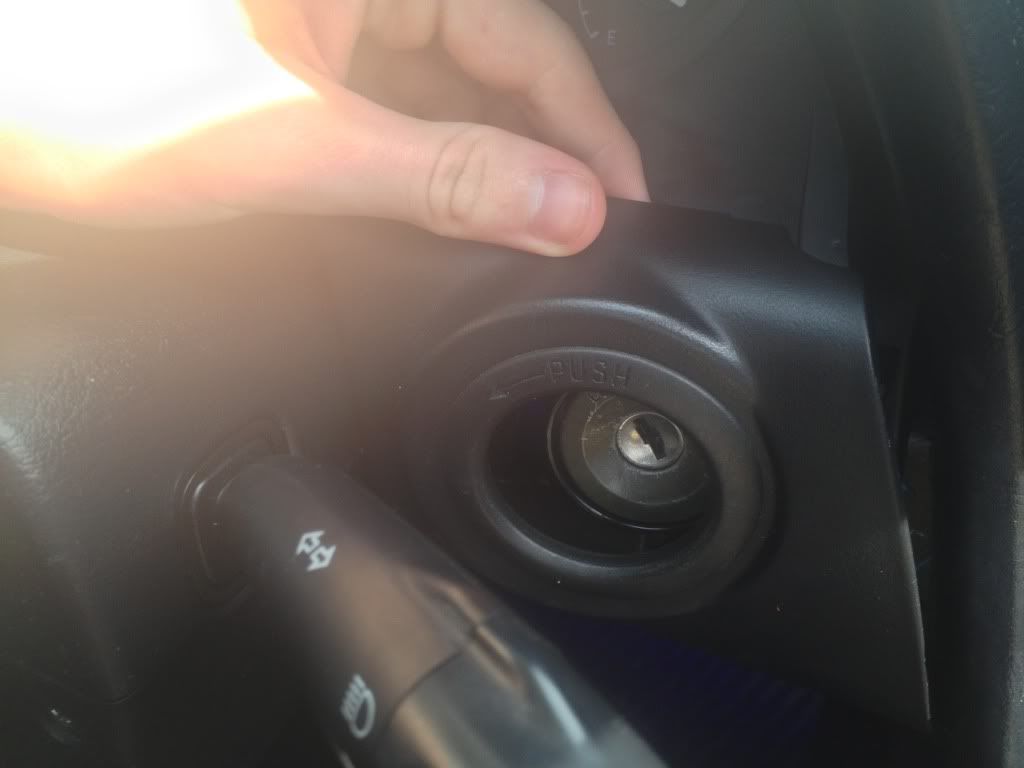 Once the trim is removed, just place it hanging over the other side of the dash, we don't need it out. 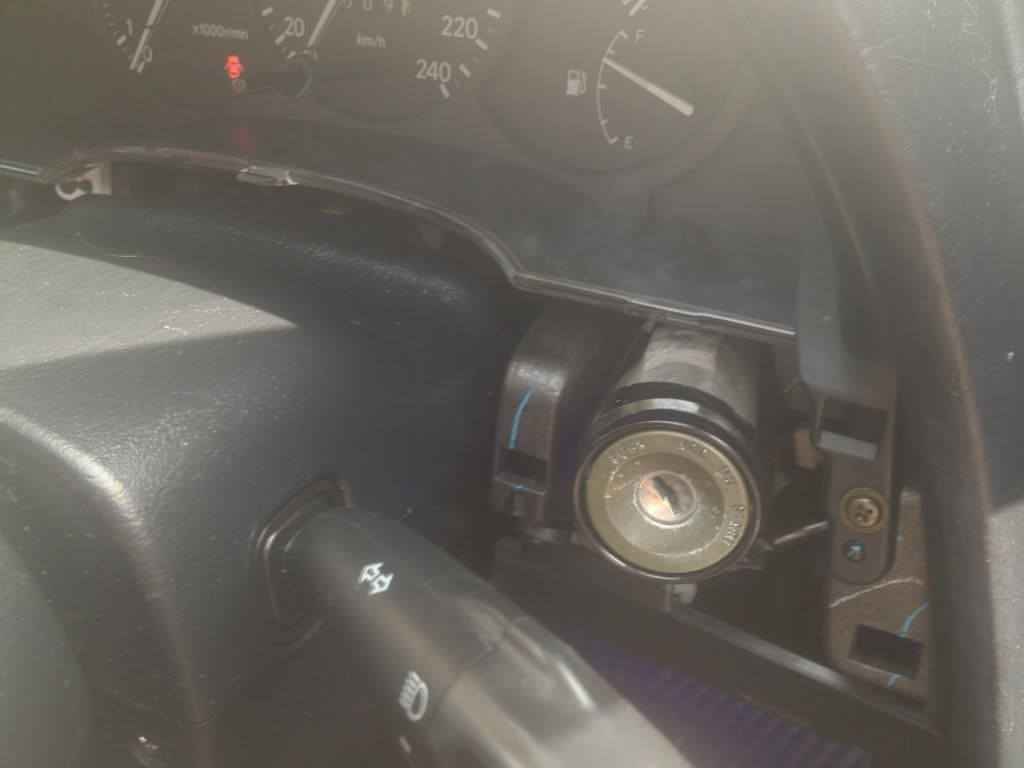 (Note: the black screw next to the ignition.) Step 2: Further trim removal: Locate the black screw on the other side of the instrument cluster (Note the screw in the background): 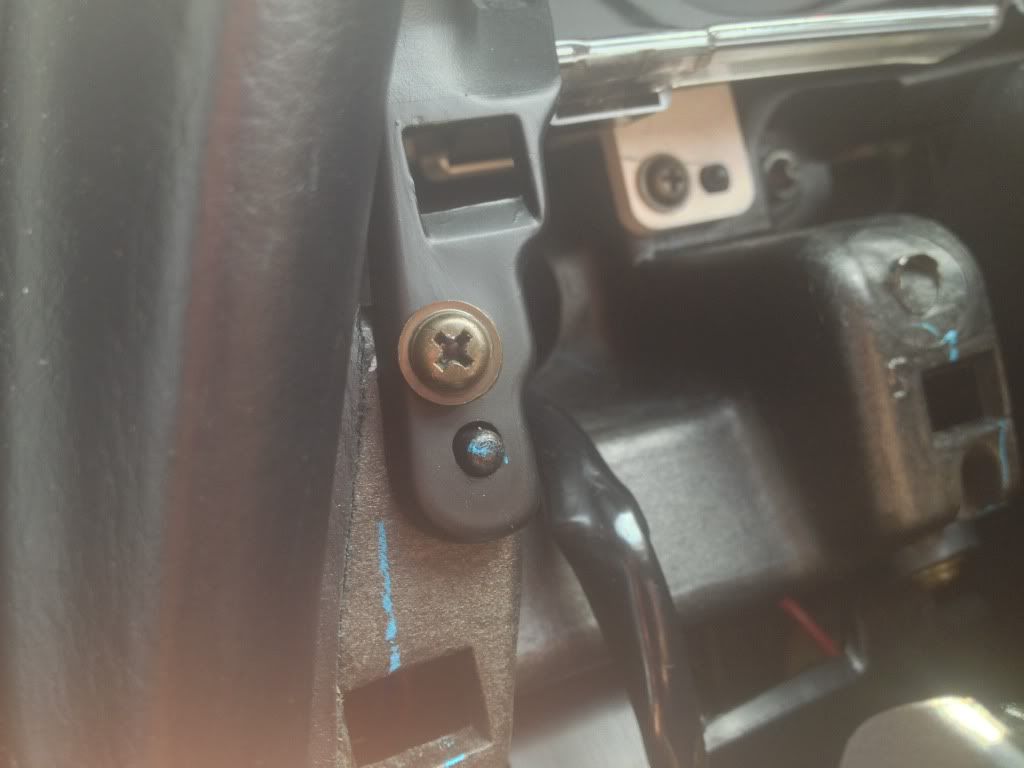 Back over to the ignition, remember that screw I told you to note? take it out. 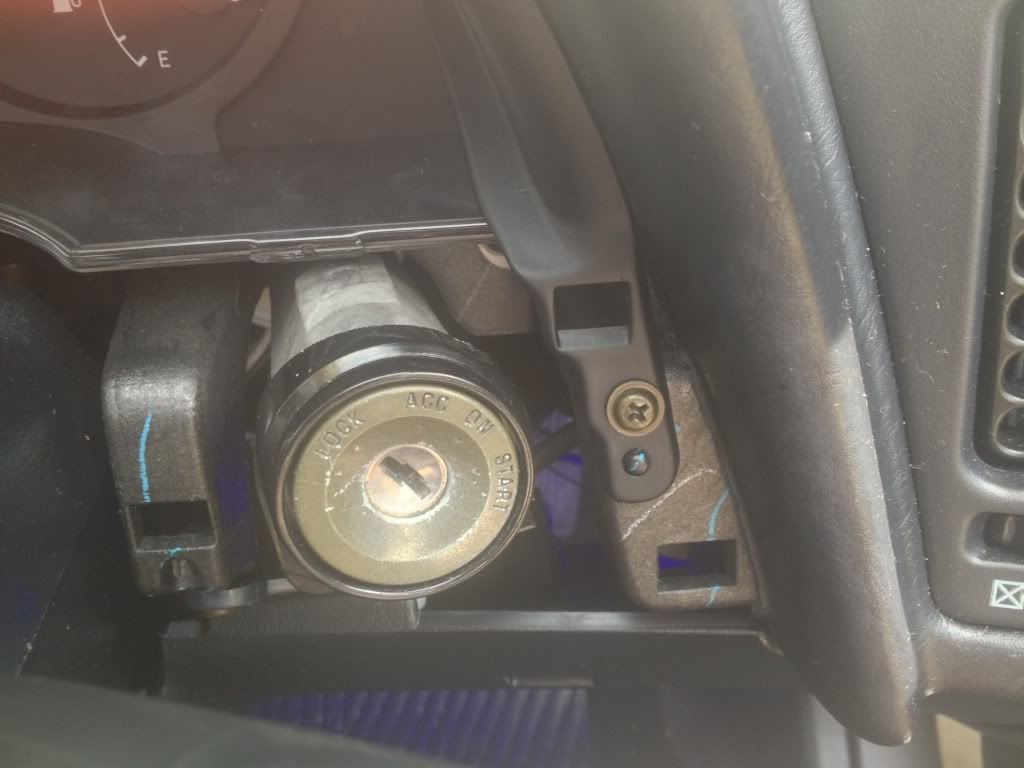 Step 3: Hidden Screws: Before you go ripping out your trim, there are two 'hidden' screws. well actually, they aren't hidden at all. There general location (You'll need a small screwdriver with the same head size here): 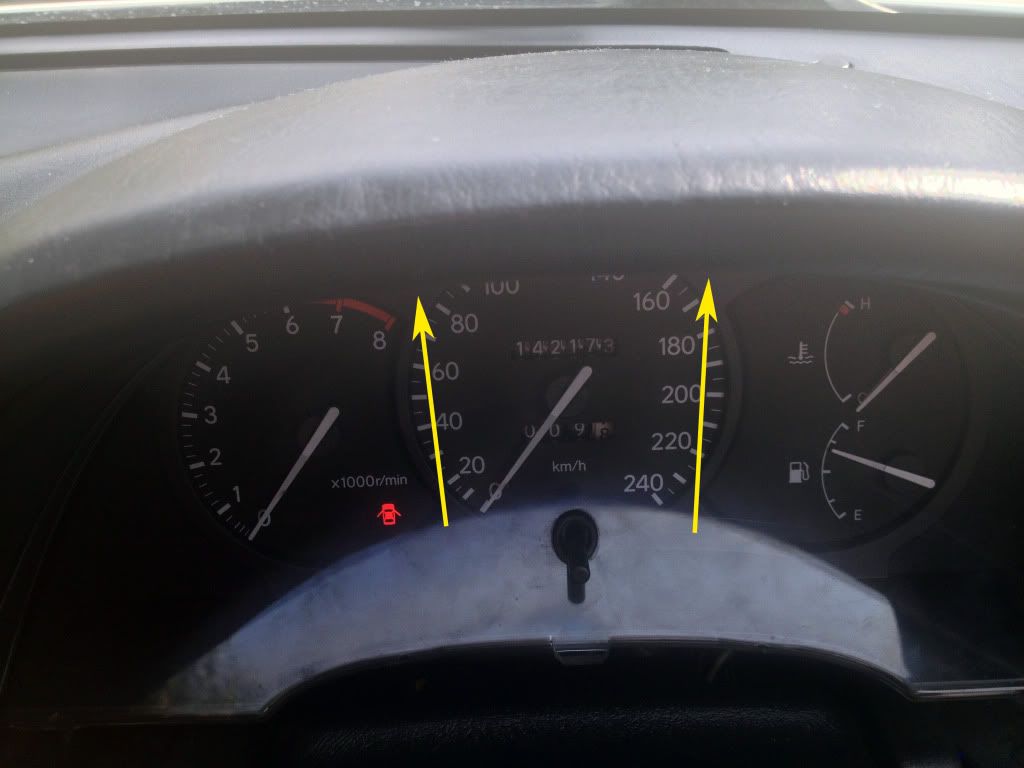 Step 4: Removing the gauge cluster: Probably the second most daunting part of this task, but remember that screw in the background? all you have to do is remove it and 3 others. Locate these under and above the cluster: 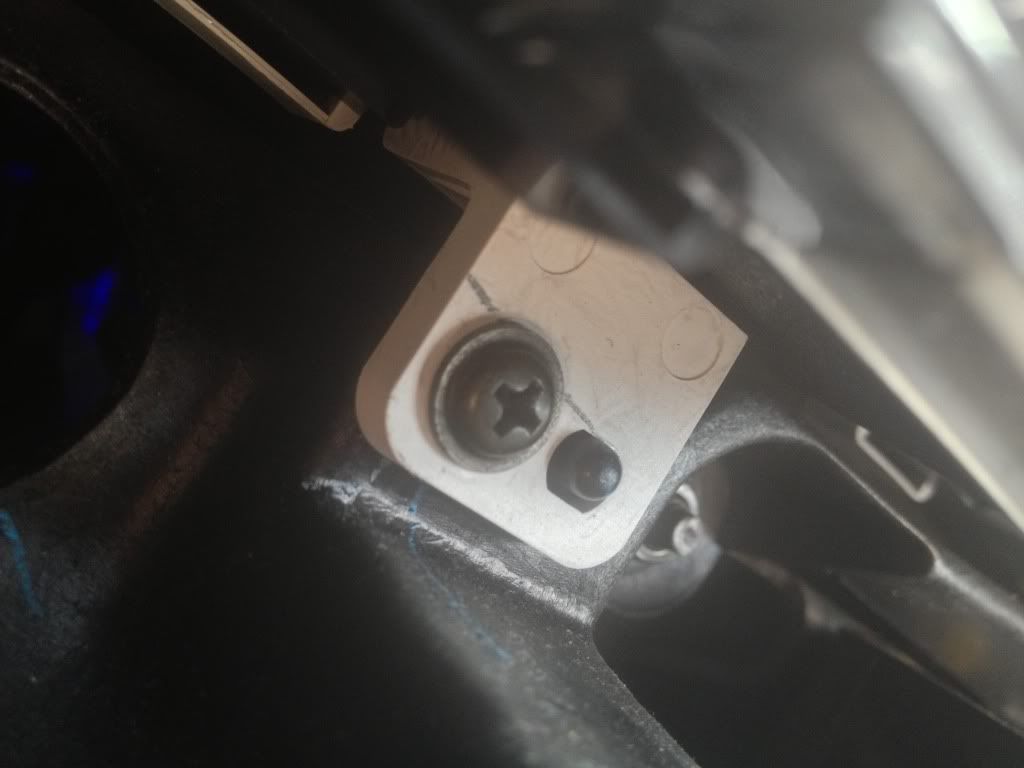 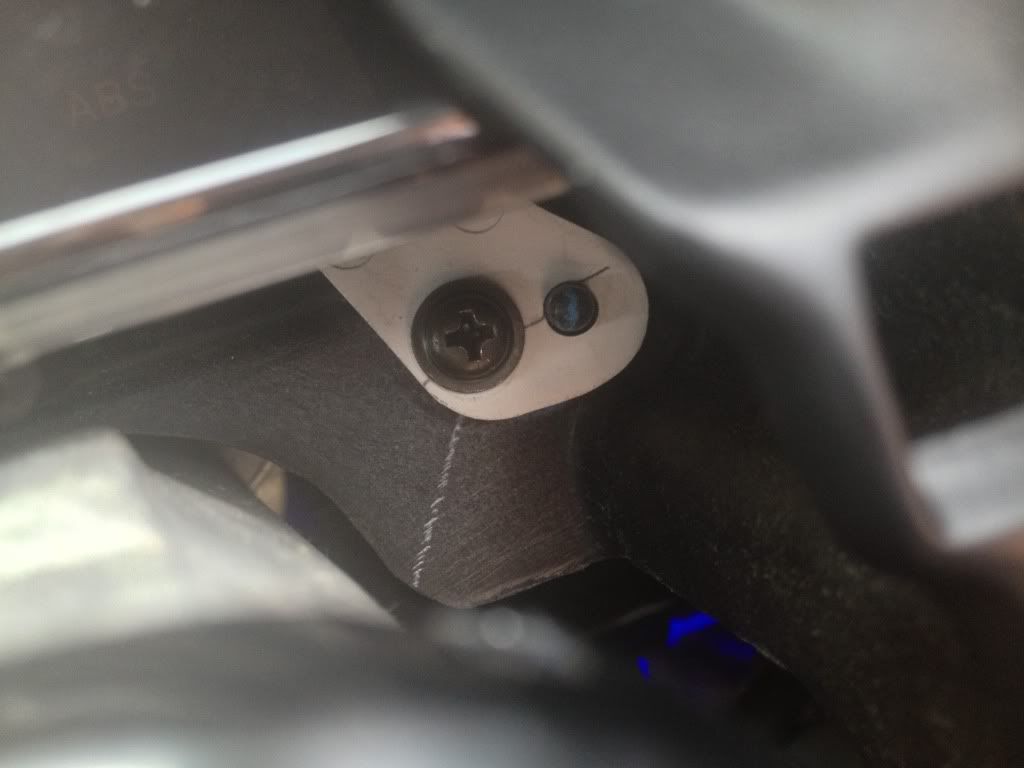 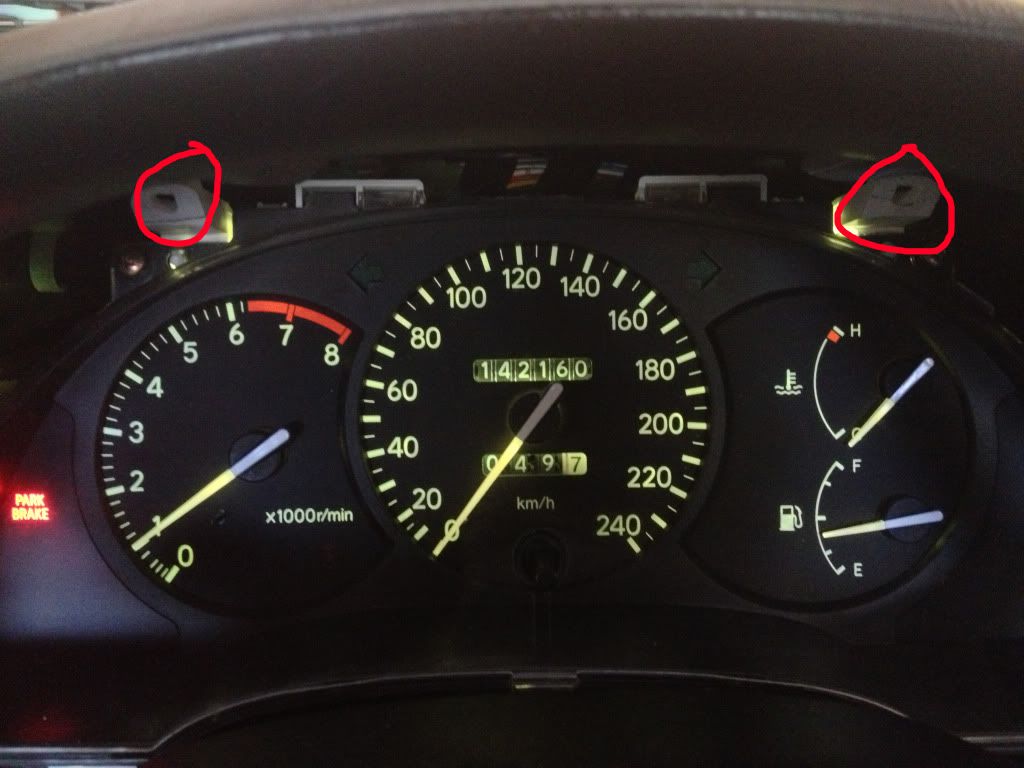 Note: Do NOT forget the two circled screws above the cluster or you'll have a bad time. Step 5: Remove the cluster: Now that the screws are removed, the cluster slides out. This can be challenging first attempt with the steering wheel. But, it is possible. Once removed, disconnect all the wire harnesses. 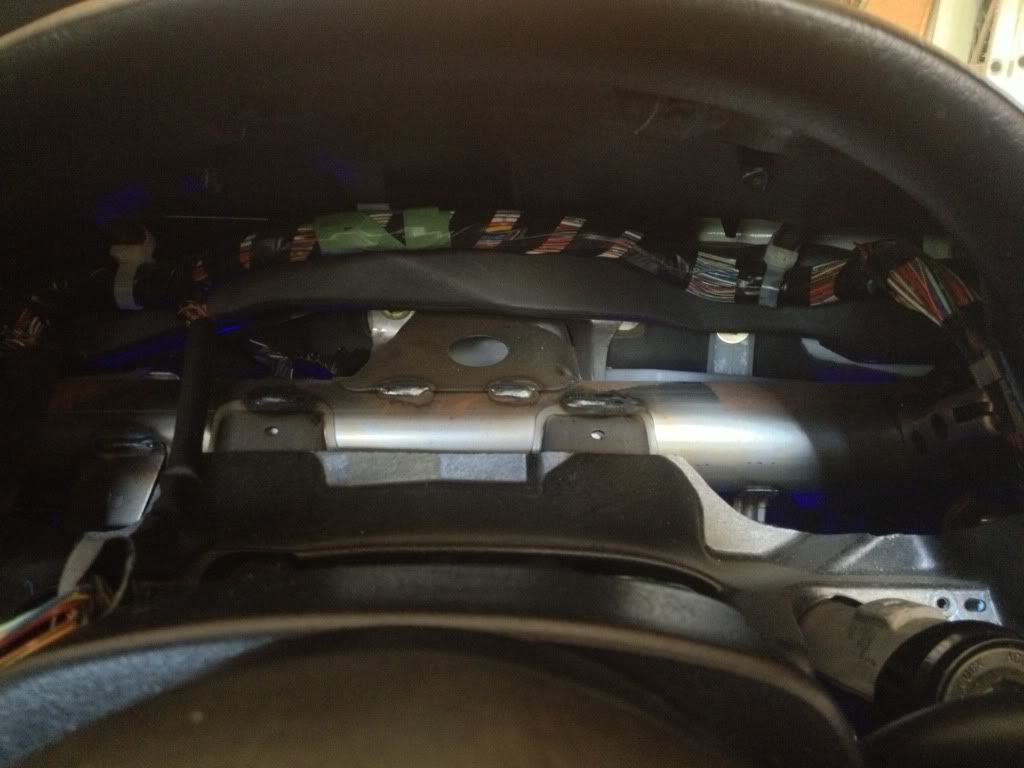 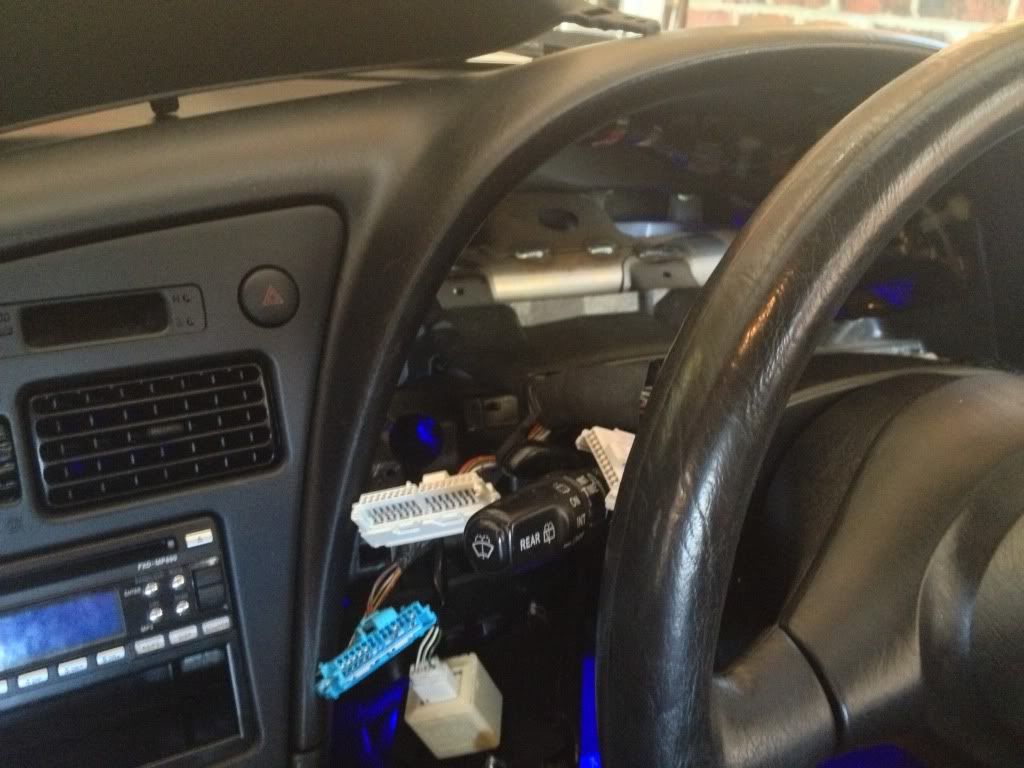 The gauge cluster: 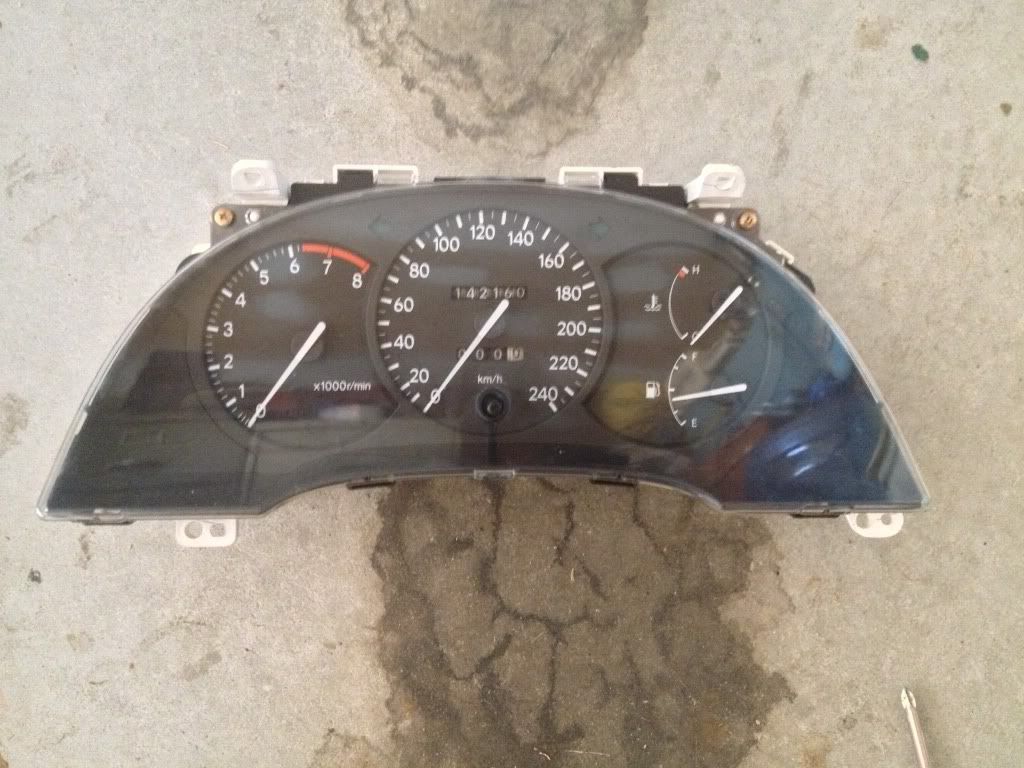 Reverse: 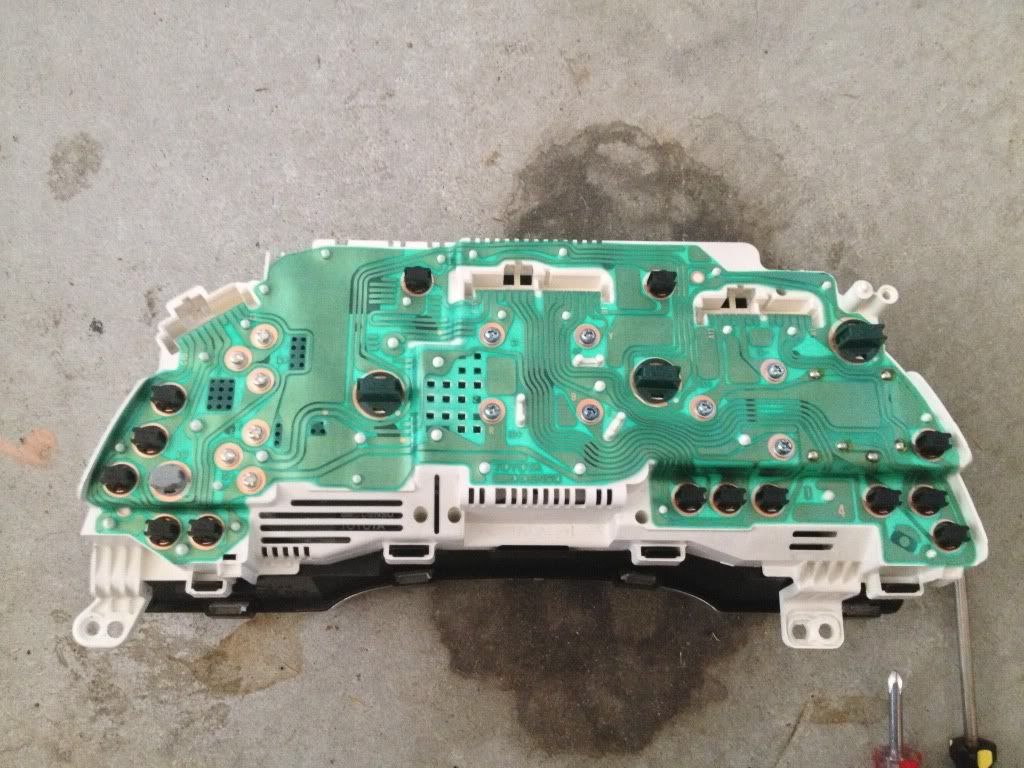 Step 6: Changing bulbs: Now, this seems like the most daunting task, but really it isn't... If you have consulted your Owner's Manual or the Workshop Manual, all you have to do is change the light with an LED of that socket type... Now, those circled in red are to be replace, the one circled in yellow is optional. The yellow one is a different bulb type to the red but, the kits off eBay include both... It is up to you, I found that the yellow illuminated my low fuel light and so decided not to put it in... The actual removal of the bulbs is easy, twist by the green holder, pull the wedge base bulb (with green condom) out, and push LED in... 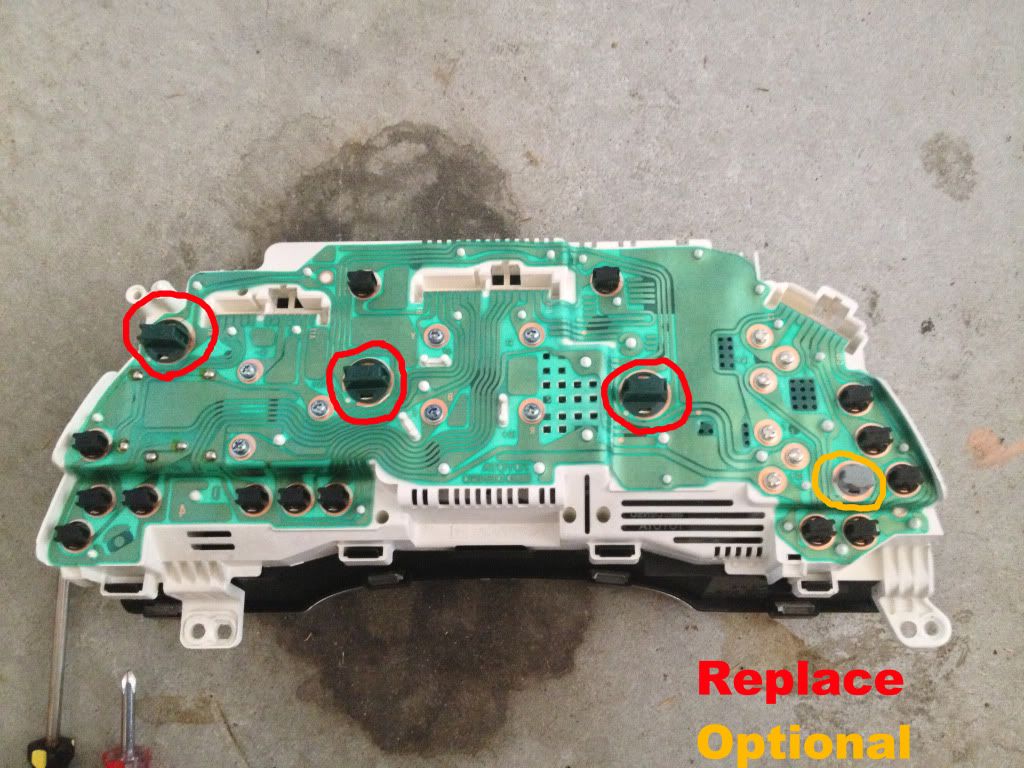 VERY IMPORTANT: with LED bulbs, polarity matters. This is where testing comes into play, place the LED bulb in the holder, it doesn't matter what way as you can screw the lights in both ways. Screw the LED into the cluster and TEST IT. take it to the car, plug in the harnesses and turn the lights on, if the gauge doesn't light up, remove and turn the green plug around. It should now work. Step 7: Putting it back in: Now really, you don't need a guide for this because it is so simple, but anyway... Follow from step 5 in reverse. CONGRATULATIONS! Mission Accomplished. Enjoy! 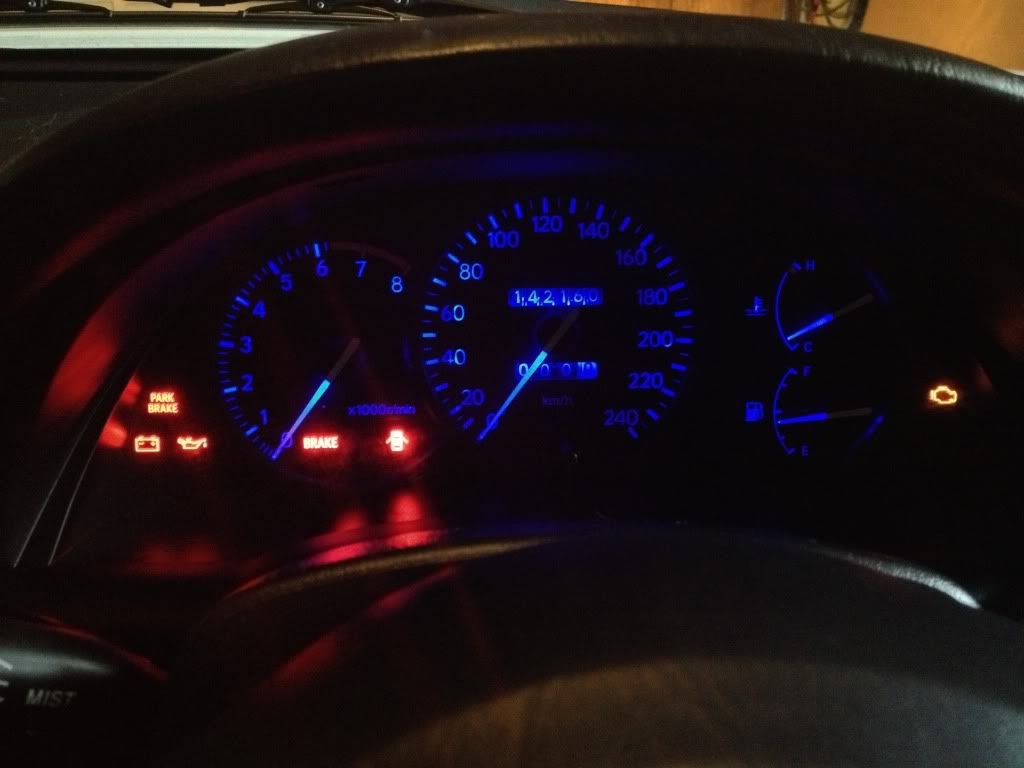 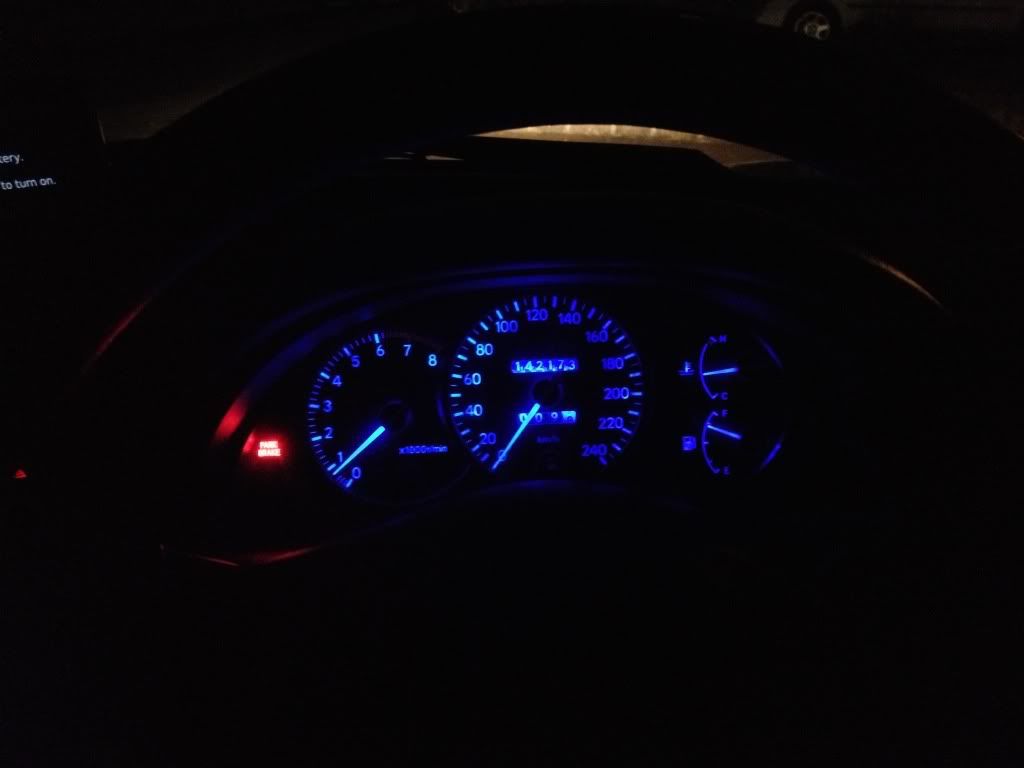 --------------------  ------------------------------| White '94 Celica | Bought 11/05/12 | Sold 12/05/15 |------------------------------ |
Posts in this topic
 rentaspace 7 Step LED Gauge Conversion Sep 27, 2012 - 11:32 PM
 Box Very good! Thanks and welcome! Sep 28, 2012 - 12:37 AM

 rentaspace QUOTE (Box @ Sep 28, 2012 - 1:37 AM)... Sep 28, 2012 - 1:57 AM
 richee3 We actually do have this covered in a couple of pl... Sep 28, 2012 - 5:45 AM

 rentaspace QUOTE (richee3 @ Sep 28, 2012 - 5:45... Sep 28, 2012 - 6:22 AM
 SwissFerdi Very cool, but one question; can the LEDs you... Sep 30, 2012 - 11:29 PM

 rentaspace QUOTE (SwissFerdi @ Sep 30, 2012 - 11... Oct 1, 2012 - 5:33 PM
 Nihil I also replaced the T5 light bulbs with LEDs, but ... Oct 1, 2012 - 3:09 AM
 delusionz I dont ever remember seeing a T5 backlight on a ma... Oct 12, 2012 - 6:42 PM
 rentaspace QUOTE (delusionz @ Oct 12, 2012 - 6... Oct 13, 2012 - 5:50 PM
  |
3 User(s) are reading this topic (3 Guests and 0 Anonymous Users)
0 Members:
| Lo-Fi Version | Time is now: December 4th, 2024 - 5:26 PM |


