  |
 Dec 29, 2012 - 2:33 PM Dec 29, 2012 - 2:33 PM
|
|
|
Enthusiast      Joined Jun 18, '09 From Orlando Currently Offline Reputation: 8 (100%) |
-------------------- '97 ST \ Eibach \ KYB \ Kenwood \ Alpine \ Cusco \ OEM+ [sold 10/18]
'93 MX-5 LE |
 Dec 29, 2012 - 2:36 PM Dec 29, 2012 - 2:36 PM
|
|
|
Enthusiast  Joined Jul 13, '11 From Lincs, UK Currently Offline Reputation: 0 (0%) |
Thanks Ferdi :-)
|
 Dec 29, 2012 - 3:48 PM Dec 29, 2012 - 3:48 PM
|
|
 Enthusiast  Joined Mar 4, '08 From Aldershot,Hampshire Currently Offline Reputation: 0 (0%) |
Another one but with late specs - the wifes car
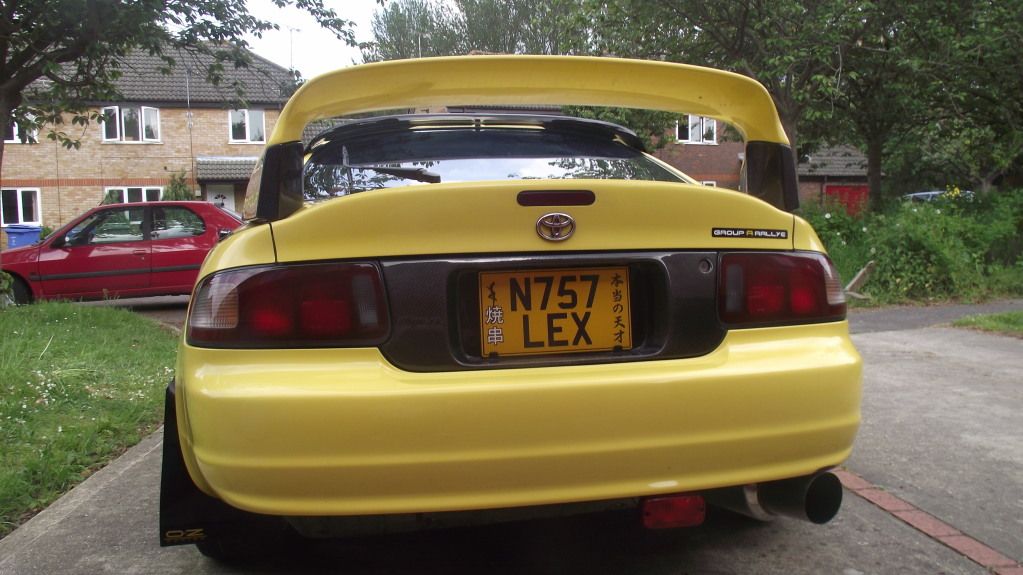
-------------------- Women are snakes with tits
|
 Dec 29, 2012 - 3:53 PM Dec 29, 2012 - 3:53 PM
|
|
|
Enthusiast  Joined Jul 13, '11 From Lincs, UK Currently Offline Reputation: 0 (0%) |
Cool :-) just need to see a silver one!
|
 Dec 29, 2012 - 4:08 PM Dec 29, 2012 - 4:08 PM
|
|
 Enthusiast  Joined Mar 4, '08 From Aldershot,Hampshire Currently Offline Reputation: 0 (0%) |

-------------------- Women are snakes with tits
|
 Dec 29, 2012 - 4:26 PM Dec 29, 2012 - 4:26 PM
|
|
|
Enthusiast  Joined Jul 13, '11 From Lincs, UK Currently Offline Reputation: 0 (0%) |
Cheers :-) will have a think on it :-)
|
 Dec 29, 2012 - 6:30 PM Dec 29, 2012 - 6:30 PM
|
|
 Enthusiast      Joined Feb 11, '08 From Auckland, New Zealand Currently Offline Reputation: 0 (0%) |
hey bro really nice car, especially the bodywork
if you have the fc datalogit, any chance you could send me your map? -------------------- Mike W
1996 Toyota Celica ST205 GT-FOUR GT2860RS turbine, TiAL mvr44, JE 86.5φ piston, Clutchmasters FX400, APEX P-FC 269awhp / 273ft-lbs |
 Dec 29, 2012 - 6:44 PM Dec 29, 2012 - 6:44 PM
|
|
|
Enthusiast  Joined Jul 13, '11 From Lincs, UK Currently Offline Reputation: 0 (0%) |
Thanks
I do not have the FC Datalogit I am afraid |
 Jan 2, 2013 - 8:58 PM Jan 2, 2013 - 8:58 PM
|
|
|
Enthusiast  Joined Jul 13, '11 From Lincs, UK Currently Offline Reputation: 0 (0%) |
Few more pics for you - taken by Loki Powers Photography:
(Just a shame I did not wash the car before he took the pics - wasn't expecting!) 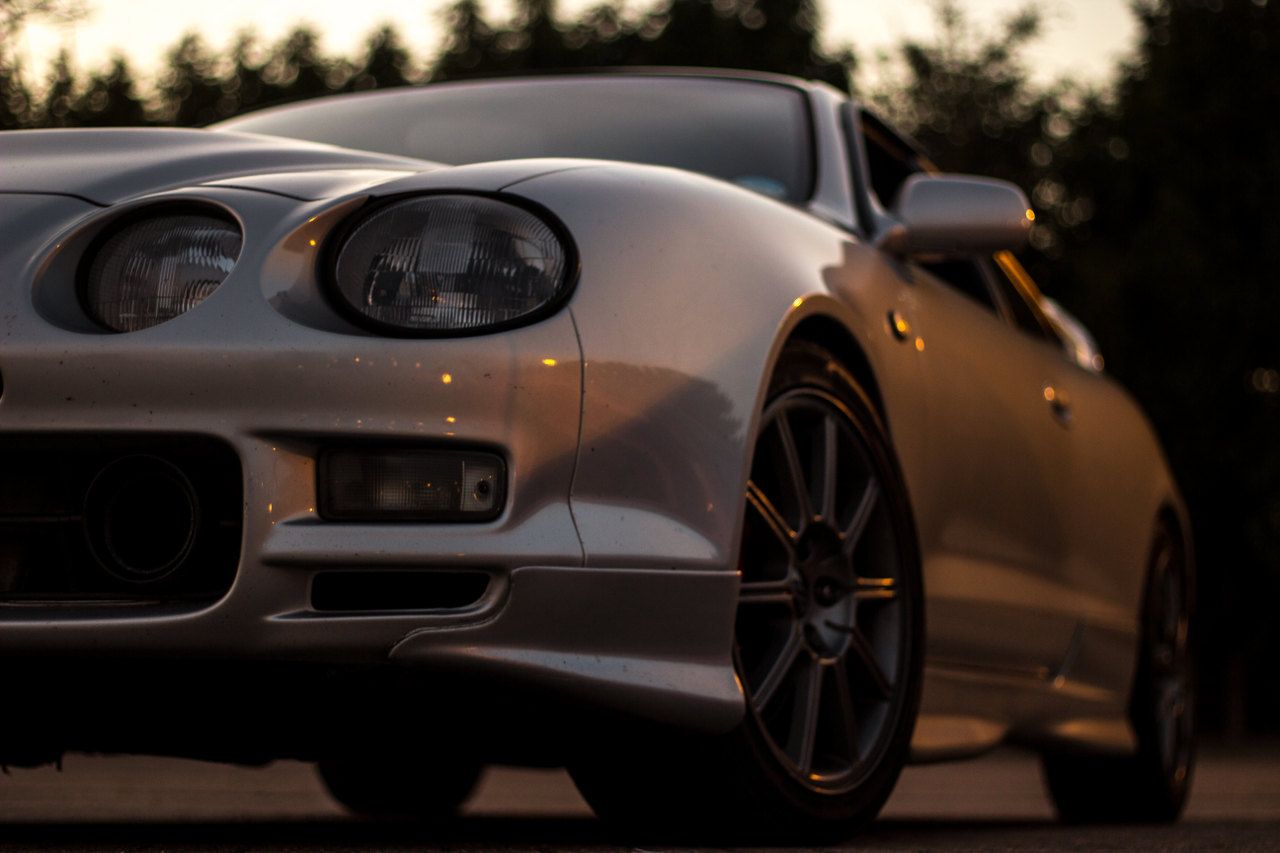 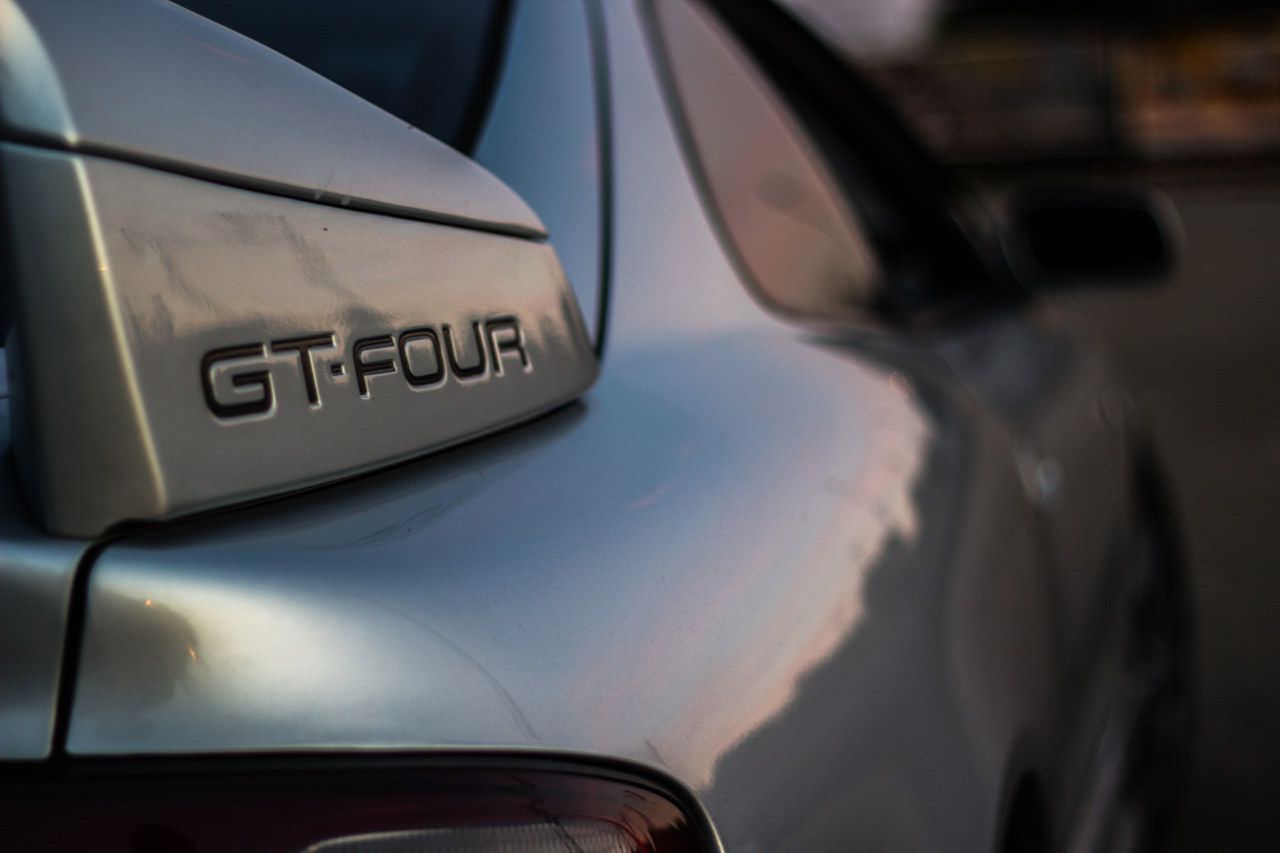 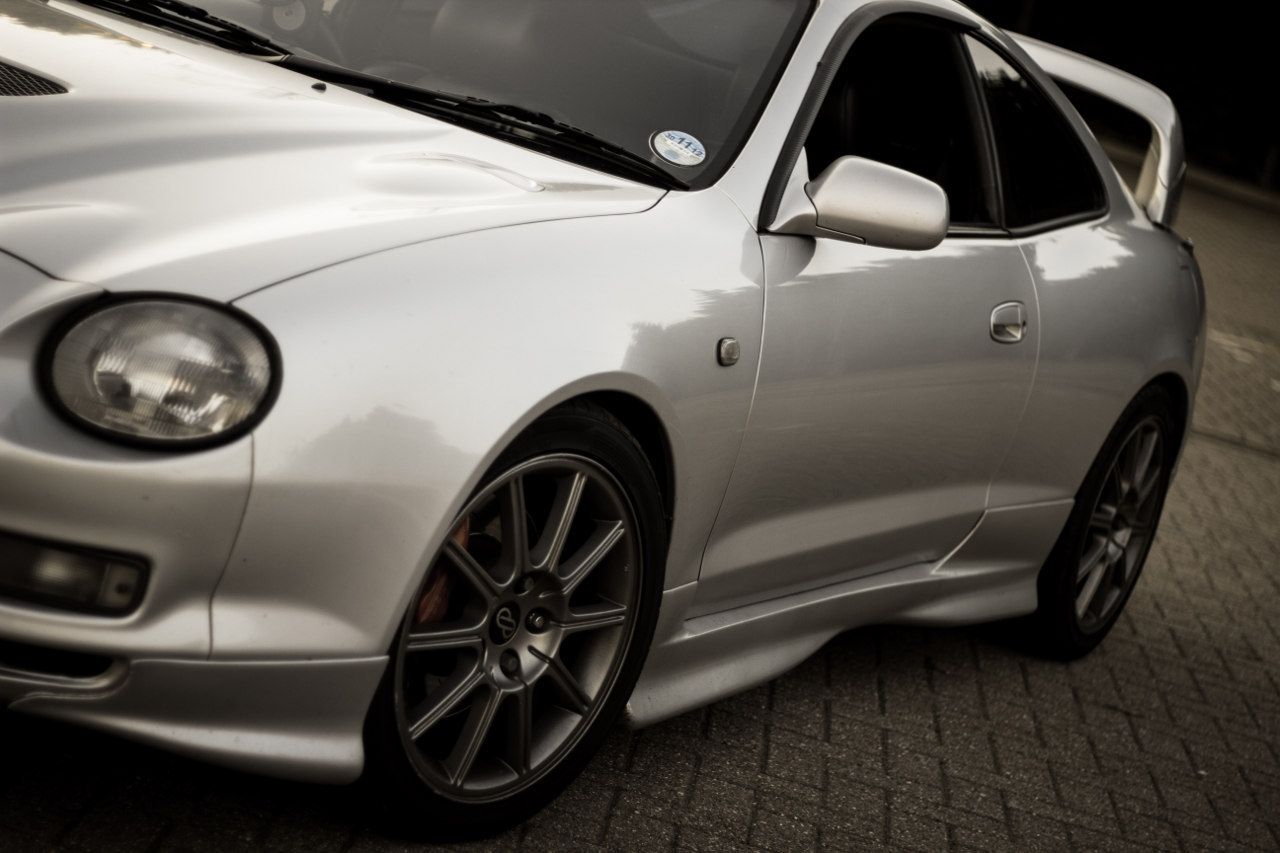  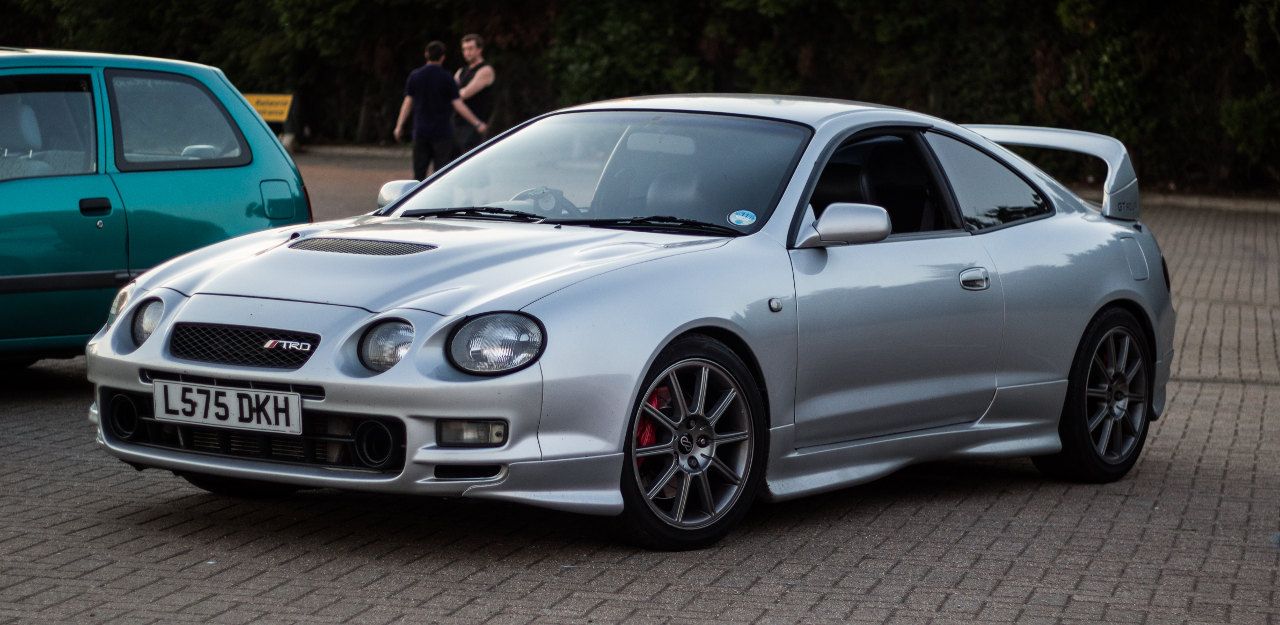 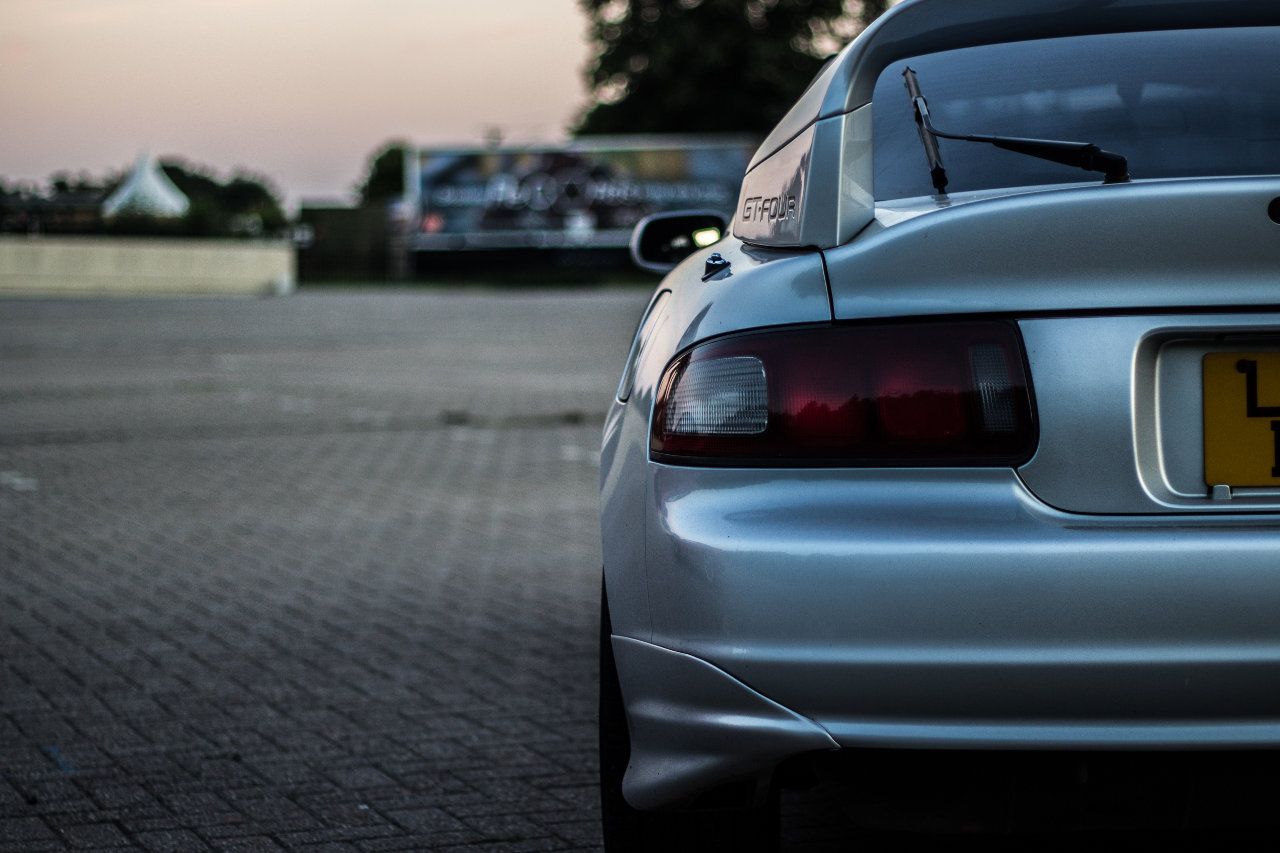
This post has been edited by alex1981: Jan 2, 2013 - 9:00 PM |
 Jan 7, 2013 - 5:30 AM Jan 7, 2013 - 5:30 AM
|
|
 Enthusiast     Joined Aug 11, '08 From London Currently Offline Reputation: 7 (100%) |
Unfortunately Alex we no longer sell those rads so count your self lucky to have had one of these.
However with enough demand, Im sure we can make some more. Also Alex, can you tell me about your header tank. Where does it tap into the cooling system? Is it plummed all the way round to the inlet before the thermostat at the opposite corner? |
 Jan 7, 2013 - 5:39 AM Jan 7, 2013 - 5:39 AM
|
|
 Enthusiast      Joined Feb 11, '08 From Auckland, New Zealand Currently Offline Reputation: 0 (0%) |
and wheres the pressure release!!!
-------------------- Mike W
1996 Toyota Celica ST205 GT-FOUR GT2860RS turbine, TiAL mvr44, JE 86.5φ piston, Clutchmasters FX400, APEX P-FC 269awhp / 273ft-lbs |
 Jan 7, 2013 - 6:18 AM Jan 7, 2013 - 6:18 AM
|
|
|
Enthusiast  Joined Jul 13, '11 From Lincs, UK Currently Offline Reputation: 0 (0%) |
Ah fair enough if you don't sell them. If you do start making them let me know - it is a superb rad and wouldn't want something else if it died (can't see that happening any time soon - it still looks factory fresh). You want to get advertising on the UK based sites perhaps?
Main pipe top of rad ---> Swirlpot---> Waterpump Header tank has a pipe from both the rad overflow and the swirl pot overflow. |
 Jan 7, 2013 - 7:30 AM Jan 7, 2013 - 7:30 AM
|
|
 Enthusiast     Joined Aug 11, '08 From London Currently Offline Reputation: 7 (100%) |
Ah fair enough if you don't sell them. If you do start making them let me know - it is a superb rad and wouldn't want something else if it died (can't see that happening any time soon - it still looks factory fresh). You want to get advertising on the UK based sites perhaps? Main pipe top of rad ---> Swirlpot---> Waterpump Header tank has a pipe from both the rad overflow and the swirl pot overflow. We used to be traders in the GT4OC alex. Currently trading in CCUK and many other forums as celica's aren't the only car we work on. Regarding your header tank. So aside from the 2 inlets, you have no outlets? There should be a large outlet to feed water back into the system. Otherwise your Header tank is just acting as an overflow tank for the rad and swirl pot. I was wandering this because you have such a small header tank where as normally people use about 2-3 litre tanks. Im trying to figure out if it is necessary to have a header tank if in your case you manage to lower the temp simply by using a swirl pot on it's own. Im researching on doing it for my car you see and some people say the expansion tank is more important than the swirl pot. |
 Jan 7, 2013 - 8:49 AM Jan 7, 2013 - 8:49 AM
|
|
|
Enthusiast  Joined Jul 13, '11 From Lincs, UK Currently Offline Reputation: 0 (0%) |
Sorry yes should have added there is a pipe from the bottom of the header that goes to the bottom of the rad so it creates a circuit with that and the swirl pot! It doesn't seem to be a problem using a smallish header tank.
r.e using a swirl pot on its own - I suppose all you would need to do is make sure you have an outlet from the swirl pot to an expansion tank and that both are at the correct height - from what I have read the swirl pot needs to be lower than the expansion tank and the swirl pot needs to be close to the rad outlet. Fair enough r.e the rads...but as I say...if you do get a demand for them let me know (I only know of one friend that is 90% certain he wants one so that's not much use to you!) This post has been edited by alex1981: Jan 7, 2013 - 8:59 AM |
 Jan 7, 2013 - 9:10 AM Jan 7, 2013 - 9:10 AM
|
|
 Enthusiast     Joined Aug 11, '08 From London Currently Offline Reputation: 7 (100%) |
Thanks Alex
That explains a lot. I'm going for the same set up as yours and I was told the expansion tank needs to be at the highest point. I just don't like the idea of a long return feed from opposite ends of the engine bay that's all. Can your tank fit towards the left of your rad in front of the relay box? I know the lamp adjusting nuts are quite long but I don't have them cos I'm having no middle lamps. |
 Jan 7, 2013 - 9:53 AM Jan 7, 2013 - 9:53 AM
|
|
|
Enthusiast  Joined Jul 13, '11 From Lincs, UK Currently Offline Reputation: 0 (0%) |
It might just about fit there if it sat as low onto the wing as possible. But it would sit much lower..remember the bonnet is sloping so the further back you go the higher the tank can be. Personally I think mounting to the left of rad is a bad idea. Someone else might have a different opinion...I am no expert!
I don't see long pipework as a massive problem...think of the people who run rads in the back of the car! |
 Jan 7, 2013 - 12:48 PM Jan 7, 2013 - 12:48 PM
|
|
 Enthusiast     Joined Aug 11, '08 From London Currently Offline Reputation: 7 (100%) |
It might just about fit there if it sat as low onto the wing as possible. But it would sit much lower..remember the bonnet is sloping so the further back you go the higher the tank can be. Personally I think mounting to the left of rad is a bad idea. Someone else might have a different opinion...I am no expert! I don't see long pipework as a massive problem...think of the people who run rads in the back of the car! I suppose. Ive seen many people put the tank behind the ABS but it would mean making some custom tank made up to get it to look rite. |
 Jan 26, 2013 - 8:08 AM Jan 26, 2013 - 8:08 AM
|
|
|
Enthusiast  Joined Jul 13, '11 From Lincs, UK Currently Offline Reputation: 0 (0%) |
Comment about pressure release. Actually, that is a very good point. Will someone more educated than I am care to exaplin if there is a good reason why I should not have a pressure release? At the moment the swirl pot wil purge air to the expansion tank....but the expansion tank has no breather (fixed cap, no over-run). So this has to be bad surely. Or am I missing something obvious?
Lots of snow over in the UK...I have to say I feel slightly smug in a 4x4 sports car which is actually very stable on the snow (as long as I don't boot it...need a lot of space to do that!) |
 Aug 28, 2013 - 1:47 PM Aug 28, 2013 - 1:47 PM
|
|
|
Enthusiast  Joined Jul 13, '11 From Lincs, UK Currently Offline Reputation: 0 (0%) |
Just a little update. Currently in the bodyshop getting tidied up a bit...there were a few imperfections that I am not happy with. Also got it setup properly by Ryan @ 2bar tuning. Before remap: 330.7BHP (flywheel) After remap: 366.7BHP (flywheel). Goes to show what a difference it can make with someone who knows what they are doing. He could have pushed it a fair bit more but not a good idea at the moment. Still on stock internals and clutch and ran a 12.98 1/4 mile.
|
 Oct 30, 2013 - 4:43 PM Oct 30, 2013 - 4:43 PM
|
|
|
Enthusiast  Joined Jul 13, '11 From Lincs, UK Currently Offline Reputation: 0 (0%) |
So....to expand on the bodywork bits.
I took the GT4 over to the bodyshop in Watlington, Norfolk, England. Massive list of things to be done, perhaps I am going a bit over the top with it, but I want it to be right. The pland was to end end up with a front end and bottom half respray and other bits and bobs...quite a bit of rust curing and dent pulling. Below is a pic of the GT4 with someone who I have decided is the best person for the job. Have spent many an hour chatting about his past work (he's been doing it since the 70s): 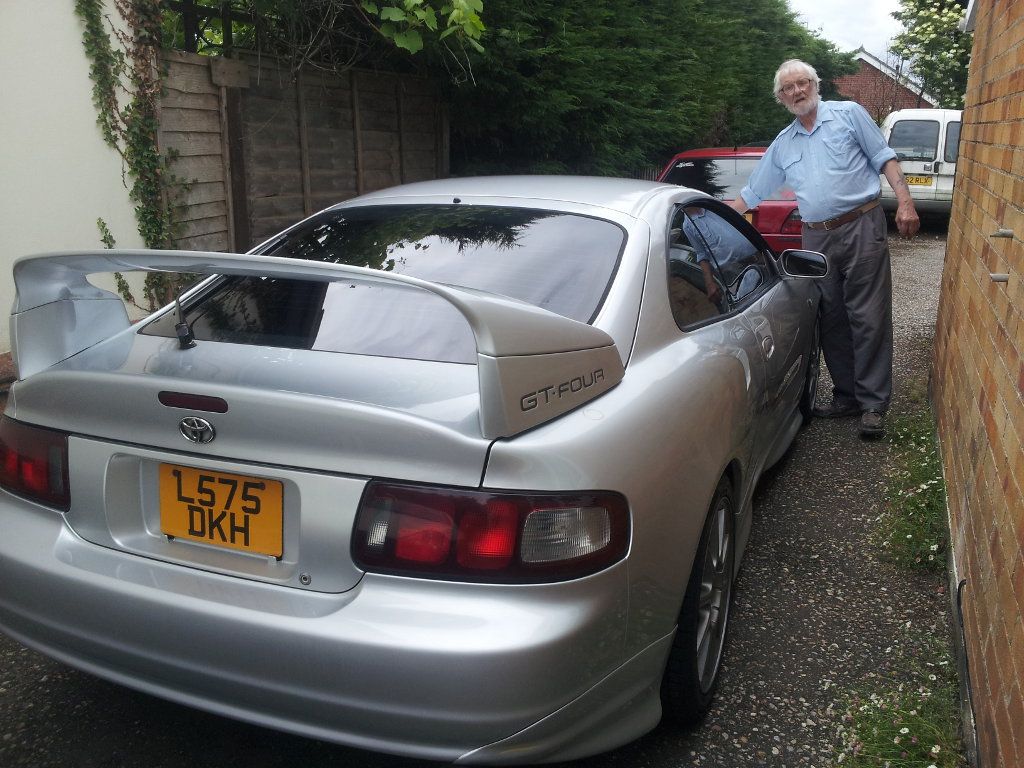 You might notice there are a few circled bits. Spent a good hour or so going through all the bits and bobs...I made up a pack for him with pictures numbered of things I want doing then we went round with the marker just to confirm (and found a few more bits, whoops!) 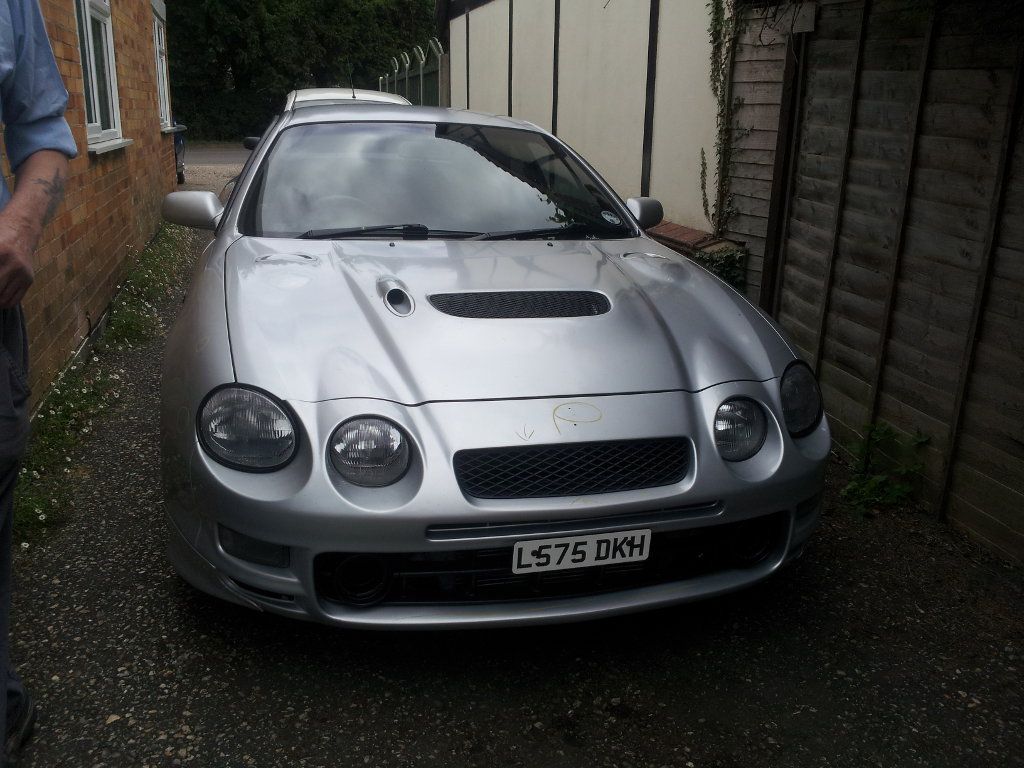 The bottom of the door edges are starting to go and you can see rust on the surface now which is not visually appealing. I do have the option of course to source other doors, but I like keeping original panels where I can. So, if possible these doors will be saved. As he is a "proper" panel beater if need be, the bottom of the doors will be lobbed off and new ones made. I reckon the reason why they have rusted on the bottom lip is that they rub ever so slightly on the side skirts - meaning nice exposed metal, often sitting on a water trap. We reckon that we can probably get away with lifting the doors a bit - you can see that the panel gaps are consistent with making the assumption that the doors have sagged a bit. Front upper grill is looking tired so will be painted. Toyota emblem replaced. The bonnet is covered in chips so that will get resprayed but you can also see the wings are not brilliant. Drivers side is not so bad but there are a few minor dings: 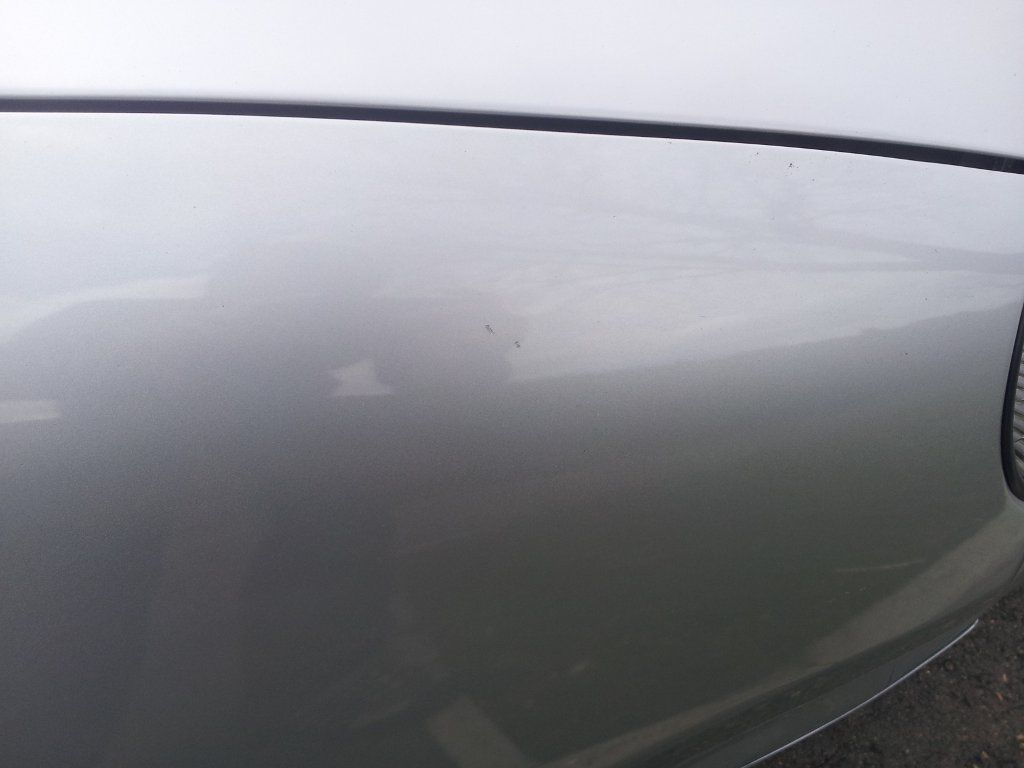 Passenger side is much worse: 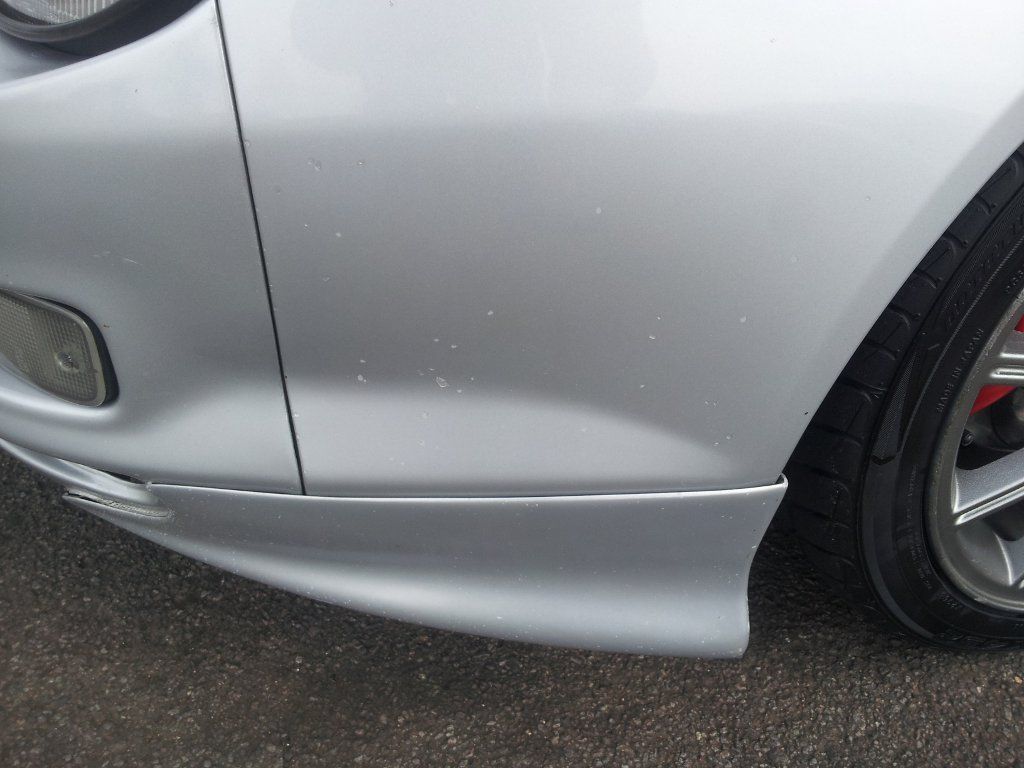 So it makes sense really to get it straightened and a front end respray. Then there are the leading edges of the arches. I have seen a lot worse than this, but I want to nip them while I can. This is the worst one: 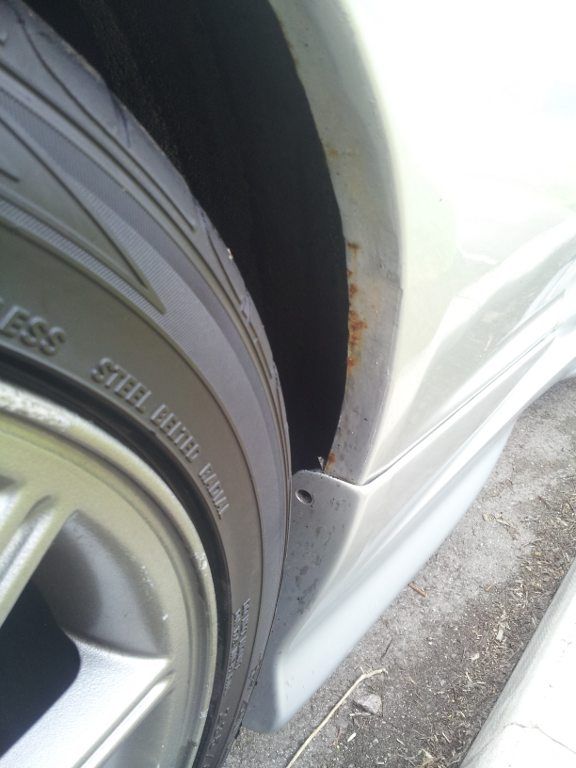 And also a bit of rust to deal with on the drivers side front wing edge: 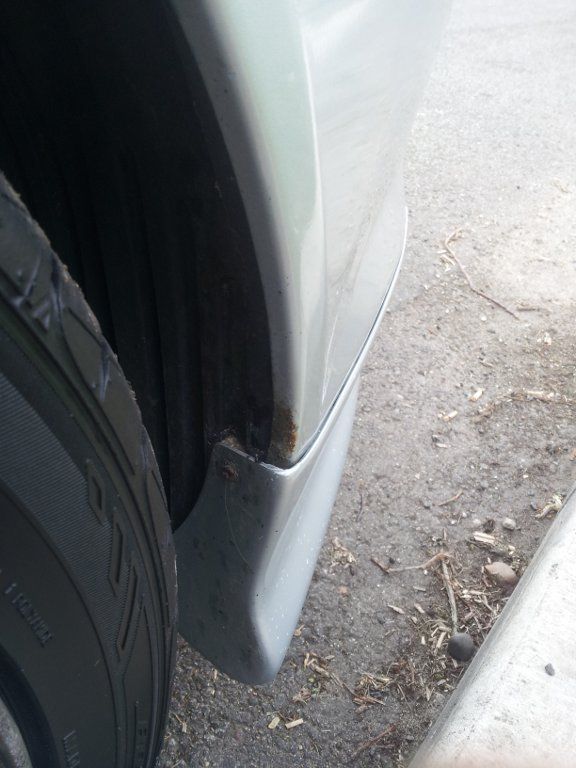 This blemish on the rear quarter has irritated me since I bought the car. The odd thing is it's not even that bad...it just grates on me for some reason! 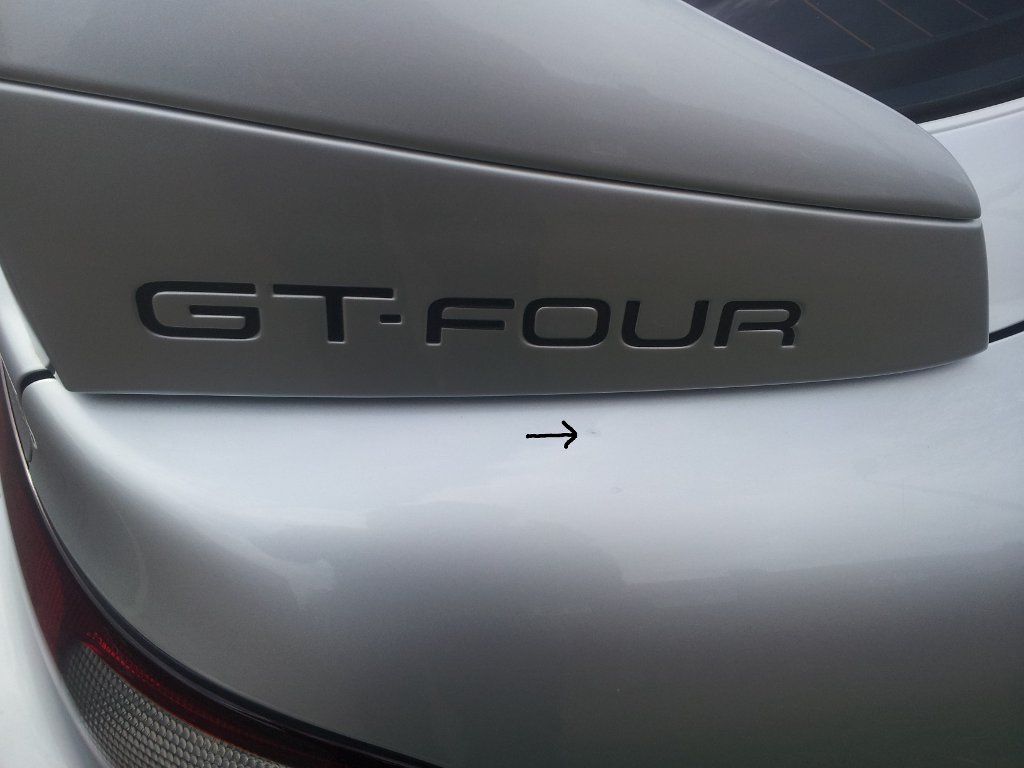 This also irritates me: 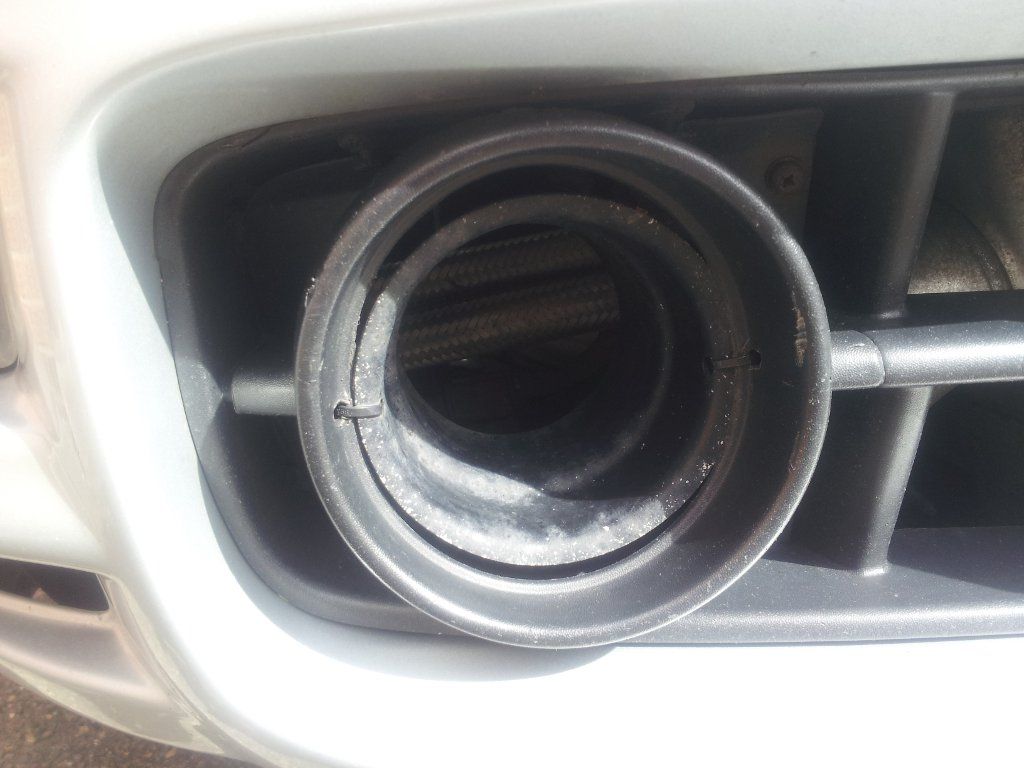 Perhaps I am being a bit OTT, but I want it to be right. Next issue are the TRD side skirts and TRD spats. The spats are starting to come away front the bumpers and the skirts have had a pretty bad paint job (not that anyone notices but me!). So it will be off with the whole lot, repairs made such as the odd crack here and there such as the picture below, repainted and re-fitted. 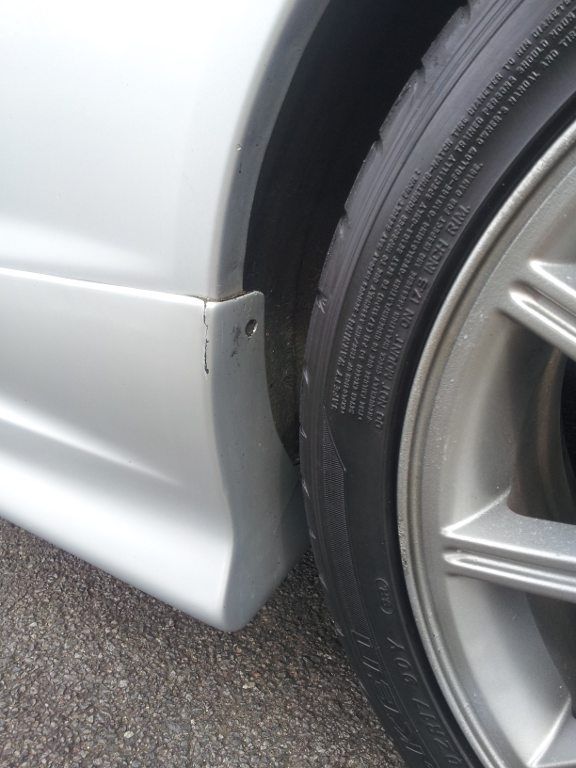 So in all, it will go through a phase of 1) sorting door out see how much work is involved 2) remove skirts etc) 3) sort crusty bits, dents etc 4) front end and bottom half respray inc skirts (need to do that if I want the doors and leading edge repairs to look right) 5) re-fit. Well....that was the plan... |
  |
1 User(s) are reading this topic (1 Guests and 0 Anonymous Users)
0 Members:
| Lo-Fi Version | Time is now: November 29th, 2024 - 2:04 PM |


