  |
 Jul 28, 2020 - 9:58 AM Jul 28, 2020 - 9:58 AM
|
|
|
Enthusiast Joined Jul 9, '20 From Ohio Currently Offline Reputation: 0 (0%) |
Alrightttt time for the motor and trans to go in, This was actually really easy.. put the car pretty high up on jack stands, drop the subframe and steering rack out of the car (the damn steering rack was the biggest pain in the ass of the whole things, but it finally popped loose).... Then put the motor and trans on a dolly and wheel it under the engine bay... then took my cherry picker and slowly lowered the car down over top of the engine until the car was sitting on stands at their lowest setting.... thennn hook the cherry picker up to the engine and lift it the rest of the way up into the engine bay. Just make sure you take your time and have a friend watching to make sure you're not scratching up the other side of the engine bay.
This thing fit like a glove, not one scratch or blemish on the new paint, got the two side mounts hooked up then began connecting the dots. shifter cables, wiring, heater hoses, fuel lines etc etc. WOOHOO! the motor and trans are in.  IMG_20200627_215026 by zac savage, on Flickr IMG_20200627_215026 by zac savage, on Flickr IMG_20200627_215004 by zac savage, on Flickr IMG_20200627_215004 by zac savage, on FlickrAfter spending some time checking and double checking that I had everything necessary to run the car hooked up... I retrofitted some grounds and decided I was ready for a test start. No dice, wouldn't turn over or anything... Luckily I had a good buddy over who recommended it was a grounding problem to the starter... DUH. I painted the face of the trans and the face of the starter that supply the ground. I removed the starter, sanded down the grounding face on the trans and starter and bingo. Old Cecil fired up and sounded sweet. Hopefully the video link works.. but click the image below for the video!  VID_20200627_231417 by zac savage, on Flickr VID_20200627_231417 by zac savage, on Flickr^^ click for start up video! |
 Jul 29, 2020 - 6:51 AM Jul 29, 2020 - 6:51 AM
|
|
|
Enthusiast      Joined Aug 4, '06 From Chicagoland Currently Offline Reputation: 9 (100%) |
YUSS!
IMO, there's nothing more satisfying than watching the engine slip in and out of the bay, knowing there's less than an inch on the right side to the frame rail. Congrats! -------------------- ~bloodMoney
 |
 Jul 29, 2020 - 10:44 AM Jul 29, 2020 - 10:44 AM
|
|
|
Enthusiast Joined Jul 9, '20 From Ohio Currently Offline Reputation: 0 (0%) |
YUSS! IMO, there's nothing more satisfying than watching the engine slip in and out of the bay, knowing there's less than an inch on the right side to the frame rail. Congrats! Thanks man! Yeah I agree.. This was a super satisfying step of the project. I can't wait to have this thing on the road. |
 Jul 29, 2020 - 12:04 PM Jul 29, 2020 - 12:04 PM
|
|
 Enthusiast      Joined Feb 2, '07 From Berlin, WI Currently Offline Reputation: 18 (100%) |
Awesome!! looks great and sounds great!
--------------------  *1997 Celica ST - 3SGE Greytop BEAMS *1977 Celica RA29 - Classic Cruiser *2005 Matrix AWD - dedded but still hanging around like a ghost 2019 Rav4 XLE Premium - Sports mode is fun. |
 Jul 30, 2020 - 12:29 PM Jul 30, 2020 - 12:29 PM
|
|
|
Enthusiast Joined Jul 9, '20 From Ohio Currently Offline Reputation: 0 (0%) |
|
 Jul 31, 2020 - 8:52 AM Jul 31, 2020 - 8:52 AM
|
|
|
Enthusiast Joined Jul 9, '20 From Ohio Currently Offline Reputation: 0 (0%) |
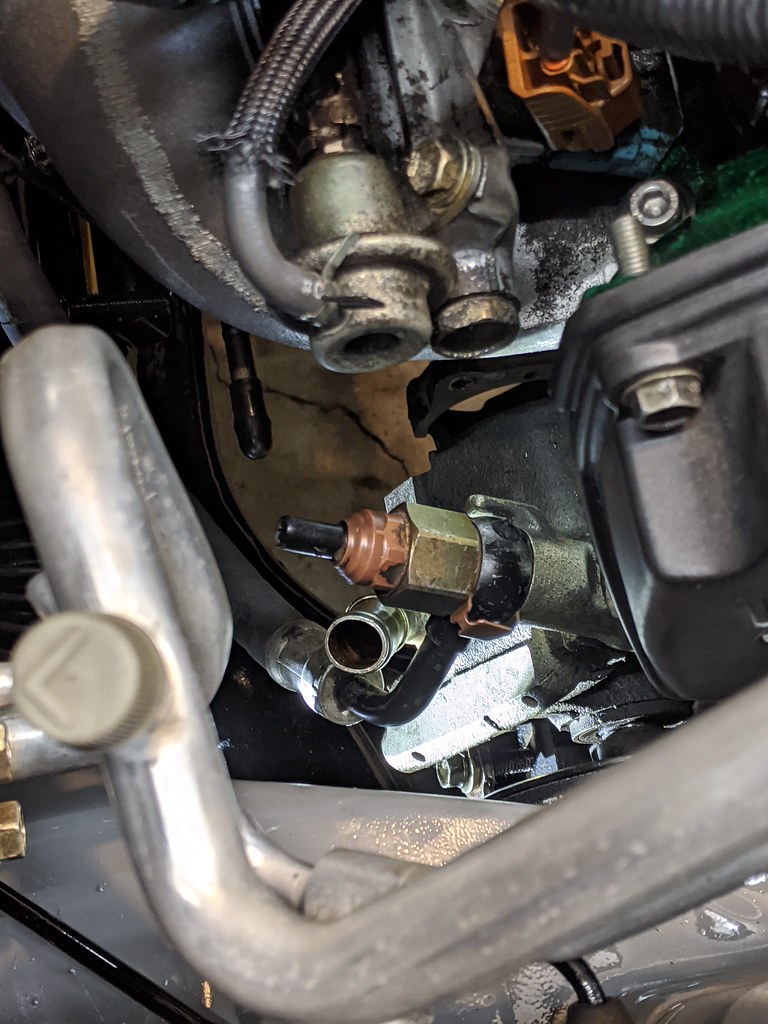
Alrightttt the motor and trans are in and it runs, that's a big step for sure. The rest of the hook ups were easy peasy except for the power steering pump. I wanted to use the Gen4 power steering pump with the celica rack, which proved to be a tad difficult. the feed line worked out fine, but the return was a little rough. I thought that if I swapped the inlet on the power steering pump itself, it would work.. but no luck. I had to gently bend the nipple on the return line to allow clearance for the line to fit without running into the feed line.. after that, it wall worked out fine.
 IMG_20200719_130003 by zac savage, on Flickr IMG_20200719_130003 by zac savage, on Flickr IMG_20200719_133730 by zac savage, on Flickr IMG_20200719_133730 by zac savage, on FlickrWith the inlet and outlets figured out, I was set for a pretty easy assembly... rebuilt the steering rack and replaced everything in the front, new bushings in the control arms, inner and outer tie rods, end links, ball joints, motor mounts, wheel bearings and COILOVERS YAYYYYY. I went with ksport, just because I've had good luck with them in the past. I think they'll work out pretty sweet.  IMG_20200710_185008 by zac savage, on Flickr IMG_20200710_185008 by zac savage, on Flickr IMG_20200716_085159 by zac savage, on Flickr IMG_20200716_085159 by zac savage, on Flickr IMG_20200718_143337 by zac savage, on Flickr IMG_20200718_143337 by zac savage, on Flickr IMG_20200718_143331 by zac savage, on Flickr IMG_20200718_143331 by zac savage, on Flickr IMG_20200717_214046 by zac savage, on Flickr IMG_20200717_214046 by zac savage, on FlickrFront subframe assembly was pretty easy... All moog everything.  IMG_20200712_212531 by zac savage, on Flickr IMG_20200712_212531 by zac savage, on Flickr IMG_20200715_192907 by zac savage, on Flickr IMG_20200715_192907 by zac savage, on FlickrI threw some kirkosaurus front and rear motor mount urethane inserts in there too. They seem to be good quality and the customer service is top notch. kudos to him!  IMG_20200427_190319 by zac savage, on Flickr IMG_20200427_190319 by zac savage, on FlickrBINGO, got everything installed loosely and ready to torque things down to spec. I'm pretty damn pumped that the underside is as clean as everything else... definitely never had a car quite like this.  IMG_20200719_142819 by zac savage, on Flickr IMG_20200719_142819 by zac savage, on Flickr |
 Jul 31, 2020 - 8:38 PM Jul 31, 2020 - 8:38 PM
|
|
|
Enthusiast Joined Mar 18, '11 From Southern Oregon Currently Offline Reputation: 0 (0%) |
Damn dude. I'm impressed by all the work you're putting in. Can't wait to see it finished.
|
 Aug 1, 2020 - 10:13 PM Aug 1, 2020 - 10:13 PM
|
|
|
Enthusiast     Joined Mar 8, '09 From Westport, MA Currently Offline Reputation: 6 (100%) |
Fantastic job so far! Reminds me of my old build. Attention to detail is spot on nicely done! Color looks great, did you wet sand and buff too? That really makes a great paint job! Keep it up man!
-------------------- st205 powered ss3 coupe
|
 Aug 2, 2020 - 8:25 PM Aug 2, 2020 - 8:25 PM
|
|
|
Enthusiast      Joined Mar 11, '06 From Way South Chicago Currently Offline Reputation: 0 (0%) |
I need a lift at home, ****. That's amazing work you're doing because you have the time to do it with a lift available like that. I'm super jealous. I need a setup like this so I can do the same thing to my car some day.
-------------------- |
 Aug 2, 2020 - 8:52 PM Aug 2, 2020 - 8:52 PM
|
|
|
Enthusiast Joined Jul 9, '20 From Ohio Currently Offline Reputation: 0 (0%) |
I need a lift at home, ****. That's amazing work you're doing because you have the time to do it with a lift available like that. I'm super jealous. I need a setup like this so I can do the same thing to my car some day. Haha brother I don't have a lift. Jack and Jack stands... That's me laying on the ground taking that last picture. You just gotta make the time my friend! I've worked 60 hours every week for the last 3 months... BUT, while I do have a wife at home, we don't have any kids yet... Which definitely helps with being able to spend time In the garage. Thanks everyone for the support and kind comments! I'm having a blast working on this thing, can't wait to take old Cecil for his first drive. |
 Aug 4, 2020 - 11:03 AM Aug 4, 2020 - 11:03 AM
|
|
|
Enthusiast Joined Jul 9, '20 From Ohio Currently Offline Reputation: 0 (0%) |
Fantastic job so far! Reminds me of my old build. Attention to detail is spot on nicely done! Color looks great, did you wet sand and buff too? That really makes a great paint job! Keep it up man! Thank you Ted, nope it's not wet sanded and buffed yet. The paint looks great straight off the gun, but it'll go in for a wet sand and buff after it's all assembled again! I didn't paint the car myself, I have a buddy who builds and paints show bikes. He took on the paint job for me, he's good for sure! |
 Aug 4, 2020 - 11:40 AM Aug 4, 2020 - 11:40 AM
|
|
|
Enthusiast Joined Jul 9, '20 From Ohio Currently Offline Reputation: 0 (0%) |
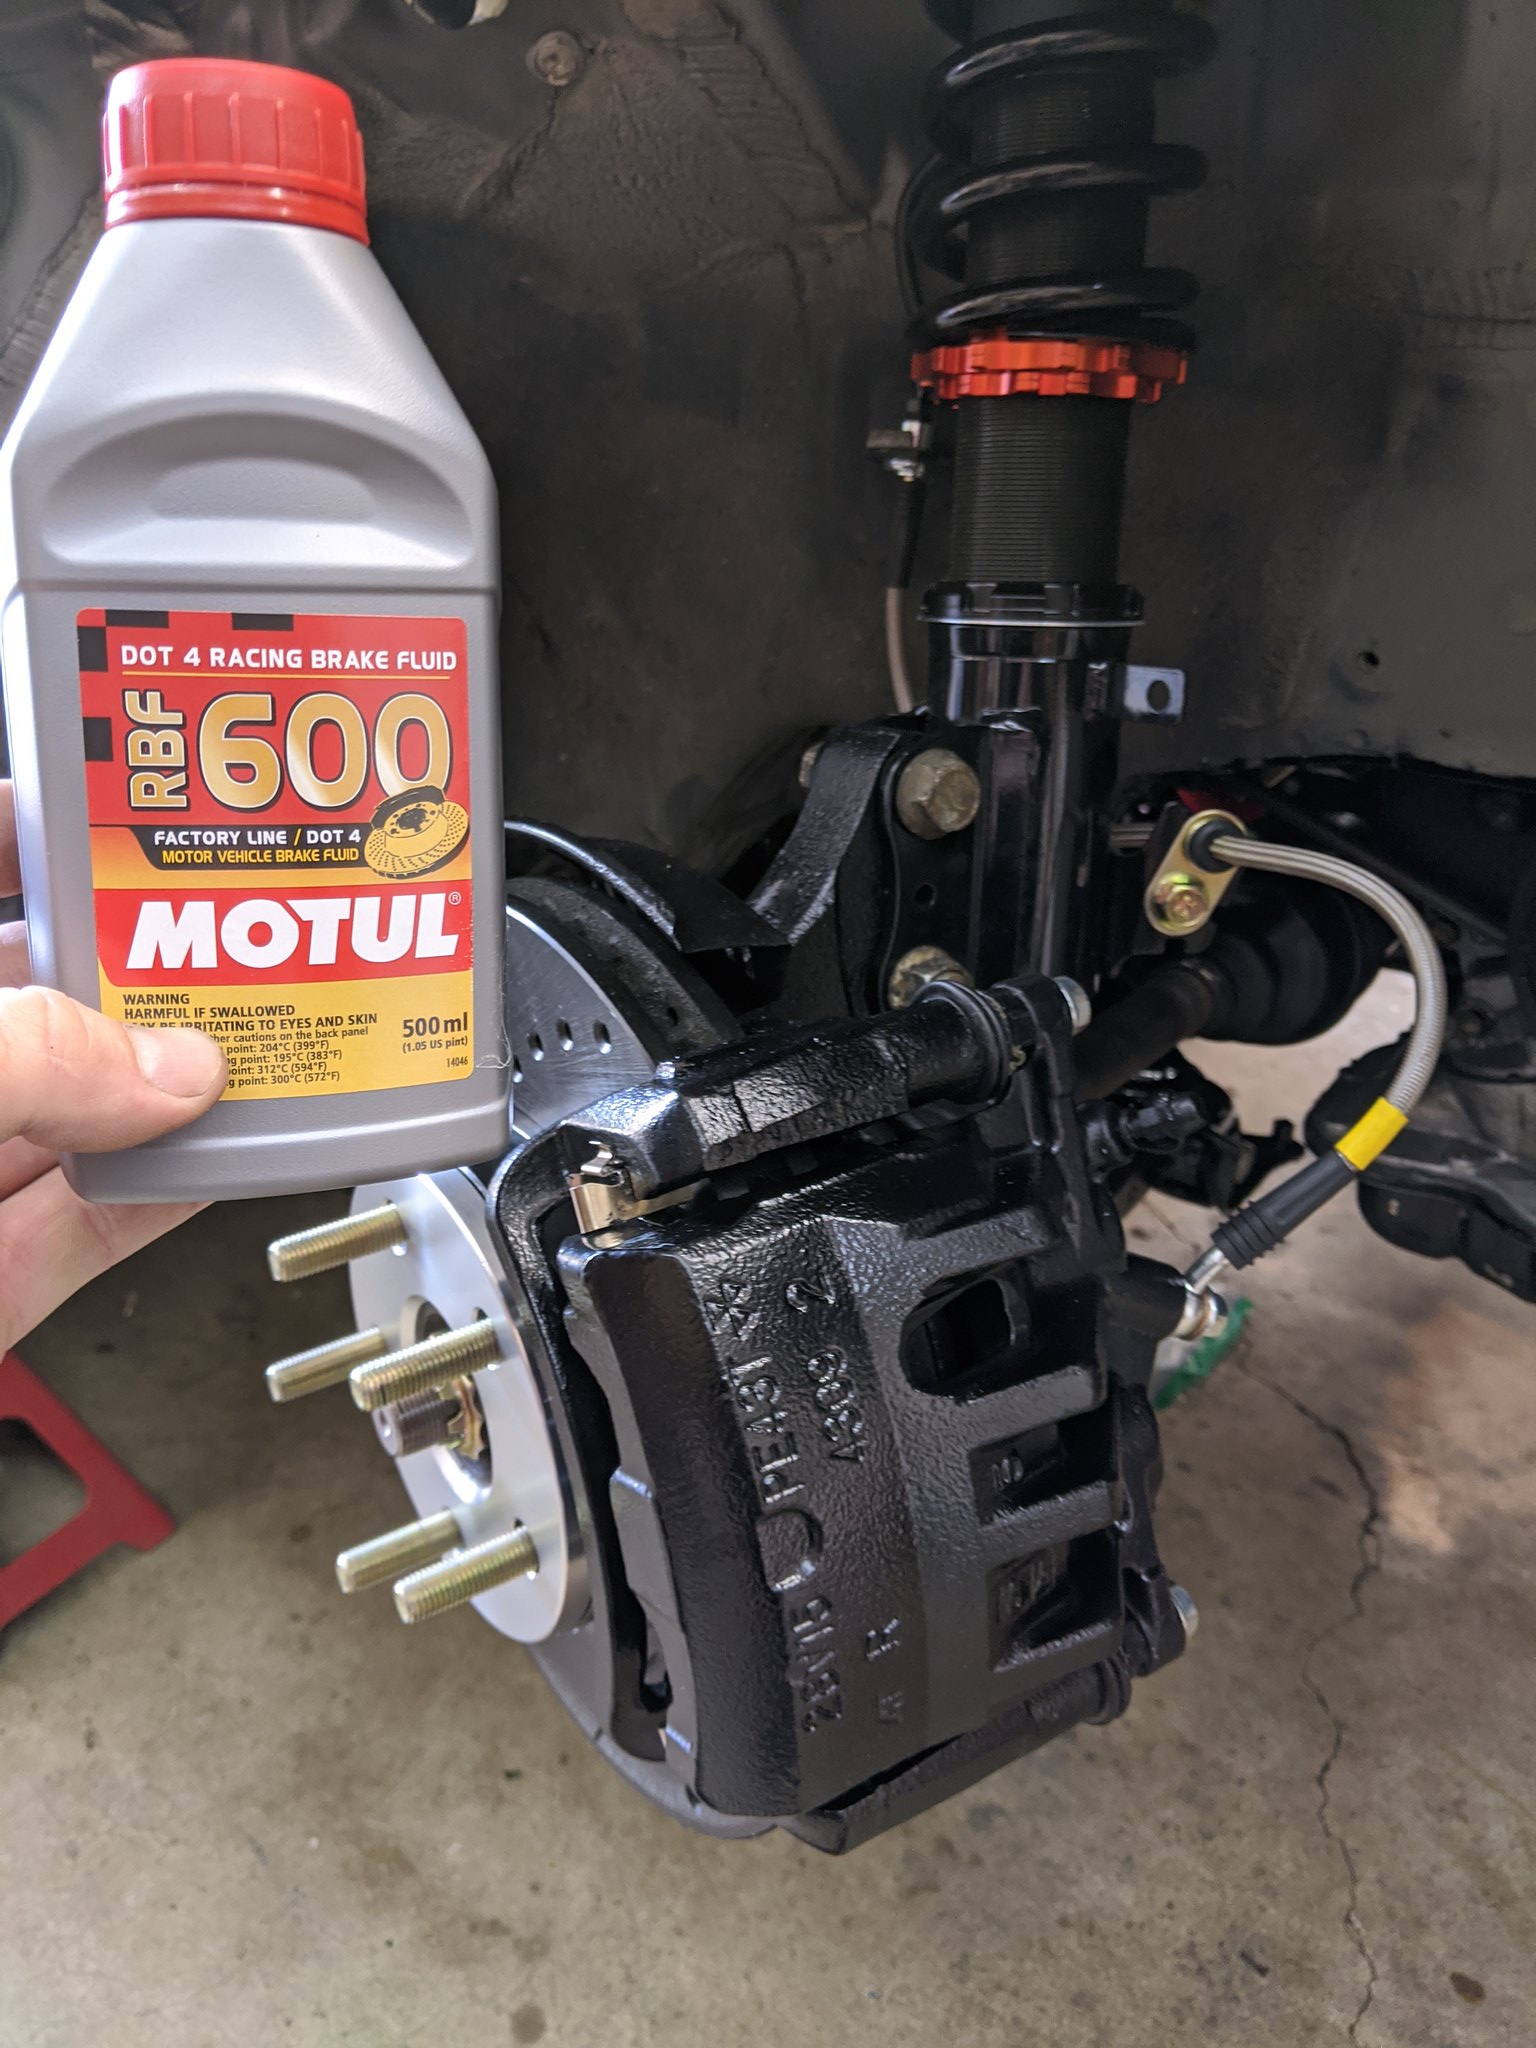
ANDDD the build continues. got some more goodies, Aluminum radiator, shroud and low profile fans installed, all new moog suspension components, front coilovers installed, braided brake lines, new brake rotors and pads, front spindles installed, etc.
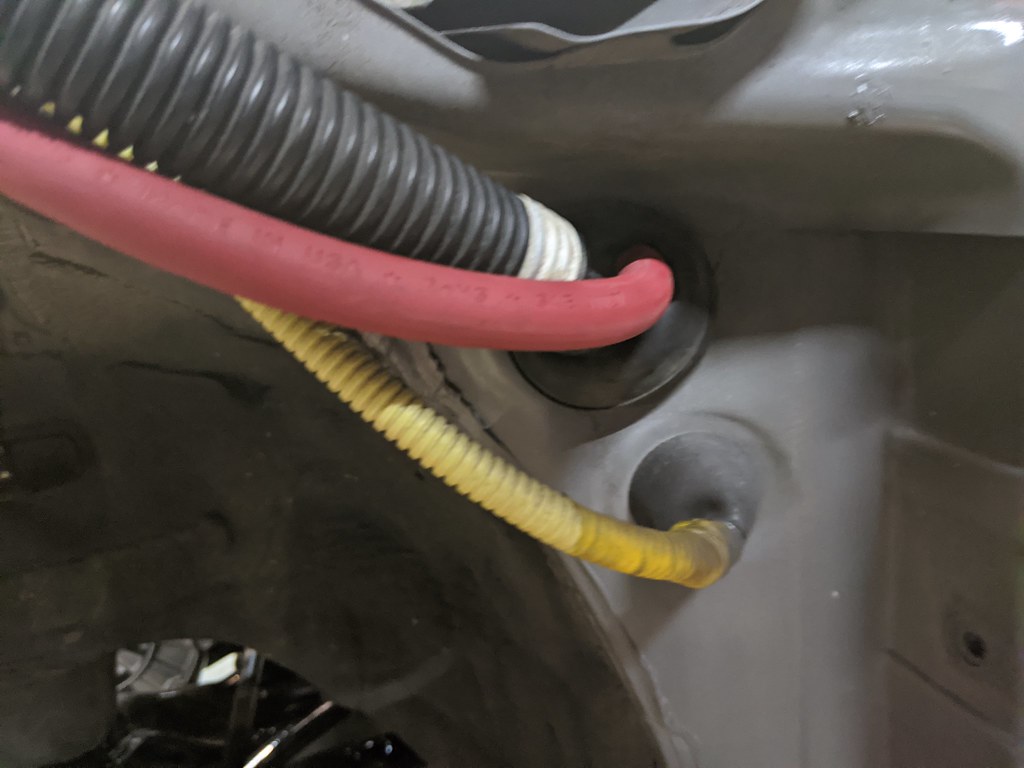
 IMG_20200707_182545 by zac savage, on Flickr IMG_20200707_182545 by zac savage, on Flickr IMG_20200715_194012 by zac savage, on Flickr IMG_20200715_194012 by zac savage, on Flickr IMG_20200719_170716 by zac savage, on Flickr IMG_20200719_170716 by zac savage, on Flickr IMG_20200719_184729 by zac savage, on Flickr IMG_20200719_184729 by zac savage, on FlickrNext was to figure out the battery relocation power cable... I decided to run it with the engine bay harness, easy enough. I may end up changing this up, but for now it seems to be my best option.  IMG_20200719_155924 by zac savage, on Flickr IMG_20200719_155924 by zac savage, on Flickr IMG_20200719_155933 by zac savage, on Flickr IMG_20200719_155933 by zac savage, on Flickr IMG_20200719_155937 by zac savage, on Flickr IMG_20200719_155937 by zac savage, on FlickrNo, those stupid cheap spacers are not on there permanently. They're just there to hold the rotors on while installing the calipers... Things are looking good at this point! time to torque everything down to spec and potentially put the front end of this car on the ground for the first time in a long time!  IMG_20200720_183309 by zac savage, on Flickr IMG_20200720_183309 by zac savage, on FlickrWhile torquing everything down, disaster struck. I had finished the subframe, power steering rack.... then while torquing the motor mount bolts..... SNAP. I broke a damn stud off the rear motor mount. At this point, I threw my piece of **** harbor freight torque wrench in the trash and decided I'd fork out some $ for something nice. Ordered a Proto half inch torque wrench and waited for the mailman to bring it to me. In the meantime, I tore everything down to get the motor mount out and have a mulligan. The key, I found, was to pop the steering rack off the subframe to squeeze the mount out.  IMG_20200720_204344 by zac savage, on Flickr IMG_20200720_204344 by zac savage, on Flickr IMG_20200720_204401 by zac savage, on Flickr IMG_20200720_204401 by zac savage, on Flickr IMG_20200720_204413 by zac savage, on Flickr IMG_20200720_204413 by zac savage, on FlickrI love doing things twice, don't you? haha what can ya do. |
 Aug 10, 2020 - 1:59 PM Aug 10, 2020 - 1:59 PM
|
|
|
Enthusiast      Joined Apr 24, '08 From Orange County, CA Currently Offline Reputation: 33 (100%) |
lol you snapped it. i didnt torque that, just tightend it with a ratchet.
my friend accidentally sent me his E56 rear mount, and i shaved the poly mount down to fit that bracket thinking it was an s54. so i just ended up installing a factory rear mount. ughh he still owes me -------------------- Group buy to replicate Narrow E series transaxle parts
http://www.6gc.net/forums/index.php?showto...p;#entry1107514 |
 Aug 11, 2020 - 11:35 AM Aug 11, 2020 - 11:35 AM
|
|
|
Enthusiast    Joined Sep 1, '09 From Marengo, IL Currently Offline Reputation: 0 (0%) |
Beautiful build process. I always appreciate people who take their time and do things "right".
--------------------  2000 GT-S 6 SPD... SOLD! |
 Nov 4, 2020 - 12:09 AM Nov 4, 2020 - 12:09 AM
|
|
|
Enthusiast      Joined Dec 29, '05 From So-Cal Currently Offline Reputation: 12 (100%) |
You got to take pics of the oil spills, radiator fluid on the ground not to mention brake fluid, steering fluid, the swap how to was easy to read but when you actually do it..lots of cursing and parts not fitting in well...gremlins to come after you thought all is well. Good job...it takes time when you do it yourself...not having the right tools is the worst part of the project.
This post has been edited by chacha: Nov 4, 2020 - 12:10 AM |
 Oct 10, 2022 - 8:44 AM Oct 10, 2022 - 8:44 AM
|
|
|
Enthusiast Joined Jul 9, '20 From Ohio Currently Offline Reputation: 0 (0%) |
So... it's been awhile... a long while. I've let this project sit for too long and now I'm finally back at it. I've got some catching up to do on the build thread, so I'm going to try and make a concerted effort to get this thread updated and wrap things up with the car..
I know it's been 2 years.. I've got no real excuse but to say that I moved on to other things.. until now. |
 Oct 10, 2022 - 9:34 AM Oct 10, 2022 - 9:34 AM
|
|
|
Enthusiast Joined Jul 9, '20 From Ohio Currently Offline Reputation: 0 (0%) |
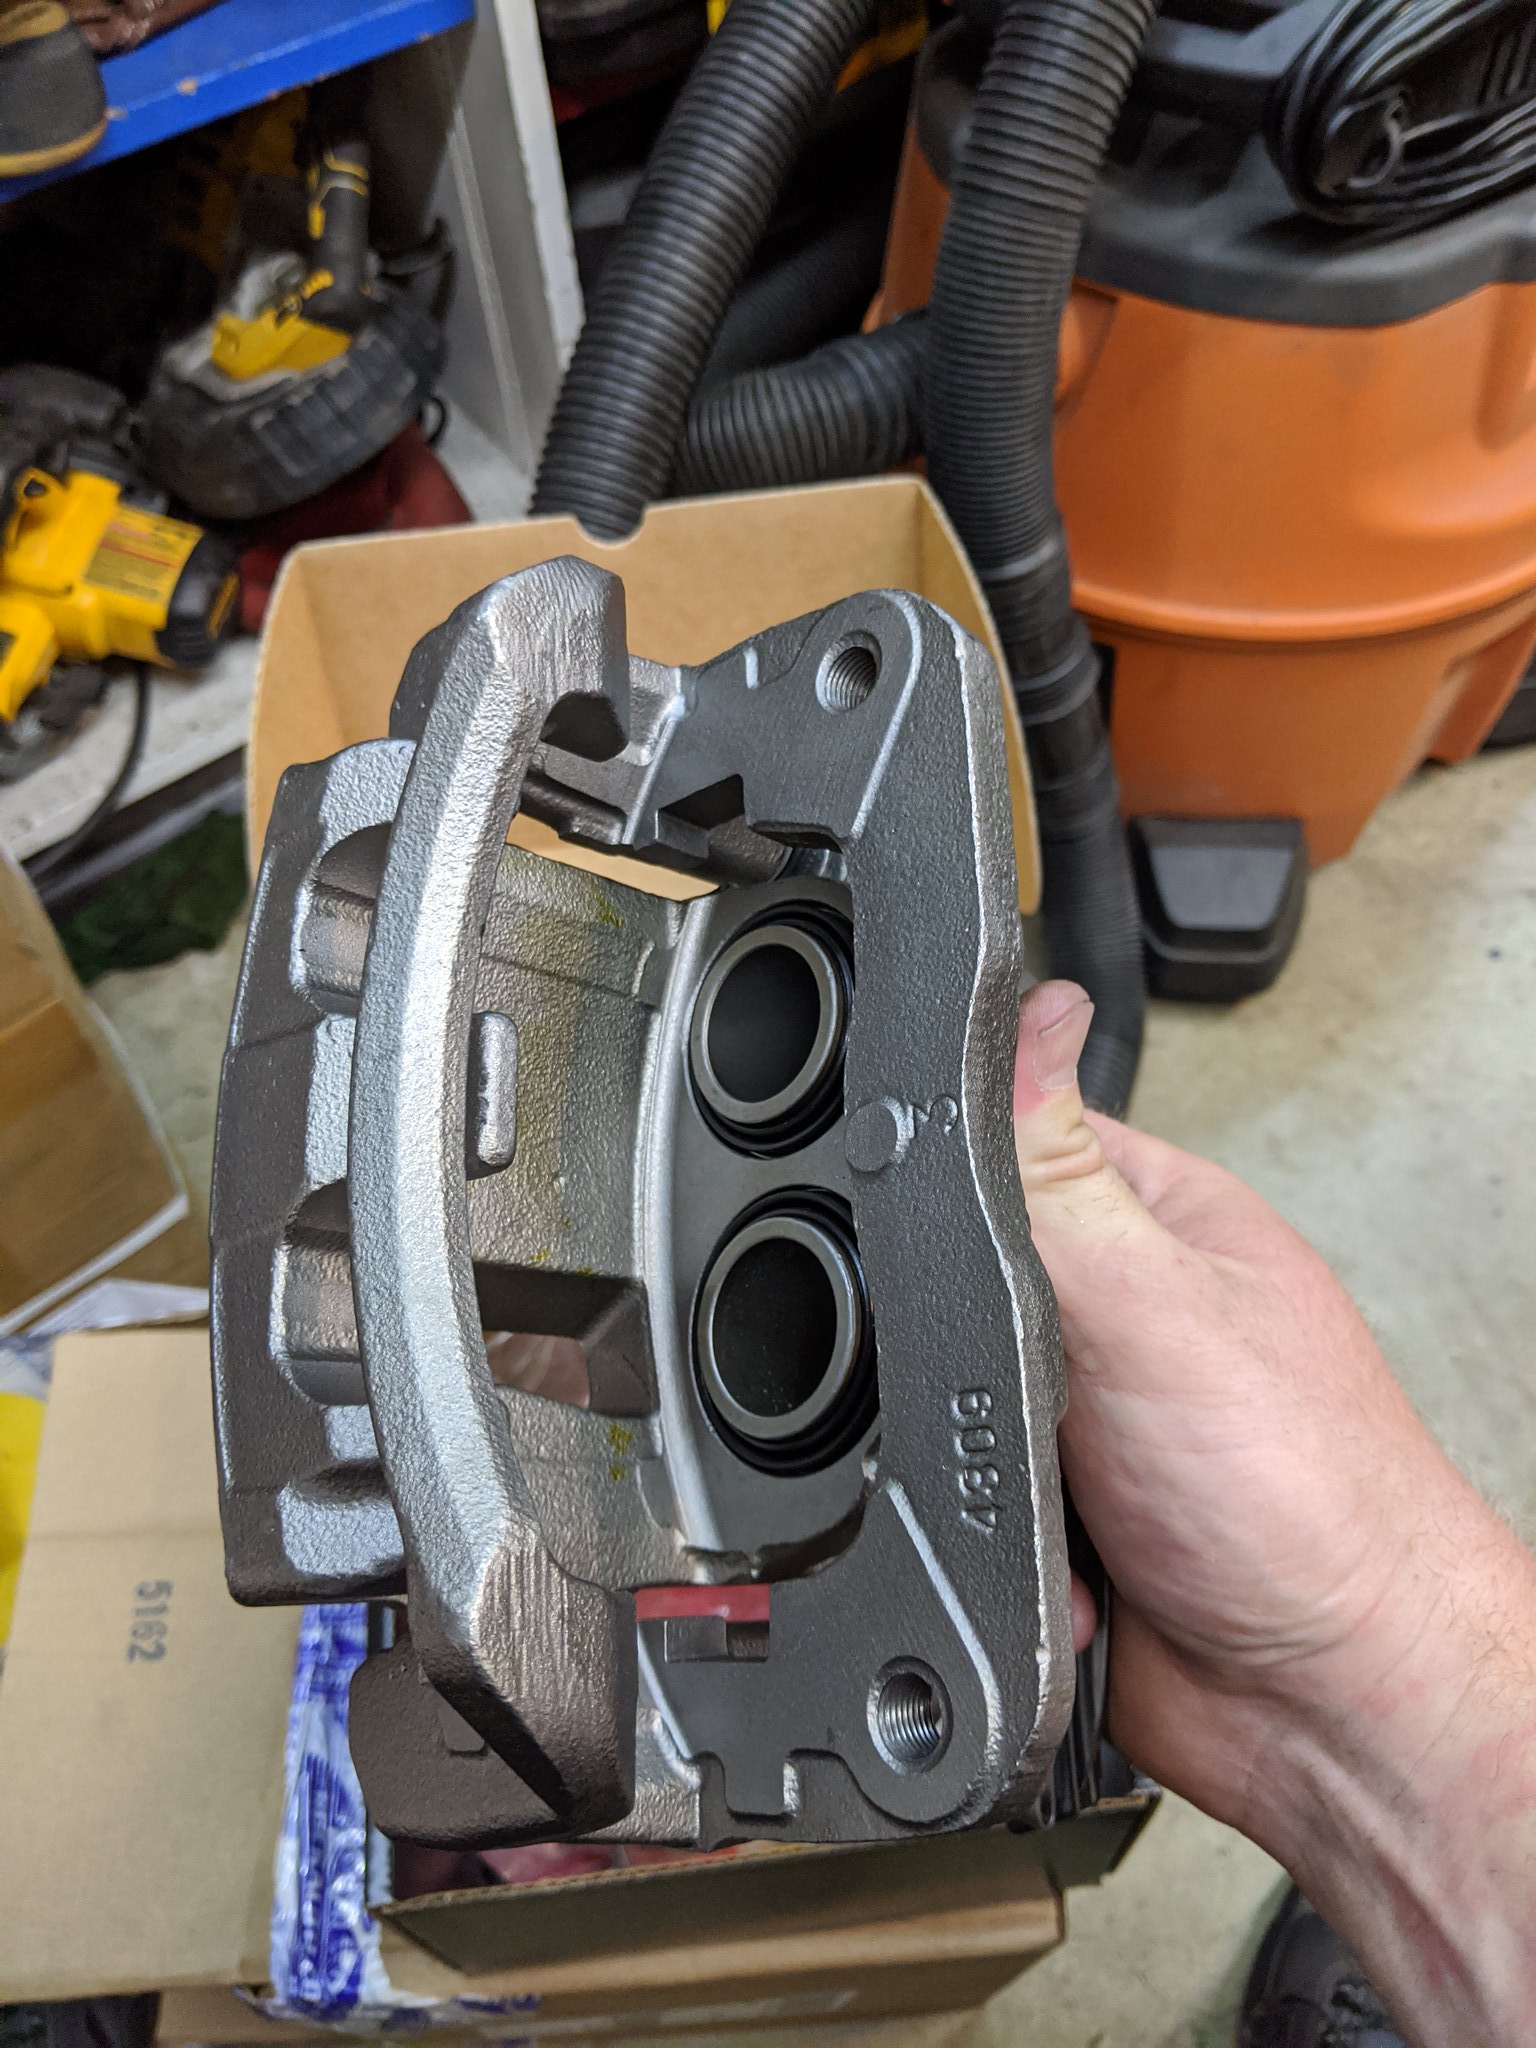
Wrapped up the front suspension and brakes next. Installed Avalon 2 pot calipers ( they fit on stock rotors and brackets, nice easy upgrade). ST sway bars, undercoated wheel wells etc.
 IMG_20200725_153643 by zac savage, on Flickr IMG_20200725_153643 by zac savage, on Flickr IMG_20200725_175935 by zac savage, on Flickr IMG_20200725_175935 by zac savage, on Flickr IMG_20200726_101402 by zac savage, on Flickr IMG_20200726_101402 by zac savage, on Flickr |
  |
3 User(s) are reading this topic (3 Guests and 0 Anonymous Users)
0 Members:
| Lo-Fi Version | Time is now: November 16th, 2024 - 3:34 AM |


