  |
 Dec 21, 2014 - 10:07 AM Dec 21, 2014 - 10:07 AM
|
|
 Enthusiast  Joined Jul 5, '12 From Barcelona Currently Offline Reputation: 0 (0%) |
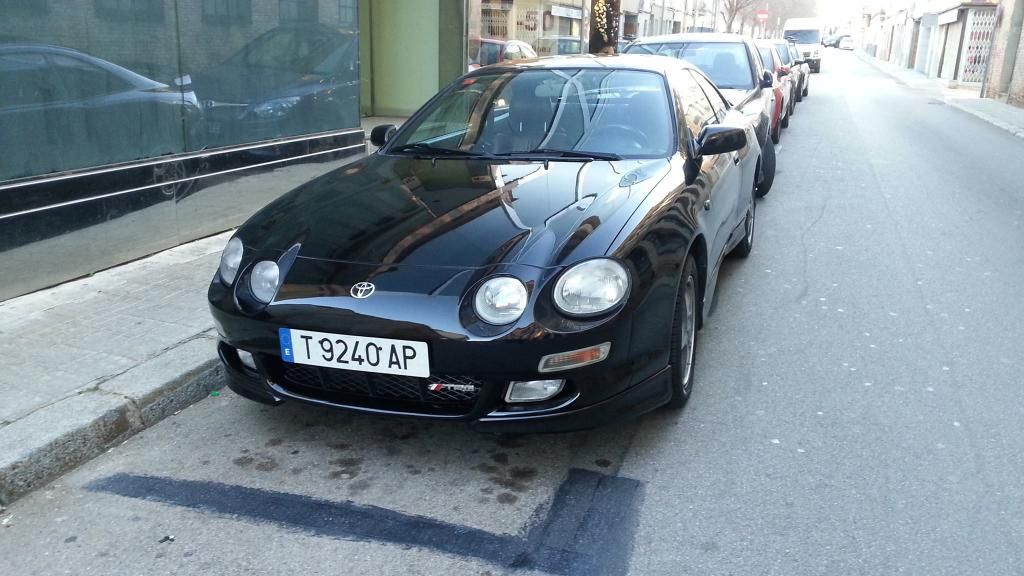
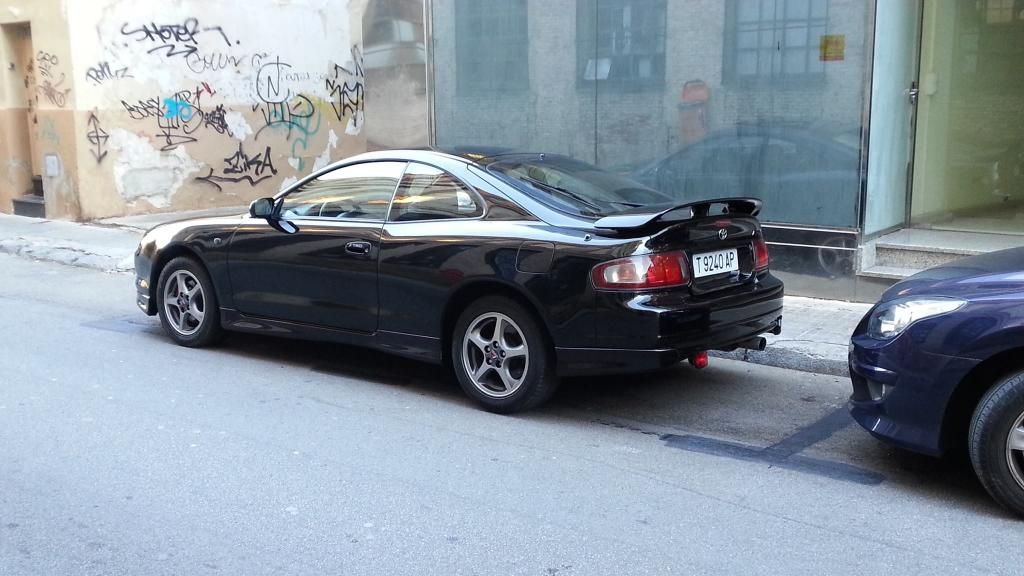
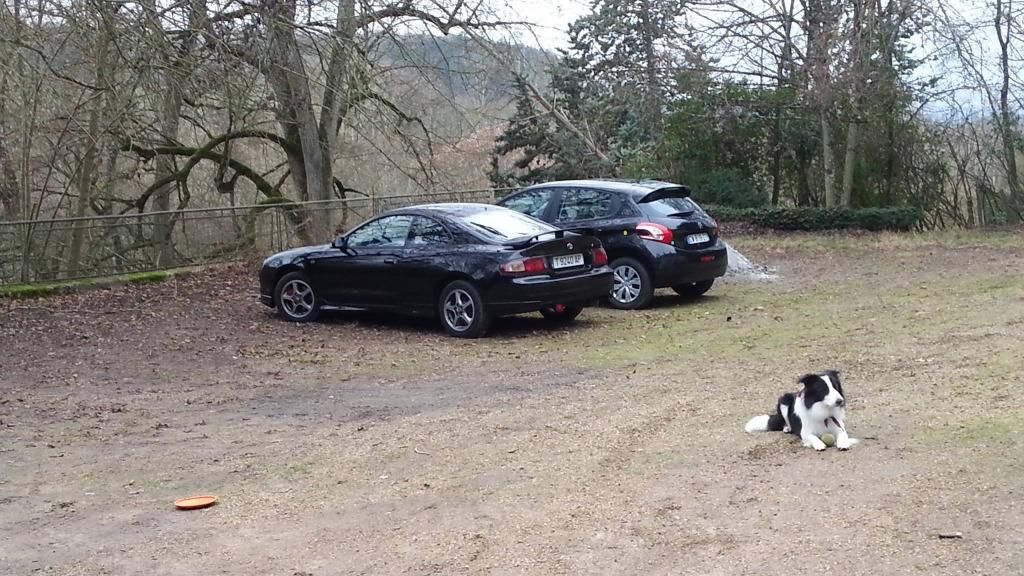
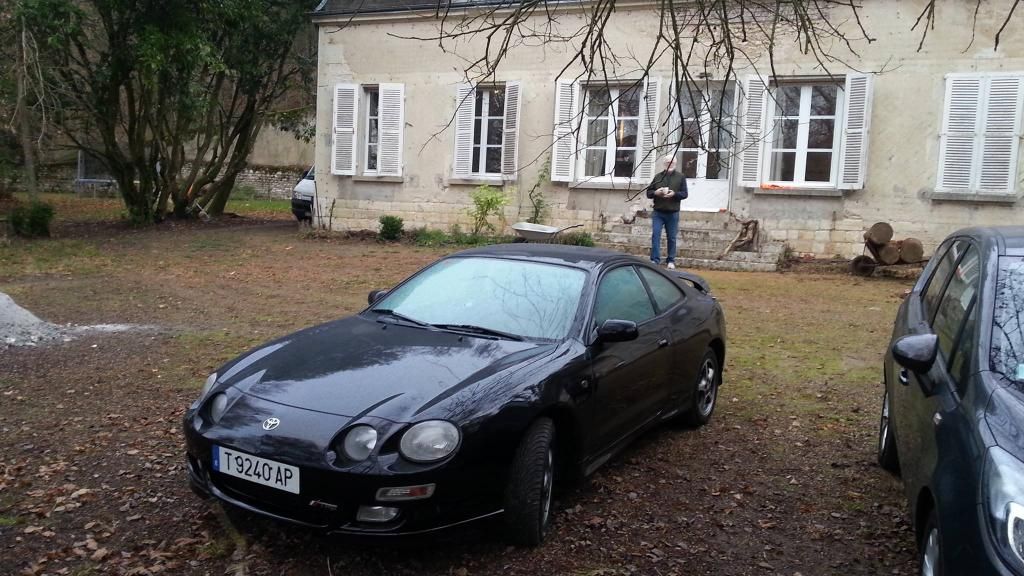
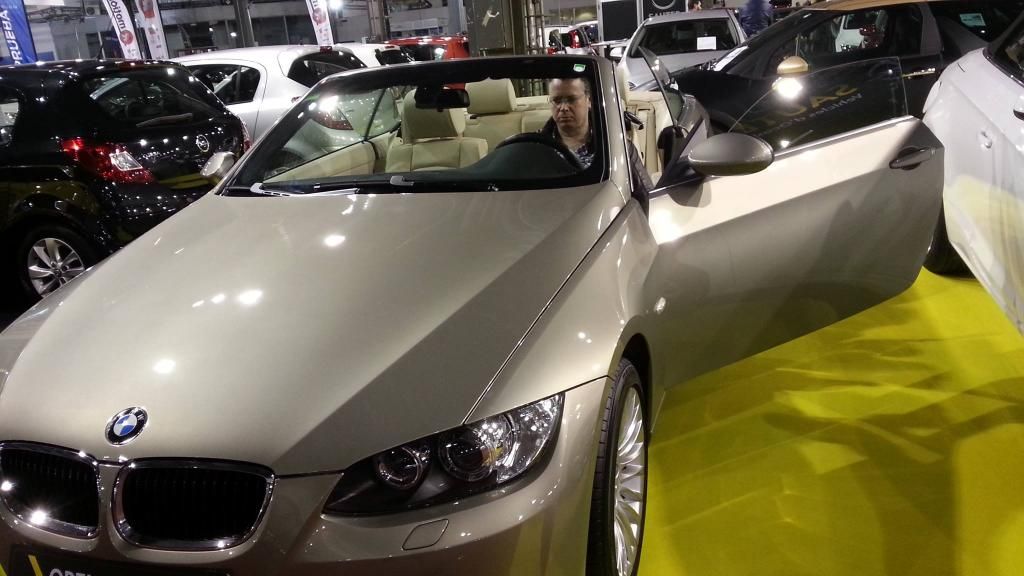
This is my new car, well it's my girlfriends, but I'll get to drive it around at weekends. I can't wait!
--------------------  |
 Dec 31, 2014 - 5:46 AM Dec 31, 2014 - 5:46 AM
|
|
 Enthusiast  Joined Jul 5, '12 From Barcelona Currently Offline Reputation: 0 (0%) |
--------------------  |
 Dec 31, 2014 - 8:31 AM Dec 31, 2014 - 8:31 AM
|
|
 Enthusiast      Joined Jul 12, '08 Currently Offline Reputation: 5 (100%) |
Interior shot please
--------------------  |
 Dec 31, 2014 - 12:36 PM Dec 31, 2014 - 12:36 PM
|
|
 Enthusiast  Joined Jul 5, '12 From Barcelona Currently Offline Reputation: 0 (0%) |
Interior shot please I'm afraid there's not much to see yet as the drivers seat I bought is broken and so I'm looking to get a '94 or '95 GT seat to replace it. The 1996 seats are different and so the leather can't be swapped over to my original seat. Also the seat belt fixings are different. I fitted the passenger seat and swapped over the seat belt parts, which don't fit very well, as they don't rotate slightly as they should. I can't understand why Toyota would so completely change the seats while leaving them looking exactly the same. Every bolt and part on the '94 is different to the '96. At least the floor mounting positions are identical. Also, I put a rear seat doggy cover on for the dog, so the rear seats can't be seen. --------------------  |
 Jan 7, 2015 - 4:08 PM Jan 7, 2015 - 4:08 PM
|
|
 Enthusiast  Joined Jul 5, '12 From Barcelona Currently Offline Reputation: 0 (0%) |
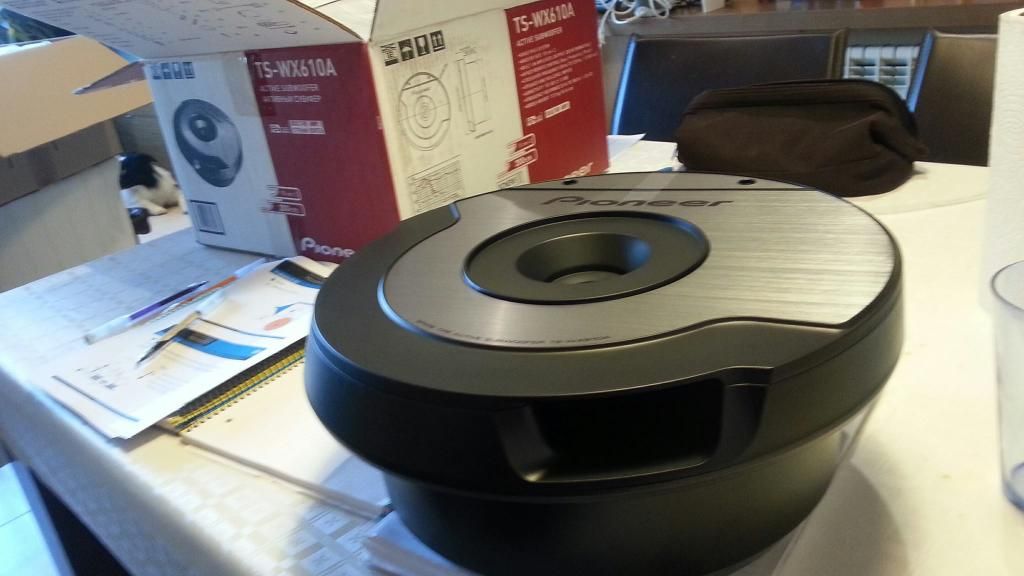
The new subwoofer has arrived. Doesn't pack much of a punch but will give the system a more quality sound as the stock speakers make very little bass, mostly buzz. I'll uprate the speakers later.
This post has been edited by Edser: Jan 7, 2015 - 4:10 PM --------------------  |
 Jan 10, 2015 - 7:34 PM Jan 10, 2015 - 7:34 PM
|
|
 Enthusiast  Joined Jul 5, '12 From Barcelona Currently Offline Reputation: 0 (0%) |
Today I fitted the new subwoofer.
It's the Pioneer TS WX610A. It's designed to fit into the spare wheel so as not to take up boot space. It took me about 3 hours to install, however I didn't install the volume/gain control thingymebob as I haven't decided exactly where to put it. I just fed the wire under the backseat temporarily. First I trial fitted the sub into the cavity in the spare wheel. The main problem here is that the wheel is facing upwards and when you face it downwards the wheel doesn't fully sit down on the floor, but sits a centimeter or 2 above due to the hump in the middle of the floor fixture. So I'll need to make some spacers. Temporarily I put the cars emergency triangles under the wheel to support it. I guess I'll make some blocks out of thick packing foam, but for the moment it'll do.The wheel does sit slightly higher now, but it is not noticable, especially since the carpet never fitted well before, so now it looks the same as always. I used the various adapters that came with the kit as the original attachment bar was a little short once the wheel was flipped.  The wooden cover locks tightly over the wheel as before. I think I'll replace this with something better at a later stage.  Then I passed the yellow power cable through a hole in the bulkhead and under the skuff plates on the drivers side. Here I discovered a handy channel alongside all of the other cables. I then passed it under the edge of the rear door cards by the door pillar, and then under the rear seat and into the boot. In this way I didn't have to remove the interior panels. A big time saver. I tied the yellow cable with cable ties in the engine bay, trying to keep it hidden as much as possible. This cable comes with a fuse already so its a very simple install. Just connect everything else and then this to the positive terminal at the end.   Then I ran the RCA and blue ON/OFF wire along the passenger side, hiding it under the skuff plate in the existing channel. As on the other side, I removed the same corner panels under the dash and ran the wires under the glovebox.   Then I whipped out the main console, and passed the RCAs through the dash and plugged them into the back of the cd player in the slots marked sub out. The blue control cable wasn't clear initially, but then I spotted it with a connector just like the one from the subwoofer. Easy! So I popped the console back in and focused on the earth cable in the boot. I found two holes in the floor of the boot that had once held something... I dunno. So I cleaned up one and screwed the earth cable to it. All left to do was run the Volume /gain cable back under the rear seat. The Volume/gain controller is a nice piece of kit, with a little blue LED to tell you its on, and two nobs to adjust the bass to your preference.  Then I finally connected the power cable to the positive terminal of the battery, and hey presto! A thumping loud stereo and totally hidden! Looks like a normal boot, no big boxes, nothing, and the bass is really surprisingly loud! I think it's made me a bit more deaf. Still worth it though.  Car is a really filthy inside. I have never cleaned it since I bought it 3 years ago. I may clean it one of these days. Maybe in the summer. Here's a video showing the system in action. The video quality sucks a bit as my memory card is very bad and causes errors, but the sound is pretty awesome I think. I'll be changing the head unit for a double DIN later and uprating the speakers and adding some tweeters too. https://www.youtube.com/watch?v=8uiKbIVjnEo I fixed the video. For some reason it was set to private. no clue why. This post has been edited by Edser: Jan 10, 2015 - 9:39 PM --------------------  |
 Jan 17, 2015 - 6:03 AM Jan 17, 2015 - 6:03 AM
|
|
 Enthusiast  Joined Jul 5, '12 From Barcelona Currently Offline Reputation: 0 (0%) |
Some more parts arrived this week. I'll put on the tweeters but I'm not sure as to whether I can connect them up to the cars system or not. If not then no problem as I'll get some new front speakers, tweeters and crossovers later.
Some rolls of sound dampening material too. 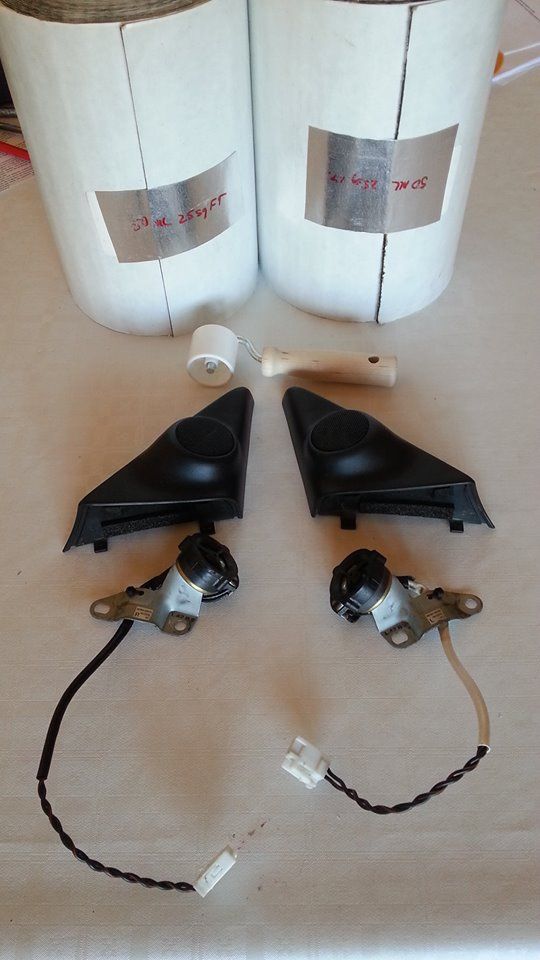 Also my LED dash lights arrived. Them only light the dash though, I wanna change the light of the console too. 
--------------------  |
 Jan 17, 2015 - 2:37 PM Jan 17, 2015 - 2:37 PM
|
|
 Enthusiast  Joined Jul 5, '12 From Barcelona Currently Offline Reputation: 0 (0%) |
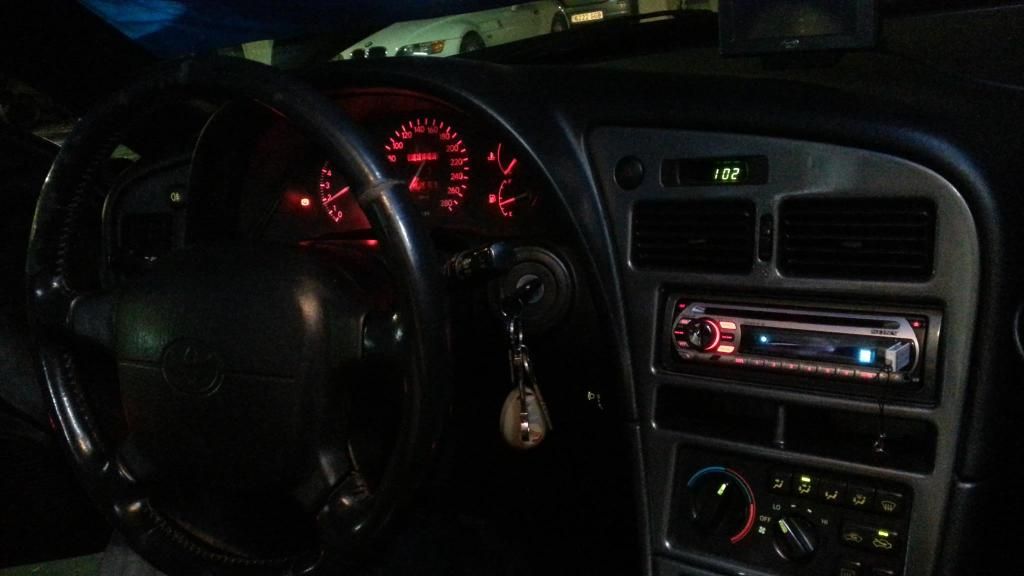
I fitted the Dash LEDs. They are a little pink I think.They look pink in the photos but are redder in real life. I dunno. I like the effect though, and its a bit brighter than stock.
 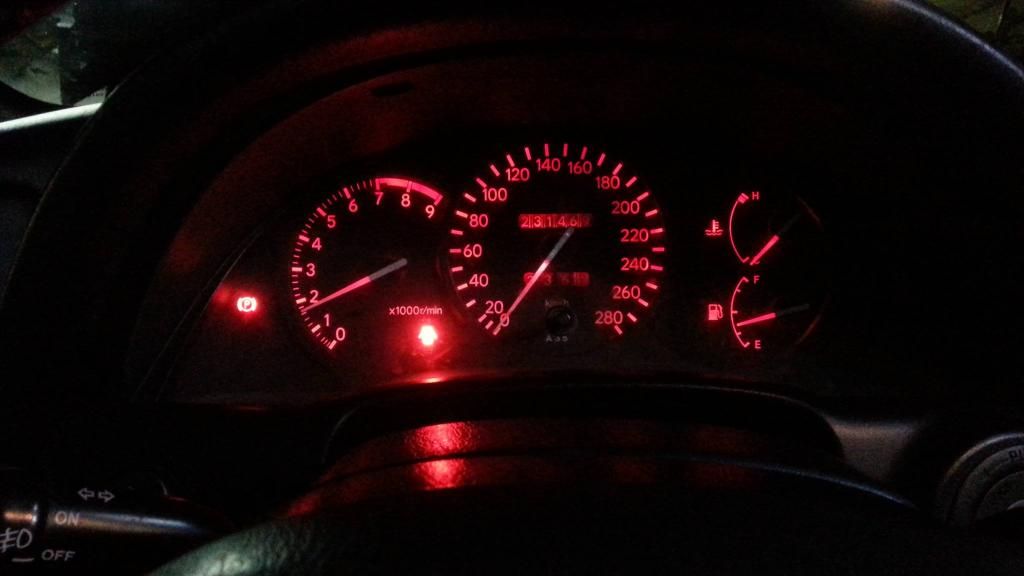 
--------------------  |
 Jan 25, 2015 - 4:18 PM Jan 25, 2015 - 4:18 PM
|
|
 Enthusiast  Joined Jul 5, '12 From Barcelona Currently Offline Reputation: 0 (0%) |
Today I started fitting strip LEDs under the doors. Its a bit bright. Maybe too bright.
 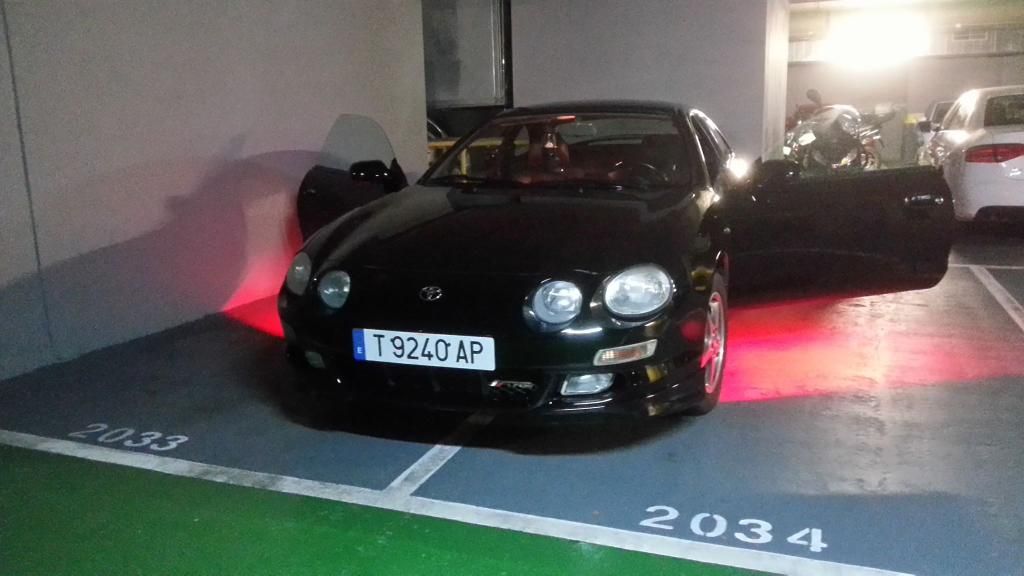 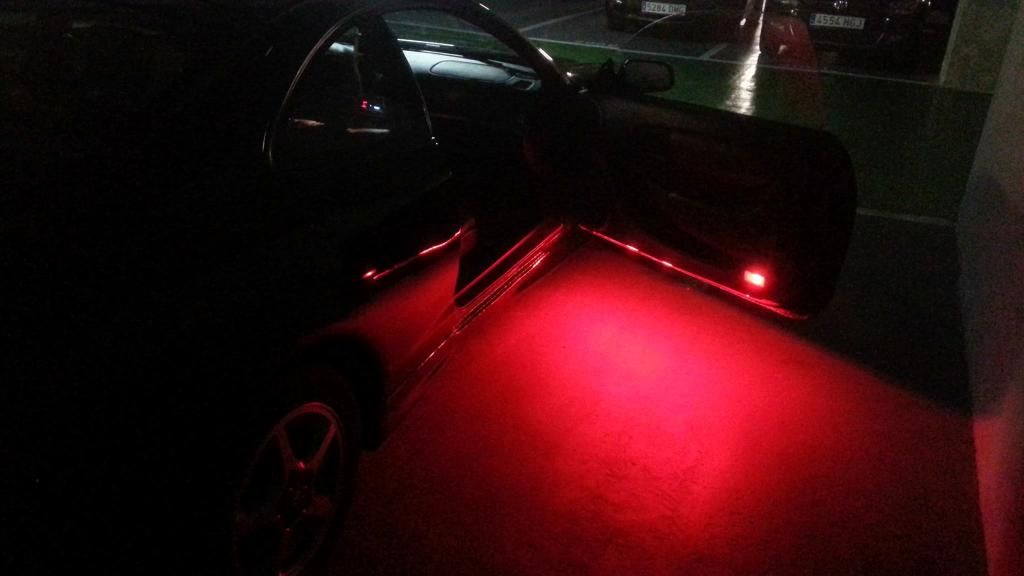 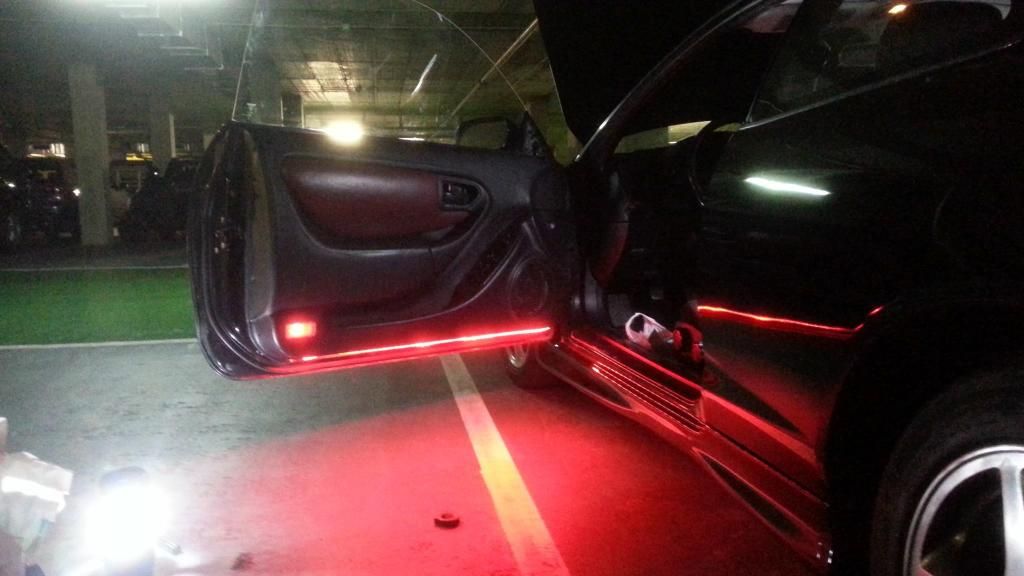 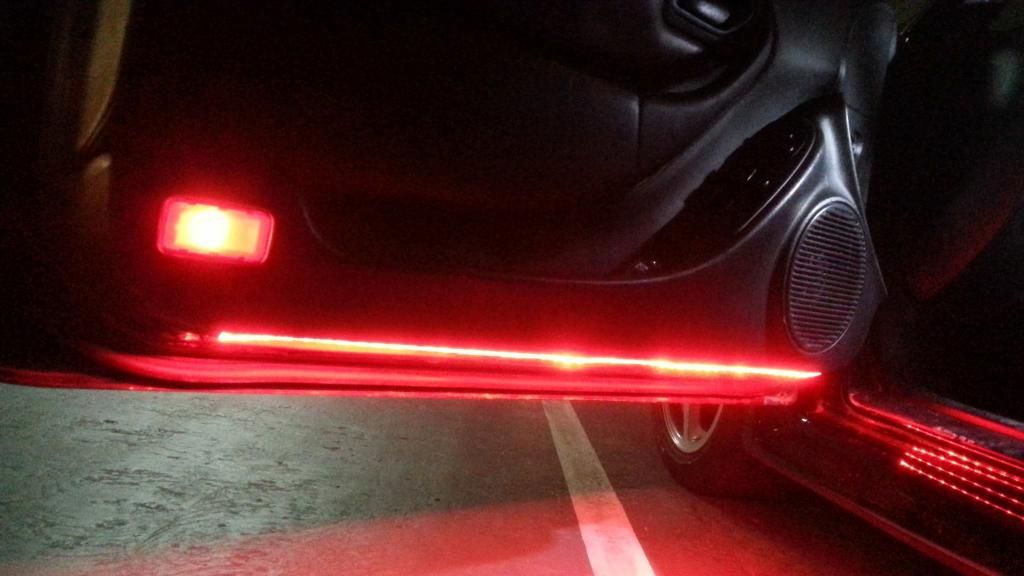 This is what it looks like from the inside when a door is open somewhere. You can't actually see the strip, what you see in the photo is a reflection on the scuff panel.  I'll be fitting some more red light in the footwells, and also I have been playing with the double Din radio and seeing how it fits. It's a very tight fit and theres no mounting brackets, so I'll have to fabricate something. I plugged in the 2DIN and played with the radio and the settings, connected the Bluetooth and was pleased to see that music on my phone comes out through the 2 DIN via Bluetooth. More on that later. --------------------  |
 Jan 27, 2015 - 1:51 PM Jan 27, 2015 - 1:51 PM
|
|
 Enthusiast  Joined Jul 5, '12 From Barcelona Currently Offline Reputation: 0 (0%) |
I got my new re-upholstered leather steering wheel back from Tapicerias Meridiana today. I'm quite pleased with it. The finish looks pretty good, and the red stitching will look nice against the dark red interior. The only thing that annoys me is that now the airbag looks very shiny in comparison. Maybe the airbag can be treated in some way the make it more dull.
Anyone tried anything to make it less shiny? I'll try and fit it one of these evenings. I'll also make a vinyl badge for the center, or maybe buy one of those aftermarket TRD horns. I understand the badge on them fits mine. 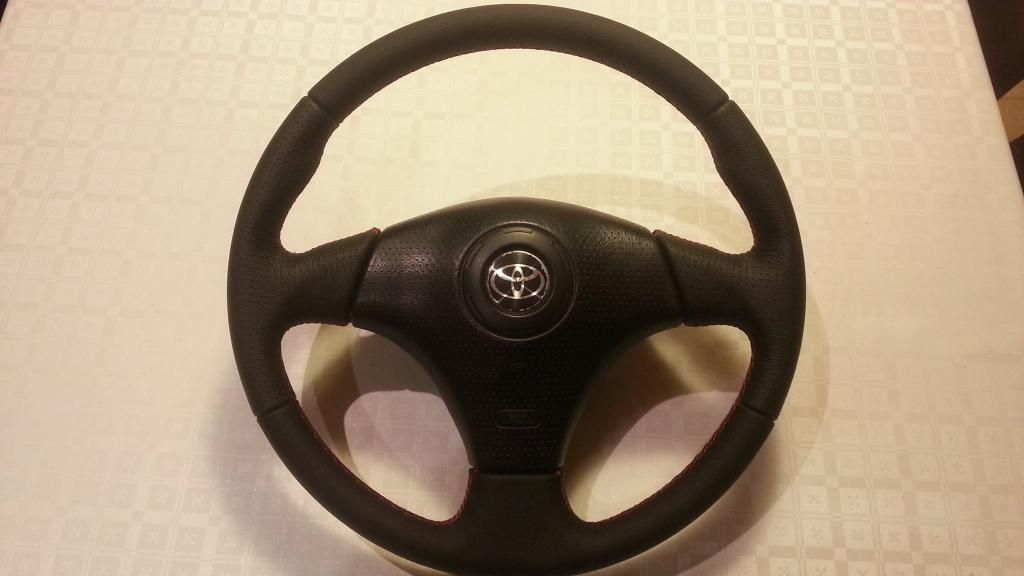 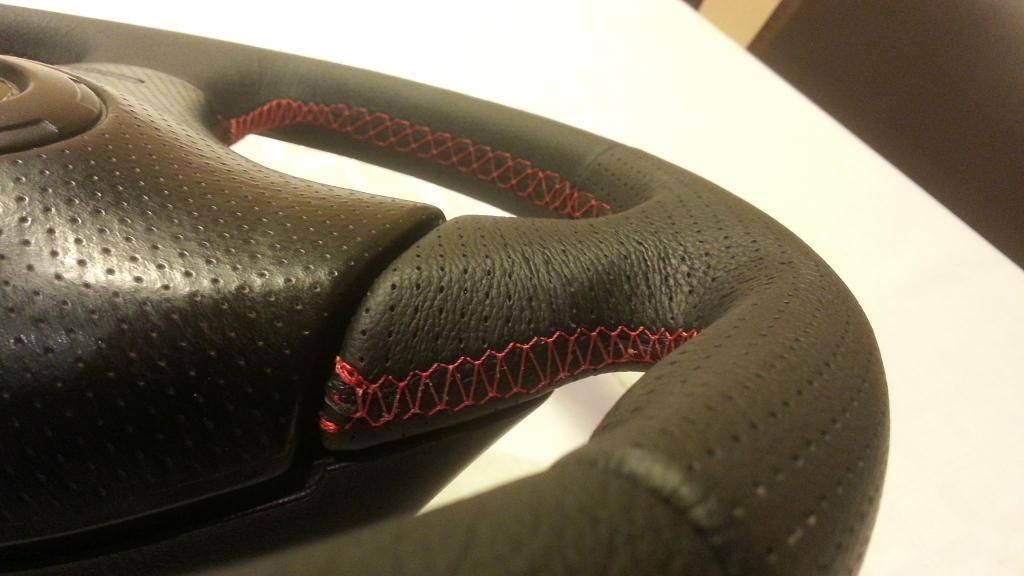 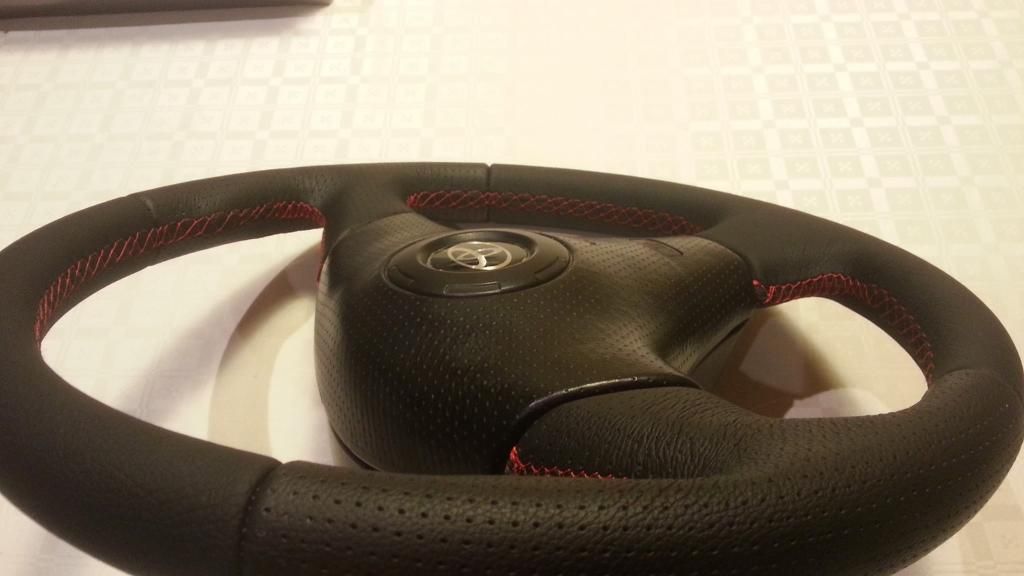 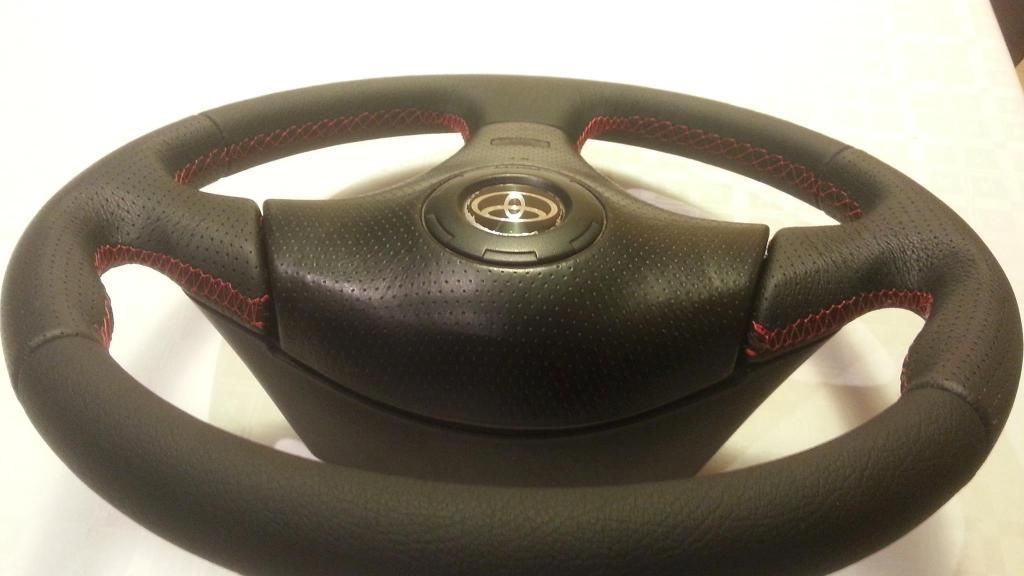
--------------------  |
 Jan 27, 2015 - 3:40 PM Jan 27, 2015 - 3:40 PM
|
|
 Enthusiast      Joined Jul 12, '08 Currently Offline Reputation: 5 (100%) |
Wow they did a great joB
--------------------  |
 Jan 27, 2015 - 3:49 PM Jan 27, 2015 - 3:49 PM
|
|
|
Moderator      Joined Jun 29, '08 From Denver Currently Offline Reputation: 59 (100%) |
The badge from the TRD horn button fits the 7gc wheel, but leaves a small gap around the edge of the TRD badge. I have a picture of it in the thread for my Supra.
-------------------- "Employ your time in improving yourself by other men's writings, so that you shall gain easily what others labored hard for." -Socrates. Even Socrates told us to use the search button!
 2006 Aston Martin V8 Vantage. 1998 Celica GT- BEAMS Swapped. 2022 4Runner TRD Off Road Prenium. 2021 GMC Sierra AT4. |
 Jan 27, 2015 - 4:53 PM Jan 27, 2015 - 4:53 PM
|
|
 Enthusiast  Joined Jul 5, '12 From Barcelona Currently Offline Reputation: 0 (0%) |
The badge from the TRD horn button fits the 7gc wheel, but leaves a small gap around the edge of the TRD badge. I have a picture of it in the thread for my Supra. Cool thanks I'll have a look. I can make vinyl stickers in work as we have a sign cutting machine so I may do that. Not sure yet. Or I could make it out of Perspex as we have a CO2 laser machine too. Engraved and painted from behind with a polished front would look good. I only worry that a piece of 1mm perspex might be dangerous in a crash. I'd prefer a soft rubbery badge. --------------------  |
 Jan 28, 2015 - 2:57 AM Jan 28, 2015 - 2:57 AM
|
|
|
Enthusiast   Joined Jul 1, '14 From Hawaii Currently Offline Reputation: 3 (100%) |
To make the center of your steering wheel less shiny, hit it with dishwashing soap and water in a spray bottle about 5 times and dry with a paper towel between each wash, it'll dry it out the leather a lot (if it is leather... I'm not too sure, but its worked on other leather products I've done before. I did it to dull out leather of different ages and wear, and then you condition afterward at one time so the finish color, texture, and sheen is all the same
This post has been edited by Noahwhite2014: Jan 28, 2015 - 2:58 AM |
 Jan 28, 2015 - 10:39 AM Jan 28, 2015 - 10:39 AM
|
|
|
Enthusiast      Joined Jun 18, '09 From Orlando Currently Offline Reputation: 8 (100%) |
The tweeters can be spliced into your door speakers.
This post has been edited by SwissFerdi: Jan 28, 2015 - 10:40 AM -------------------- '97 ST \ Eibach \ KYB \ Kenwood \ Alpine \ Cusco \ OEM+ [sold 10/18]
'93 MX-5 LE |
 Jan 30, 2015 - 6:32 PM Jan 30, 2015 - 6:32 PM
|
|
 Enthusiast  Joined Jul 5, '12 From Barcelona Currently Offline Reputation: 0 (0%) |
To make the center of your steering wheel less shiny, hit it with dishwashing soap and water in a spray bottle about 5 times and dry with a paper towel between each wash, it'll dry it out the leather a lot (if it is leather... I'm not too sure, but its worked on other leather products I've done before. I did it to dull out leather of different ages and wear, and then you condition afterward at one time so the finish color, texture, and sheen is all the same No it's plastic, thanks anyway. I'm not sure if they cover those things with leather. I may try sanding the airbag with some micro fine sand paper sponge stuff, I think it's like a 1200 grade or so. That should make the plastic more matt. I'll test it on the old wheel as that's going in the bin anyway. The tweeters can be spliced into your door speakers. Hurrah!! This is great news!!! Thanks for that! Do you connect them directly into the + and - of the door speaker right? This will be very easy to do. I will be changing the speakers too at some stage. I discovered that one has been replaced already. Some time ago by the look of it too (its cheap looking and filthy). Some more stuff arrived by post today. A nice chromed keyring and some carpet logos. The logos seem to be an aluminium alloy, so and quite soft and prone to scratches, so I dunno how long they'll last. I guess a careful sanding with make them look new again when they become old and tarnished. I don't have any carpets yet, so that's a future problem. My girlfriend refused to drive the car with the old ones in, so I had to remove them. 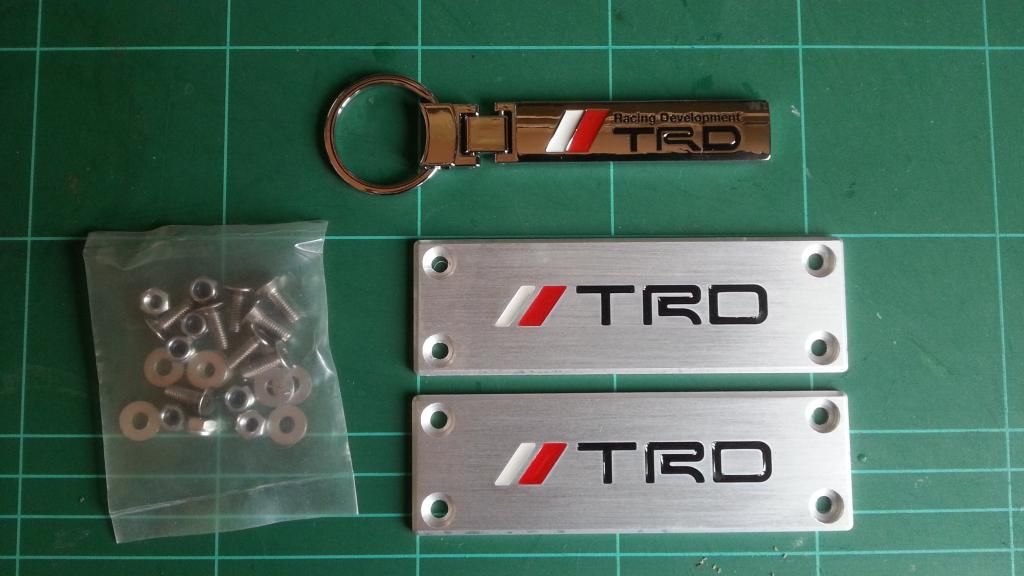 So today the news is that I fitted the 7th gen wheel. 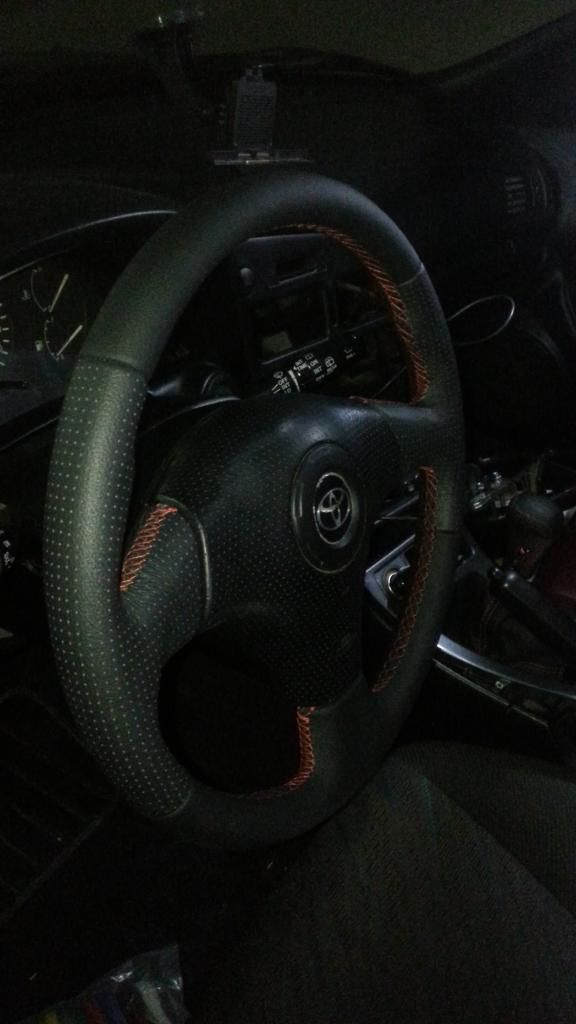 I had a few problems installing it, amateurish stuff really. Couldn't get one of the airbag screws out of the old wheel. One came out fine with a flat screwdriver, the other bent the head of the screw driver. So I "borrowed" some heads from work. Those odd star shaped ones. Yeh, the medium sized one fitted and with a bit of elbow grease that stubborn screw came out. Then the airbag still didn't want to come off, until I completely removed the screws from the wheel. The wheel came off easily using a tire iron and then a wheel puller I got from Ebay. I knew the size was a metric 19 or something (and there was no way a spanner could get the angle to get purchase on the nut) so I got a tire iron and it fitted the wheel nut. JOY! Off came the nut. The puller I had got was good too, it got tight and then just went "glock" and the wheel popped off. Nice. The colour of the wires on the new airbag and the column matched (yellow and blue) so I soldered in the new connector to the old column wires and insulated the wires carefully. I then hooked up the horn connector too. Once the battery was re-connected there was no explosion (I started the engine too) or SRS light (fortunately). 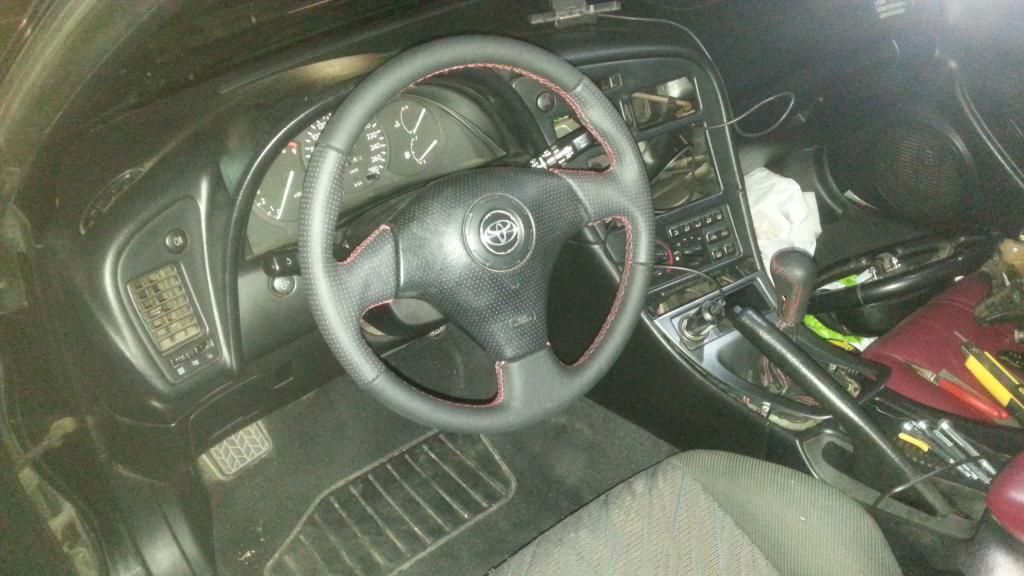 The photos are a bit crap to be honest, 'cos my car is underground and they don't believe in electricity there. So I tried different ways of lighting to get some photos. I'll try and get some in daylight, 'cos who doesn't enjoy a good photo right? The cars a mess inside I know, I'll be doing a bit of a tidy tomorrow as I still have to install the 2DIN. I have already made some brackets, just gotta make them fit right. 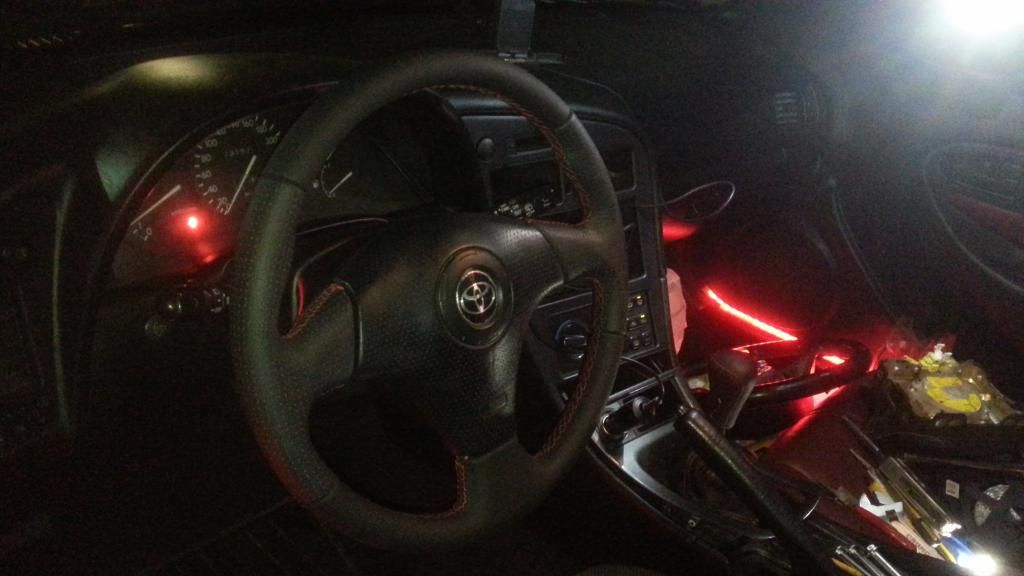
--------------------  |
 Feb 10, 2015 - 3:24 PM Feb 10, 2015 - 3:24 PM
|
|
 Enthusiast  Joined Jul 5, '12 From Barcelona Currently Offline Reputation: 0 (0%) |
Just a quick update. I made some mounting brackets and fitted a universal 2DIN cage. It took quite some time as I wanted it set in quite far so that I could have the face of the 2DIN behind the console and not protruding from it. The lining up and fitting of the brackets and the cage was very time consuming and annoying, but finally I got it more or less where I want it. So I plugged in the harness and connected the subwoofer. I didn't connect all the random wires (camera, lights, reversing light etc) as I had no time.
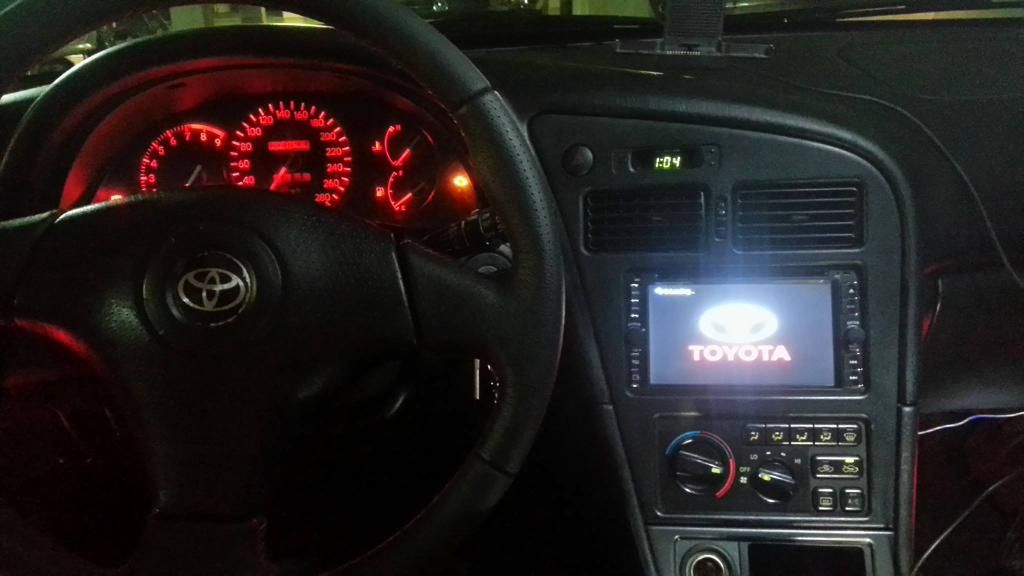 Later I discovered that the clock is defective, so I'll swap it for my original one. I'll also swap over the airvents as these ones are filthy and the ones I had before were clean. I may wrap the console in a stainless steel vinyl wrap also. Next up, connect the tweeters. --------------------  |
 Feb 10, 2015 - 3:32 PM Feb 10, 2015 - 3:32 PM
|
|
|
Enthusiast      Joined May 10, '10 From MA Currently Offline Reputation: 37 (100%) |
Looks nice!
How is the clock defective? If you unplug it, it resets. |
 Feb 10, 2015 - 4:42 PM Feb 10, 2015 - 4:42 PM
|
|
 Enthusiast  Joined Jul 5, '12 From Barcelona Currently Offline Reputation: 0 (0%) |
Looks nice! How is the clock defective? If you unplug it, it resets. A few hours later it started showing 16:00 but with a backward 6, like a mirror image of a 6. Very odd, and some of the other parts of the numbers were slightly illuminated too - getting 8s all the time, so I'll just swap my old one in. The Head unit is a very cheap Chinese one, and froze on me a few times. I'll get a better one at some stage. Meanwhile, I'm planning to make a fake double din front, so thieves don't try and steal my 90 euro DVD player. The worse the fake front looks the better, I'll try and find an old broken cassette player and use that as a cover. --------------------  |
 Apr 19, 2015 - 3:49 PM Apr 19, 2015 - 3:49 PM
|
|
 Enthusiast  Joined Jul 5, '12 From Barcelona Currently Offline Reputation: 0 (0%) |
Just a quick update on m y new head head unit. I got an Android one now. It works great, unlike the last new one I got.
https://youtu.be/rZv-V7nLt4Y --------------------  |
  |
1 User(s) are reading this topic (1 Guests and 0 Anonymous Users)
0 Members:
| Lo-Fi Version | Time is now: November 15th, 2024 - 8:24 PM |


