  |
 Aug 11, 2008 - 7:40 AM Aug 11, 2008 - 7:40 AM
|
|
|
Enthusiast      Joined Jan 18, '08 From Houston Currently Offline Reputation: 7 (100%) |
just curious but how did u secure the razor blade?? For the brackets; custom holes must be drilled into the trunk lid. I ran thru the lid support's lips as well, (w/longer screws) for added support. The top of the brackets bolt into the lower wing, witch has a side bracket flap, that supports the top wing. The hardest part of instalation is not burning yourself, because the razor wing is So Damn Hot! -------------------- QUOTE (presure2 @ Nov 6, 2010 - 6:16 AM) Via FB: fcuking awsome!!! D-man FTW! Damn D-Man - most impressive. D-Man's post should be a sticky LOL, oh boy, you can always count on D-Man for ridiculously hilarious posts. |
 Aug 11, 2008 - 10:30 AM Aug 11, 2008 - 10:30 AM
|
|
|
Enthusiast      Joined Jan 18, '08 From Houston Currently Offline Reputation: 7 (100%) |
okay, for the D/S rotors, it's all pretty simple. But my camra sucks and it was dark enough for the camera to not see when i did this, so pics will be limited. PM me or take the code out of the pics for access to my photo bucket, where the mother-lode stash is located. Be warned though, My photo-bucket is pretty sick.
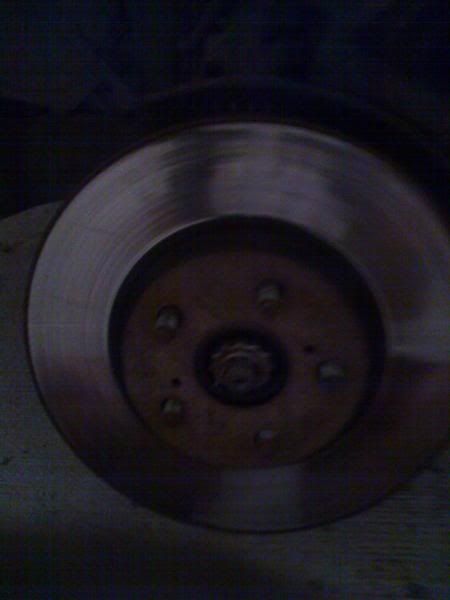 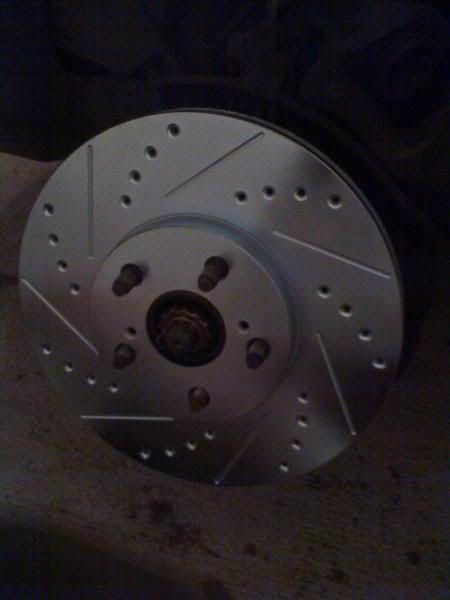 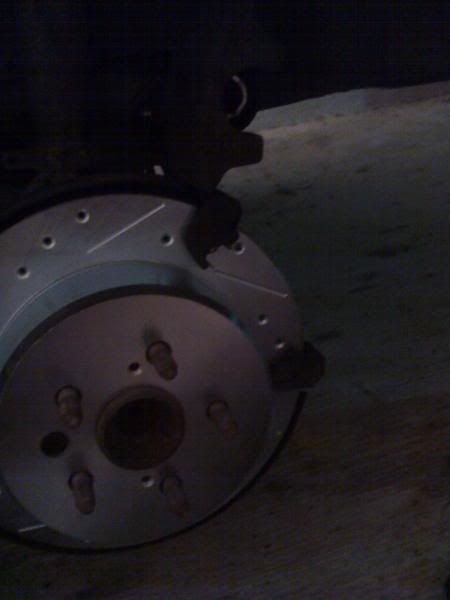 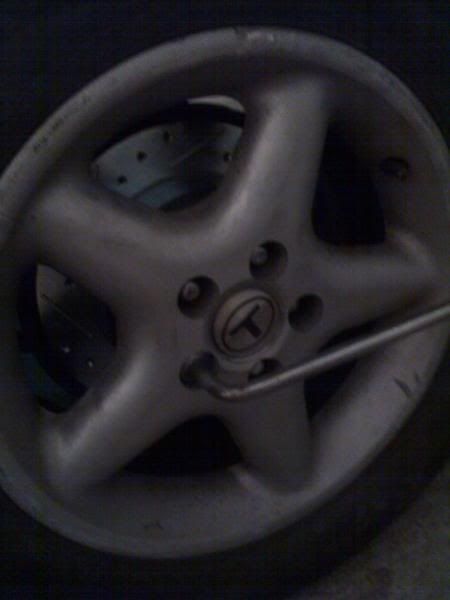 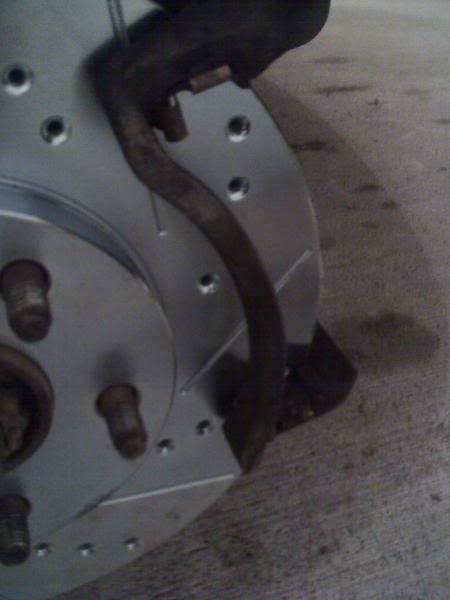 Installation is simple. For those interested: You'll hit your E-Break, jack it up (and on stands) remove tire, remove caliper (like your doing a break job) remove the caliper bracket (3screws, IIRC, but it was a long time ago I didn't get pics for the razor wing, as it was a horribly simple mod. I'll get some pics of it and how it attaches for ya'll. In the meantime, here are some shots of it: DEATH's G/F is hilarious   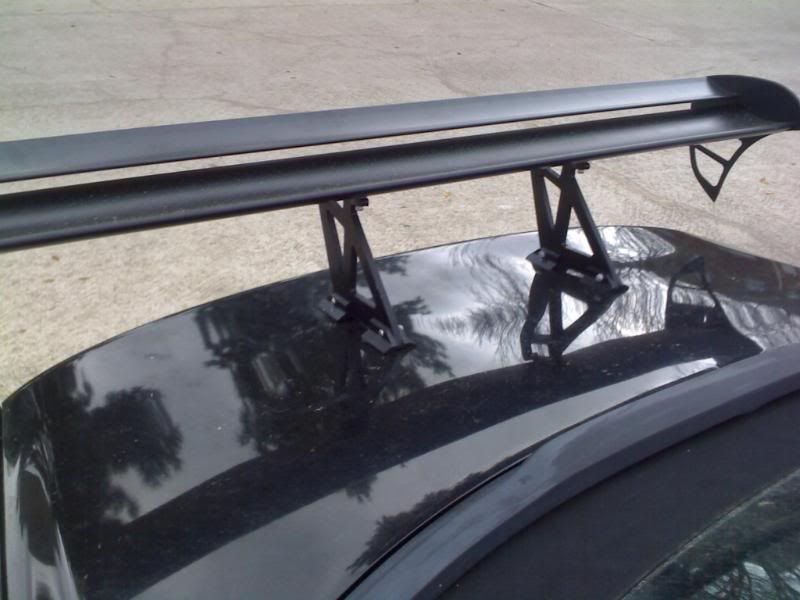 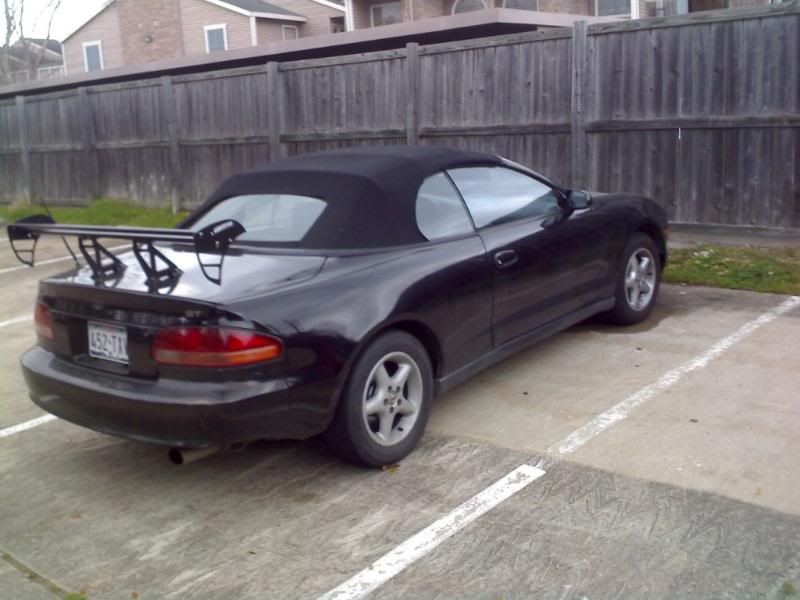 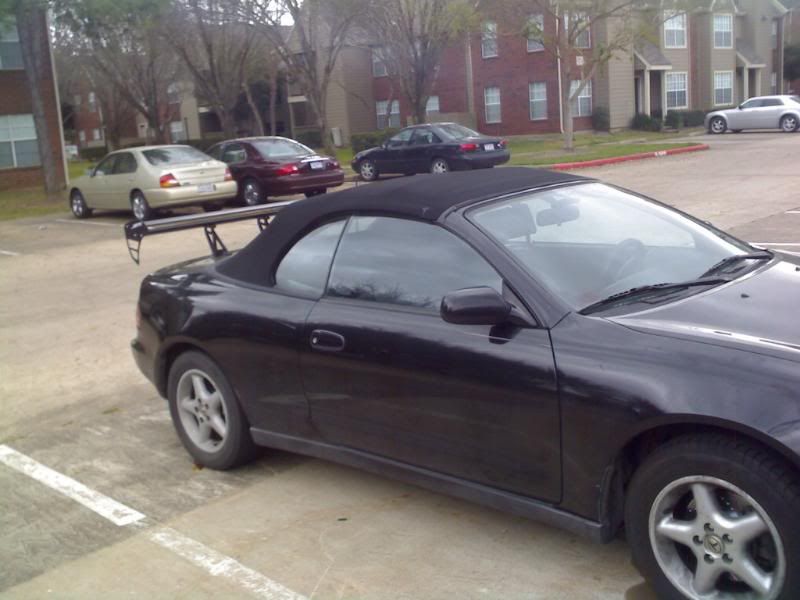 This is the bracket i mentioned earlier: 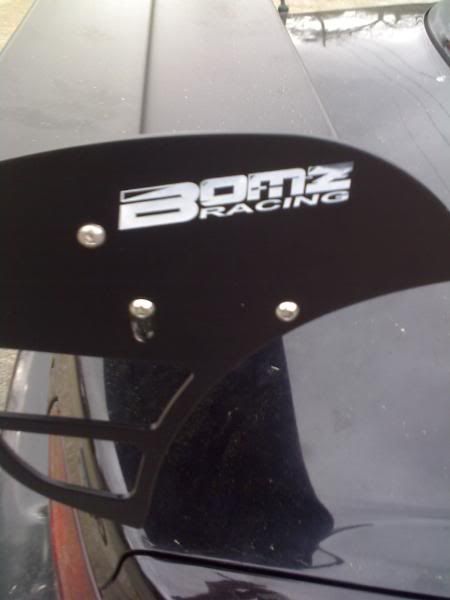 Also: I've got some fiberglass updates, but no place to upload them at (it's on my phone Stay Tuned~ This post has been edited by D-Man: Aug 11, 2008 - 10:32 AM -------------------- QUOTE (presure2 @ Nov 6, 2010 - 6:16 AM) Via FB: fcuking awsome!!! D-man FTW! Damn D-Man - most impressive. D-Man's post should be a sticky LOL, oh boy, you can always count on D-Man for ridiculously hilarious posts. |
  |
2 User(s) are reading this topic (2 Guests and 0 Anonymous Users)
0 Members:
| Lo-Fi Version | Time is now: November 23rd, 2024 - 11:10 PM |


