  |
 Sep 29, 2011 - 7:55 AM Sep 29, 2011 - 7:55 AM
|
|
|
Enthusiast      Joined Aug 30, '02 From San Juan, PR Currently Offline Reputation: 4 (100%) |
Nice car porn.
-------------------- |
 Sep 29, 2011 - 9:56 AM Sep 29, 2011 - 9:56 AM
|
|
|
Enthusiast     Joined May 16, '10 From Raleigh Currently Offline Reputation: 12 (100%) |
I appreciate the blessings! Hopefully I don't run into too many gremlins along the way! Still gotta get this damn wiring harness figured out!!!
--------------------  |
 Oct 2, 2011 - 7:37 PM Oct 2, 2011 - 7:37 PM
|
|
|
Enthusiast     Joined May 16, '10 From Raleigh Currently Offline Reputation: 12 (100%) |
This may be a bit of a picture overload for some of you, but I like car porn, which means I like to give copious amounts of car porn. Here you go. This is the prep, and priming of my gt4 front end conversion bits.
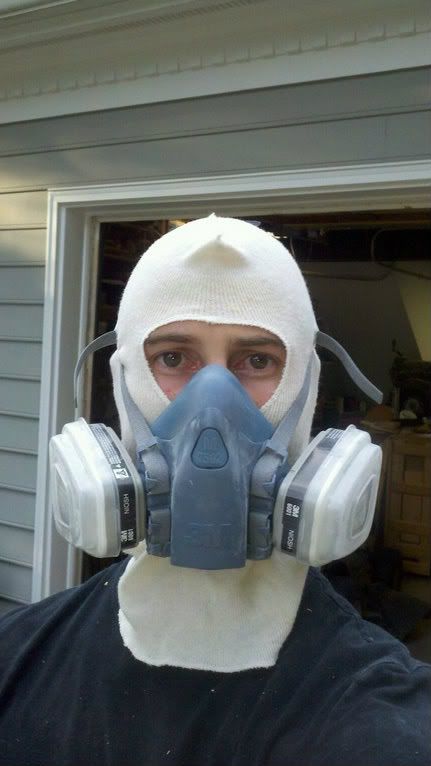 Don't be stupid! Either protect yourself or you'll risk respiratory illness. 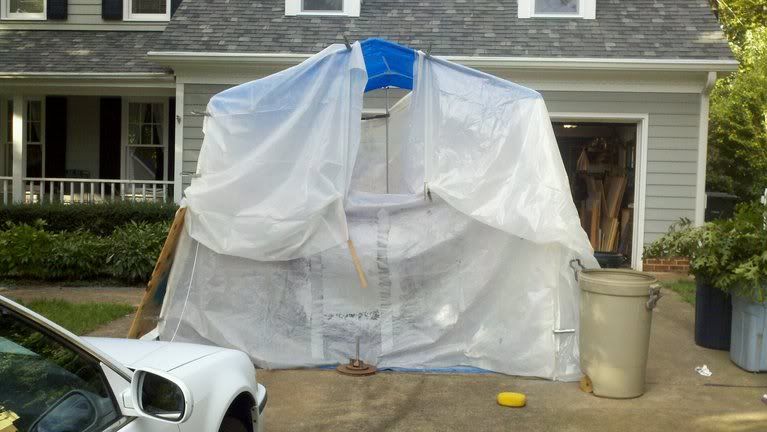 If you are going to attempt this you need one of these! I built mind out of drop cloth (plastic), tarp as a floor, a 4x8 piece of plywood, a beach tent, and clamps. 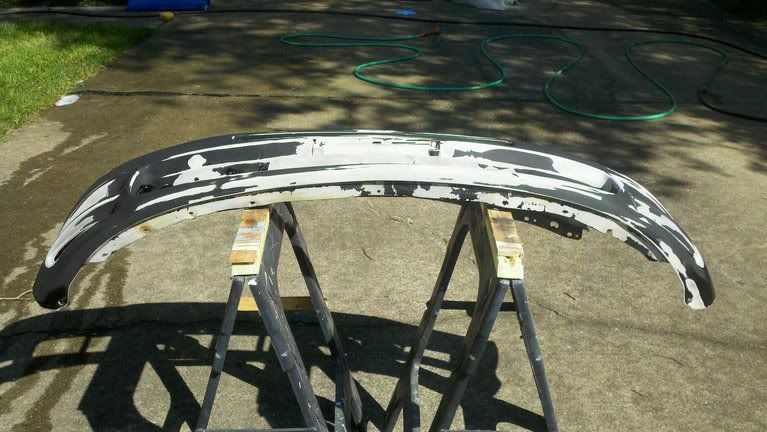 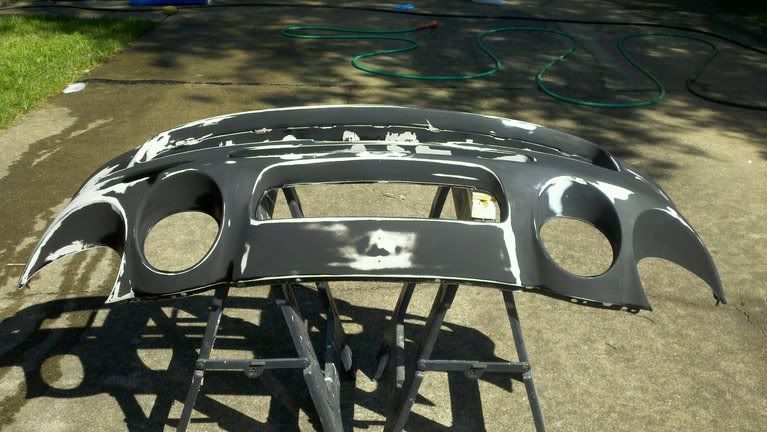 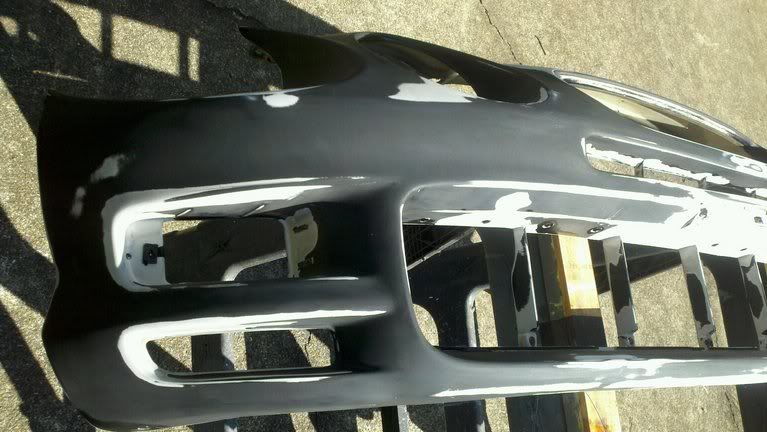 These pictures are from the finish of the body work on this bumper (ready for primer) 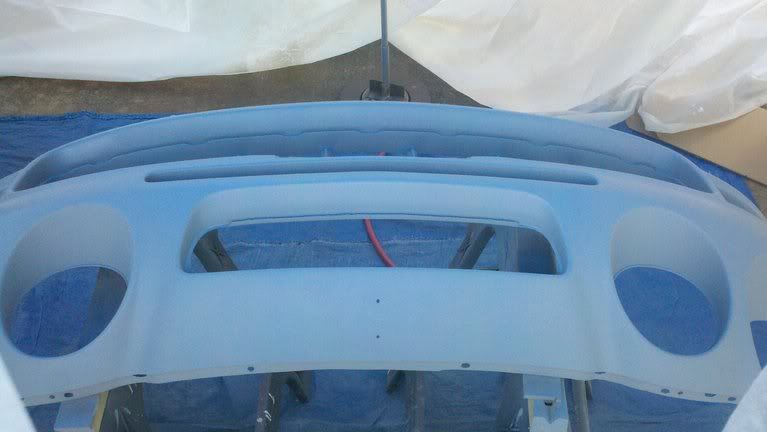 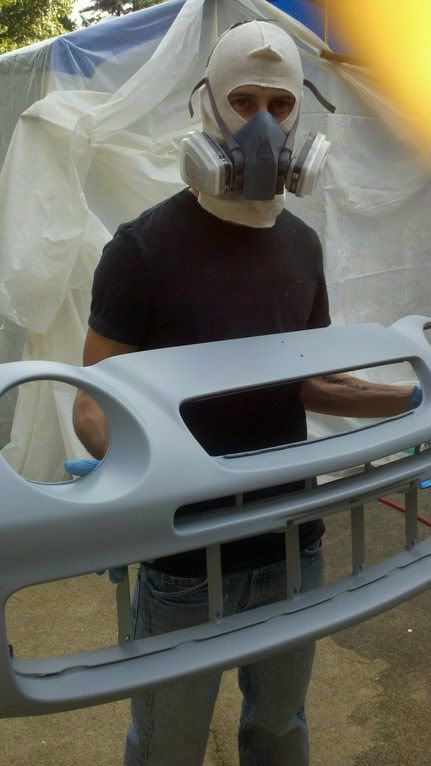 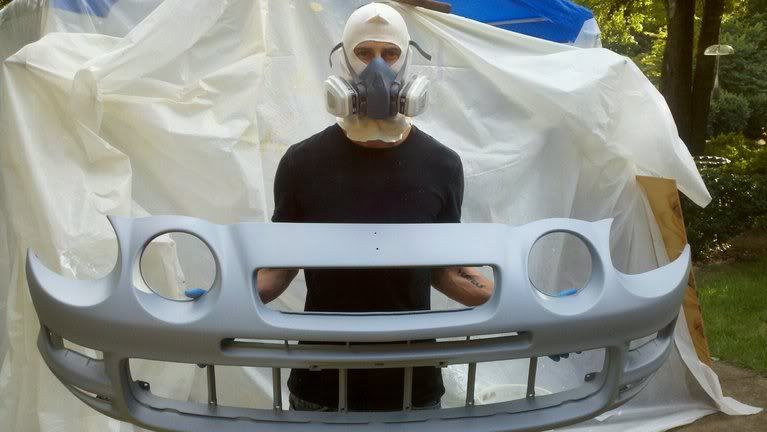 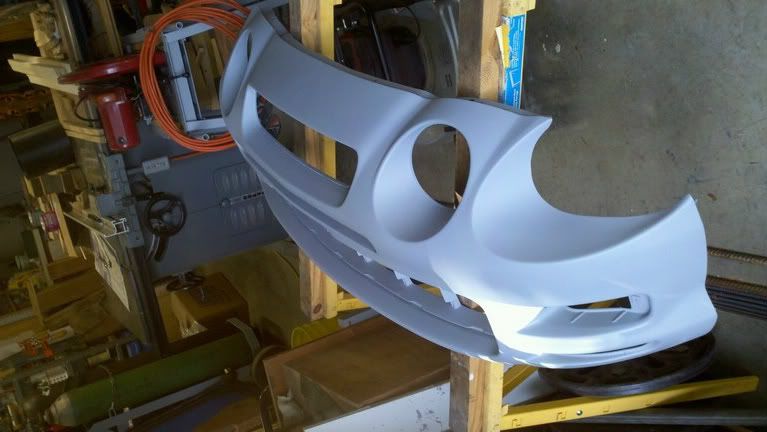 Final product. If you plan to paint something USE A RESPIRATOR, GOGGLES, AND A VAPOR MASK!!! 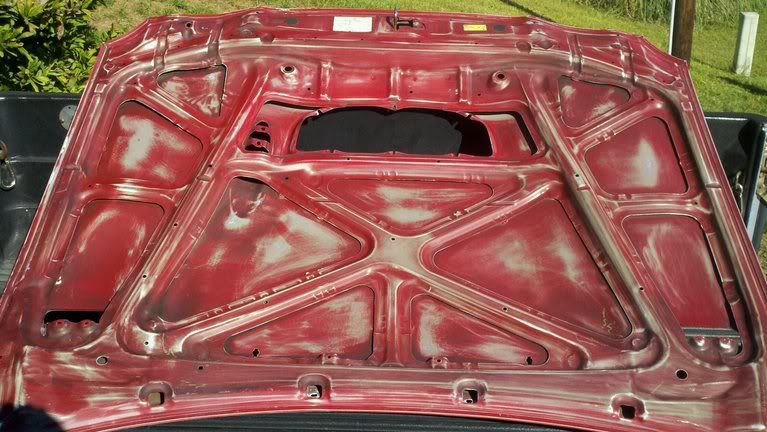 Final prep on the bottom of the hood. I didn't go nuts here I just roughed it up because not many people will see it, and it doesn't make a difference to me. 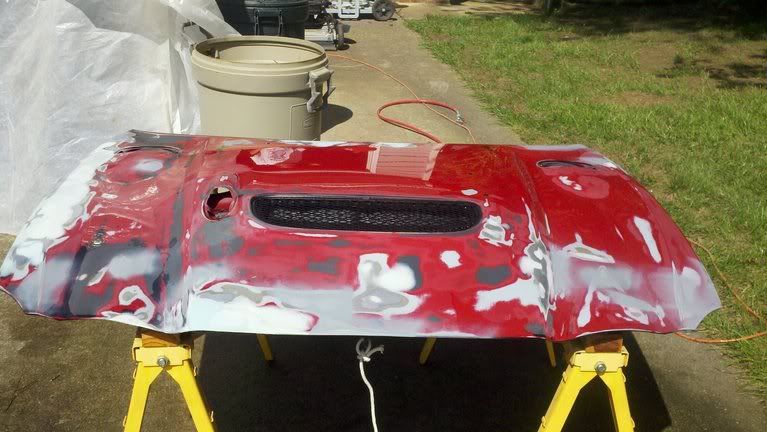 Final cleaning for the hood (soap and water). All the different colors are due to etch primer, rage gold, and original paint and primer. 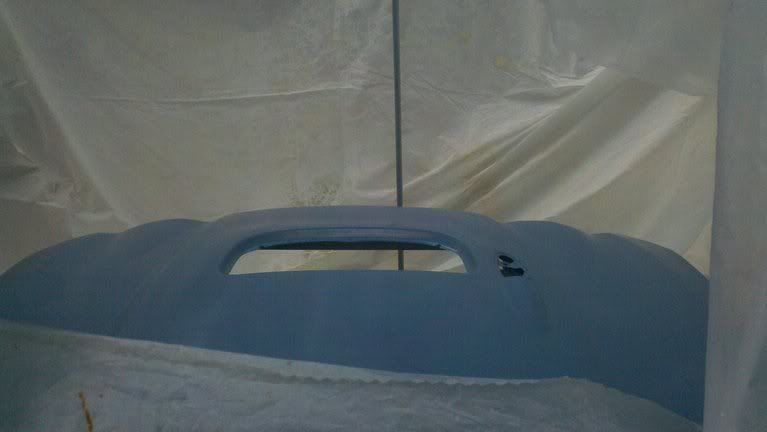 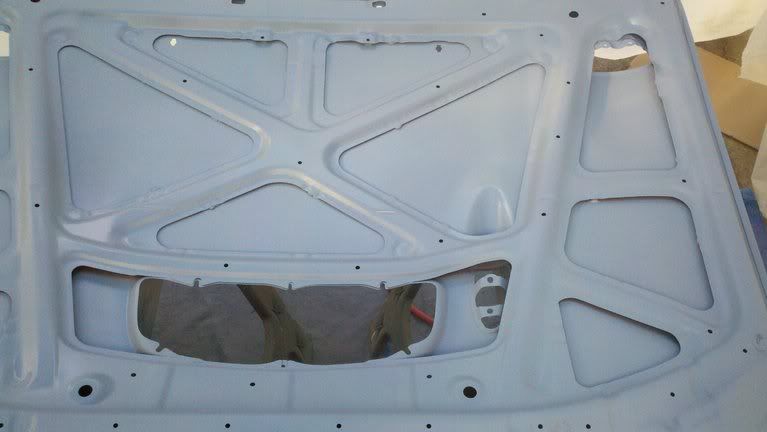 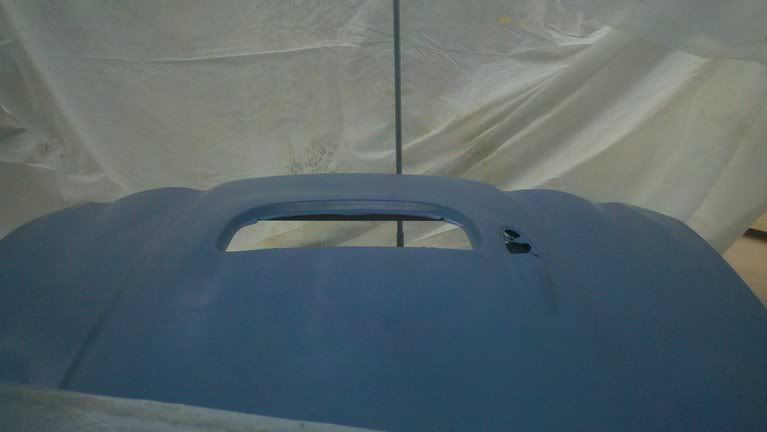 In the booth. 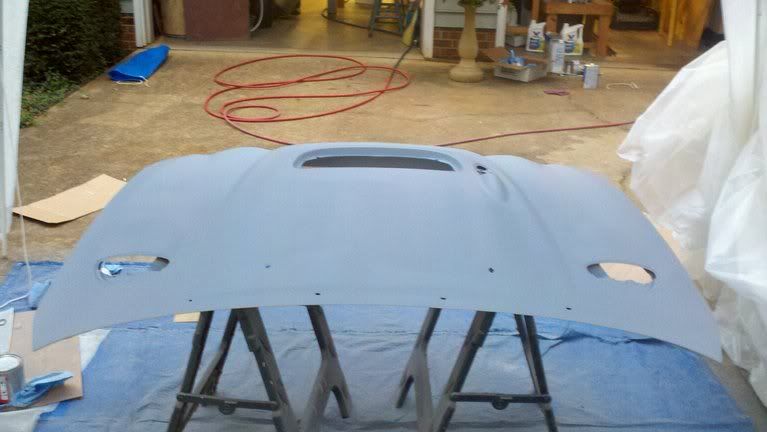 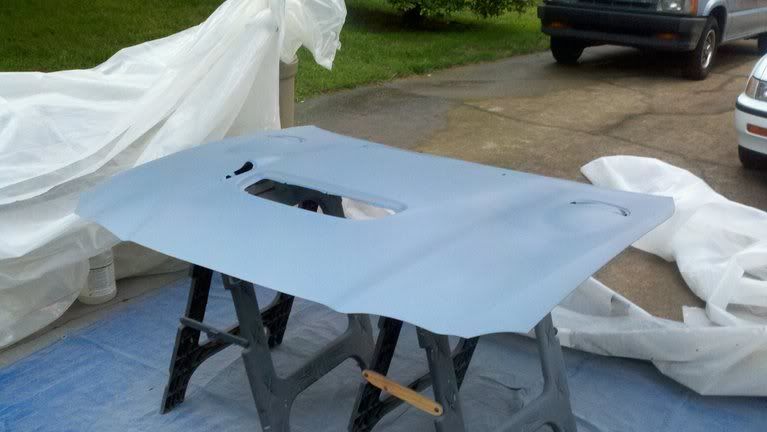 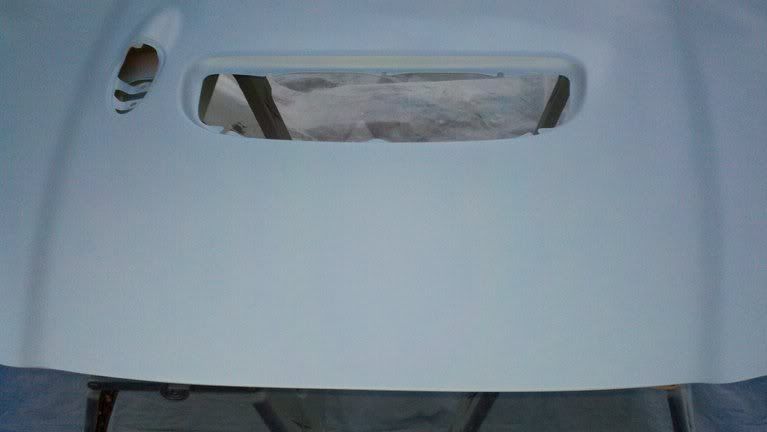 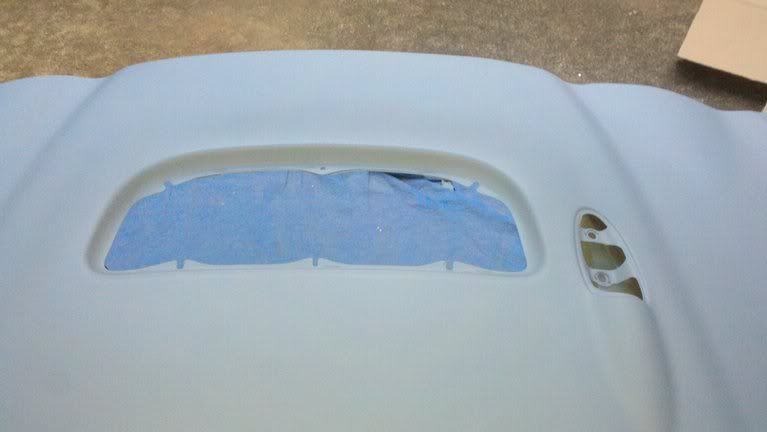 Final product. Kind of hard to respect it in these pictures, but it came out great! --------------------  |
 Oct 2, 2011 - 7:50 PM Oct 2, 2011 - 7:50 PM
|
|
 Enthusiast      Joined Jul 12, '08 Currently Offline Reputation: 5 (100%) |
I like the way you went all out and constructed a paint booth. Finished paint always reflects the amount of effort put in so I have no doubt your panels are gonna look great. I hope to do something similar to this one day.
--------------------  |
 Oct 2, 2011 - 8:05 PM Oct 2, 2011 - 8:05 PM
|
|
|
Enthusiast     Joined May 16, '10 From Raleigh Currently Offline Reputation: 12 (100%) |
It's absolutely critical, and worth the time. You're absolutely right. What you put in, you get out. Never get tired of the pre-work because it makes or breaks the product.
--------------------  |
 Oct 3, 2011 - 9:05 PM Oct 3, 2011 - 9:05 PM
|
|
|
Enthusiast   Joined Dec 30, '09 From Wilmington, NC Currently Offline Reputation: 1 (100%) |
Looks great man, nice and straight. I expect a flawless paint job. DONT FUDGE UP!
|
 Oct 3, 2011 - 9:08 PM Oct 3, 2011 - 9:08 PM
|
|
|
Enthusiast     Joined May 16, '10 From Raleigh Currently Offline Reputation: 12 (100%) |
At this point I'd kick myself in the head if I screwed up. I have a few ideas for fitment as well. Going to try to make a custom crash bar with intercooler mounts.
--------------------  |
 Oct 4, 2011 - 12:33 AM Oct 4, 2011 - 12:33 AM
|
|
|
Enthusiast      Joined Aug 30, '02 From San Juan, PR Currently Offline Reputation: 4 (100%) |
MOAR!
-------------------- |
 Oct 4, 2011 - 8:01 AM Oct 4, 2011 - 8:01 AM
|
|
 Enthusiast      Joined Mar 6, '04 From Charlotte, NC Currently Offline Reputation: 9 (100%) |
Definitely doing it right buddy. The prep work looks stellar and I can't wait to see the front end after paint.
-------------------- Has no more Celicas
|
 Oct 5, 2011 - 2:12 AM Oct 5, 2011 - 2:12 AM
|
|
|
Enthusiast      Joined Apr 24, '08 From Orange County, CA Currently Offline Reputation: 33 (100%) |
wow impressive
-------------------- Group buy to replicate Narrow E series transaxle parts
http://www.6gc.net/forums/index.php?showto...p;#entry1107514 |
 Oct 6, 2011 - 10:07 AM Oct 6, 2011 - 10:07 AM
|
|
 Enthusiast      Joined Feb 7, '03 From Northern Virginia Currently Offline Reputation: 23 (100%) |
very nice! got more pics of the booth and paint gun?
|
 Oct 6, 2011 - 12:50 PM Oct 6, 2011 - 12:50 PM
|
|
|
Enthusiast     Joined May 16, '10 From Raleigh Currently Offline Reputation: 12 (100%) |
I dont have any more pics of the booth, but if you're interested I can list the materials used to build it. The two guns I have are quantum qul guns. They both have different sized apertures. One is for primer and the other is for base and clear. I can snap a shot of them next chance I get.
--------------------  |
 Oct 6, 2011 - 1:27 PM Oct 6, 2011 - 1:27 PM
|
|
|
Enthusiast  Joined Jan 10, '11 From Trail BC Currently Offline Reputation: 1 (100%) |
Nice work Ben!! doin an awesome job, in the bodywork pics, you look like you belong in Slipknot...lol cant wait to see whats next.....Hood looks awesome, nice prep work...
|
 Oct 6, 2011 - 1:46 PM Oct 6, 2011 - 1:46 PM
|
|
|
Enthusiast     Joined May 16, '10 From Raleigh Currently Offline Reputation: 12 (100%) |
Thanks Josh! Looks like your car is running nice as well!
--------------------  |
 Oct 8, 2011 - 10:26 AM Oct 8, 2011 - 10:26 AM
|
|
|
Enthusiast     Joined May 16, '10 From Raleigh Currently Offline Reputation: 12 (100%) |
Just scored about 5 feet of 3inch stainless pipe from the scrap yard for 16 bucks! 3" stainless exhaust here we come!
--------------------  |
 Oct 18, 2011 - 4:54 PM Oct 18, 2011 - 4:54 PM
|
|
|
Enthusiast     Joined May 16, '10 From Raleigh Currently Offline Reputation: 12 (100%) |
Just got the motor back today. So far I've painted the block, and assembled the pistons and rods. More to come as the night progresses. Hoping to have the rotating assembly complete tonight.
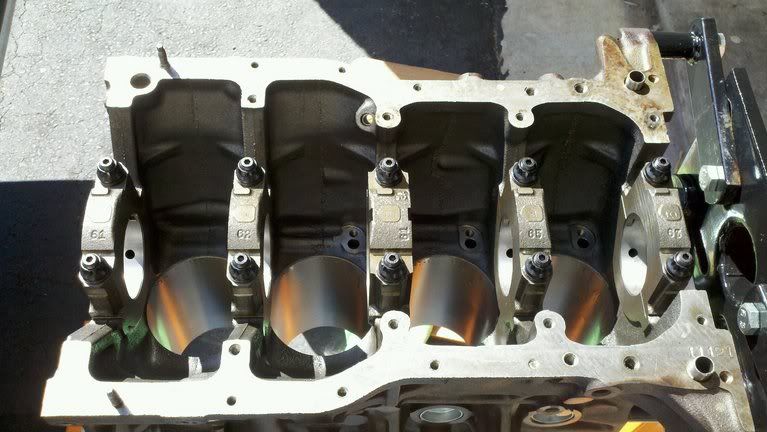 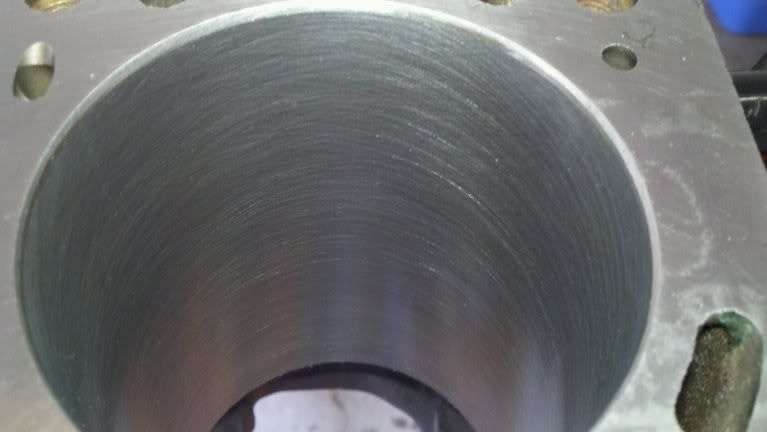 Look at that cross hatch! 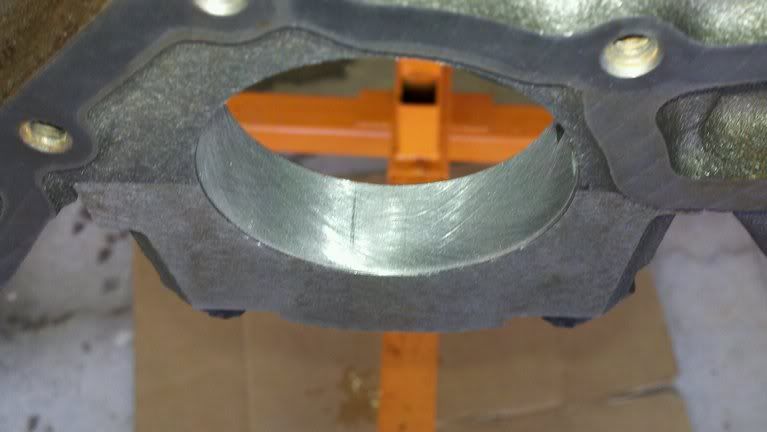 Line hone. 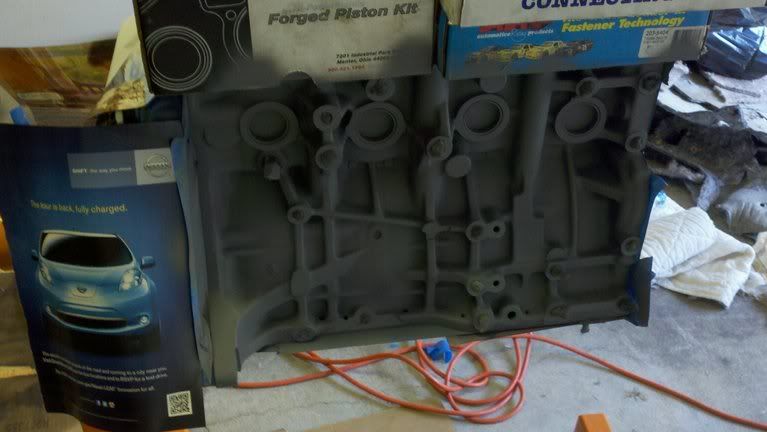 Primed. 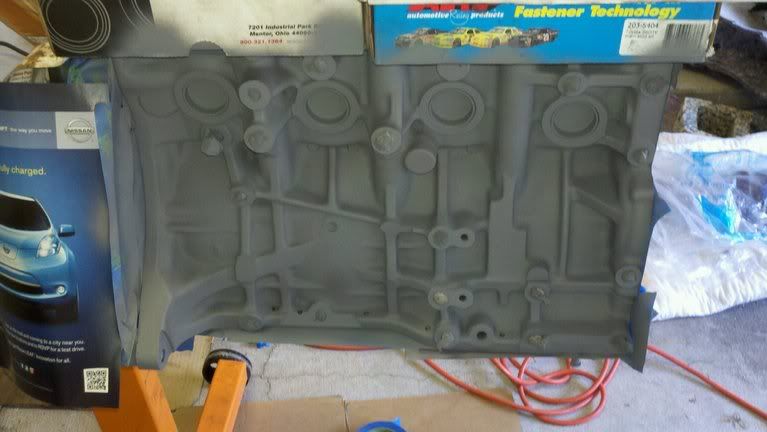 Painted. The color is much nicer in person. Looks dark in this picture. Did this so I could detect leaks quickly. 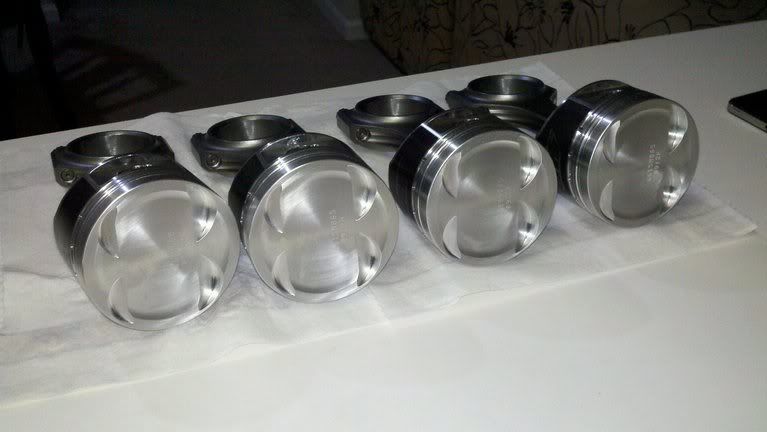 Pay attention here. The larger reliefs are for the intake side, and the smaller for the exhaust. 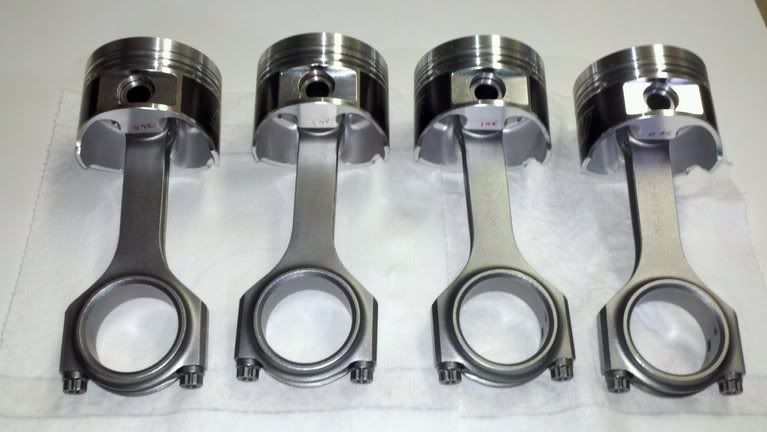 Wrist pin locks are in, and fully assembled. If your thumb isn't numb then you haven't done something right! 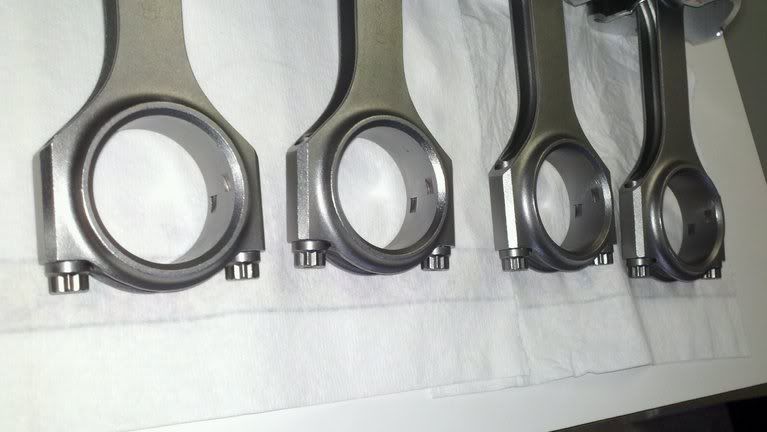 Note the direction of the tangs. The tangs sit just below the exhaust reliefs on the tops of the pistons. Don't do this backwards! You may spin a rod bearing. Cheers! --------------------  |
 Oct 18, 2011 - 7:07 PM Oct 18, 2011 - 7:07 PM
|
|
|
Enthusiast     Joined May 16, '10 From Raleigh Currently Offline Reputation: 12 (100%) |
Paint dried!
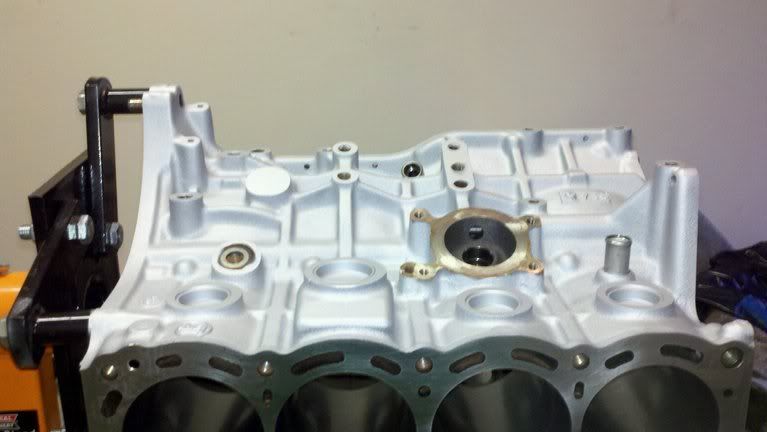 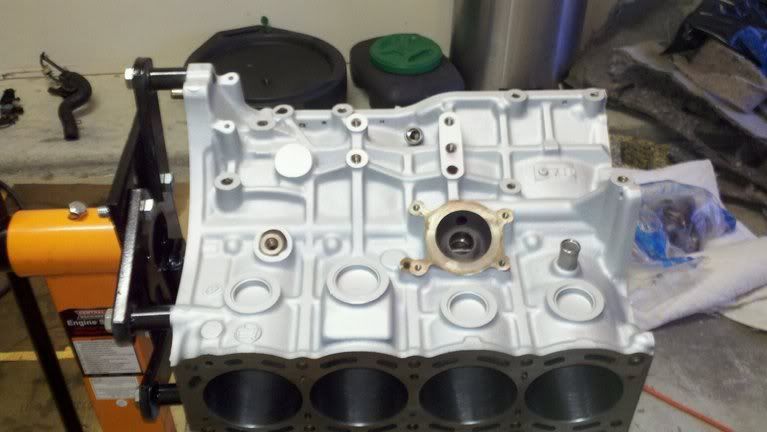
--------------------  |
 Oct 18, 2011 - 7:54 PM Oct 18, 2011 - 7:54 PM
|
|
 Enthusiast      Joined Mar 6, '04 From Charlotte, NC Currently Offline Reputation: 9 (100%) |
Looking good Ben!
Loving the base paint for the block; subtle yet practical. -------------------- Has no more Celicas
|
 Oct 18, 2011 - 11:15 PM Oct 18, 2011 - 11:15 PM
|
|
|
Enthusiast     Joined May 16, '10 From Raleigh Currently Offline Reputation: 12 (100%) |
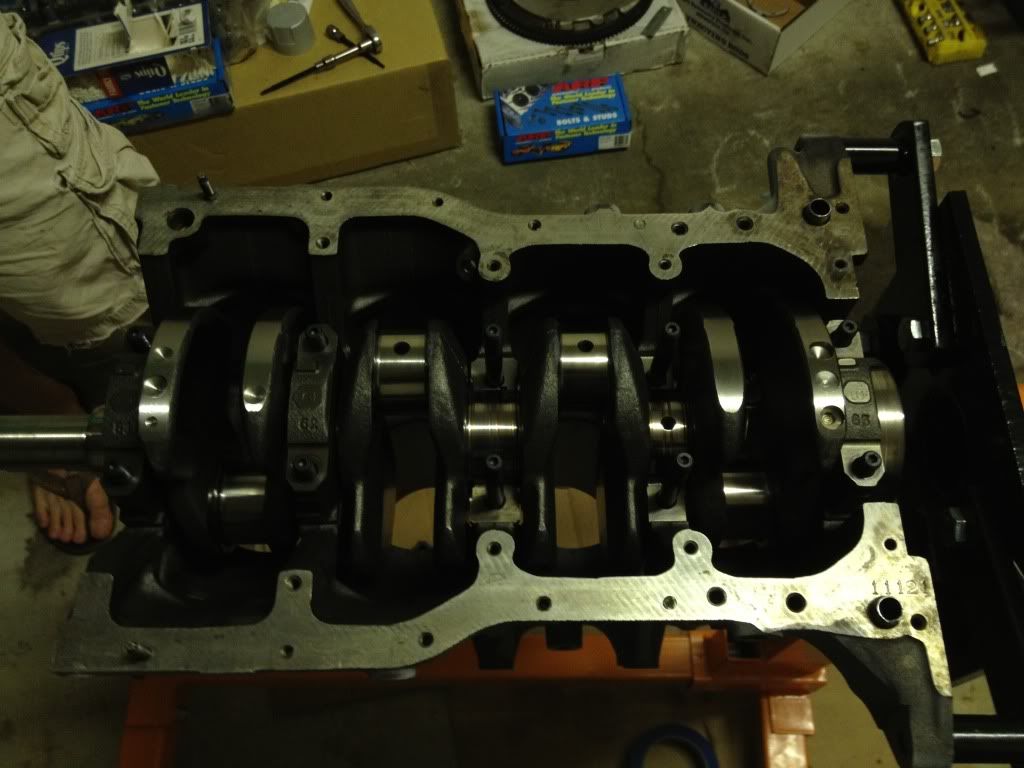
Got the pistons, rods, and head on...
--------------------  |
 Oct 24, 2011 - 12:36 PM Oct 24, 2011 - 12:36 PM
|
|
|
Enthusiast     Joined May 16, '10 From Raleigh Currently Offline Reputation: 12 (100%) |
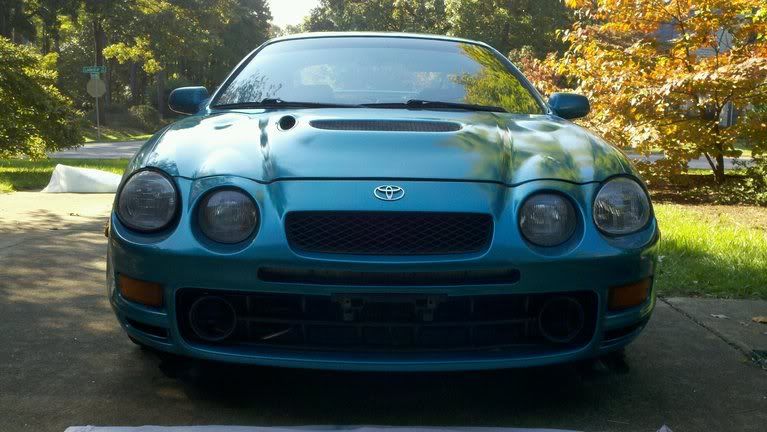
Will try to post more pics as I get to it, but I was able to finish my paint and conversion this weekend. Check it out!
--------------------  |
  |
1 User(s) are reading this topic (1 Guests and 0 Anonymous Users)
0 Members:
| Lo-Fi Version | Time is now: November 30th, 2024 - 2:08 AM |


