  |
 Jul 26, 2013 - 7:40 PM Jul 26, 2013 - 7:40 PM
|
|
 Enthusiast      Joined Jan 4, '12 From US Currently Offline Reputation: 6 (100%) |
This how-to will explain how to retrofit the non-balance shaft 5S-FE oil pan, oil pickup tube and how to block off the oil feed to the balance shafts. I will explain why I find this to be important below:
Balance Shafts: As I've illustrated before in previous topics, the 5S-FE engine comes in two varieties: Camry engines and Celica/MR2 engines. The Camry engines have balance shafts in them from 1992-2001. This is due to customer complaints of excessive vibrations in the cabin (NVH). This NVH is due to the Second Order Harmonic Vibrations. These are natural in four-cylinder piston engines, and are always present regardless of the usage of balance shafts or not. The purpose of the balance shafts is to absorb the vibrations by means of offering the same harmonic vibrations in the direct opposite direction as the ones generated by the crankshaft. The balance shafts DO NOT BALANCE THE ENGINE. The rotating assembly balance is independent from the balance shafts. Just because they're called balance shafts doesn't mean they balance the rotating assembly in any manner. I took my rotating assembly to get it balanced and they NEVER asked for the balance shafts even though I told them I had them. They said that the balance shafts are not a part of the rotating assembly and therefore need not to be balanced. Another important fact about balance shafts is that they are made to work specifically with the OEM rotating assembly, meaning pistons, rods, crankshaft, damper, flywheel and pressure plate. Once you change any of these parts, their usefulness diminishes, which means that if you change pistons, rods, pressure plate and flywheel they might probably not even work properly. With that said, I eliminated mine because, and mainly because, the 5S-FE in my car DOES NOT come with balance shafts (and neither does the one on yours). It is exclusively a "Camry thing", because Camry customers complained to Toyota about not having a "Lexus-like" ride, like stated above. To do so, you only have to plug one hole, which is fairly easy with the right tools. It will be illustrated below in a little bit. Retrofitting the Oil Pan: Now, why "retrofit" the baffled oil pan into the 98+? Well, the 98+ comes with a totally different oil pan, oil pickup and dipstick than the 5S that doesn't have balance shafts. This is because the 30lb mass of cast iron and steel weight is big, and the baffles in the oil pan from a 5S-FE with baffles or from a 2nd gen 3S-GTE oil pan interfere. I went through the trouble of installing this oil pan rather than the one without the baffles because of two reasons: 1. The baffle prevents the oil from leaving the area it should be in, which is right where the oil pickup picks its oil up. This is important to those who will drive the car hard every now and then, and because it's a free mod that would otherwise cost hundreds of dollars from an aftermarket company. We have that from Toyota already, so why not use it? 2. The oil pickup without the balance shafts doesn't have anywhere for the support to bolt to. So if I were to use the oil pick up from the engine with the oil pan from the engine I wouldn't have anywhere for the pickup support to bolt to, which I don't feel safe with. With ALL of that said, let's get to what we came for: Tools needed: a. Dremel Tool with porting bit and diamond cutting wheel b. (2x) Alternator Bracket bolts c. (4x) Headbolt Washers d. M8x1.25 tap, made from CARBON STEEL (get a Craftsman) e. 16mm long M8x1.25 bolt, preferably allen head (I got one of the black ones from Pepboys for less than a dollar) f. Engine Oil g. Cotton Swabs h. Blue Loctite i. Hammer & Chisel j. Drill 1. Remove one of the balance shaft locating pins. It will be in the way when installing the bolt to hold the oil pickup tube in place. Use a chisel and dead-blow hammer to make an indentation into it, and then whack it on the side. It'll come out flying. Don't even try to use a set of regular pliers. It'll prove to be impossible as they are really tight in there. 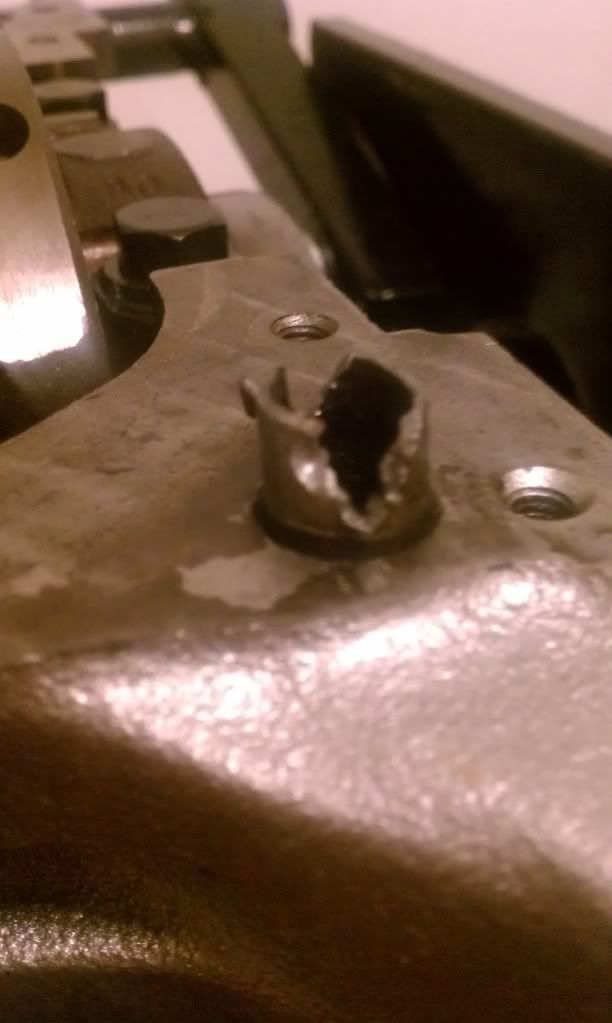 2. You'll need two bolts. Specifically, I used the bolts from the spare alternator bracket I have laying around. I don't remember exactly the thread pitch on this bolt but I believe it is M10x1.25. You'll also need two washers that fit on each bolt. I used four head bolt washers, to put them to use since I'm neither throwing them away nor using them for anything in particular. 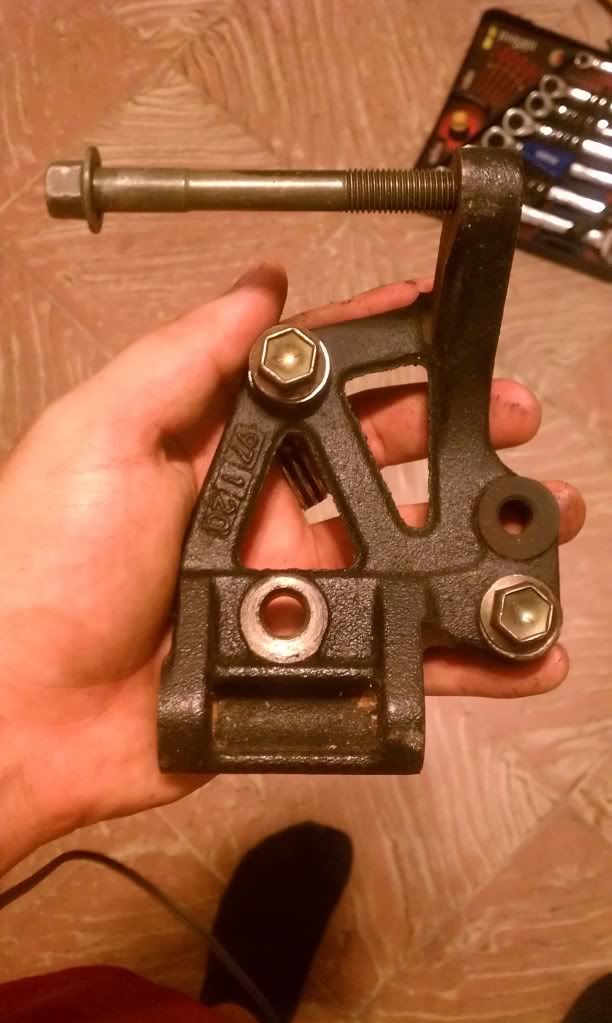 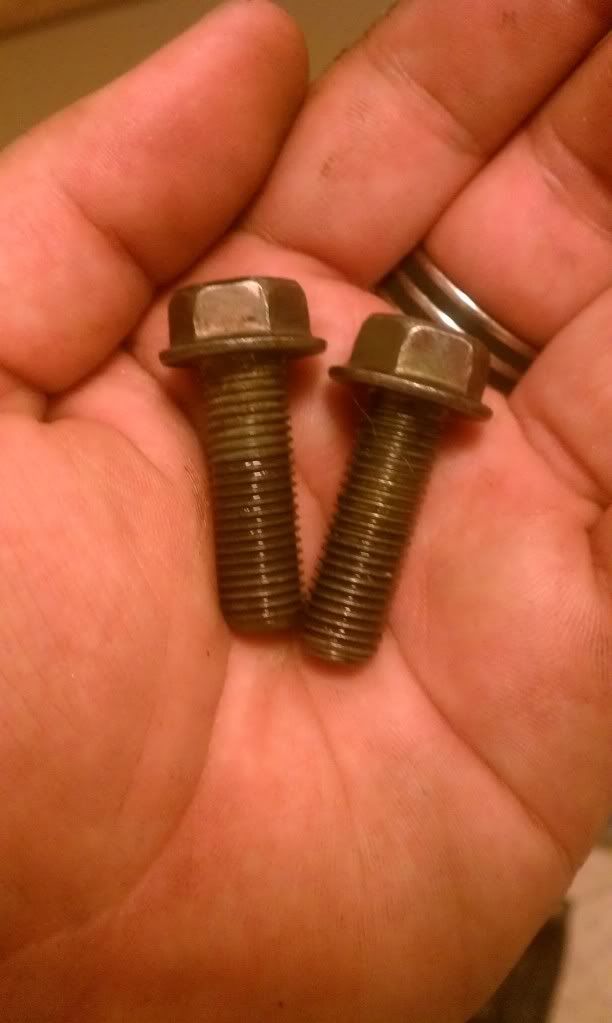 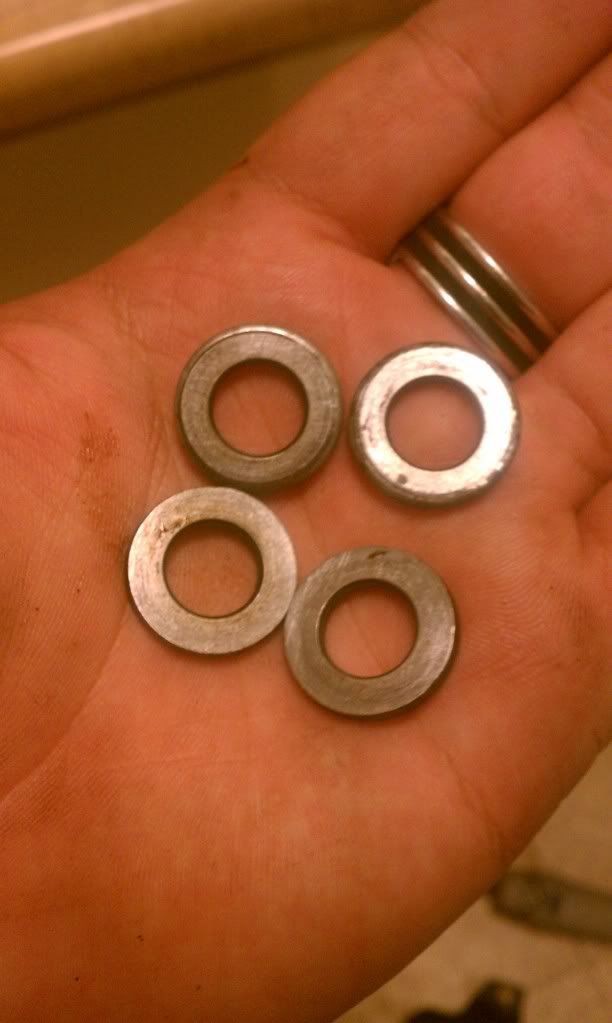 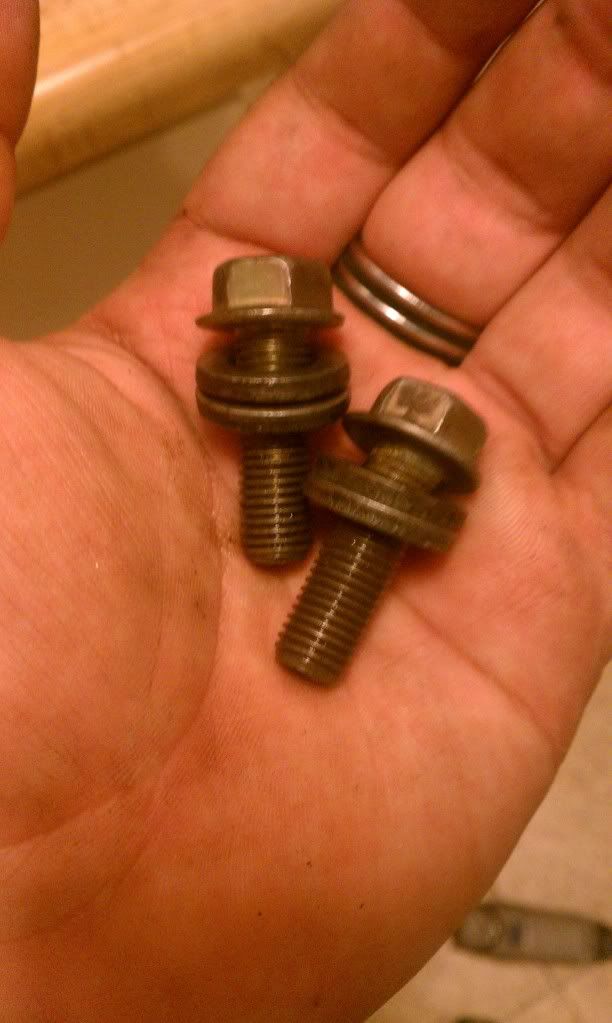 3.. You're going to have to enlarge the two holes in the upper baffle (the one that goes under the oil pickup). To do this, I used a dremel tool. Before: 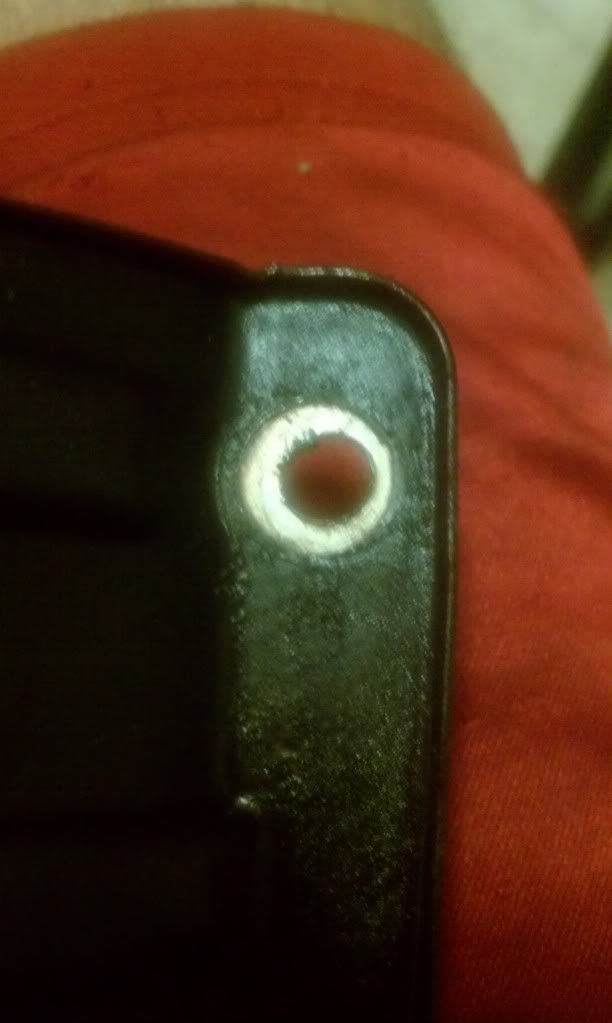 After: 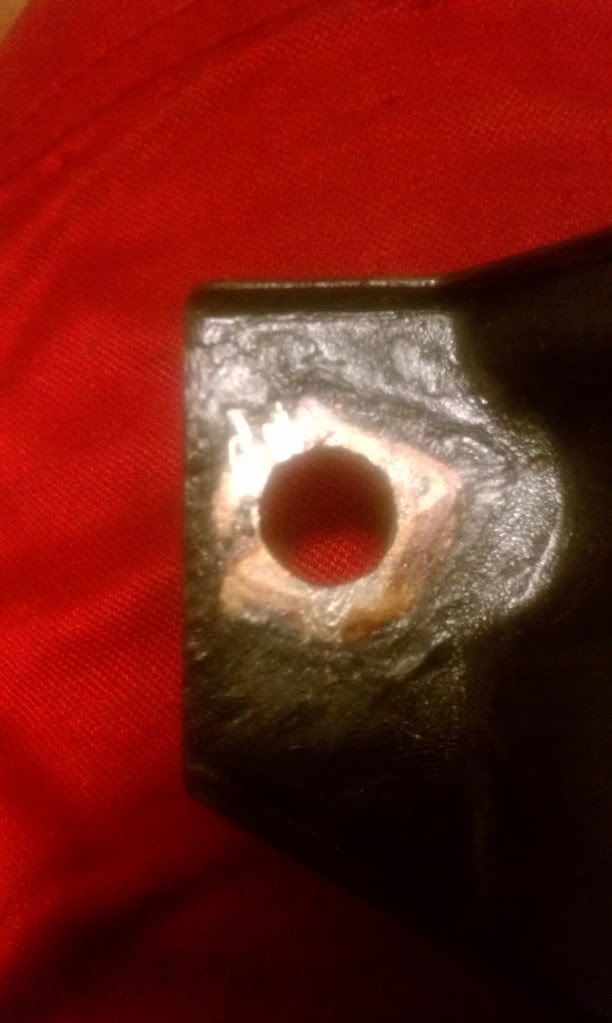 You'll need to enlarge these two holes to the size of the bolts you're using. Not more, not less. In the end, you'll have this: 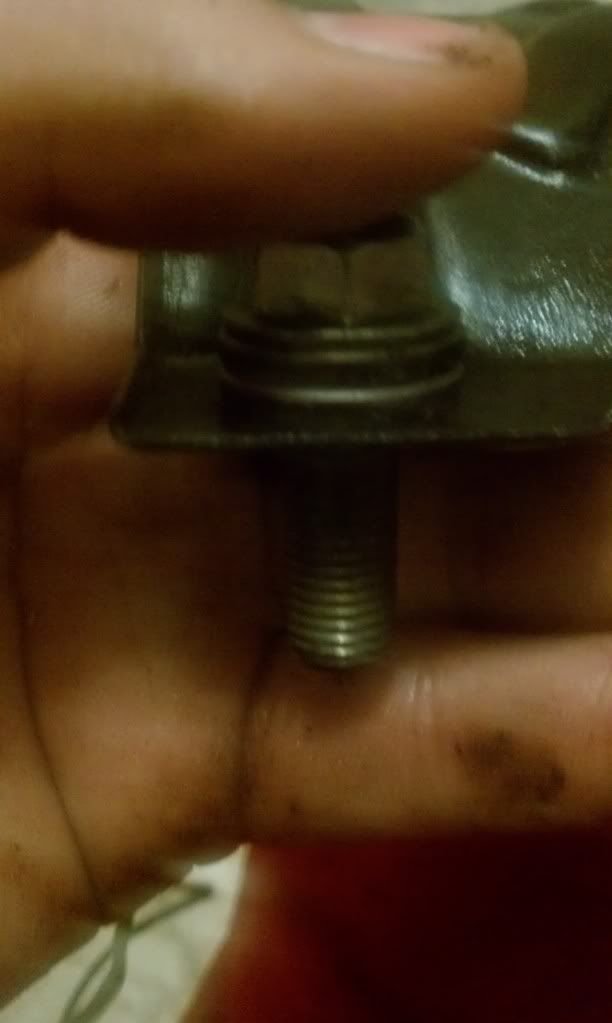 Which should fit like this: 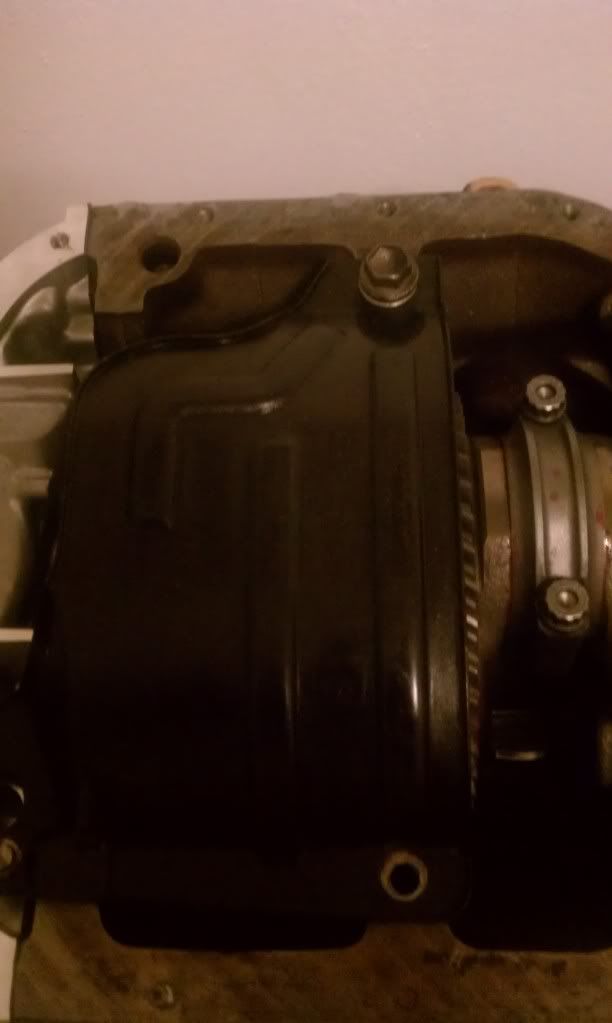 Now that both of them are done, you'll need to modify the oil pickup tube's hole as well. 4. Bore the hole on the pickup tube support leg to the bolt's size. You'll also need to flatten the leg's end. To do this, put the bolts on the washers and fit the bolt down the hole. You'll need to cut where the "V" forms on the leg to flatten it down. I don't have pictures of this right now, I'll try to add one later on. Once that's done, clean both pieces, loctite the bolts and tighten down everything. Now onto the oil port plug for the balance shaft delete: Here's a few pictures of the tools. Note the Kawasaki tap kit in the first pic. DO NOT BUY THIS KIT. It will strip trying to thread into iron. Pictured: Tap tool, M8x1.25 bolt, useless tap kit 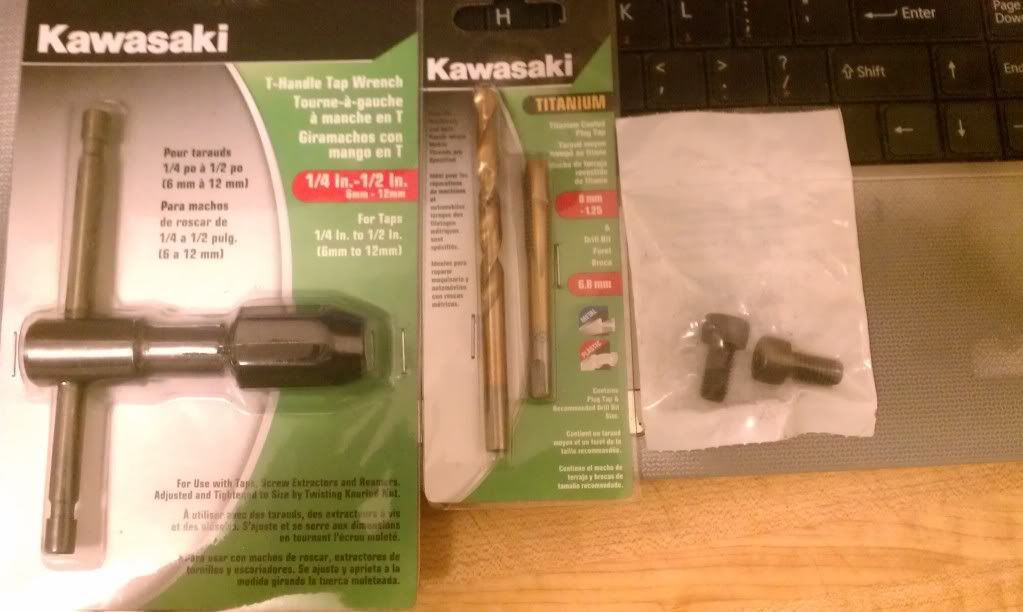 Pictured: Craftsman Tap kit 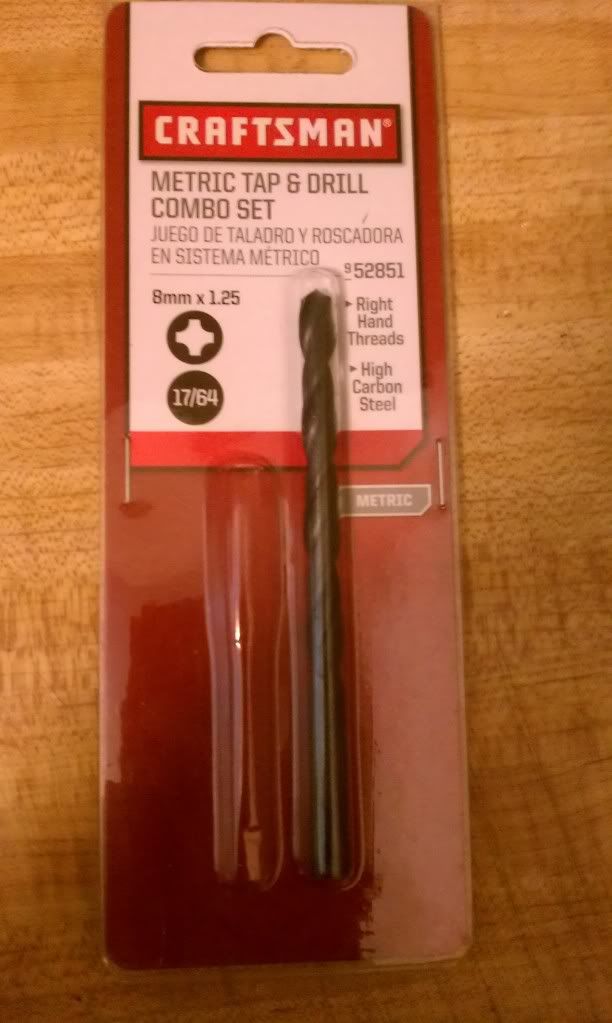 Pictured: Tapping the hole. You'll need to use the drill and drill bit to enlarge the hole. The hole is already there, so it's quite easy to drill with a hand drill. Use oil while drilling and try to do it with the block sideways, not upside down, so that the shavings don't fall into the hole so that it is possible to clean them later. The oil will serve two purposes: Lubricating the drill bit for easier drilling, and trapping the shavings in it. 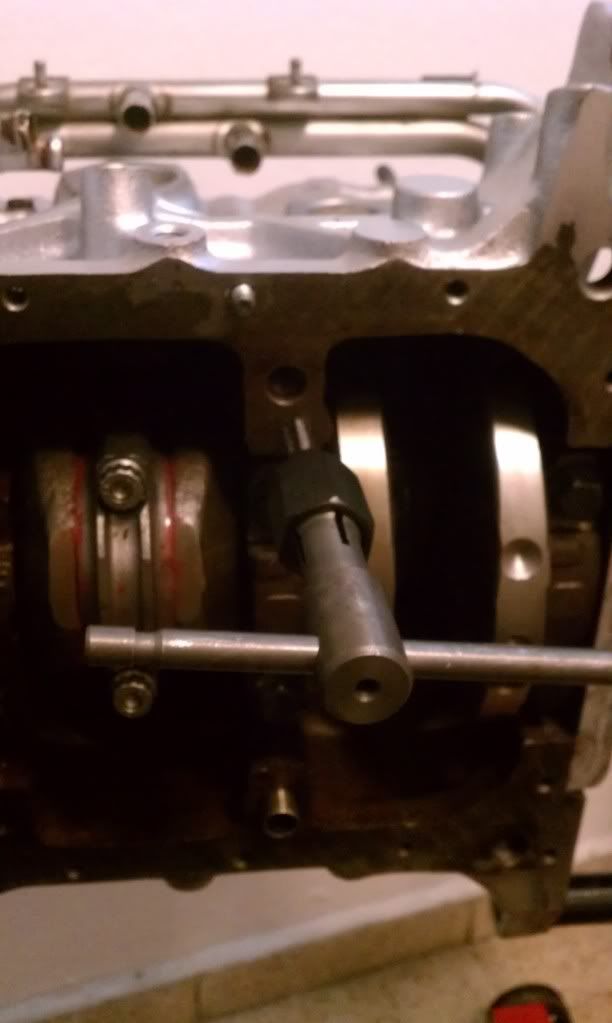 Pictured: M8x1.25 bolt threaded down into the block. Thee craftsman tap threaded through the block with ease. Lubricate the tap with engine oil as well, and tap one turn and back it out half a turn. Do that until almost all of the tap is in. 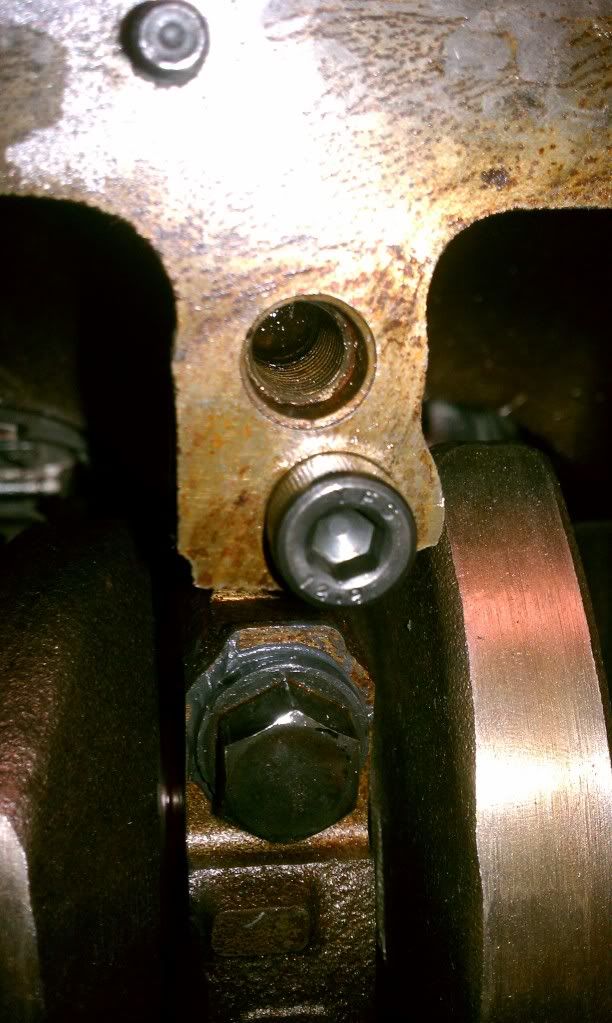 Final step: Take the swabs and dip them into the oil. Insert the swab into the hole to clean it, from the inside out. Following this, you'll need to modify the dipstick tube. You'll need to cut it in two places: one is inside the block to eliminate the tapered end, and the other place is The tube itself. You'll have to compare your dipstick tubes on your non-balance shaft block and your balance shaft'd one. Pictures coming soon. This post has been edited by Syaoran: Jul 28, 2013 - 12:11 PM -------------------- 1993 Celica GT Coupe - sold
1994 Celica GT Liftback |
 Jul 28, 2013 - 9:29 AM Jul 28, 2013 - 9:29 AM
|
|
|
Enthusiast      Joined Dec 8, '03 From Lancaster CA Currently Offline Reputation: 6 (100%) |
those are 14MM head bolts so the thread is M10 X 1.25
-------------------- 2001 Celica GT-S Turbo
1997 Supra TT 6speed 1997 Celica 3MZ/1MZ swap 1990 Celica All-Trac |
 Jul 28, 2013 - 12:06 PM Jul 28, 2013 - 12:06 PM
|
|
 Enthusiast      Joined Jan 4, '12 From US Currently Offline Reputation: 6 (100%) |
-------------------- 1993 Celica GT Coupe - sold
1994 Celica GT Liftback |
  |
1 User(s) are reading this topic (1 Guests and 0 Anonymous Users)
0 Members:
| Lo-Fi Version | Time is now: November 23rd, 2024 - 7:59 PM |


