  |
 Jun 18, 2014 - 12:42 PM Jun 18, 2014 - 12:42 PM
|
|
|
Enthusiast   Joined Apr 24, '14 From Durham, NC, USA Currently Offline Reputation: 0 (0%) |
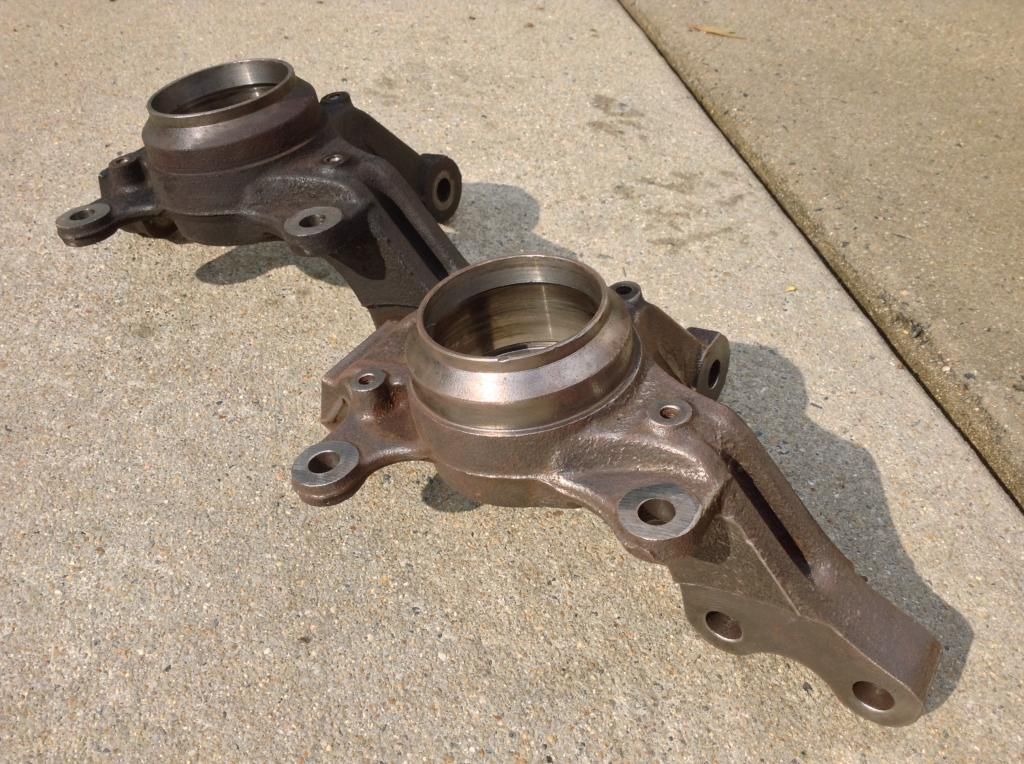
Started a new thread in General to get help removing the rust and preparing the steering knuckle for pressing in the bearing, adding the ball joint and then final painting. Received that help and want to show the results. Let me begin by reposting the knuckle as it appeared after I used a wire wheel:
 Next is the knuckle after several hours with brushed on Phosphoric Acid Prep and Etch at full strength. Notice that the color is completely changed from amber/copper to white iron with blotches and still has a rusty residue. In all these photos I have left Betsy's bent knuckle in the picture for comparison purposes: 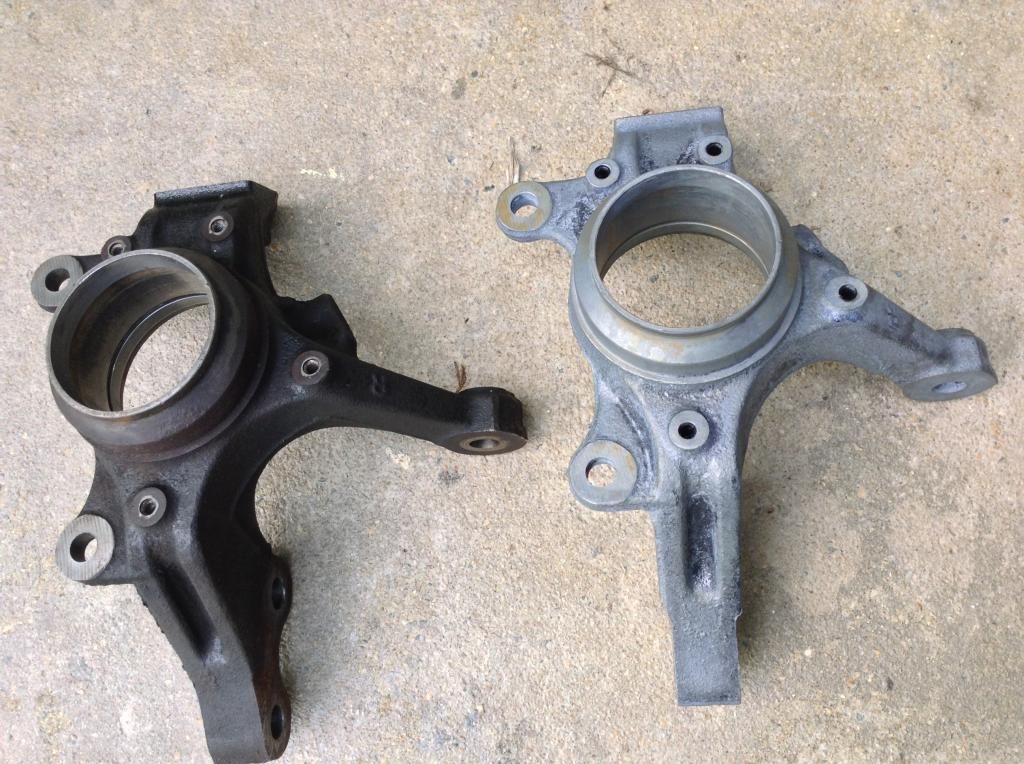 Finally, after diluting the chemical 1 to 3 (parts water) and brushing it on and letting it sit for less than half an hour, then cleaning it with Denatured Alcohol. Now the knuckle is ready for the final assembly and painting steps: 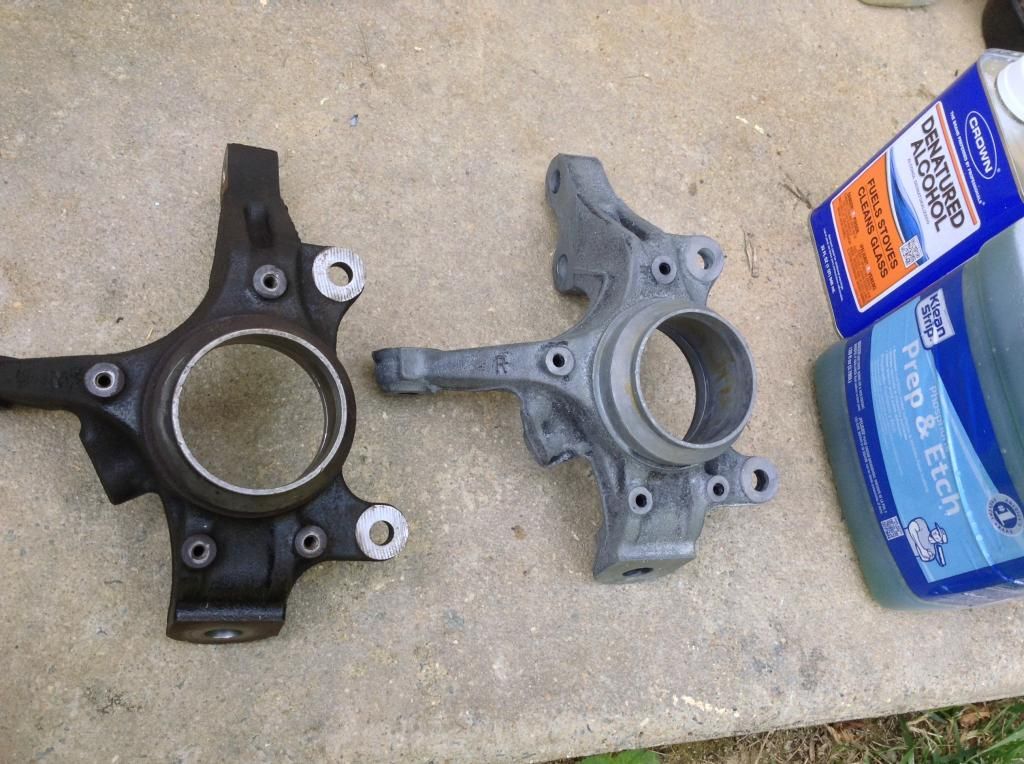 So, next I will press in the bearings, seals, snap-ring, and dust cover, then paint. |
 Jun 18, 2014 - 1:17 PM Jun 18, 2014 - 1:17 PM
|
|
|
Enthusiast   Joined Apr 24, '14 From Durham, NC, USA Currently Offline Reputation: 0 (0%) |
Two other parts had to go through the chemical process, namely the hub and the dust cover. When I took Betsy's wheel bearing out, there was no dust cover! I believe that everybody on this site that reads this will know of other examples, but I've come to expect stuff like this on Betsy, because of the very poor service that so-called 'mechanics' have provided for her over the years. They have taken numerous short cuts (trying to be kind), so why not expect to find a dust cover missing here or there? After all, me, the customer wouldn't find out, normally ever, but at least a long time after the service was performed. Oh well. . .
But I can't stay mad when there is work to be done. Luckily, the knuckle I found in the auto cemetery had its dust cover, only this one was much more rusty than my nonexistent one would have been had it been there. So, these two parts have now been through their Phosphoric Acid bath, followed by a rinse with Denatured Alcohol. These are the parts on the left of the following picture, Betsy's original hub and the junked dust cover: 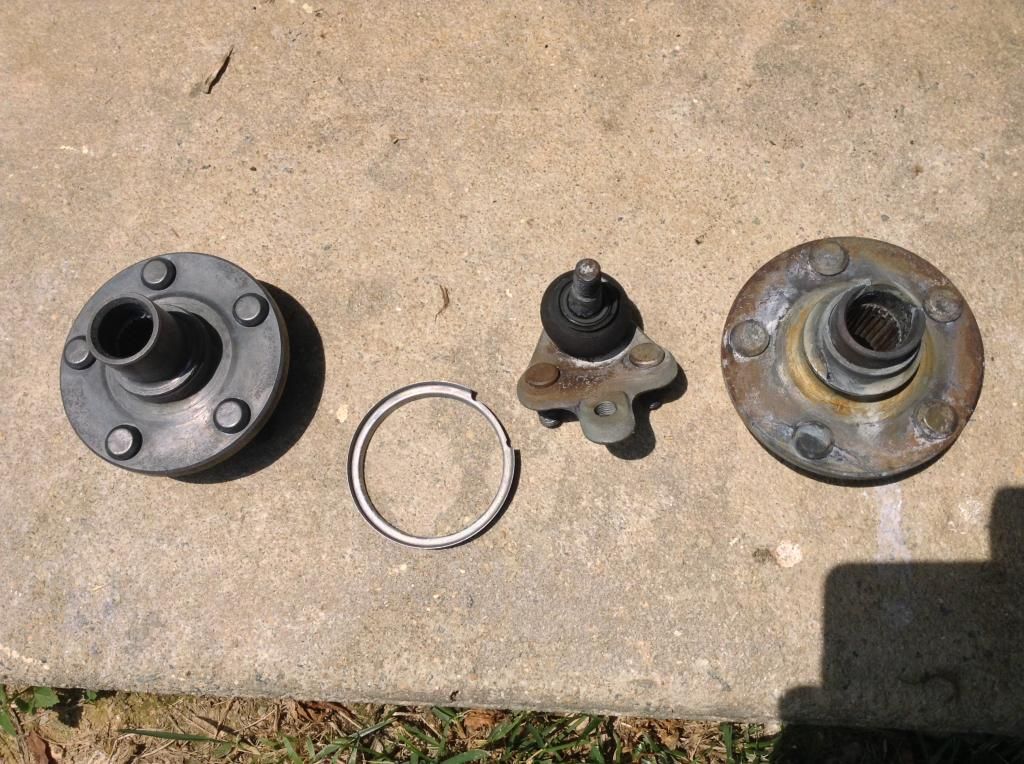 The parts on the right are the hub and ball joint that came off the junkyard steering knuckle, and they have been processed to the same extent as the primary parts (Betsy's hub and the dust cover). The next photo shows the same parts, but turned over so you can see the undersides. I note that for this side of the hub, the side with the studs sticking up, I previously spent a lot of time die grinding (with buffing compound) on its surface, as well as the surface of the hubs circular rim. My die grinding had produced a polished look similar to that of the spindle of the hub. Quite nice it was. . . Now look at it: At least there is no rust. 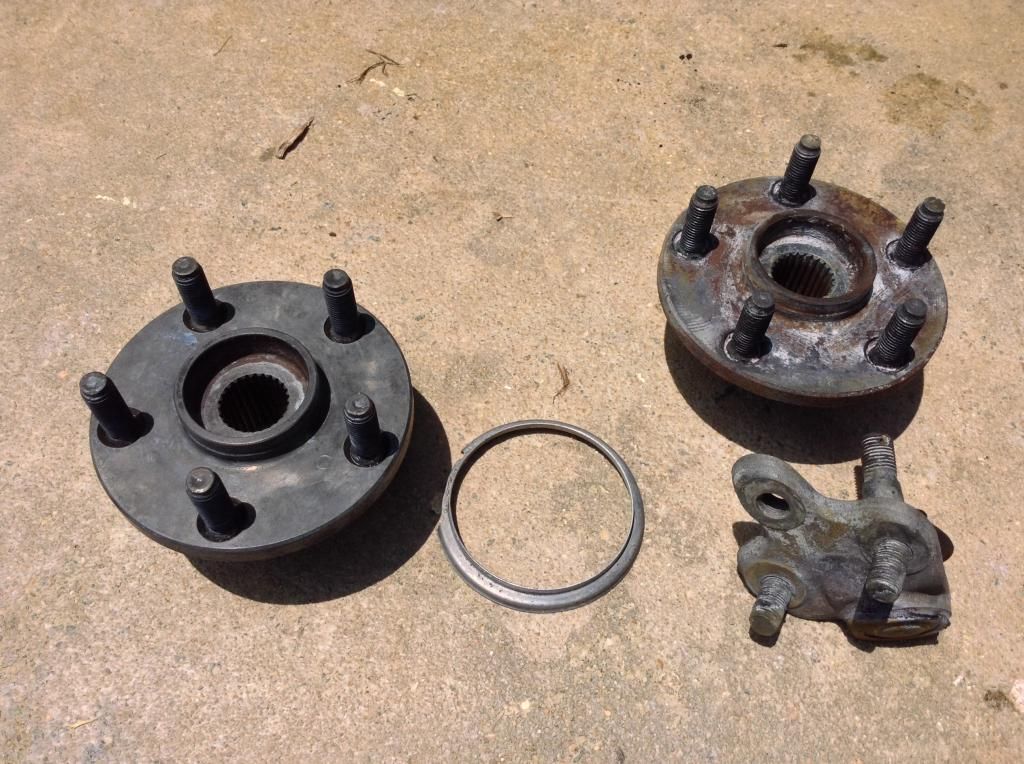 I've been tossing in a few other miscellaneous junk parts that I haven't yet thrown away, as simple experiments, to see what this solution is capable of doing, for good or bad. One bad thing I now clearly see is that this acid eats polished metal surfaces down to a dull metal finish. Don't know yet how much die grinding with abraisive polishing compound it will take to restore surfaces, such as the spindle of the hub where it penetrates the bearing, to their original mirror finish, if ever (as it has yet to be attempted). The advert claims that another good use of this acid is to 'etch concrete'. If I am not mistaken, it is also etching the surface of the metal that it removes rust from. There is no doubt that it likes to eat oxidized iron (rust). |
 Jun 18, 2014 - 5:50 PM Jun 18, 2014 - 5:50 PM
|
|
|
Enthusiast   Joined Apr 24, '14 From Durham, NC, USA Currently Offline Reputation: 0 (0%) |
Hey again. I was able to finish preparing the parts for assembly and just wanted to show how they look just before. Here's first shot of the knuckle, hub and dust cover from one side. Notice it is much later in the day and the sun is on the other side of the house, so the main part looks darker than you saw in the last series of pics:
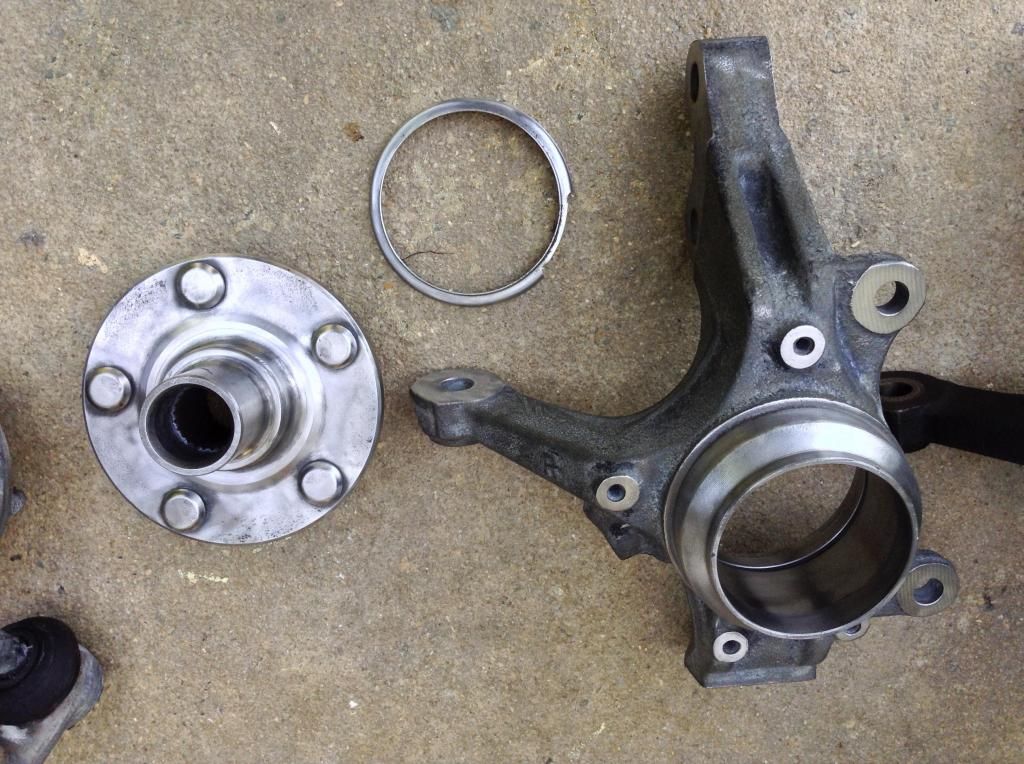 Here they are flipped and with their comparison parts included. You should be able to see that with a little die grinder polishing that rust remover didn't seem to destroy more than a couple of atomic layers of the steel. The shine on the spindle pretty much came right back: 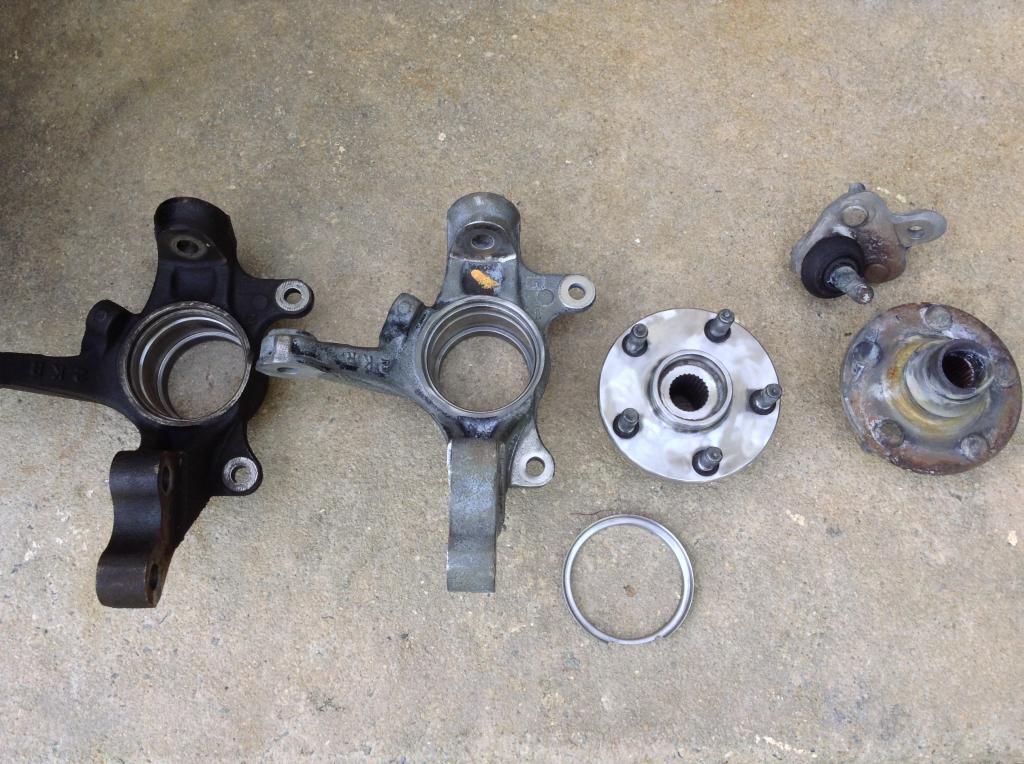 Finally, here is proof positive as to why my dust cover was not on my right front wheel when I took it off. Some mechanic had changed the wheel bearing and it wasn't me. I've owned this Celica for over 13 years and never had a wheel bearing problem. So, it had to be its only other owner, that nice looking blond California girl I bought it from for $5,000 when I was living in Charlotte, NC (about 13 yago). She told me she had driven it cross-country when moving to Charlotte. What a heck of a beauty she was. . . Betsy! 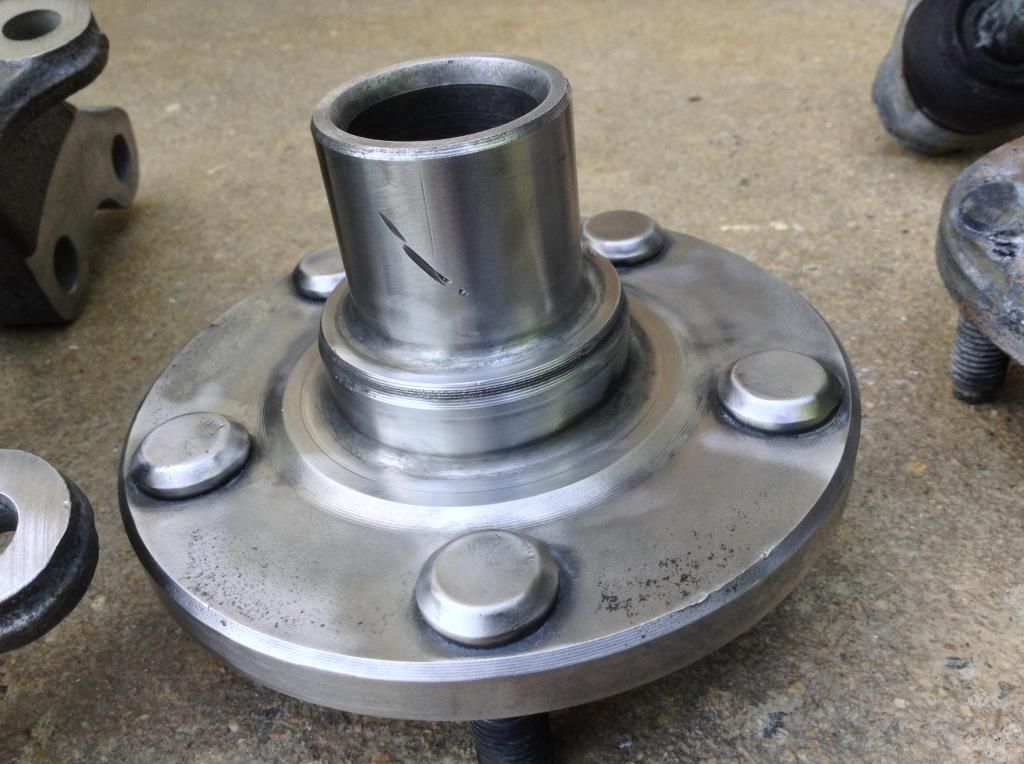
|
  |
5 User(s) are reading this topic (5 Guests and 0 Anonymous Users)
0 Members:
| Lo-Fi Version | Time is now: December 1st, 2024 - 8:15 PM |


